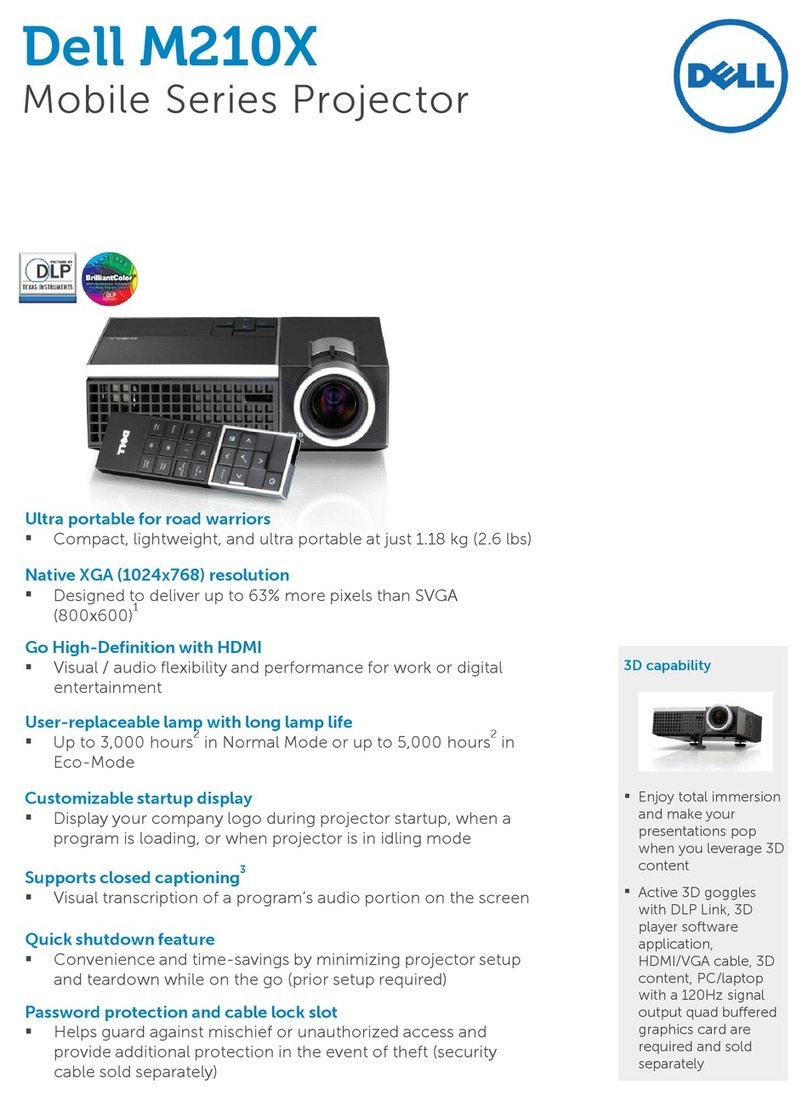
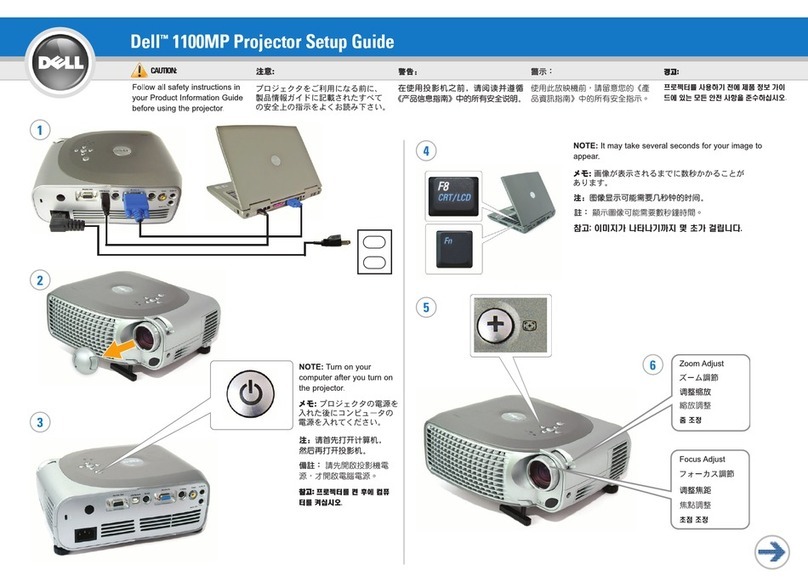
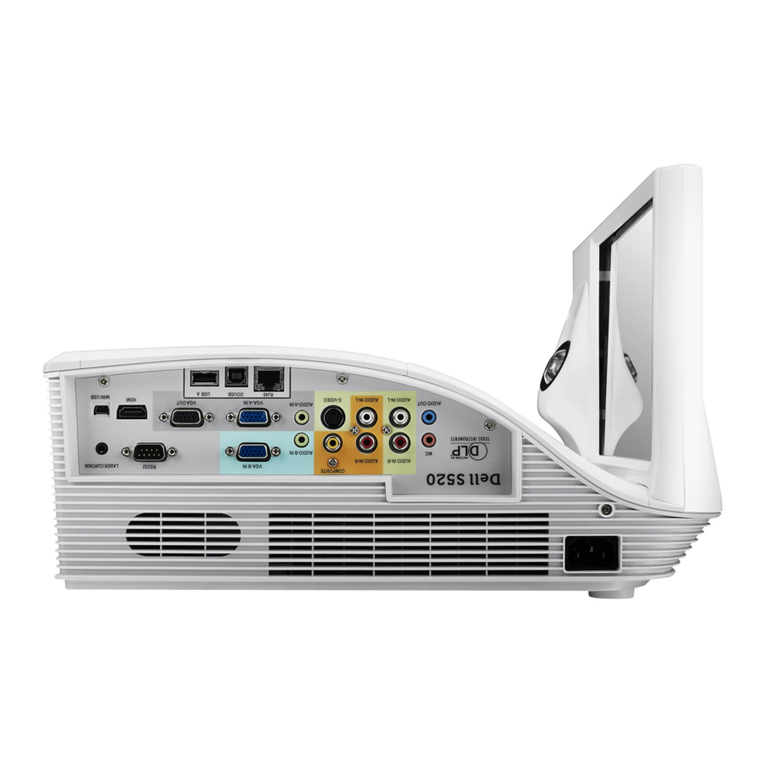
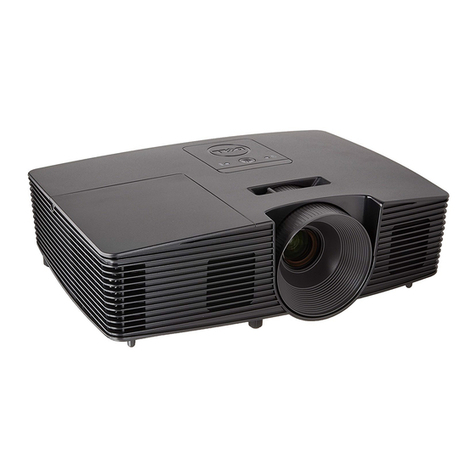
Dell S520 User manual

Dell™ | Interactive Projector
S520
Laser Touch Setup Guide
Guía de configuración de la función táctil del láser
Guide d'installation du pointeur laser
Guia de Configuração de Toque Laser
S520 Laser Touch QSC_A02-DAO.book Page 1 Wednesday, May 14, 2014 7:14 PM

S520 Laser Touch QSC_A02-DAO.book Page 2 Wednesday, May 14, 2014 7:14 PM

Dell™ | Interactive Projector
S520
Laser Touch Setup Guide
S520 Laser Touch QSC_A02-DAO.book Page 1 Wednesday, May 14, 2014 7:14 PM

About Notes
NOTE: A NOTE indicates important information that helps you make better use of your
projector.
______________ ____
Information in this document is subject to change without notice.
© 2014 Dell Inc. All rights reserved.
Reproduction of these materials in any manner whatsoever without the written permission of
Dell Inc. is strictly forbidden.
Trademarks used in this text: Dell and the DELL logo are trademarks of Dell Inc.; Microsoft,
Windows 7, and Windows Vista are trademarks or registered trademarks of Microsoft Corporation
in the United States and/or other countries.
Other trademarks and trade names may be used in this document to refer to either the entities
claiming the marks and names or their products. Dell Inc. disclaims any proprietary interest in
trademarks and trade names other than its own.
June 2014 P/N TT60D Rev. A02
S520 Laser Touch QSC_A02-DAO.book Page 2 Wednesday, May 14, 2014 7:14 PM

Set Up Laser Touch on Your Projector
3
NOTE: You computer must have the
following minimum system requirements:
Operating System:
• Windows XP Professional service pack 3
32-bit, Windows 7 32-bit/64-bit, and
Windows 8 32-bit/64-bit
• Windows .NET Framework 4.0
installation is required (You can
download it from the Microsoft site)
• MacOS 10.6 and above
Minimum Hardware:
• Windows processor type: Intel Core i3
or above
• MAC processor type: Intel Core i2 duo
or above
• Windows/MAC RAM: 2 GB of RAM
required or more are recommended
• Windows/MAC Min. HDD space: 110 MB
of available hard-disk space
Part A: Install the Whiteboard
1Install the whiteboard.
NOTE: Refer to "whiteboard installation
instructions".
Set Up Laser Touch on Your Projector
S520 Laser Touch QSC_A02-DAO.book Page 3 Wednesday, May 14, 2014 7:14 PM

Set Up Laser Touch on Your Projector
4
Part B: Mount the Projector
2Install the wall mount and the projector.
NOTE: The wall mount is shipped with your
projector. Please refer "wall mount
installation instructions".
NOTE: Project at 87" for a maximum image
size projection or ~84" if you would like to
leave a border around the projector image
for optimal touch experience.
Part C: Attach Laser Curtain Kit
3Attach the laser curtain kit onto the
whiteboard.
NOTES:
aAttachment is aided with locating pin
and magnets.
bYou can also lock the kit in place with a
security screw.
cThere is a cover for the laser curtain kit.
(b) Screw
(a)
S520 Laser Touch QSC_A02-DAO.book Page 4 Wednesday, May 14, 2014 7:14 PM

Set Up Laser Touch on Your Projector
5
Part D: Connect Necessary
Cables
4Connect power, video, Mini USB, and DC-
to-DC cables to the projector.
5Connect the power cable to the power
outlet.
6Connect the DC-to-DC cable to the laser
curtain kit.
2m DC-to-DC cable
S520 Laser Touch QSC_A02-DAO.book Page 5 Wednesday, May 14, 2014 7:14 PM

Set Up Laser Touch on Your Projector
6
7Connect the VGA cable to your computer.
NOTE: You can also project the image
through VGA-B and HDMI. Press the left
button on your control panel for auto
searching and selecting the correct input
source.
8Connect the Mini USB cable to your
computer.
9Power on the projector by pressing the
power button on the remote control.
MOLEX
5 m Mini USB cable
S520 Laser Touch QSC_A02-DAO.book Page 6 Wednesday, May 14, 2014 7:14 PM

Set Up Laser Touch on Your Projector
7
Part E: Install the Touch Driver
on Your Computer
10 The TouchDriver install message will pop-
up automatically after you plug in the USB
cable to your computer. Follow the on-
screen instruction to complete setup.
The driver icon will appear in your
computer's notification area if the driver has
installed successfully.
If the Touch driver is not automatically installed,
go to My Computer and run "TouchDriver.exe".
NOTE: You may require administrator-level
access to install the driver. Contact your
network administrator for support.
Part F: Initialize the Touch
Control Function: Auto Adjust
Touch
This is recommended for first-time use, and
necessary when touch screen responds
inaccurately or erratically.
NOTE: You have to project in duplicate or
projector only modes.
11 When executing driver, click the icon.
The following menu appears on-screen.
S520 Laser Touch QSC_A02-DAO.book Page 7 Wednesday, May 14, 2014 7:14 PM

Set Up Laser Touch on Your Projector
8
Select "Auto adjust touch for this computer"
option to execute the auto "calibration and
touch area" procedure.
If the "auto adjust touch failed" message
prompts, please take the steps below for
troubleshooting, then do auto adjust touch
again.
aTurn lights off or reduce stray light to
whiteboard
bDo not walk in front of or move the
projector
cAdjust focus to sharpen the projected
image
If the "auto adjust touch still failed" message
appears on screen, please change to manual
calibrate touch and manual touch area.
Calibrate Touch by Manual:
Executing driver, click the icon, and go
to Advanced Settings menu, click the
Calibrate touch option to execute the
manual calibrate touch mode.
Touch the target marks on the screen.
(Press the "ESC" key to exit the calibration
process). After the 4th point of calibration
is finished, please wait for 2 seconds while
the calibration data is saved.
1
34
2
S520 Laser Touch QSC_A02-DAO.book Page 8 Wednesday, May 14, 2014 7:14 PM

Set Up Laser Touch on Your Projector
9
Touch Area by Manual:
Executing driver, click the icon, and go
to Advanced Settings menu, click the Set
touch area option to execute the manual
calibrate touch mode.
Touch area window will pop up.
Drag the 4 points, in the order of P1 to P4.
The green frame should lie slightly outside
the projected image area and there should
not be any reflected light spot within this
frame. Once you have completed this task,
click "Exit".
S520 Laser Touch QSC_A02-DAO.book Page 9 Wednesday, May 14, 2014 7:14 PM

Set Up Laser Touch on Your Projector
10
Part G: Touch Sensitivity
Adjust
When laser curtain has been operative for a
long period of time, the sensitivity might be
slightly reduced. Touch sensitivity functions to
re-sensitize the laser curtain by restoring the
initial setting.
Executing driver, click the icon, and go to
Advanced Settings menu, click the Set touch
Sensitivity option to re-sensitize laser curtain
by restoring the initial setting.
Default value for Touch Sensitivity is 4.
Increasing the value increases the Touch
Sensitivity and Decreasing the Touch Sensitivity
values reduces it.
S520 Laser Touch QSC_A02-DAO.book Page 10 Wednesday, May 14, 2014 7:14 PM

Set Up Laser Touch on Your Projector
11
Part H: Reset All Touch
Settings
When auto or manual "calibrate touch and
touch area" settings still are incorrect, you can
to execute the Reset all touch settings option
to reset all settings to its factory default.
Executing driver, click the icon, and go to
Advanced Settings menu, click the Reset all
touch settings option to re-sensitize laser
curtain by restoring the initial setting.
Part I: Touch Sensor Adjust
When your touch sensor setting is incorrect,
you can to execute the Adjust touch sensor
option to manual adjust touch sensor area.
Executing driver, click the icon, and go to
Advanced Settings menu, click the Adjust
touch sensor option to manual adjust touch
sensor area.
S520 Laser Touch QSC_A02-DAO.book Page 11 Wednesday, May 14, 2014 7:14 PM

Set Up Laser Touch on Your Projector
12
Touch sensor adjustment instruction screen
shown below appears, and follow the on-
screen instruction to complete settings.
Part J: Install the Workspace
Application Software on Your
Computer
The WorkSpace Application software is
bundled along with the CD that shipped with
your projector. Install the WorkSpace
Application Software and follow the on-screen
instructions to complete the setup. For more
instructions, refer to "WorkSpace Getting
Started Guide".
S520 Laser Touch QSC_A02-DAO.book Page 12 Wednesday, May 14, 2014 7:14 PM

Troubleshooting
13
Troubleshooting
If you experience problems with Touch, see the following troubleshooting tips. If the problem
persists, contact Dell (see Projector User's Guide Contacting Dell on page 122).
Problem Possible Solution
The touch functionality on the edge or
corner of image is not working.
Please refer to Part F to execute the auto adjust
touch or touch area by manual or project at ~84" if
whiteboard bezel is affecting touch functionality on
the edge of the image.
If there is a big gap between the cursor
and touch point.
Please refer to Part F to execute the auto adjust
touch.
S520 Laser Touch QSC_A02-DAO.book Page 13 Wednesday, May 14, 2014 7:14 PM

Troubleshooting
14
If the line drawn is not continuos, broken,
or if you encounter problems with the
Touch function in other areas of the
projected image.
1Check for presence of foreign objects on the
whiteboard.
2Please refer to Part I to execute the Adjust
touch sensor area.
3If there is halogen lamp near the projector and
whiteboard, light from the halogen lamp may
affect touch performance. If so,
aTurn off the halogen lamp.
bShielding the halogen lamp light to
whiteboard or camera.
cReduce Touch Sensitivity in driver. Doing so
may however affect touch performance at
whiteboard corners.
Problem (continued) Possible Solution (continued)
S520 Laser Touch QSC_A02-DAO.book Page 14 Wednesday, May 14, 2014 7:14 PM

Dell™ | Proyector interactivo
S520
Guía de configuración de la función táctil del láser
S520 Laser Touch QSC_A02-DAO.book Page 1 Wednesday, May 14, 2014 7:14 PM

Acerca de las notas
NOTA: Una NOTA indica información importante que le ayuda a hacer un mejor uso del
proyector.
______________ ____
La información de este documento está sujeta a cambios sin previo aviso.
© 2014 Dell Inc. Todos los derechos reservados.
Queda terminantemente prohibida la reproducción de estos materiales de cualquier forma sin
el consentimiento por escrito de Dell Inc.
Marcas comerciales que aparecen en este documento: Dell y el logotipo de DELL son marcas
comerciales de Dell Inc.; Microsoft, Windows 7 y Windows Vista son marcas comerciales o
marcas comerciales registradas de Microsoft Corporation en Estados Unidos y/u otros países.
Otras marcas comerciales y nombres de marcas pueden usarse en este documento para referirse
a entidades que reclaman las marcas y los nombres o a sus productos. Dell Inc. rechaza cualquier
interés de propiedad de las marcas comerciales y nombres de marcas distintas a las suyas.
Junio de 2014 P/N TT60D Rev. A02
S520 Laser Touch QSC_A02-DAO.book Page 2 Wednesday, May 14, 2014 7:14 PM

Configuración de la función táctil del láser del proyector
3
NOTA: Su PC debe cumplir los siguientes
requisitos mínimos:
Sistema operativo:
• Windows XP Professional service pack 3
de 32 bits, Windows 7 de 32 bits/64 bits,
y Windows 8 de 32 bits/64 bits
• En Windows es necesaria la instalación
de .NET Framework 4.0 (Se puede
descargar desde el sitio Web de
Microsoft)
• MacOS 10.6 y superior
Hardware mínimo:
• Tipo de procesador Windows: Intel Core
i3 ó superior
• Tipo de procesador MAC: Intel Core i2
duo o superior
• Windows/MAC RAM: Se requiere 2 GB
de RAM; se recomiendan más
• Espacio mínimo en disco duro (HDD)
Windows/MAC: 110 MB de especio
disponible en disco duro
Parte A: Instalación de la
pizarra blanca
1Instale la pizarra blanca.
NOTA: Consulte "Instrucciones de instalación
de la pizarra blanca".
Configuración de la función táctil del láser del proyector
S520 Laser Touch QSC_A02-DAO.book Page 3 Wednesday, May 14, 2014 7:14 PM

Configuración de la función táctil del láser del proyector
4
Parte B: Instalación del
proyector
2Instale el soporte de pared y el proyector.
NOTA: El soporte de pared se envía con el
proyector. Consulte "Instrucciones de
instalación del soporte de pared".
NOTA: Proyecte con un tamaño de 87" para
una proyección de imagen de tamaño
máximo o con un tamaño de ~84" si desea
conservar un borde alrededor de la imagen
del proyector para una experiencia táctil
óptima.
Parte C: Instalación del kit de
cortina para láser
3Instale el kit de cortina para láser en la
pizarra blanca.
NOTAS:
aSe simplifica la sujeción con clavijas e
imanes de fijación.
bTambién puede sujetar el kit en su
ubicación con un tornillo de seguridad.
cExiste una cubierta para el kit de cortina
para láser.
(b) Tornillo
(a)
S520 Laser Touch QSC_A02-DAO.book Page 4 Wednesday, May 14, 2014 7:14 PM
Other manuals for S520
8
Table of contents
Languages:
Other Dell Projector manuals

Dell
Dell 7700HD User manual

Dell
Dell S520 User manual

Dell
Dell 7609WU - WUXGA DLP Projector User manual

Dell
Dell 1610HD User manual

Dell
Dell 2400MP - XGA DLP Projector User manual

Dell
Dell S510 User manual

Dell
Dell 1100MP User manual
Dell
Dell 5100MP - SXGA+ DLP Projector User manual

Dell
Dell 2200MP User manual

Dell
Dell S520 User manual
Dell
Dell M410HD User manual

Dell
Dell S510n User manual

Dell
Dell 1100MP User manual

Dell
Dell S510 User manual

Dell
Dell 2200MP Installation instructions

Dell
Dell 3400MP - XGA DLP Projector User manual

Dell
Dell 4310WX - DLP Multimedia Projector User manual

Dell
Dell 1409X User manual

Dell
Dell S560P User manual

Dell
Dell 1100MP User manual