5
Guide
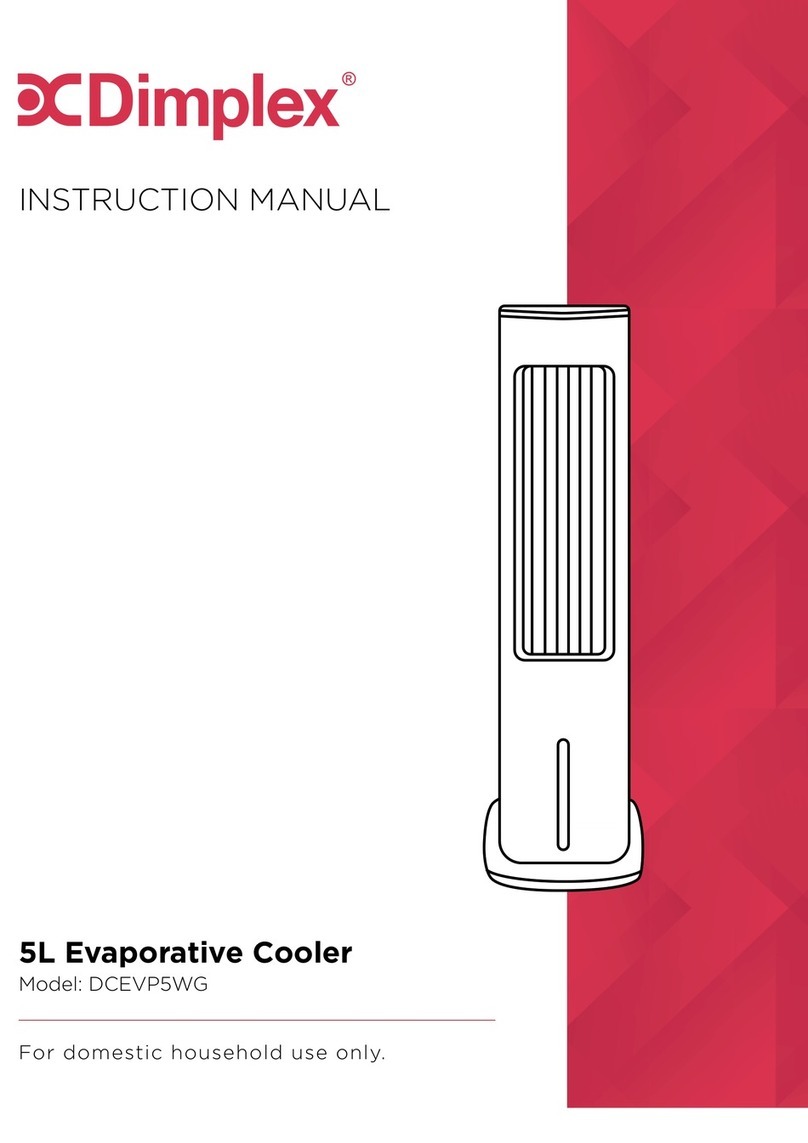
1. Open the package and take the unit out. Dispose of any foam packaging.
2. Adding Water: Open the door on the side of the unit to gain access to the water reser-
voir. Add water until the water level is close to or has reached MAX.
Pay attention to the following:
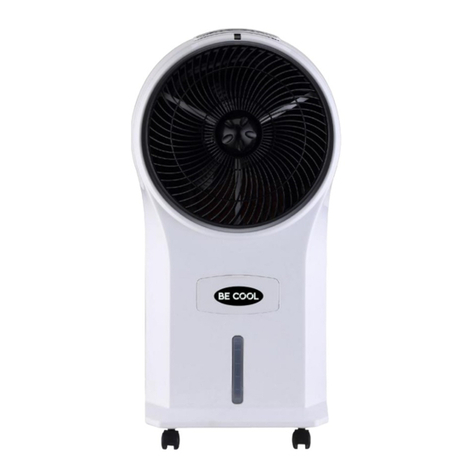
1) When adding water, pay attention to the water level indicator on the front of the unit.
2) Do not ll water above red water level line.
3) Please close the cover when nish adding water, otherwise the unit will not work
4) If you want to reduce the temperature more, place ice in the top of the unit where the
ice reservoir is located.
3. The unit can be used after selecting ON/SPEED key, and you may select high, medium or
low wind by yourself.
4.Timing hours (0.5-7.5hours) can be decided by yourself. If timing indicator is not on,timing
function is not in operation.
5.When choosing wind oscillation function, you may press Oscillation key. If oscillation in-
dicator is on, air direction is from leftto right;if youmove horizontalair leafat airtransmitting
exit, air can blow up or down.
6.Anytime when you wantto stop machine, press“OFF Key”, Meanwhile,theunit stillunder“-
STAND-BY”situation.
7. Remote Control
1) The machine can be controlled by the included remote control. Open the battery cover
on the pack and install two AAA batteries.
2) There are 7 keys on the remote controller. The functions are some with the button func-
tion on the control panel. When using the remote, it should be aimed at the IR receiver on
the control panel and within 20 feet.


