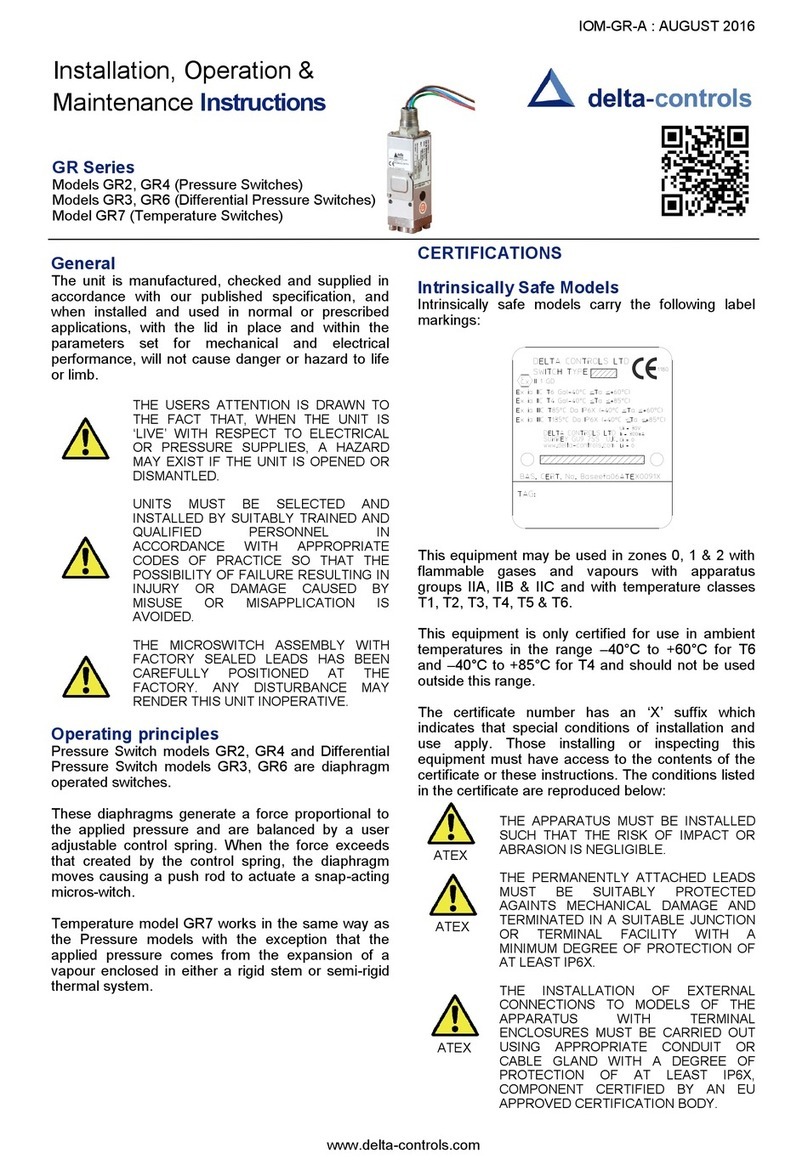
Delta Controls S24 Guide

www.delta-controls.com
IOM-INDUSTRIAL REV.C: MAY 2015
Installation, Operation &
Maintenance Instructions
Industrial Series
Models S21, S22, S24 (Pressure Switches)
Models S31, S34 (Differential Pressure Switches)
Model S71 (Temperature Switches)
GENERAL
The unit is manufactured, checked and supplied in
accordance with our published specification, and
when installed and used in normal or prescribed
applications, with the lid in place and within the
parameters set for mechanical and electrical
performance, will not cause danger or hazard to life
or limb.
THE USERS ATTENTION IS DRAWN TO
THE FACT THAT, WHEN THE UNIT IS
‘LIVE’ WITH RESPECT TO ELECTRICAL
OR PRESSURE SUPPLIES, A HAZARD
MAY EXIST IF THE UNIT IS OPENED OR
DISMANTLED.
UNITS MUST BE SELECTED AND
INSTALLED BY SUITABLY TRAINED AND
QUALIFIED PERSONNEL IN
ACCORDANCE WITH APPROPRIATE
CODES OF PRACTICE SO THAT THE
POSSIBILITY OF FAILURE RESULTING IN
INJURY OR DAMAGE CAUSED BY
MISUSE OR MISAPPLICATION IS
AVOIDED.
OPERATING PRINCIPLES
Pressure Switch models S21, S22, S24 and
Differential Pressure Switch models S31, S34 are
diaphragm operated switches.
These diaphragms generate a force proportional to
the applied pressure and are balanced by a user
adjustable control spring. When the force exceeds
that created by the control spring, the diaphragm
moves causing a push rod to actuate a snap-acting
micros-witch.
Temperature model S71 works in the same way as
the Pressure models with the exception that the
applied pressure comes from the expansion of a
vapour enclosed in either a rigid stem or semi-rigid
thermal system.
CERTIFICATIONS
ATEX
Intrinsically safe Models
For Zone 0 models (Enclosure code 4/5, see Table 1 of
TDS)
II 1 G Ex ia IIC T6 Ga (Tamb = -25°C to +60°C)
T5 Ga (Tamb = -60°C to +80°C)
Flameproof Models
For Zone 0/1 models (Enclosure code 2/3, see Table 1
of TDS)
With Fluorosilicone O-ring
II 1/2 GD Ex d IIC T6 Ga/Gb (Tamb = -60°C to 65°C)
Ex ta/tb IIIC T85°C Da/Db
or
II 1/2 GD Ex d IIC T5 Ga/Gb (Tamb = -60°C to 80°C)
Ex ta/tb IIIC T100°C Da/Db
With Nitrile O-ring
II 1/2 GD Ex d IIC T6 Ga/Gb (Tamb = -30°C to 65°C)
Ex ta/tb IIIC T85°C Da/Db
or
II 1/2 GD Ex d IIC T5 Ga/Gb (Tamb = -30°C to 80°C)
Ex ta/tb IIIC T100°C Da/Db
For Zone 1 models (Enclosure code H/R, see Table 1
of TDS)
With Fluorosilicone O-ring
II 2 GD Ex d IIC T6 Gb (Tamb = -60°C to 65°C)
Ex tb IIIC T85°C Db
or
II 2 GD Ex d IIC T5 Gb (Tamb = -60°C to 80°C)
Ex tb IIIC T100°C Db
With Nitrile O-ring
II 2 GD Ex d IIC T6 Gb (Tamb = -30°C to 65°C)
Ex tb IIIC T85°C Db
or
II 2 GD Ex d IIC T5 Gb (Tamb = -30°C to 80°C)
Ex tb IIIC T100°C Db
cCSAus
For use in Class 1, Group C/D, Class II, Groups E/F/G,
Div. 1 & 2 (Enclosure code T/U, see Table 1 of TDS)
INSTALLATION
Mounting (All models)
The instruments are designed to be mounted
vertically with the process connection underneath.
However, mounting up to 45° from the vertical in any
plane is acceptable, although a small calibration shift
may occur. They can be mounted either direct to
process, or to a wall or panel using the mounting
holes provided. Select the mounting point so as to
avoid excessive shock, vibration or temperature
fluctuation. External sources of heating or cooling
should be taken into consideration during
installation. To avoid undue stresses being imparted
to the instrument when wall/panel mounted, it is
recommended that a short length of flexible line be
installed between the instrument and process line. If
sudden changes of pressure (pulsations) are likely
then we recommend that snubbers are fitted
between the process line and instrument.

www.delta-controls.com
IOM-INDUSTRIAL REV.C: MAY 2015
BSP to BS21(1985) standard threads only as
clause 5.4 gauging to clause 5.2 system 'A' up to
Rp3/4 (medium fit or better).
Wiring
DISCONNECT ALL SUPPLY CIRCUITS
BEFORE WIRING
WIRE IN ACCORDANCE WITH LOCAL
AND NATIONAL CODES. USE CABLES
NO LARGER THAN 2.5 MM 2 (14 AWG)
DO NOT EXCEED ELECTRICAL RATINGS
STATED IN LITERATURE AND ON
NAMEPLATES.
The three switch terminals are clearly marked
“NORMALLY CLOSED”, “NORMALLY OPEN” and
“COMMON”. The following diagram can be used as a
guide for wiring.
Fig.1A shows the state of electrical contacts at
atmospheric pressure. Note: products with ranges
below atmospheric pressure have the wiring
reversed between the terminal block and the
microswitch(es) to achieve this state (Fig 1B).
Note: Position of electrical contacts might vary
depending on instrument model, please refer to
product internal marking.
Insert bare wires fully into the terminal block and
tighten securely. Keep wiring tails to a minimum and
check that wires do not interfere with the operating
mechanism. Use the earthing / grounding points
provided.
ATEX
ALWAYS HOLD A WRENCH ON THE
PRESSURE ENTRY HEX WHEN MAKING
PRESSURE CONNECTION TO THE
SWITCH. DO NO TIGHTEN BY TURNING
THE ENCLOSURE.
CHECK THE CONNECTION THREAD SIZE
AND SPECIFICATION ON THE UNIT TO
AVOID MIS-MATCHING WITH THE
PROCESS CONNECTION ADAPTOR. SEE
DIGIT 11 OF PRODUCT CODE.
Mounting (S71 - Rigid Stem)
Assemble the unit via a thermowell, using the
spanner facility provided and ensuring that:
a) the sensing bulb is fully immersed in the
process temperature
b) the sensing bulb does not bottom out in the
thermowell which could cause damage
Mounting (S71 - Capillary system)
Mount the sensing bulb so that the capillary end is
above the bulb and the bulb is level with, or no more
than 250mm below the base of the instrument. The
stem is fitted with a sliding compression gland to
accommodate different thermowells.
Installation of electrical adaptors and
cable glands to the electrical entry
Either one or two electrical entries can be provided.
The standard entry is a single ISO M20 x 1.5 thread.
Other non-ISO and tapered threads will have their
size and type stamped on the enclosure next to the
entry.
TAKE CARE TO SELECT AND INSTALL
ADAPTORS THAT DO NOT REDUCE THE
ENCLOSURE’S DEGREE OF
PROTECTION WHEN IN USE IN ZONE 1
HAZARDOUS AREAS.
UNUSED ENTRIES MUST BE FITTED
WITH SUITABLY CERTIFIED
FLAMEPROOF STOPPING PLUGS.
IT IS A SAFETY REQUIREMENT THAT AT
LEAST 5 FULL THREADS ARE ENGAGED
BETWEEN THE ADAPTER, CABLE
GLAND OR STOPPING PLUG, AND THE
ELECTRICAL ENTRY WHEN THE UNIT IS
IN OPERATION. NEVER OPERATE THE
UNIT UNLESS THIS CONDITION IS MET.
Alternative electrical entry threads
One or two electrical entries can be supplied with
the following optional thread types:
ISO to BS 3643 (1981) medium fit 6H up to M25
x 1.5
DIN 40430 (1971) up to Pg21.
USAS B2.1 (1968) gauging to clauses 36 & 37 up
to 3/4" NPT.
BS conduit to BS31 (1940) table 'A' up to 1"
ATEX
ATEX
FIG. 1A
FIG. 1B

www.delta-controls.com
IOM-INDUSTRIAL REV.C: MAY 2015
4. Using a suitable spanner, rotate the range
adjuster clockwise to increase the set point and
counter-clockwise to decrease the set point.
5. Tighten the set point lock screw.
Switching differential adjustment
(Model S22 only):
1. Isolate the instrument from process and power.
2. Remove the lid to allow access
3. Rotate the knurled plastic wheel on the
microswitch to adjust the switching differential.
Rotate clockwise to increase differential and
counter-clockwise to reduce differential.
Note: Rotating the knurled plastic wheel will alter
the operating value on rising pressure only.
Note: For accurate setting of Pressure and
Differential Pressure models, a suitable pressure
gauge must be used in conjunction with the above
procedure. Do not attempt to set the switch outside
the scale limits. For Temperature models a suitable
calibrated temperature source should be used.
ATEX
ATEX
End of line resistors
Some products may be supplied to order fitted with
end of line resistors. Resistors in use may generate
a heat source. The type, quantity, configuration,
fitment method and allowable electrical loads are
limited by the scope of the certification.
NEVER FIT END OF LINE RESISTORS OR
MODIFY WITHOUT REFERENCE TO
DELTA CONTROLS
Replacing cover / lid on Flameproof
enclosures
BEFORE CLOSING THE LID:
ENSURE WIRE IS CLEAR OF ALL
MOVING PARTS.
ENSURE THAT WIRES DO NOT
TOUCH THE LID AS IT IS CLOSED.
Thread, seal and contact surfaces may be lightly
lubricated using a non-setting non-corrosive grease
compatible with the lid seal.
DO NOT USE COPPER BEARING
GREASE ON ALUMINIUM.
Before connecting to electrical power, screw on
cover/lid hand tight making sure that mating
surfaces of the lid and enclosure are in contact. Use
the locking screw provided to prevent casual and
unauthorised removal of the cover/lid.
IT IS A SAFETY REQUIREMENT THAT AT
LEAST 5 FULL THREADS ARE ENGAGED
BETWEEN THE COVER / LID AND THE
ENCLOSURE WHEN THE UNIT IS IN
OPERATION. NEVER OPERATE THE
UNIT UNLESS THIS CONDITION IS MET.
OPERATION
THIS UNIT CONTAINS POTENTIALLY
SPARKING CONTACTS. DO NOT
REMOVE THE COVER / LID WHILE
ELECTRICAL POWER IS CONNECTED
TO THE SWITCH AND / OR WHEN A
FLAMMABLE GAS ATMOSPHERE IS
PRESENT.
Adjustments
Pressure and Temperature Switches are supplied
calibrated at the midpoint of their range and to a
falling pressure or temperature unless otherwise
specified.
Set point adjustments (All Models):
(See fig. 2A and 2B)
1. Isolate the instrument from process and power.
2. Remove the lid to allow access
3. Slacken the set point lock screw.
ATEX
ATEX
FIG. 2A
FIG. 2B

www.delta-controls.com
IOM-INDUSTRIAL REV.C: MAY 2015
3. The unit shall be tested in such a way that the
operational parameters (for example,
pressure or temperature limits) stated on it by
the manufacturer are verified.
NOTE: Under normal operating conditions where
the process is not continually cycling above and
below the set point, the wear will be minimal. To
examine for wear remove the pressure sensor from
the bottom of the enclosure and examine the rod
and bush assembly for obvious wear. Do not attempt
to remove the assembly and if in doubt seek
assistance from Delta Controls.
IF ADJUSTING THE SET-POINT, IT IS
IMPORTANT TO USE A CALIBRATED
PRESSURE SOURCE RATHER THAN
THE REFERENCE SCALE PLATE TO
ENSURE ACCURATE SETTING OF THE
SWITCH. WHERE NECESSARY A
NOTIFIED BODY SHOULD BE
EMPLOYED TO CARRY OUT OR
WITNESS THE SETTING OF CAT IV PED
PRODUCTS.
Though the unit may be set anywhere within its
range, for optimum performance, it is good practice
to have a set point value between 25% and 75% of
span.
The striker screw and lock nut are factory set and
should not be adjusted. Should these parts be
accidentally loosened, please contact Delta for
assistance.
MAINTENANCE
Inspections should be carried out at quarterly to
yearly intervals depending upon operating
conditions. Isolate the unit from process and power
and remove the lid. Check all terminals for
tightness. Check that cable tails are not fouled or
chafed. Check for internal condensation. Check
that the gasket is seated properly in the lid recess
and is not worn. Keep the enclosure and lid clear of
dust build up. It is recommended that instruments
used to provide an alarm are operated periodically
to ensure they are functioning correctly. If further
maintenance is required seek advice from DELTA
CONTROLS before attempting repair or
replacement of parts.
SPECIAL CONDITIONS FOR SAFE USE
Applicable to all flameproof models of Industrial
series (Pressure switch series S20).
1. The flamepath between the pushrod and the
bush assembly has a maximum diametrical
clearance of 0.12 mm, which is less than
that permitted by Table 2 of standard EN
60079-1. The user shall ensure this
diametrical clearance is not exceeded in
service.
Additional special condition for safe use that
applies to model 2S24 and 3S24 only, when used
in the boundary between an area requiring EPL Ga
and an area requiring EPL Gb.
2. The partition wall (the process diaphragm) is
less than 1 mm thick and shall not be
subjected to environmental conditions that
adversely affect the partition wall.
PED
DIMENSIONS
Models S21, S22, S24 (Pressure Switches)

www.delta-controls.com
IOM-INDUSTRIAL REV.C: MAY 2015
Models S31, S34 (Differential Pressure
Switches)

www.delta-controls.com
IOM-INDUSTRIAL REV.C: MAY 2015
Model S71 (Temperature Switches)
This manual suits for next models
5
Table of contents
Other Delta Controls Switch manuals
