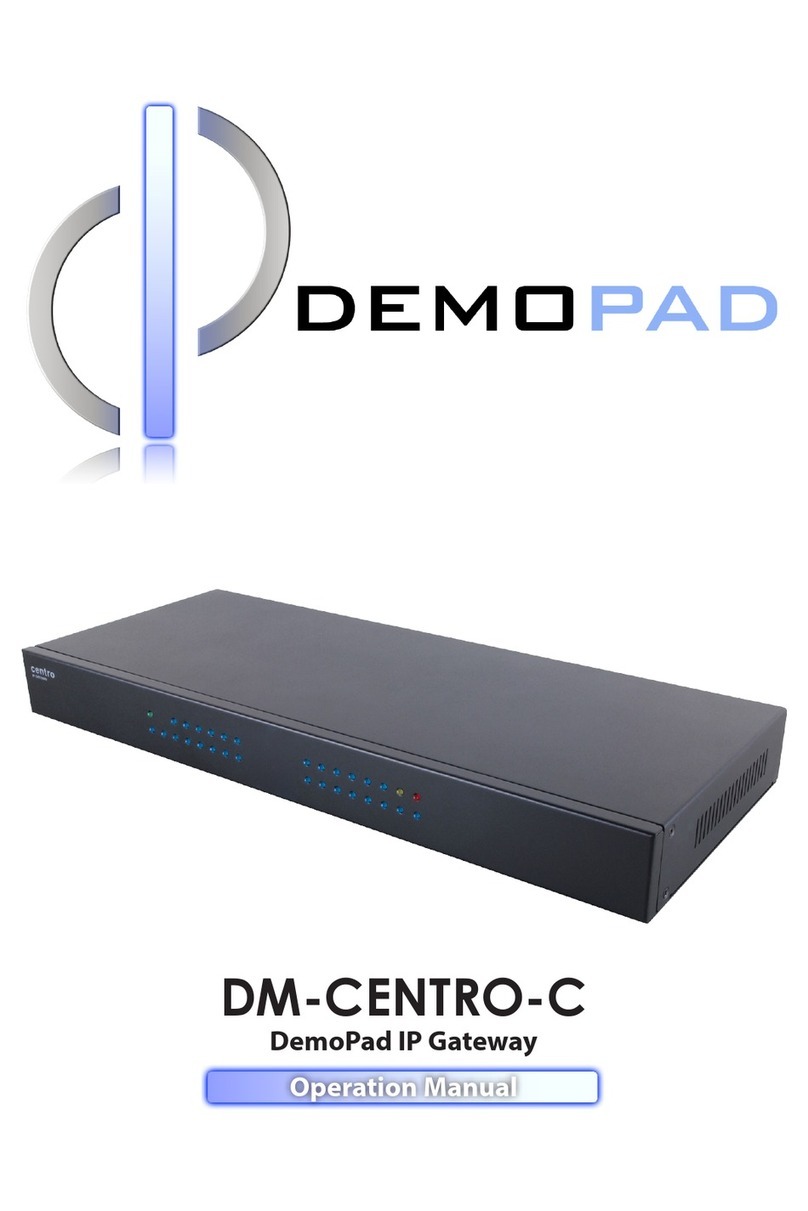
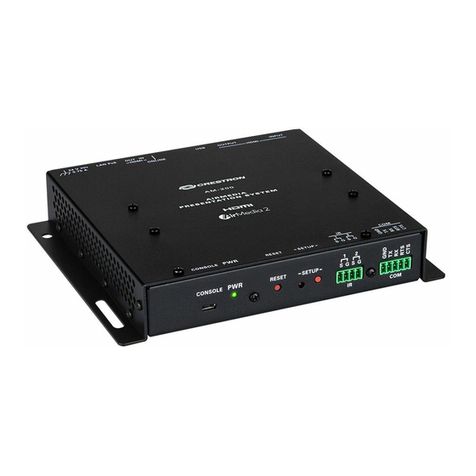
DemoPad centro 8 Owner's manual


The processor will initially boot up using DHCP to obtain its IP address. You will need to change
this to a static IP address, enter the IP address you would like the unit to have in the top menu. Also,
if you wish to make use of the processor's internal memory for system variables, tick the box 'Store
Checked Variables Centrally'. Then click the 'Configure' option.
Configuration Steps
Step 1 – Initialize the Centro:
Here you should enter a password for the Centro. If this is the first time a connection has been made
to the Centro, tick 'This is a new Centro unit' and enter a password for the unit. If you are updating
the Centro's firmware, tick 'This is an existing Centro unit' and enter the password used previously.

Ensure the 'Set IP Address' / subnet mask / gateway information is correct, and enter the Centro's
current IP address (displayed on the HDMI display screen) in the top right of the window. Now
click 'Initialize / Update Centro'. The software will now attempt to connect to the Centro's current IP
address, set the password (if a new unit) and alter the network settings from DHCP to the static
settings you have entered. It will also upload the latest Centro firmware automatically to the device,
and reboot the processor.
When the unit reboots, the new static IP address should appear on your display screen.
Step 2: Activate the Processor
Before the Centro will operate, you are required to verify the unit online. No personal information is
collected during this process. Simply click the activation button to continue. You must be connected
to both the Centro processor, and the internet for this procedure to be successful. Once completed,
you will not need to perform this operation again, unless you attempt to upload a different project to
this unit. In that case, simply re-activate the processor using the same button. There are no limits to
the number of projects which can be loaded onto a Centro processor, but each time a new project is
loaded to a specific Centro, the project needs to be activated online with the new Centro connected.
Step 3: Time Zone
Set the time zone and the latitude / longitude of the Centro. This is used for detemining the sunrise /
sunset times, and for correct operation of timed events.

Uploading to the Processor
In the same way that a project must be uploaded to the iOS/Android app, the project must also be
uploaded to the CENTRO processor. This process is similar to uploading to the app – click on
'Upload to DemoPad Processor', select the processor (entering the IP address manually if required)
and click 'Upload'.
If you are not using the built in Web Server for the user interface, you can disable this.
'Enable Logging' should only be selected if you are asked to do so by a DemoPad support team
member.
Typically, you will want to synchronize the time of the processor with that of the PC. Note this will
not alter the time zone of the processor.

Basic Operations:
Using the Relay Outputs
When the processor is added to the system, several commands and command folders are
automatically added to the unit (see below). Relay commands are automatically added, and you can
insert these commands onto your GUI buttons in the normal way, and upload to test.
Sending IR Commands – Ports 1-16
To send an IR command, similar to the COM ports, simply place
the IR command into the corresponding “IR Port xx” folder within
the pre-defined commands folder. The folder that the command is
in determines which IR port it will emit from.
You can enter IR commands in any of the following formats, and
the software will convert automatically for use with the processor:
Pronto Raw Hex (codes start with “0000”)
Global Cache format (codes start with “sendir”)
Keene Electronics format (codes start with “K”)
Configuring the COM Ports
From the processor menu, choose 'Configure Ports' and enter the appropriate information for each
COM port.
This information should match the equipment you are attempting to control – please refer to the

equipment manual for details.
Sending Data out of the COM Ports
To send specific commands out of a particular COM port, simply add the command in the pre-
defined commands module to the appropriate COM port folder. Be sure to include any command
suffix characters that may be required, eg \x0D\x0A.
It is also important to configure the COM ports to ensure that the baud rate etc matches the
equipment you are attempting to control.
Handling Flags / Numbers / Labels Centrally
The CENTRO processor is capable of storing some, or all, of your project variables (flags,
numbers, labels) centrally. This means that whenever one of the variables change, all connected
devices are notified of the change.
In order to ensure that variables (perhaps spread over several iOS/Android projects) are kept in
sync, all variables require a unique 'Processor ID' (see below).

MACROS / TIMERS
The CENTRO is capable of executing sets of commands (macros) at certain times, either
automatically, or in response to requests from iOS/Android devices.
To create a new macro, select the Macros/Timers option and give the macro a name. Macros can be
activated (use the drop down list to select):
Manually
For example when a button is pressed on an iOS/Android device)
Daily
If a macro executes every day, you can choose a specific time each day (eg 3pm), or specify a time
to execute before or after the sunrise or sunset – for example 30 minutes before sunset each day.
Repeatedly, every x seconds
You can specify that a macro executes continuously every x seconds, minutes, or hours – from the
time the project is uploaded to the processor.
At a specific date/time
You can specify a certain date and time that a macro will execute. The macro will only execute
once.
X seconds in the future

This is a delayed manual macro activation – for example a button might be pressed on an
iOS/Android device, then 30 minutes later the macro will be executed. This allows a greater time
delay than inidividual actions provide in the action editor.
When an input activates / deactivates
The CENTRO unit has 8 voltage free digital inputs – to which you can connect all types of sensors,
switches etc. When one of these inputs activates or deactivates, a macro can be executed. Typical
uses are a PIR detector which might activate a light, or sound file.
Macro Conditions
Once you have entered a name for the macro, and the macro type, you can also decide on which
days / months the macro will execute (this setting will not affect your ability to manually activate a
macro).
Similarly, you can specify a Flag which must be ON or OFF for the macro to execute.
Macro Actions
Once you have added the macro, it will appear in the list of macros. Double click the macro in the
list to enter the macro actions, in a similar fashion to adding actions for UI buttons.
Playing Sounds
The CENTRO has a stereo audio line out which can be used for playing sound files, in a similar
way to the apps. Simply choose 'play a sound' in the actions of a macro, and select the sound file
from your computer. This will automatically be uploaded to the CENTRO when you perform the
project upload.
Altering the HDMI output
The CENTRO is capable of changing the content which is shown on the HDMI output. This content
is shown using the built in web browser of the unit. Simply use the 'launch web page' action type
within a macro, and enter the URL of the web page you would like to show. This action type, like
any other, can be part of a timed macro, so the content can change periodically if you wish.
Further Information
Further information can be obtained from Epic Sky Technology representative.
Other DemoPad Gateway manuals
