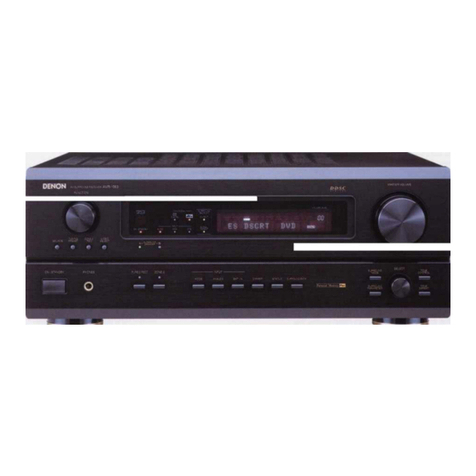
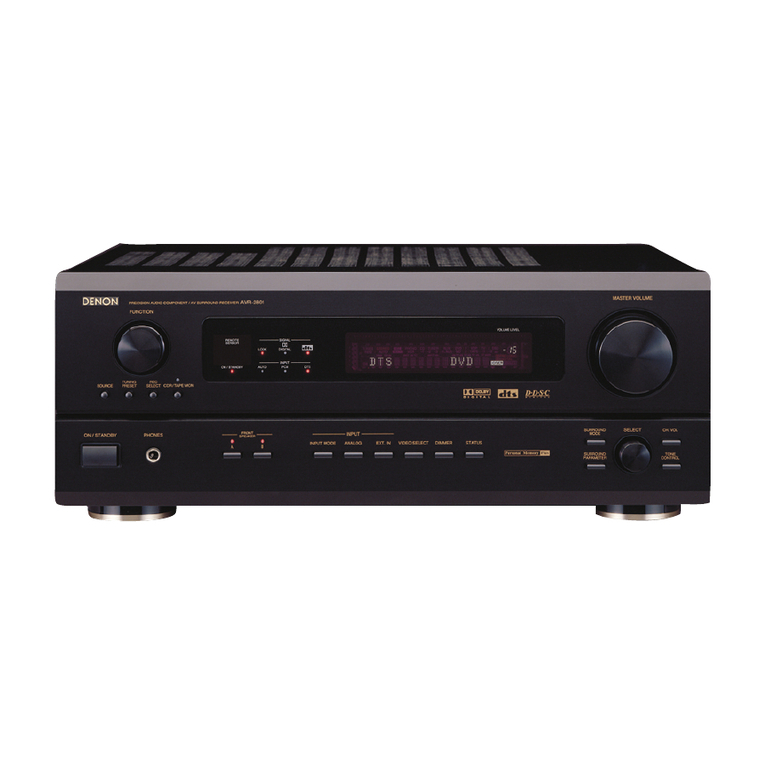
Denon DRA-900H User manual

Quick
Start
Guide
DRA-900H
NETWORK STEREO RECEIVER
1. DRA-900HE2_QSG_ENG_00A_230622.indd 11. DRA-900HE2_QSG_ENG_00A_230622.indd 1 2023/07/05 15:04:462023/07/05 15:04:46

1
Thank you for choosing a Denon stereo receiver.
This guide provides step-by-step instructions for setting up your stereo receiver.
Please do not return this unit to the store – call for assistance.
If you need help… :
If you need additional help in solving problems, contact Denon customer service in your area.
www.denon.com
Welcome
1. DRA-900HE2_QSG_ENG_00A_230622.indd 11. DRA-900HE2_QSG_ENG_00A_230622.indd 1 2023/07/05 15:04:462023/07/05 15:04:46

2
EN
DE
FR
IT
ES
NL
SV
RU
PL
Before you begin
• When connecting this unit to a device that is compatible with the Deep Color, 4K and ARC functions, use a “High Speed HDMI cable with
Ethernet” that displays the HDMI logo.
• When connecting this unit to a device that is compatible with 8K and 4K 120Hz video, use a certified “Ultra High Speed HDMI cable”. If you
use a different HDMI cable, the video may not display or other problems may occur.
Optional
TV Subwoofer cable
HDMI® cable Ethernet cable
Subwoofer Wi-Fi® router
Required for setup
Speakers
Speaker cables
or
1. DRA-900HE2_QSG_ENG_00A_230622.indd 21. DRA-900HE2_QSG_ENG_00A_230622.indd 2 2023/07/05 15:04:462023/07/05 15:04:46

3
Setup by connecting to TV Page4
Setup
Setup without connecting to TV Page9
What’s in the box
Quick Start
Guide Power cord
Safety
instructions
DAB/FM indoor
antenna
Cautions on
using batteries
Remote control
(RC-1259)
Notes on radio 2× R03/AAA
batteries
Receiver
1. DRA-900HE2_QSG_ENG_00A_230622.indd 31. DRA-900HE2_QSG_ENG_00A_230622.indd 3 2023/07/05 15:04:472023/07/05 15:04:47

4
EN
DE
FR
IT
ES
NL
SV
RU
PL
Rotate the antenna upwards for the best possible
reception.
Optional
If you are connecting the receiver to a wired network, connect
an Ethernet cable (not included) between the receiver and your
router. Do not connect the Ethernet cable if you are connecting
the receiver to a wireless network.
Router
LAN port
• The antennas are required for both Bluetooth and Wi-Fi
functions.
Setup by connecting to TV
Rotate the antennas
1. DRA-900HE2_QSG_ENG_00A_230622.indd 41. DRA-900HE2_QSG_ENG_00A_230622.indd 4 2023/07/05 15:04:472023/07/05 15:04:47

5
HDMI IN
(ARC)
HDMI OUT
TV
(ARC)
HDMI cable
Receiver (Rear panel)
Using a high quality HDMI cable*, connect one end to the HDMI
port labeled “ARC” on your TV. Connect the other end to the
HDMI OUT TV port on your receiver.
What is ARC?
Audio Return Channel or “ARC” sends audio back to the receiver
using the same HDMI cable that sends video from your receiver
to your TV. This allows your receiver to process the sound from
your TV’s built-in tuner and apps.
* For 4K TVs, we recommend using an HDMI cable labeled “High
Speed” and “with Ethernet” .
* For 8K TVs, we recommend using an HDMI cable labeled
“Ultra High Speed”.
Connect the receiver to your TV
Place the receiver near your TV and connect the power
cord.
TV
Receiver
Power cord
Connect the power cord
1. DRA-900HE2_QSG_ENG_00A_230622.indd 51. DRA-900HE2_QSG_ENG_00A_230622.indd 5 2023/07/05 15:04:472023/07/05 15:04:47

6
EN
DE
FR
IT
ES
NL
SV
RU
PL
TV remote control
HDMI
or
INPUT
TV/
VIDEO
TV remote control
Turn on the TV
Select the appropriate HDMI
input on your TV
Install batteries in the receiver
remote control
• Batteries can be taken out in reversed order.
1. DRA-900HE2_QSG_ENG_00A_230622.indd 61. DRA-900HE2_QSG_ENG_00A_230622.indd 6 2023/07/05 15:04:472023/07/05 15:04:47

7
• In case the unit was already setup back in time the Setup
Assistant won't start automatically and you only see the
Denon logo on screen. In such case you can access the Setup
Assistant by pressing SETUP on the remote control and
selecting Setup Assistant from the menu.
Press Xon the remote control.
Turn on the receiver
Verify that you can see this screen on your TV.
Please select a language...
Stereo Receiver Setup Assistant
[1/7]
Français
Deutsch
Italiano
Español
English
If this screen is not displayed, please go back and retry the
steps again in the recommended sequence.
Verify the connection
1. DRA-900HE2_QSG_ENG_00A_230622.indd 71. DRA-900HE2_QSG_ENG_00A_230622.indd 7 2023/07/05 15:04:482023/07/05 15:04:48

8
EN
DE
FR
IT
ES
NL
SV
RU
PL
The TV is now connected to the receiver.
The Setup Assistant will walk you through connecting and
configuring your speakers and components to your Denon
receiver. Use the remote control and follow the instructions
on the TV screen to complete the receiver settings using the
Setup Assistant.
Setup Assistant Complete!
Setup is now complete.
Your Stereo Receiver is now properly configured to provide you
with the best possible sound and video experience.
Enjoy!
Done
After completing the on-screen
Setup Assistant Page20
Follow the on-screen Setup
Assistant Firmware update
If you see this screen after completing Setup Assistant, select
Update Now to make sure your new receiver is up to date with
the latest firmware and features.
The following features are available for your Stereo Receiver.
Estimated time to install: min
Update Later Update Now
1. DRA-900HE2_QSG_ENG_00A_230622.indd 81. DRA-900HE2_QSG_ENG_00A_230622.indd 8 2023/07/05 15:04:482023/07/05 15:04:48

9
Setup without connecting
to TV
Connect your speakers
21 3 4
Subwoofer RL
10 mm
Connect your source device
Ex.) Connect to CD player
L
R
L
R
CD player
1 2 3 4
1. DRA-900HE2_QSG_ENG_00A_230622.indd 91. DRA-900HE2_QSG_ENG_00A_230622.indd 9 2023/07/05 15:04:482023/07/05 15:04:48

10
EN
DE
FR
IT
ES
NL
SV
RU
PL
Connect to antenna of tuner
DAB/FM indoor
(included)
Rotate the antenna upwards for the best possible
reception.
• The antennas are required for both Bluetooth and Wi-Fi
functions.
Rotate the antennas
1. DRA-900HE2_QSG_ENG_00A_230622.indd 101. DRA-900HE2_QSG_ENG_00A_230622.indd 10 2023/07/05 15:04:482023/07/05 15:04:48

11
Optional
If you are connecting the receiver to a wired network, connect
an Ethernet cable (not included) between the receiver and your
router. Do not connect the Ethernet cable if you are connecting
the receiver to a wireless network.
Router
LAN port
Connect the power cord
Receiver
Power cord
1. DRA-900HE2_QSG_ENG_00A_230622.indd 111. DRA-900HE2_QSG_ENG_00A_230622.indd 11 2023/07/05 15:04:482023/07/05 15:04:48

12
EN
DE
FR
IT
ES
NL
SV
RU
PL
Install batteries in the receiver
remote control
• Batteries can be taken out in reversed order.
Press Xon the remote control.
Turn on the receiver
1. DRA-900HE2_QSG_ENG_00A_230622.indd 121. DRA-900HE2_QSG_ENG_00A_230622.indd 12 2023/07/05 15:04:482023/07/05 15:04:48

13
Cancell on-screen Setup Assistant
Connect the receiver to the home
network via wireless LAN. Page14
When the Ethernet cable is connected
and the wireless LAN is not used. Page20
On the display of “Setup on TV”, use o p to select “No”,
then press ENTER.
Setup
on
TV: No
On-screen Setup Assistant is cancelled and the receiver
is available to use. In addition, the receiver is able to be
set up from Setup Menu whenever you want.
1
1. DRA-900HE2_QSG_ENG_00A_230622.indd 131. DRA-900HE2_QSG_ENG_00A_230622.indd 13 2023/07/05 15:04:492023/07/05 15:04:49

14
EN
DE
FR
IT
ES
NL
SV
RU
PL
Start “Wi-Fi Setup”
Press SETUP on the remote control.
You can see the following on the display.
Audio
1
Use ui to select “Connection”, then press ENTER.
Connection
3
Select “Connect: Wi-Fi”.
Connect:Wi-Fi
4
• If “Connect: Wired” is displayed, press ENTER, use o p to
select “Wi-Fi” and press ENTER.
Use ui to select “Wi-Fi Setup”, then press ENTER.
Wi-Fi
Setup
5
• It may take approximately one minute for the display to
switch to “Audio” after pressing SETUP while “Starting Up...”
is displayed.
Starting Up..
Use ui to select “Network”, then press ENTER.
2
1. DRA-900HE2_QSG_ENG_00A_230622.indd 141. DRA-900HE2_QSG_ENG_00A_230622.indd 14 2023/07/05 15:04:492023/07/05 15:04:49

15
WPS router
Use a WPS-compatible router to connect
using the push button method.
Wi-Fi router
Scan network
Select the network from the network list.
Wi-Fi router
Use iOS device (iOS version 10.0.2 or later)
By connecting the receiver with iOS Device (iPhone/
iPod/iPad), the receiver can be connected to the
network automatically.
Manual
Enter the name (SSID) and password of the network
you wish to connect to.
Manual
Use iOS Device
Scan Networks
Connect wireless LAN
Choose one of the following wireless setup options.
Use ui to select “Scan Networks”, then press ENTER.
1
Use ui to select “Use iOS Device”, then press ENTER.
1
Use ui to select “WPS Router”, then press ENTER.
1
Use ui to select “Manual”, then press ENTER.
1
1. DRA-900HE2_QSG_ENG_00A_230622.indd 151. DRA-900HE2_QSG_ENG_00A_230622.indd 15 2023/07/05 15:04:492023/07/05 15:04:49

16
EN
DE
FR
IT
ES
NL
SV
RU
PL
SSID Sec
:
WPA2/WPA3
Use ui to select the network, then press ENTER.
(Use ito select “Rescan” if your network name is not listed.)
2
Make sure your iOS device is connected to your Wi-Fi Network.
Select the network named “Denon DRA-900H” from the
Settings/Wi-Fi screen on your device.
2
Switch to the WPS mode by pressing the WPS button of the
router you wish to connect to.
2
Use ui to select “SSID” and press ENTER, enter the name
(SSID) of the network, then select “OK” which is at the end of
the character table. For how to input, check Page18.
2Use ui to select “Sec” and press ENTER, then use
o p to select the encryption method according to
the setting of access point.
3
Denon DRA-900H
1. DRA-900HE2_QSG_ENG_00A_230622.indd 161. DRA-900HE2_QSG_ENG_00A_230622.indd 16 2023/07/05 15:04:492023/07/05 15:04:49

17
Confirm “Success” on the
display and press SETUP
on the remote to exit the
menu.
Wi-Fi
connected !
[a]:
Push
WPS:
Connect
Connect
Success
Manual
WPS router
Use iOS device
Scan network
Use uio pto input password, then select “OK” which is at the
end of the character table. For how to input, check next page.
3
Follow the instructions and tap Next.
3
Use opto select “Connect”, then press ENTER within 2 minutes.
3
Use ui to select “Password” and press ENTER,
input password, then select “OK” which is at the
end of the character table.
4Use ui to select “Connect”,
then press ENTER.
5
Denon DRA-900H
1. DRA-900HE2_QSG_ENG_00A_230622.indd 171. DRA-900HE2_QSG_ENG_00A_230622.indd 17 2023/07/05 15:04:492023/07/05 15:04:49

18
EN
DE
FR
IT
ES
NL
SV
RU
PL
The display of inputting characters and how to input
The display is showed as below when the input of SSID or password is required.
1: Shows a current selected character.
2: Shows current input text.
2How to input
The characters are arranged as shown in the below tables. The Upper case / Lower case is switched by selecting [a/A].
[#$%] can also be selected to switch to symbol input.
Example
Input the “A”.
Lower case characters
[1]: [a/A]: [a/A]: [A]: [A]:A
[a]:Abc
1 2
ClearInsert Delete
1 2 3 4 5 6 7 8 9 0
a b c d e f gh i j
k l m n o p qr s t
u v w x y z !,.@
a/A #$% Space Cancel OK
Use uio p to select the character to be input.
1
Press ENTER to input the selected character.
2
Press i four times.
[1] is changed to
[a/A].
1Press ENTER.
Character table is
switched.
2Press uthree times.
[a/A] is changed to
[A].
3Press ENTER.
“A” is input.
4
ClearInsert Delete
1 2 3 4 5 6 7 8 9 0
A B C D E F GH I J
K L M N O P QR S T
U V W X Y Z !,.@
a/A #$% Space Cancel OK
ClearInsert Delete
~ ` ¤ § © ° ¢ ¯ « »
&* " ' = _ () [ ]
: ; ^ / | \ {}< >
+ − ± # $ % ?¿¡£
a/A abc Space Cancel OK
Upper case characters Symbols
1. DRA-900HE2_QSG_ENG_00A_230622.indd 181. DRA-900HE2_QSG_ENG_00A_230622.indd 18 2023/07/05 15:04:502023/07/05 15:04:50

19
Network Control setting
Setting the Network Control to on enabled to control your
receiver using smartphone apps, home automation system,
Apple AirPlay or Amazon Alexa voice service.
Press SETUP on the remote control.
You can see the following on the display.
Audio
Use ui to select “Network”, then press ENTER.
1
2
Use ui to select “Network Control”, then press ENTER.
3
Press ENTER, then use o p to set the Network Control
setting, after that press ENTER again.
Select “NetCtrl” (Network Control) to “Off” to reduce the
power consumption during standby. You can not turn on
your receiver from your smartphone or use Bluetooth/
Apple AirPlay/HEOS app/Amazon Alexa until your receiver
is powered on manually and connects to your network.
Select “NetCtrl” (Network Control) to “Always” to control
your receiver from your smartphone, use Bluetooth/
Apple AirPlay/HEOS app/Amazon Alexa voice service and
maintain constant network access. Power consumption
during standby power will be slightly higher.
4
Press SETUP to exit the setup menu.
5
1. DRA-900HE2_QSG_ENG_00A_230622.indd 191. DRA-900HE2_QSG_ENG_00A_230622.indd 19 2023/07/05 15:04:502023/07/05 15:04:50
Other manuals for DRA-900H
1
Table of contents
Other Denon Stereo Receiver manuals

Denon
Denon AVR-1907 User manual

Denon
Denon AVR-X250BT User manual

Denon
Denon AVR-S740H User manual

Denon
Denon AVR-5800 User manual

Denon
Denon AVR-S640H User manual

Denon
Denon AVR-587 User guide

Denon
Denon AVR-2308 User manual

Denon
Denon DRA-900H User manual

Denon
Denon DRA-385RD User manual

Denon
Denon AVR-2310 User manual

Denon
Denon AV SURROUND RECEIVER AVR-5308CI User manual

Denon
Denon AVR 4310CI User manual

Denon
Denon AVR-2106 User manual

Denon
Denon AVR-3805 User manual

Denon
Denon AVR-2312CI User manual

Denon
Denon AVR-4311 User manual

Denon
Denon AVR-X2200W User manual

Denon
Denon DRA-F102 DAB User manual

Denon
Denon DRA-685 User manual

Denon
Denon AVR-982 User manual