Important tips: Please study the instruction manual before use and keep the
instruction manual for future use.
1.2 Safety Instructions
1 Only use the charger plug supplied. Do not use other chargers, as this may
damage the battery cells.
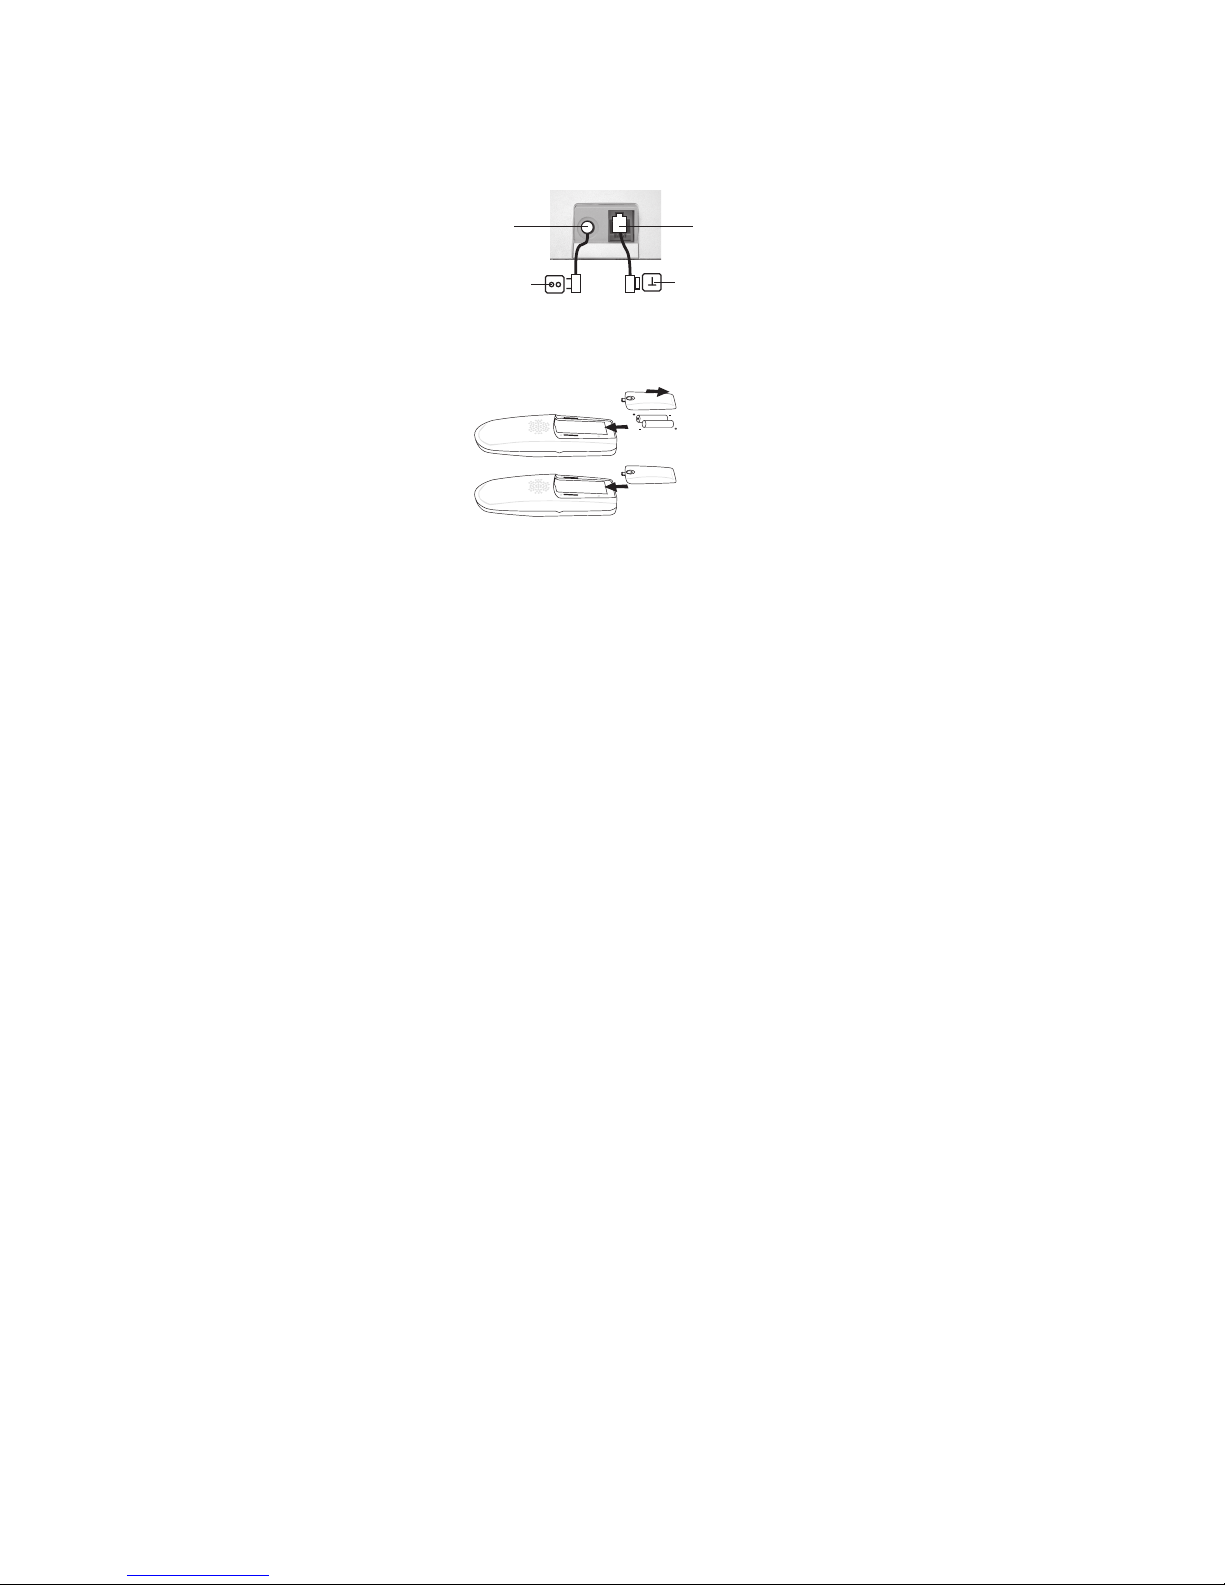
2 Only insert rechargeable batteries of the same type. Never use ordinary,
non-rechargeable batteries. Insert rechargeable batteries so they are connected
to the right poles (indicated in the battery compartment of the handset).
3 Do not touch the charger and plug contacts with sharp or metal objects.
4 The operation of some medical devices may be affected.
5 The handset may cause an unpleasant buzzing sound in hearing aids.
6 Do not place the basic unit in a damp room or at a distance of less than 1.5 m
away from a water source. Keep water away from the handset.
7 Do not use the telephone in environments where there is a risk of explosions.
8 Dispose of the batteries and maintain the telephone in an environment-friendly
manner.
9 As this telephone cannot be used in case of a power cut, you should use a
mains-independent telephone for emergency calls, e.g. a mobile phone.
10 Clean the telephone with a slightly damp cloth or with an anti-static cloth.
Never use cleaning agents or abrasive solvents.
1.3 Packing List
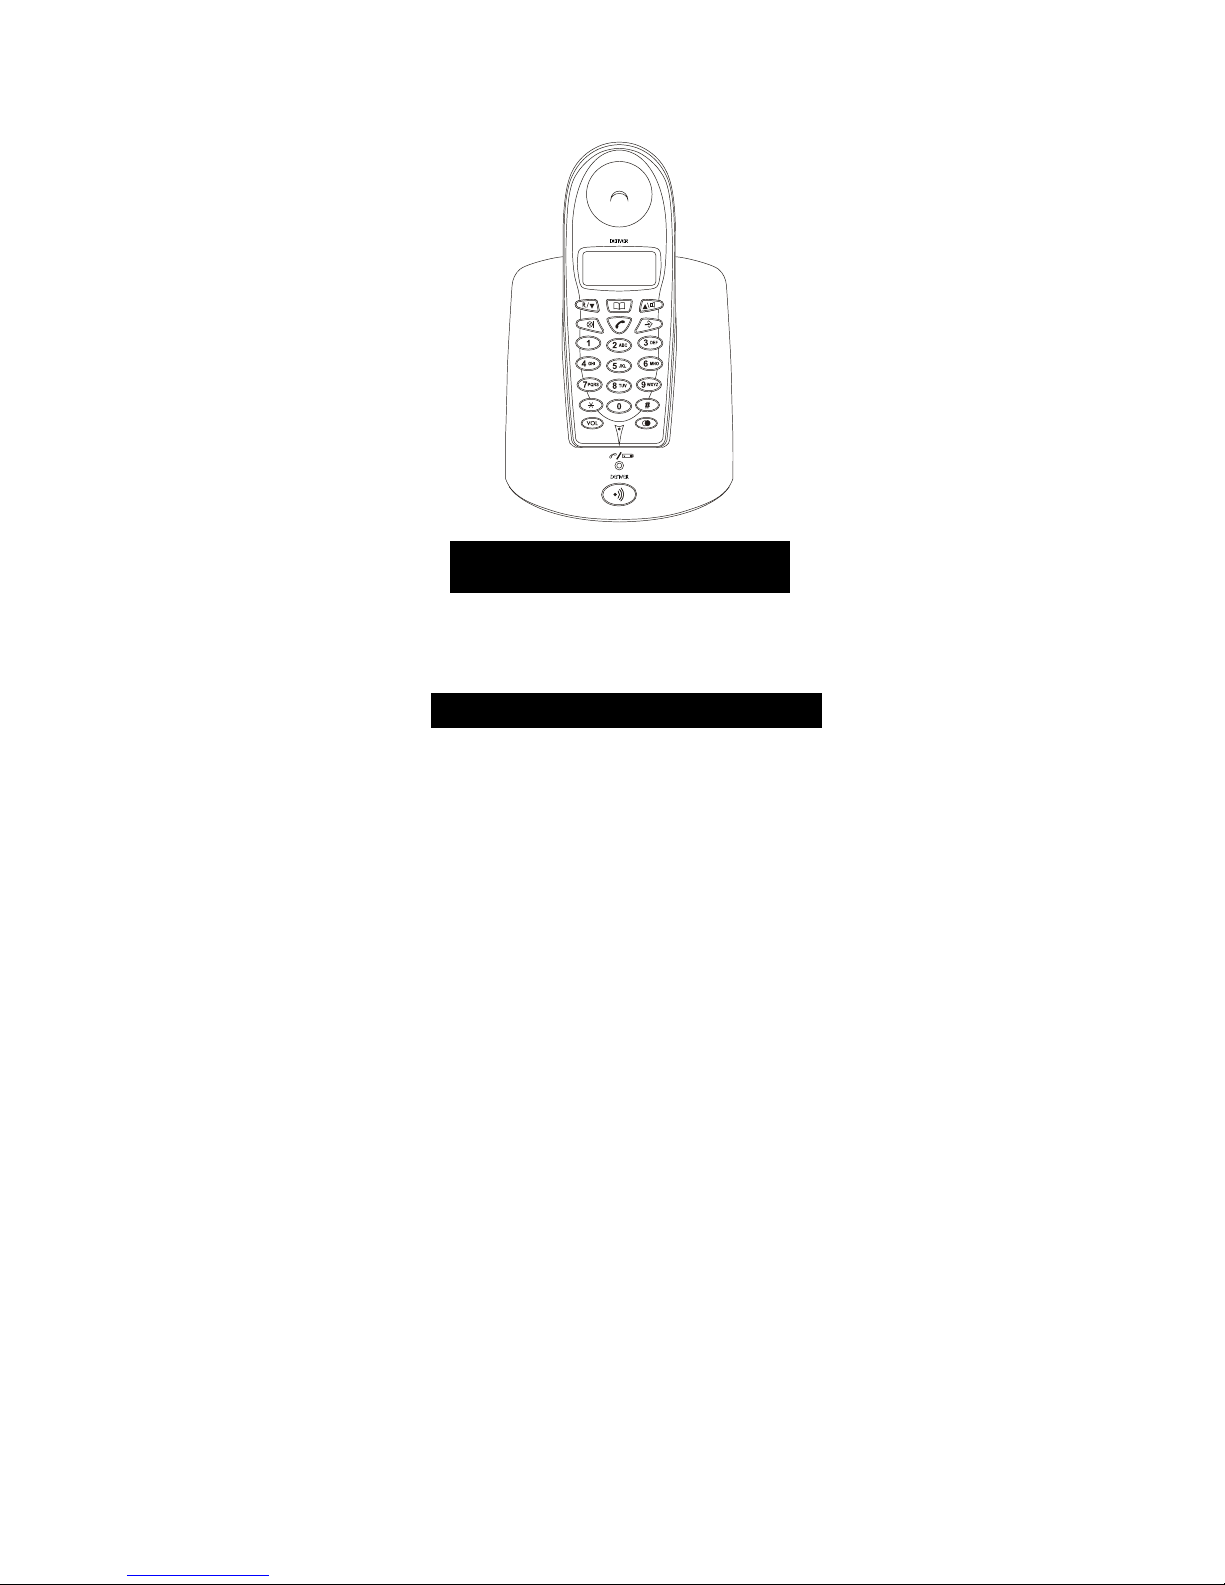
Handset
Base Station
Adaptor
Line Cord
2 PCS Battery 600mAH
Manual
6 Model:DDP-300
1 Introduction
1.1 Brief
Thank you for buying telecom equipment with 1.8GHz(DECT)technology.You
can enjoy high sound quality multi handset function (up to 5 handsets).
Additional Handset will be optional purchase.