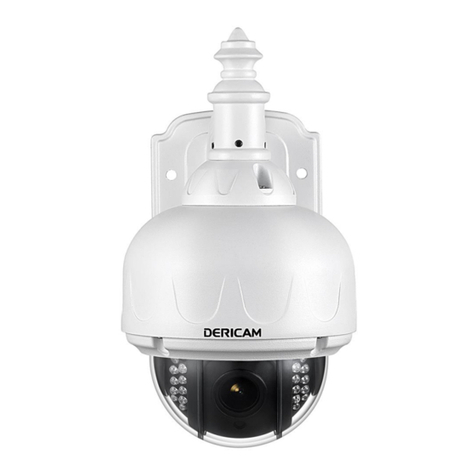
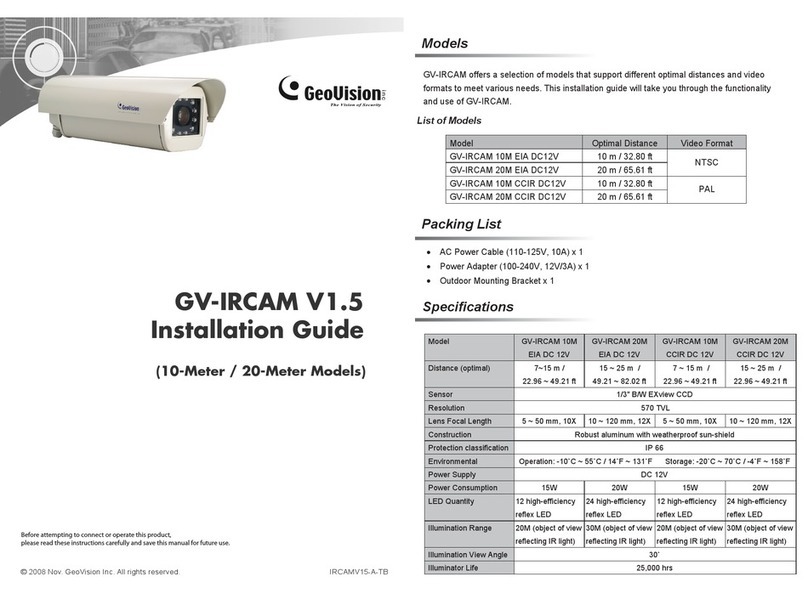
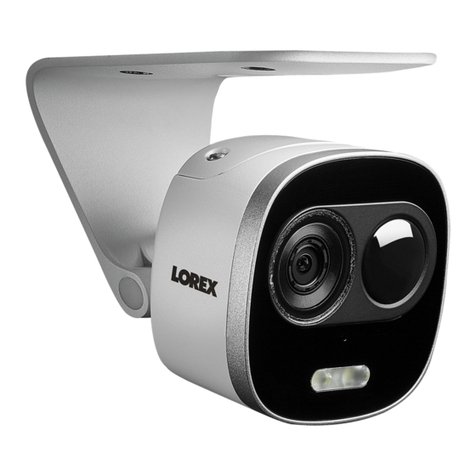
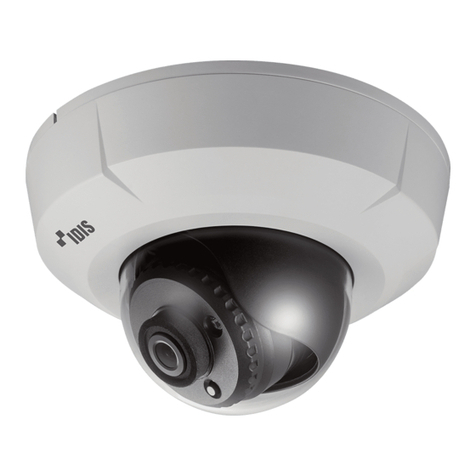
Dericam H218W User manual

Shenzhen Dericam Technology Co.,LTD QuickInstallationGuide
Copyright @ Shenzhen Dericam Technology Co.,LTD
1
Quick Installation Guide
2.0 Megapixel WiFi Waterproof IR IP Camera
Model: H218W/H218
Wired Version: H218 Wireless Version: H218W
Package Contents
zIR IP Camera 2.0 Megapixel
zPower Adapter 12V-3A
zNetwork Cable
zWiFi Antenna (Wireless Version H218W)
zCD-ROM with Setup Software and User Guide
zQuick Installation Guide

Shenzhen Dericam Technology Co.,LTD QuickInstallationGuide
Copyright @ Shenzhen Dericam Technology Co.,LTD
2
Hardware Installation
Software Installation
Login the Camera
Wireless Connection Settings
Remote Access Settings
Other Settings
1
)
Hardware Installation
①Step 1, Mount WiFi Antenna
Take out the camera out of the box carefully and put it on a table steadily, then take the WiFi antenna,
mount it on the SMA connector on the back of the camera, and screw the antenna to the bottom, then
make the antenna stand vertically.
②Step 2, Get the camera powered
Connect the included two parts of the power supply first, and then connect the end of DC connector to
the camera’s power socket, and plug the other end of power supply to an electrical outlet.
Quick Installation Dia
g
ram
Start Installation

Shenzhen Dericam Technology Co.,LTD QuickInstallationGuide
Copyright @ Shenzhen Dericam Technology Co.,LTD
3
2
)
Software Installation
③Step 3, Get the camera connected to the router
Use the network cable provided to connect the camera to the router or the switch in the LAN network at
your home or your office.
The wireless IP Camera could be connected to the wireless router by wireless connection,
but you have to do the wireless connection settings by wired connection before you
use wireless connection method.
A. Insert the Setup CD-ROM into your CD-ROM driver and open it. Close the IE browser first before
you install the setup software.
B. Install IE ActiveX, goes to the icon , left double click the mouse to install, it pops up
a dialogue as below, click button “install”, when it shows “Register OCX success”, then close the
window.
Click button “install” Close the window when finished
C. Install NVSCenterV6.19, goes to the icon , left double click the mouse to install,
Click “next” to finish the installation of the setup software NVS Center
Note

Shenzhen Dericam Technology Co.,LTD QuickInstallationGuide
Copyright @ Shenzhen Dericam Technology Co.,LTD
4
3
)
Lo
g
in the Camera
D. Language configuration, after installation of the software NVS Center, goes to the menu
“Start” of your computer and click, then goes to “Programs” Æ“NVSCenterV6.19” Æ“Config”
Then it pops up a dialogue for language selection, It supports five languages for the moment, Chinese,
English, Russian, Italian, French. Please select the second one which is English. Close the
window when finished
①Step 1, Open Search tools to search the camera within LAN
Goes to the menu “Start”, and click, then goes to “Programs” Æ“NVSCenterV6.19” Æ“SearchNVS”.

Shenzhen Dericam Technology Co.,LTD QuickInstallationGuide
Copyright @ Shenzhen Dericam Technology Co.,LTD
5
After that, I pops up a window as below, just click the ‘search’ button to find the cameras which is
connected to the router. The camera connected to the router will be listed.
②Step 2, Change the default IP address of the camera to the same IP range
with local IP of the computer.
You have to change the default IP address of the camera to a new one, which should start from the same
IP range like 192.168.0.xxx, if your LAN network starts from 192.168.0.xxx.
Firstly, select the Camera list on the window, and left double click the mouse, then pops up a Network
Parameter window as below. And check the IP range of your computer. For example, if the computer’s
Local IP is 192.168.0.95, so you need to change the default IP of the camera from 192.168.55.160 to
192.168.0.160 or any IP start from 192.168.0.xxx.And change the default Gateway from 192.168.55.1
to 192.168.0.1.

Shenzhen Dericam Technology Co.,LTD QuickInstallationGuide
Copyright @ Shenzhen Dericam Technology Co.,LTD
6
Secondly, After checking the local IP range of the PC starts from 192.168.0.xxx, then change the
default IP of the camera from 192.168.55.160 to 192.168.0.160 or any IP start from 192.168.0.xxx.
And change the default Gateway from 192.168.55.1 to 192.168.0.1. Fill the user name & password
and click “OK”, and the camera will reboot to take all the modification effect. (The default user
name & password of the camera are both admin.)
Thirdly, After the camera being rebooted, then search the camera, the new IP 192.168.0.160 will be
listed on the window as below.

Shenzhen Dericam Technology Co.,LTD QuickInstallationGuide
Copyright @ Shenzhen Dericam Technology Co.,LTD
7
③Step 3, Access the camera by entering the modified IP of the camera on the
IE browser.
Open IE browser (IE6, IE7, IE8 all ok), entering the modified LAN IP of the camera on the address bar.
And press “Enter”, it leads to the login window of the camera, enter password admin to access the
camera.
Congratulations, you have accessed to the live video of the camera successfully

Shenzhen Dericam Technology Co.,LTD QuickInstallationGuide
Copyright @ Shenzhen Dericam Technology Co.,LTD
8
4
)
Wireless Connection Settin
g
s
①Step 1, Enable WiFi function
Goes to the option “Network Set” and click, then goes to “Basic Set” and click, then enable WiFi
option on the column of WiFi Parameters.
②Step 2, Set Wireless Parameters
Assign a different IP from the IP of wired connection, like 192.168.0.159. Gateway 192.168.0.1
Get to know the password and encryption method of the wireless router before entering wireless
parameters within the camera. For example: the encryption method of the router is WEP, and
Authentication Type is Hexadecimal, SSID is IPCAM, Password is ABCDEF1234, So then fill the
parameters as below. And click “Save”. The camera will restarted to make the settings effect.

Shenzhen Dericam Technology Co.,LTD QuickInstallationGuide
Copyright @ Shenzhen Dericam Technology Co.,LTD
9
4
)
Remote Access Settin
g
s
When the wireless settings are finished, the camera will be restarted.
Please unplug the network cable of the camera once the camera gets restarted.
③Step3, Access the Camera by Wireless Connection
After the camera being restarted, then search the camera, the new WiFi LAN IP 192.168.0.159 will be
listed on the window as below. It shows that the wireless connection settings are successful.
Enter the WiFi LAN IP 192.168.0.159 on the IE bar to access the camera by Wireless connection.
5
We have been able to access the camera within the LAN network, but how to access the camera via
WAN or via internet? We have to do Remote Access Settings before we want to access the camera
outside the LAN network.
There are two kinds of port No. we need to know clearly before doing remote access
settings. One is Date Port No. the other one is HTTP Port No.. The default Date Port
no. of the camera is 5000 and the default HTTP Port No. is 80. Show as below.
Note
Note

Shenzhen Dericam Technology Co.,LTD QuickInstallationGuide
Copyright @ Shenzhen Dericam Technology Co.,LTD
10
Default HTTP No.: 80
All the cameras’ default http no. is 80. For example, if the LAN IP link of the camera is
http://192.168.0.159, it shows that the camera’s http port no. is 80, if the LAN IP link of the camera is
http://192.168.0.159:88, it shows that the camera’s http port no. is 88. We can assign the camera a
different HTTP Port No. by the tool SearchNVS.
Date port no.: 5000
All the default data no. is 5000, please just leave it alone, do not make any change of
the data port no.
Note

Shenzhen Dericam Technology Co.,LTD QuickInstallationGuide
Copyright @ Shenzhen Dericam Technology Co.,LTD
11
Start Remote Access Settin
g
s
Section A: Remote Access Settin
g
s of Static WAN IP
First of all, please make sure whether your ISP (Internet Service Provider) provides
a Static WAN IP address service or a Dynamic WAN IP address service.
Here we divide two section of procedure of Remote Access Settings by Static WAN IP address and
Dynamic WAN IP address. If your ISP provides you with Static WAN IP address please refer to
Section A, if your ISP provides Dynamic WAN IP address, please skip Section A, goes to
Section B directly.
①Step 1, Get to know the WAN IP address of the router
Login the third part website http://www.whatismyip.com to obtain the WAN IP of the router. Then it will
tell you the WAN IP address of your router showed as below. It shows the WAN IP is 183.37.19.183
②Step 2, Make Port Forwarding of the HTTP Port & Data Port of the camera
Take example, the camera’s wireless LAN IP address is http://192.168.0.159. There is two port
forwarding we have to do. One is HTTP Port No. 80, the other is Data port no. 5000.
How to do port forwarding for the camera’s port no?
Firstly, login the router, goes to the menu of Port Forwarding or Port Trigger (or named Virtue
Server on some brands of router).
Secondly, create a new column with LAN IP address & HTTP Port No. of the camera within the router.
Take TP-link brand router as an example showed as below
Add new column of Port Forwarding or Virtual Server

Shenzhen Dericam Technology Co.,LTD QuickInstallationGuide
Copyright @ Shenzhen Dericam Technology Co.,LTD
12
Create Port Forwarding of the HTTP Port of the camera
Create Port Forwarding of the Data Port 5000 of the camera
③Step 3, use WAN IP address to access the camera via internet
After the port forwarding is finished, you can use the WAN IP address + HTTP Port to access the
camera via internet. Take 183.37.19.183 for example, the accessing link of the camera via internet
would be http://183.37.19.183:80

Shenzhen Dericam Technology Co.,LTD QuickInstallationGuide
Copyright @ Shenzhen Dericam Technology Co.,LTD
13
Section B: Remote Access Settin
g
s of D
y
namic WAN IP
①Step 1, Go to the website www.dyndns.com to apply a hostname
Login on www.dyndns.com and click ‘get a free domain service’, and click Sign up free.
Create a hostname, a user name and password which are used to DDNS settings within
the camera. (Please apply the account step by step according to instructions on www. dyndns.com)

Shenzhen Dericam Technology Co.,LTD QuickInstallationGuide
Copyright @ Shenzhen Dericam Technology Co.,LTD
14
Other Settin
g
s
Take hostname dericam.dyndns.org, user name dericam, and password dericam2010
for example. Select Dyndns.org as a server showed as below, and fill dericam as DDNS regName, fill
password dericam2010 as DDNS password, fill dericam.dyndns.org as DDNS domain and server URL,
Then click save to make effect. The camera will restart and to take the DDNS settings effective.
②Step 2, Make Port Forwarding of the HTTP Port & Data Port of the camera
Take example, the camera’s wireless LAN IP address is http://192.168.0.159. There is two port
forwarding we have to do. One is HTTP Port No. 80, the other is Data port no. 5000.
How to do port forwarding for the camera’s port no? (Please refer to Section A)
Firstly, login the router, goes to the menu of Port Forwarding or Port Trigger (or named Virtue
Server on some brands of router).
Secondly, create a new column with LAN IP address & HTTP Port No. of the camera within the router.
③Step 3, use domain name to access the camera via internet
After the port forwarding is finished, you can use the domain name+ http no. to access the camera via
internet. Take hostname dericam.dyndns.org for example, the accessing link of the camera via
internet would be http://dericam.dyndns.org:80
Please refer to the user manual for other settings.
Other manuals for H218W
1
This manual suits for next models
1
Table of contents
Other Dericam Security Camera manuals
