manuals.online logo
Brands
  1. Home
  2. •
  3. Brands
  4. •
  5. AVYCON
  6. •
  7. Security Camera
  8. •
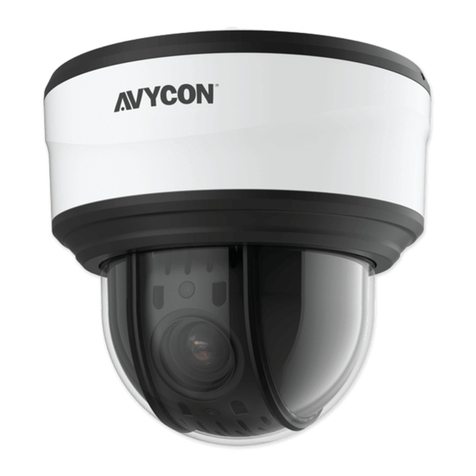
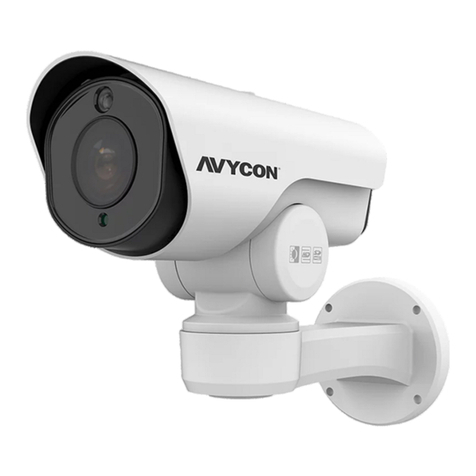
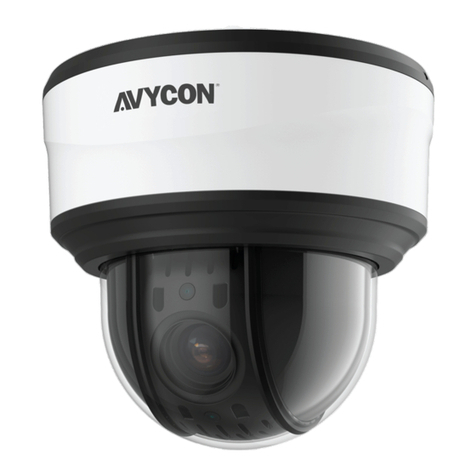
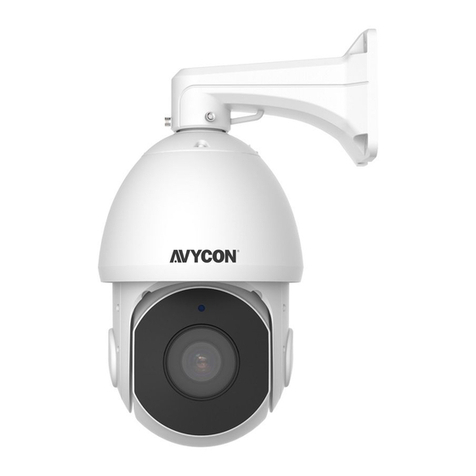
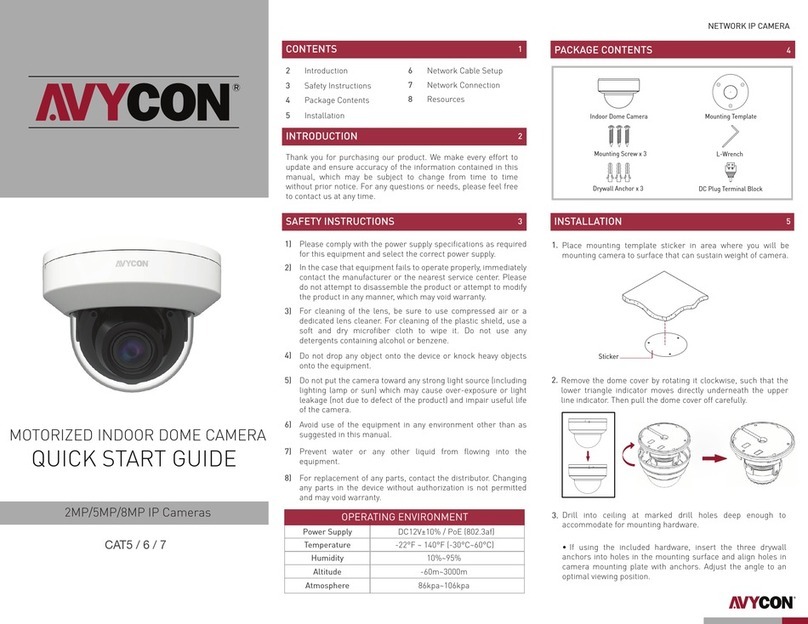
  9. AVYCON AVC-PHN21X20LW User manual

AVYCON AVC-PHN21X20LW User manual

1. OVERVIEW
3. INSTALLATION
2. CABLE CONNECTIONS
2
1
■Please read this instruction carefully before using the
All the examples and pictures used here are for reference
The content of this manual are subject to change without
product and keep it for further reference.
■
only.
■
notice.
►Connecting Network Cable
1
2 Power connector
Ethernet connector
3Safety wire
1
2
3
①Loosen the nut from the main element.
②
③Connect the cable to the hermetic connector. Then tighten
the nut and the main cover.
Run the network cable (without RJ 45 connector) through the
both elements. Then crimp the cable with RJ 45 connector.
3
Micro SD Card Installation
Please make sure the wall is strong enough to bear the
dome camera’s weigh and the camera is powered o
during installation.
This PTZ camera supports wall or ceiling mounting. Please
select a way to install as needed. The following instructions are
for reference only.
Insert a micro
SD card
1. Loosen the four screws of
the cover and then remove
the cover.
2. Insert a micro SD card as
indicated above and then install
the cover back.
Wall Mounting
1. Pull the cables through
the bracket.
3. Drill the screw holes on the wall
according to the drill template.
Then insert the plastic plugs into
the holes.
4. Fix two screws to the holes
as indicated by the arrows (left)
and leave 12mm clearance.
5. Connect the cables and
then hang the bracket on the
wall.
6. Fix the bracket to the wall
with four screws.
2. Secure the PTZ camera to
the bracket with screws.
12
Quick Start Guide
HD PTZ Camera
Network Cable
DC12V
4. NETWORK CONNECTION
5. PRESET DESCRIPTION
Ceiling Mounting
Access the Camera Though IP-Tool
MENU
PTZ Camera
Network Cable Network Cable
Switch
Router Computer
450043001239 A0
①
②
Device Network Search
ImmediateRefresh
name
name
name
IPC
IPC
IPC
unknown
unknown
unknown
192.168.226.201
192.168.1.2
192.168.1.3
80
80
80
9008
9008
9008
255.255.
255.255.
255.255.
Modify Network Parameter
Mac Address
IP Address
Modify
CE :98 :23 :75 :35 :22
192 .168 . 226 . 201
255 . 255. 255 . 0
192 .168 . 226 . 1
i
Tip: Enter the administrator password, and
then modify the network parameters.
Total Device: 3
Local IP Address:192.168.1.4Subnet Mask:255.255.255.0 Gateway: 192.168.1.1DNS:210.21.196.6
Device Name Device Type IP Address Http PortData PortSubnet
Product Model
About
Subnet Mask
Gateway
Restore IPC Default Configuration
③
192.168.226.201. Click the information of the camera listed in the
above table to show the network information on the right hand.
according to the practical situation.
Mac Address
IP Address
Modify Network Parameter
Modify
CE :98 :23 :75 :35 :22
192 .168 . 1 . 201
255 . 255 . 255 . 0
192 .168 . 1 . 1
Subnet Mask
Gateway
Call Preset
Call No.90 Preset Run track 1
Run cruise 1
Run cruise 2
Run cruise 3
Run cruise 4
OSD menu
Enable random scan
Enable P-PSCAN
Set left border of P-PSCAN
Set right border of P-PSCAN
Set random scan; Task auto
call the beginning point
Call No.91 Preset
Call No.92 Preset
Call No.93 Preset
Call No.94 Preset
Call No.95 Preset
Call No.97 Preset
Call No.99 Preset
Set No.91 Preset
Set No.92 Preset
Set No.93 Preset
Set Preset
Name:
Password:
Stream Type:
Language
Remember me
admin
1920x1080 25fps
English
Password
Login
2
1. Install the ceiling mounting bracket according to the
following instruction. Here we take accessing IP camera via LAN for example.
Make sure that the camera and the PC are connected via LAN.
Find the IP-Tool from the CD and then install it in the
computer. After that, run the IP-Tool as shown below.
bracket and fix it with a screw.
. Mount the adapter tube to the 3. Secure the wall
mounting bracket to the
ceiling.
Adapter tube
4. Connect cables and then hook
the safety wire to the adapter
tube.
5. Fix the PTZ camera to the
adapter tube with screws firmly. Modify the IP address. The default IP address of this camera is
Modify the IP address and gateway of the camera and make sure
its network address is in the same local network segment as the
computer’s. Please modify the IP address of your device
For example, the IP address of your computer is 192.168.1.4. So
the IP address of the camera shall be changed to 192.168.1.X.
After modification, please enter the password of the
administrator and click “Modify” button to modify the setting.
The default password of the administrator is “
123456
”.
④Double-click the PTZ camera listed in the IP-Tool or manually
enter the IP address in the address bar of the web browser to
connect the PTZ camera. Then follow directions to download
and install the plugin.
⑤Enter the username and password in the login interface.
The default username is
admin;
the default password is
123456.
Other AVYCON Security Camera manuals

AVYCON AVC-TV81M User manual

AVYCON

AVYCON AVC-TV81M User manual

AVYCON NDAA Series User manual

AVYCON

AVYCON NDAA Series User manual

AVYCON SPEC User manual

AVYCON

AVYCON SPEC User manual

AVYCON AVC-NBL21M-L1 User manual

AVYCON

AVYCON AVC-NBL21M-L1 User manual

AVYCON AAVC-BH71F User manual

AVYCON

AVYCON AAVC-BH71F User manual

AVYCON AVC-NPTZ51X42L User manual

AVYCON

AVYCON AVC-NPTZ51X42L User manual

AVYCON AVC-NPTZ51X12L User manual

AVYCON

AVYCON AVC-NPTZ51X12L User manual

AVYCON NTSC User manual

AVYCON

AVYCON NTSC User manual

AVYCON AVC-DH52VT User manual

AVYCON

AVYCON AVC-DH52VT User manual

AVYCON AVC NPTZ81X36L User manual

AVYCON

AVYCON AVC NPTZ81X36L User manual

AVYCON AVC-NPTZ81X36L User manual

AVYCON

AVYCON AVC-NPTZ81X36L User manual

AVYCON AVC-LA92VT User manual

AVYCON

AVYCON AVC-LA92VT User manual

AVYCON AVC-BHN41AVT User manual

AVYCON

AVYCON AVC-BHN41AVT User manual

AVYCON AVCNPTZ51X30L User manual

AVYCON

AVYCON AVCNPTZ51X30L User manual

AVYCON AVC-TE21M User manual

AVYCON

AVYCON AVC-TE21M User manual

AVYCON AVC-NBL41M-L1 User manual

AVYCON

AVYCON AVC-NBL41M-L1 User manual

AVYCON AVC-VH52VLT User manual

AVYCON

AVYCON AVC-VH52VLT User manual

AVYCON AVC-NBM81F180 User manual

AVYCON

AVYCON AVC-NBM81F180 User manual

AVYCON AVC-BLN41FT 2.8 User manual

AVYCON

AVYCON AVC-BLN41FT 2.8 User manual

AVYCON AVC-BT91FT User manual

AVYCON

AVYCON AVC-BT91FT User manual

AVYCON AVC-NBL41M-L1 User manual

AVYCON

AVYCON AVC-NBL41M-L1 User manual

AVYCON AVC ELN41AVT User manual

AVYCON

AVYCON AVC ELN41AVT User manual

AVYCON AVC-BH52VT User manual

AVYCON

AVYCON AVC-BH52VT User manual

AVYCON AVC-BHN41FT2.8 User manual

AVYCON

AVYCON AVC-BHN41FT2.8 User manual

Popular Security Camera manuals by other brands

Reolink RLC-842A Operational Instruction

Reolink

Reolink RLC-842A Operational Instruction

Denver IIC-172 manual

Denver

Denver IIC-172 manual

Lorex CVC6997 Quick setup guide

Lorex

Lorex CVC6997 Quick setup guide

Axis AXIS P3375-LVE installation guide

Axis

Axis AXIS P3375-LVE installation guide

Sanyo VCB-9324 instruction manual

Sanyo

Sanyo VCB-9324 instruction manual

OneScreen OSB2MPF4AI installation guide

OneScreen

OneScreen OSB2MPF4AI installation guide

ALIBI ALI-CD1080PV Quick installation guide

ALIBI

ALIBI ALI-CD1080PV Quick installation guide

Foscam V4EC user manual

Foscam

Foscam V4EC user manual

Andor Technology Apogee Aspen quick start guide

Andor Technology

Andor Technology Apogee Aspen quick start guide

Hanwha Techwin Wisenet SNB-6004F quick guide

Hanwha Techwin

Hanwha Techwin Wisenet SNB-6004F quick guide

Arm Electronics ICD18XSD datasheet

Arm Electronics

Arm Electronics ICD18XSD datasheet

Airlink101 AICN500 user manual

Airlink101

Airlink101 AICN500 user manual

Lumens VC-TR40NB user manual

Lumens

Lumens VC-TR40NB user manual

Axis P5654-E Mk II installation guide

Axis

Axis P5654-E Mk II installation guide

Honeywell HCC474M Specifications

Honeywell

Honeywell HCC474M Specifications

Speco O4VB1 quick start guide

Speco

Speco O4VB1 quick start guide

Super Circuits PC940IR operating instructions

Super Circuits

Super Circuits PC940IR operating instructions

JVC VN-V25U VN-V26U instructions

JVC

JVC VN-V25U VN-V26U instructions

manuals.online logo
manuals.online logoBrands
  • About & Mission
  • Contact us
  • Privacy Policy
  • Terms and Conditions

Copyright 2025 Manuals.Online. All Rights Reserved.