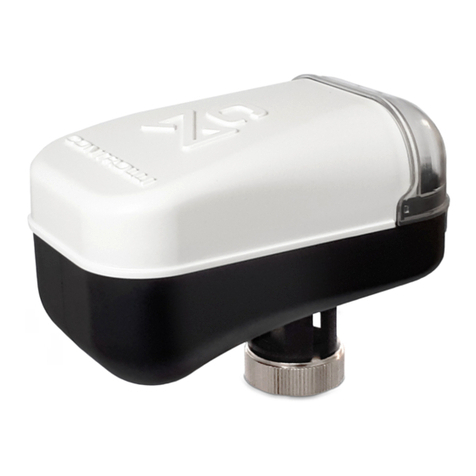
DeZurik MO User manual
Other DeZurik Controllers manuals
DeZurik
DeZurik G-SERIES User manual

DeZurik
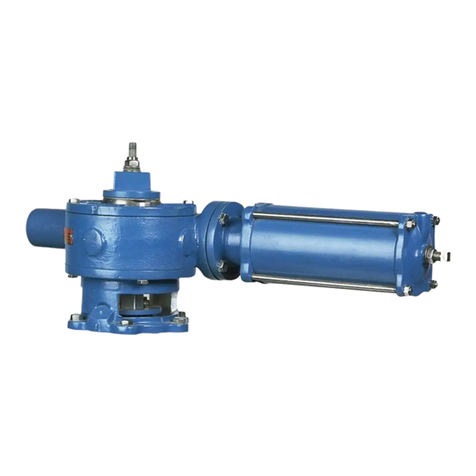
DeZurik M Series User manual
DeZurik
DeZurik G-SERIES User manual
DeZurik
DeZurik POWERRAC R3 User manual
DeZurik
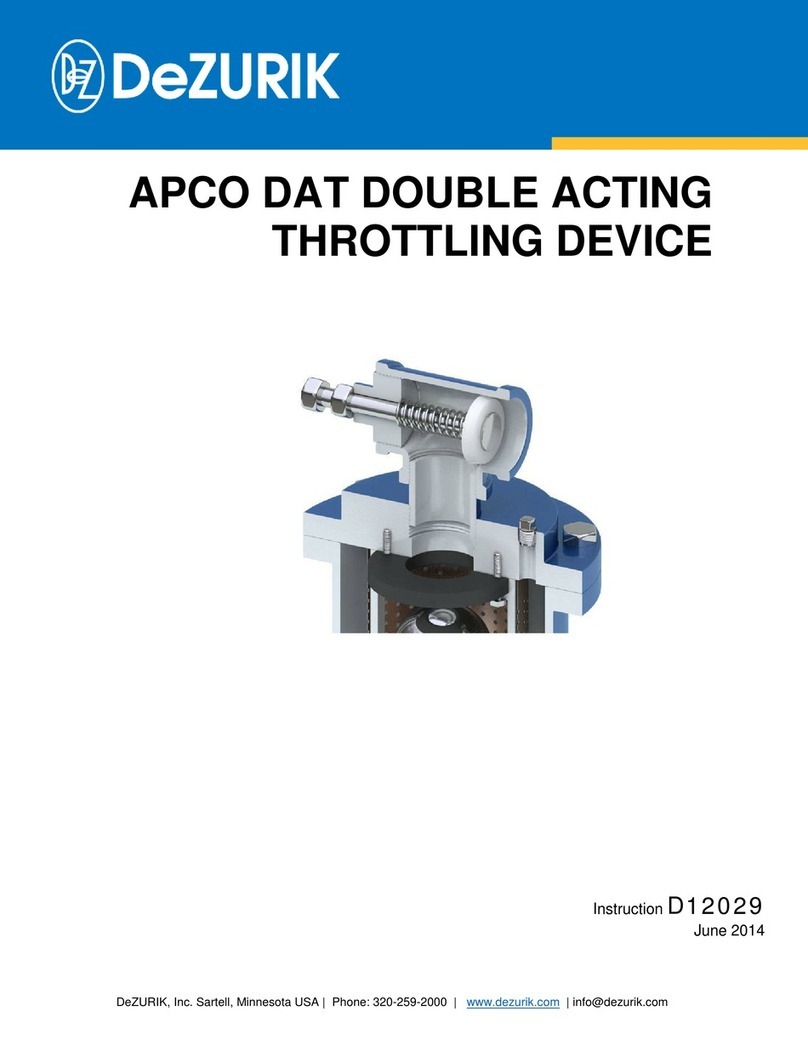
DeZurik APCO DAT User manual

DeZurik
DeZurik T Series User manual
DeZurik
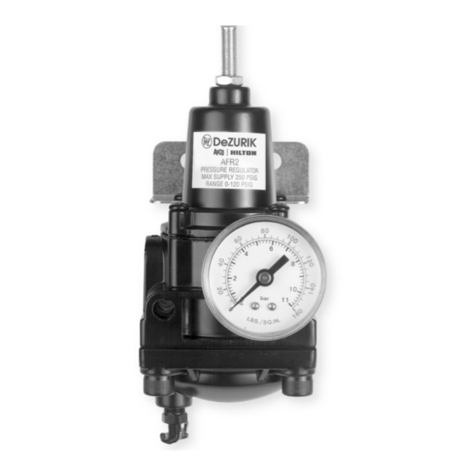
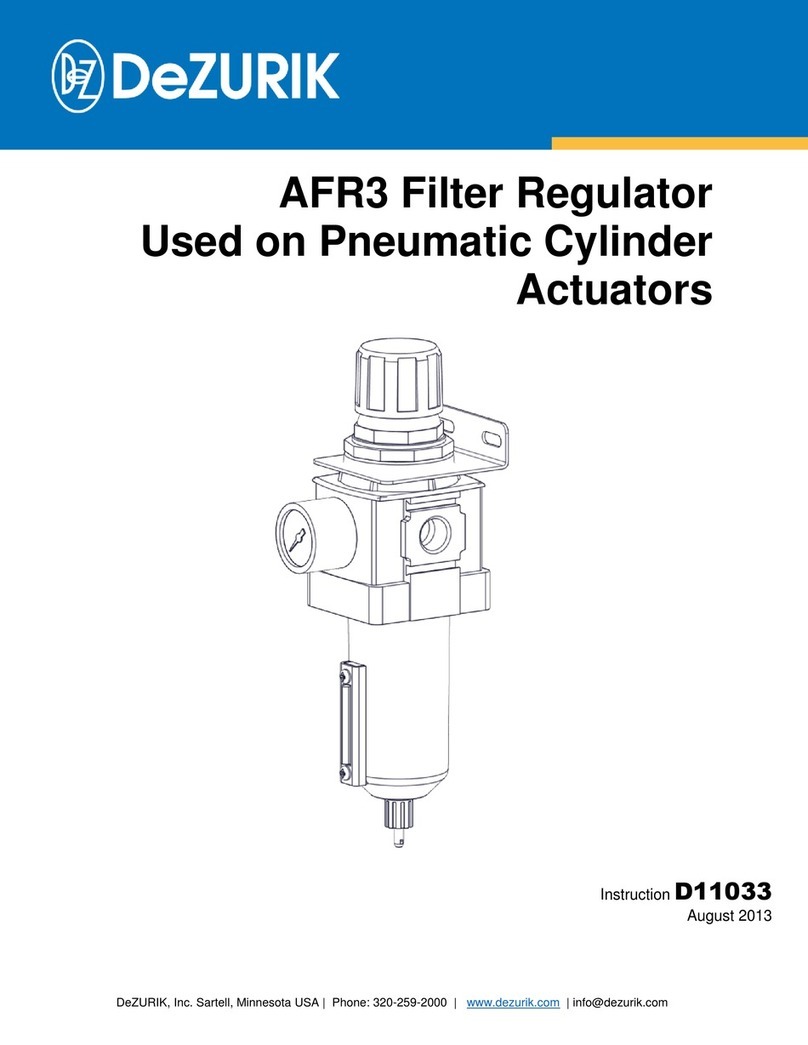
DeZurik AFR3 User manual

DeZurik
DeZurik G-SERIES User manual

DeZurik
DeZurik 145 User manual

DeZurik
DeZurik G-SERIES User manual
DeZurik
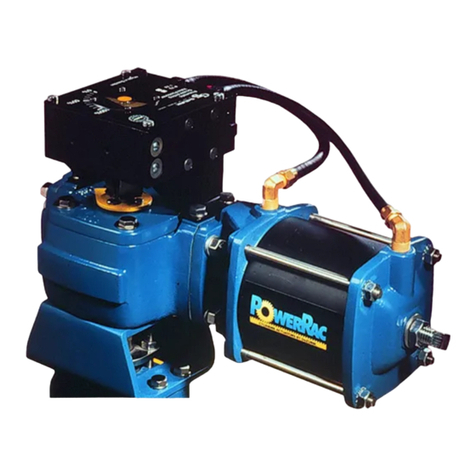
DeZurik POWERRAC R1 User manual

DeZurik
DeZurik KSL User manual

DeZurik
DeZurik G-SERIES User manual
DeZurik
DeZurik LA Series User manual

DeZurik
DeZurik G-SERIES User manual

DeZurik
DeZurik G-SERIES User manual

DeZurik
DeZurik G-SERIES User manual
DeZurik
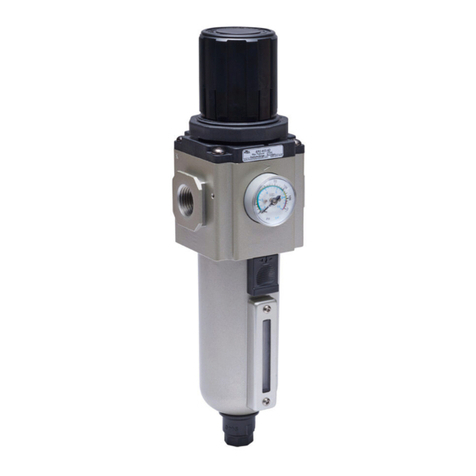
DeZurik AFR3 User manual

DeZurik
DeZurik G-SERIES User manual
DeZurik
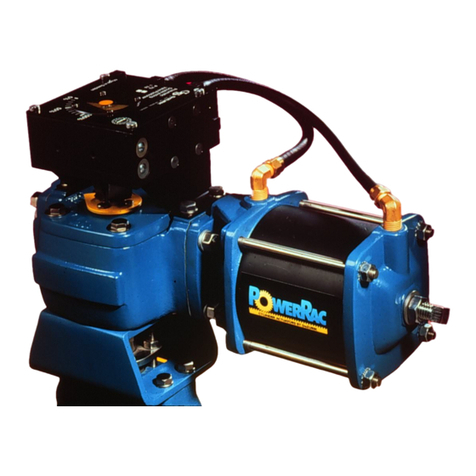
DeZurik POWERRAC R1 User manual
Popular Controllers manuals by other brands

Pilz
Pilz PNOZ mmc7p CC operating manual
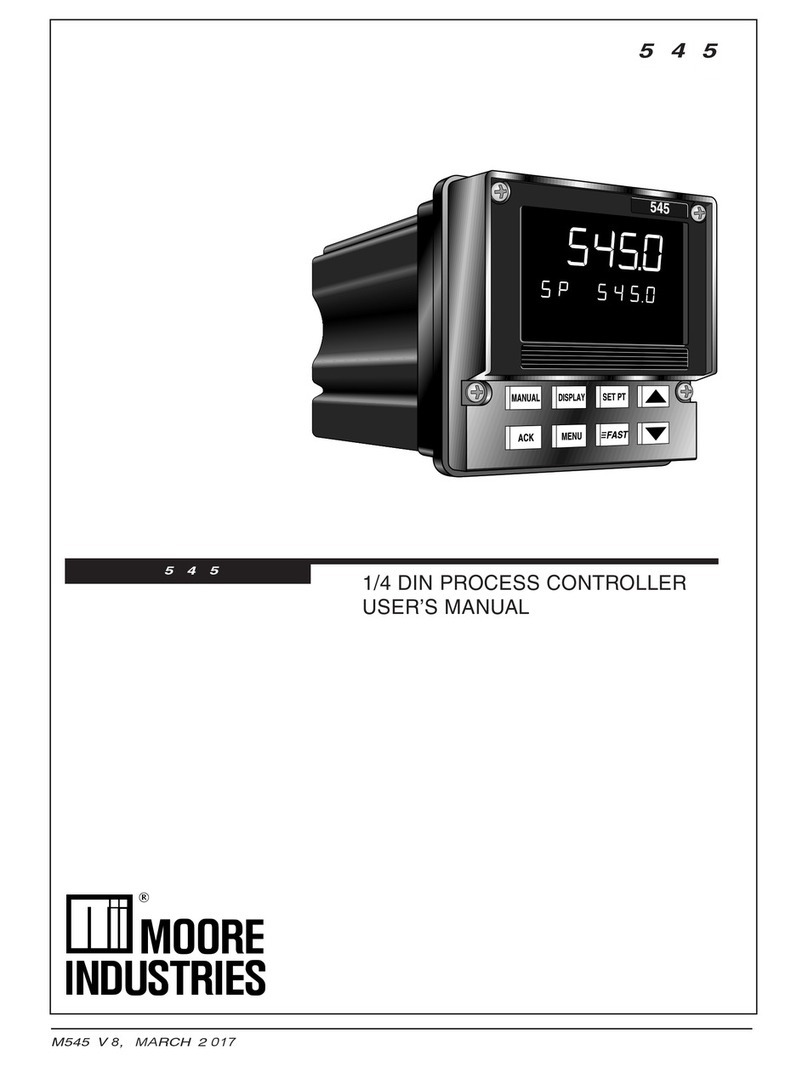
Moore Industries
Moore Industries 545 user manual
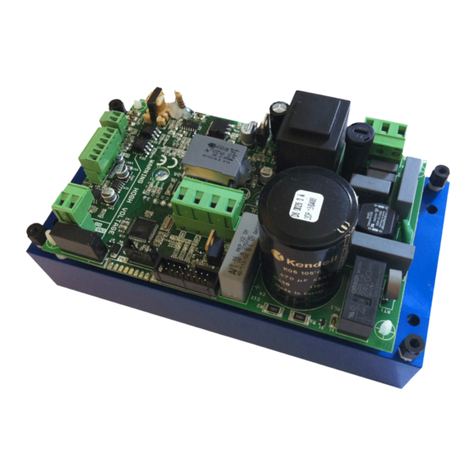
MicroNova
MicroNova O026 Technical Manual for Installers
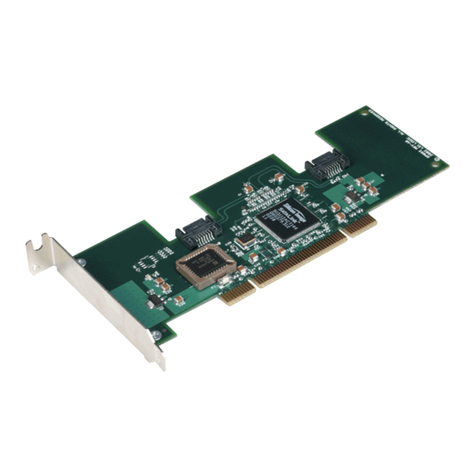
LSI
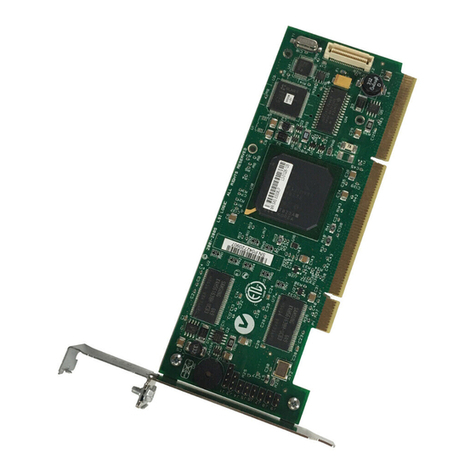
LSI MegaRAID SATA150-2 Quick Hardware Setup Guide
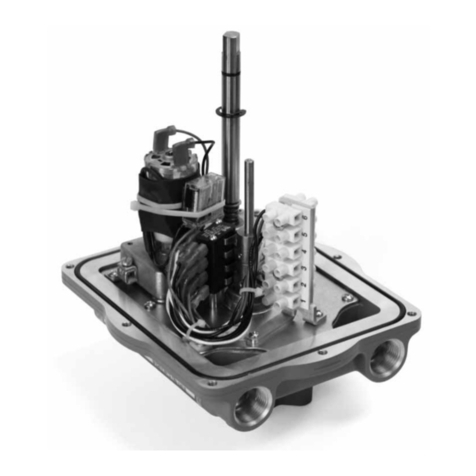
Metso
Metso VALVCON QX Series Installation maintenance and operating instructions
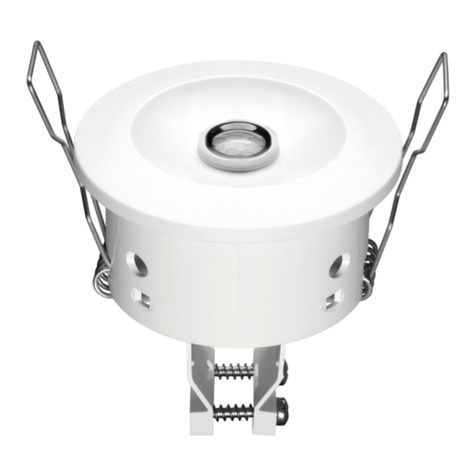
Tridonic
Tridonic luxCONTROL DaLI Msensor 5DPI 14 product manual


