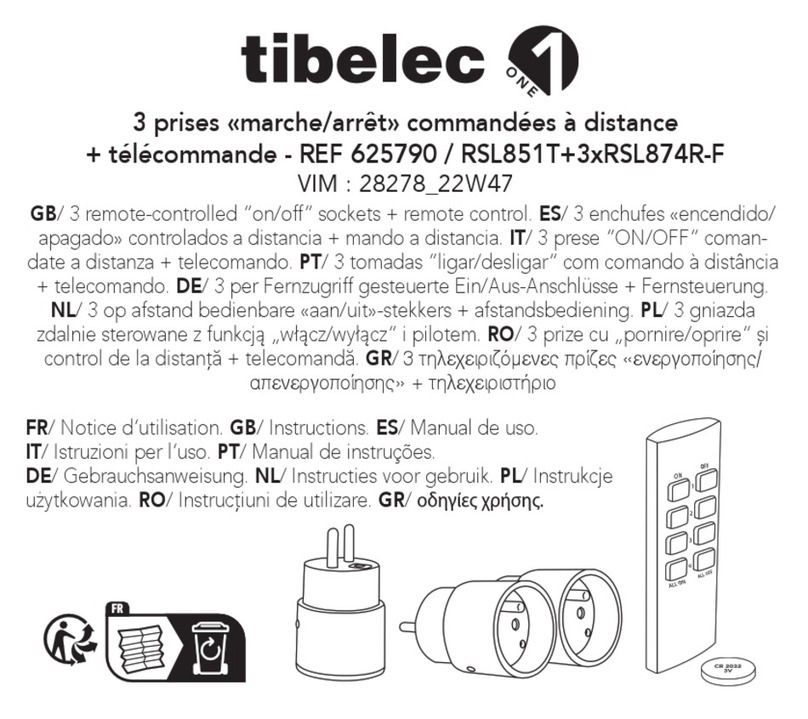
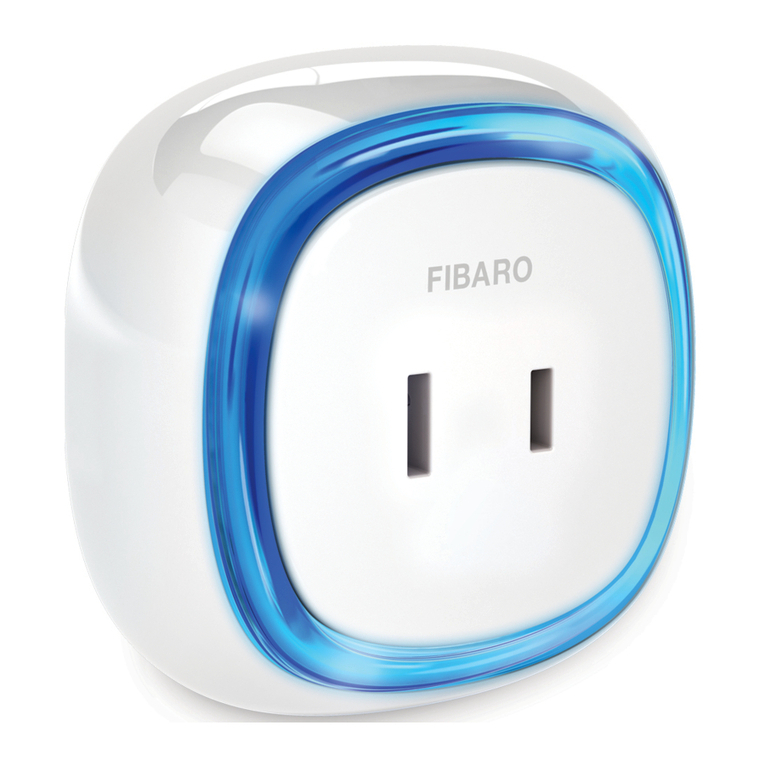
Dickert E19 Service manual

DE ReceiverE19
28506100_E19_EN_2012-08-07_EN.docx 1 / 8
Wireless Receiver E19
Mounting and Operating Instructions
(Translation of the original Operating Instructions)

Receiver E19
2 / 8 28506100_E19_EN_2012-08-07_EN.docx
1 Data summary and functions
General information
1-channel AM wireless receiver in 433 MHz or 868 MHz
Remote switching of 230V/50 Hz consumers
e.g., lamps, fountains, coffee machines, TVs, etc.
Function specific "ON/OFF" with 2 button remote control
Function “ON-OFF-ON”... with 1 button remote control
Function “ON” as long as the transmitter button is activated
Switch off timer 1 sec. up to approx. 18 h, “resettable”
LED status indicator
Inputs
Operating voltage
Outputs
Operating voltage
Functions
Pulse
Surge current
Specific On/Off
Switch off timer
Information / Instructions
Please keep these instructions so that you have them available for later questions.

Receiver E19
28506100_E19_EN_2012-08-07_EN.docx 3 / 8
2 Table of Contents:
1Data summary and functions....................................................................................................... 2
2Table of Contents:......................................................................................................................... 3
3Safety Instructions........................................................................................................................ 4
3.1.Symbols used...................................................................................................................... 4
3.2.Basic safety instructions...................................................................................................... 4
3.3.Storage / Shipping / Packaging........................................................................................... 4
3.4.Use of wireless remote control units................................................................................... 4
4Intended use .................................................................................................................................. 5
4.1.Fitter / installer..................................................................................................................... 5
4.2.Legal Prerequisites ............................................................................................................. 5
5Improper use.................................................................................................................................. 5
6Installation / Connection............................................................................................................... 5
6.1.Installation location.............................................................................................................. 5
6.2.Connecting the socket receiver........................................................................................... 5
7Commissioning / Programming / Reset...................................................................................... 6
7.1.General information............................................................................................................. 6
7.2.Modes of operation ............................................................................................................. 6
7.3.Teaching the transmitter key............................................................................................... 6
7.4.Selecting modes of operation /functions............................................................................. 7
7.5.Programming the switch off timer ....................................................................................... 7
7.6.Deleting the timer................................................................................................................ 7
7.7.Deleting transmitters........................................................................................................... 7
8Declaration of Conformity ............................................................................................................ 8
9Environmental protection / Disposal.......................................................................................... 8
10Troubleshooting............................................................................................................................ 8
11Technical data................................................................................................................................ 8

Receiver E19
4 / 8 28506100_E19_EN_2012-08-07_EN.docx
3 Safety Instructions
3.1. Symbols used
CAUTION!
Risk of personal injury!
In the following are important safety instructions, which must absolutely be observed to
prevent personal injury!
ATTENTION!
Risk of property damage!
In the following are important safety instructions, which must absolutely be observed to
prevent property damage!
Information / Instructions
In the following is information and instructions for the control unit and its operation.
ESD Hazard
Indication of possibility of failure due to static electricity.
3.2. Basic safety instructions
Mounting and operation
- The remote control of devices and systems which involve an increased risk of accident (e.g.
crane systems) is prohibited!
- Observe locally applicable regulations.
- Heed accident prevention regulations, VDE and EVU regulations.
- Information can be obtained from power stations, VDE and employers' liability insurance com-
panies.
- No technical modifications may be carried out. Any change will result in a loss of liability and
warranty.
Reliable operation is only possible with careful mounting and installation according to these in-
structions. No guarantee or liability is assumed for damages which arise from non-compliance
with these instructions.
3.3. Storage / Shipping / Packaging
Storage conditions: -25°C to + 70°C at 20 to 90% relative humidity, non-condensing.
The existing packaging is only used as a surface protection and is not permitted for direct further
shipping. Shipping must only be done in a sufficiently padded additional package. Damages due
to non-compliance are not covered in the manufacturer's liability.
3.4. Use of wireless remote control units
These remote control units are only approved for use with devices and systems where a func-
tional problem in the transmitter or receiver does not result in a hazard for people, animals or
property hazard or this risk is covered by other safety equipment.
Store the transmitter so that unwanted activation, e.g. by children or animals, is impossible.
The wireless remote control units in use work on generally-approved frequencies (ISM bands).
The operator of such wireless remote control units is not protected from faults caused by other
wireless systems or devices (e.g., wireless systems being operated in the same frequency range
such as baby phones, intercoms, etc.).

Receiver E19
28506100_E19_EN_2012-08-07_EN.docx 5 / 8
4 Intended use
The socket receiver is only approved for connection of the operating voltage listed under Technical Data,
see Point 11.
The wireless socket is switched between the mains socket and consumer.
The connecting in series of several connector housings (e.g. in a timer) is not allowed!
Only operate socket receivers on authorized grounded outlets.
Attention! The connected consumers are only disconnected 1-pin from mains.
Do not open the housing! When opening there is the risk of touching live parts. Therefore re-
pairs must only be done by a technician that is familiar with the applicable regulations!
4.1. Fitter / installer
These instructions require knowledge from electrical technicians, who can evaluate the work required
from you, detect possible sources of danger and take the suitable safety measures.
This manual is designed for the fitter /installer of the control system, as well as the further processing
industry, however not to give to the operator.
This manual is to be kept with the technical documentation of the system.
4.2. Legal Prerequisites
The receiver corresponds to the requirements according to:
ETSI EN 300220-2 V2.1.2 (2007-06)
ETSI EN 301489-3 V1.4.1 (2002-08)
VDE0620-1 (2010-02)
EN 61058-1 (2008-09) incl. Authorizations 2009-07 and 2011-10
5 Improper use
Any use other than the intended use shall be considered improper use for which the manufacturer is not
liable. The fitter, electrician or operating organisation bears the risk and the liability here.
6 Installation / Connection
6.1. Installation location
The environmental conditions are to be taken from the Technical Data, see point 11.
Do not select a location for installation where there are electro-magnetic fields. That is, not directly next
to contactors, power transformers, fluorescent lights, etc or their connection wires.
The installation location must be selected so that if necessary the socket receiver can be quickly pulled
out of the socket.
Protect socket receivers from weather influences. Moisture, extreme temperatures, vibrations
and impact loads must absolutely be avoided.
Use is only allowed in closed rooms, use out of doors is not allowed!
6.2. Connecting the socket receiver
1. Plug the socket receiver directly in the grounded outlet.
2. Plug the consumer that should be switched in the socket receiver.
3. Teach the hand-held transmitter in the socket receiver, see point 7.
The installation is now completed.

Receiver E19
6 / 8 28506100_E19_EN_2012-08-07_EN.docx
7 Commissioning / Programming / Reset
CAUTION!
Read the safety instructions under point 3 again and follow them exactly!
After a successful commissioning all further specifications of this manual must be checked
and completely implemented!
7.1. General information
(A) Output mains voltage (switched) (B) Programming key (C) LED
A maximum of 13 codes (transmitter buttons) can be taught. If 13 codes have already been taught in the
socket receiver, no additional codes will be taught; the previously learned codes are not lost. The first
transmitter of those taught determines which coding schematic all further transmitters must have.
Only one coding schematic (12bit or 18bit or KeeLoq) can be taught. That means if the first transmitter
was a "KeeLoq" transmitter, the other transmitters that should be taught must work with the same "Kee-
Loq” coding. After deleting all transmitters, another coding can be taught.
7.2. Modes of operation
Pulse: The output switches as long as the selected transmitter key is pressed.
Surge current: The state of the output (on/off) changes every time the transmitter key is pressed.
Specific on/off: A transmitter key is assigned the function “on” or “off”. This enables the wireless
socket to switch specifically to "on" or "off", without detecting their current switched
state (on/off).
Switch off timer: The output is automatically switched off after the selected time.
7.3. Teaching the transmitter key
1. Plug the socket receiver in a suitable 230V/AC socket (Fig 1).
2. Activate the programming key (B) with a sharp object (e.g. ball-point pen) 1 - 6 times briefly (Fig 2), LED
(C) blinks / flickers. The number of activations is dependent on the desired mode of operation,
see Point 7.4.
3. Finally activate the transmitter button that you want to teach until the LED (C) on the socket receiver
(Fig 3) blinks / flickers very fast.
For recognised wireless signal the LED (D) flickers and the output is switched.
Information / Instructions
"Unsymmetrical" coding must be set in transmitters which have a coding switch!
All coding switches set to “ON” or “OFF” leads to a loss of function or malfunctions.

Receiver E19
28506100_E19_EN_2012-08-07_EN.docx 7 / 8
7.4. Selecting modes of operation /functions
7.5. Programming the switch off timer
The output is automatically switched off after the selected time.
Information / Instructions
Switch off timer operation is only possible in the operating mode "Surge current" or "Specific on"!
Example: The output should switch off after 3 minutes.
1. Teach a transmitter button with the function "Surge current" or "Specific on", see Points 7.3 and 7.4.
2. Briefly push the programming key 6 x (LED blinks 6 x - Pause - blinks 6 x - Pause - etc.)
3. Now wait the desired switch off time, here 3 minutes.
4. Finally, activate the desired (already taught) transmitter key.
5. The switch off time is now programmed.
Information / Instructions
In the operating mode "Specific on" the time is restarted by reactivating. It can be prematurely
switched off using "Pulse", "Surge current" and "Specific OFF". The time is teachable in sec-
ond intervals in the range of 1 second to approx. 18 hours.
The active timer operation is displayed by blinking of the LED.
7.6. Deleting the timer
1. Briefly push the programming key 6 x (LED blinks 6 x - Pause - blinks 6 x - Pause - etc.)
2. Now activate the programming key again for approx. 3 seconds (LED lights up - goes out)
3. The switch off time is now deleted.
7.7. Deleting transmitters
1. Activate programming key for approx. 5s (LED lights- flickers- goes out)
2. All taught transmitters are now deleted! Deleting individual transmitters is not possible.
Mode of op-
eration Programming LED display
Pulse Press the programming key 1x
briefly
Press the transmitter key for 3 s
blinks 1x – pause - blinks 1x,
etc.
flickers
Surge current Press the programming key 2x
briefly
Press the transmitter key for 3 s
blinks 2 x – Pause - blinks 2 x,
etc.
flickers
Specific on Press the programming key 3x
briefly
Press the transmitter key for 3 s
blinks 3 x – Pause - blinks 3 x,
etc.
flickers
Specific off Press the programming key 4x
briefly
Press the transmitter key for 3 s
blinks 4 x – Pause - blinks 4 x,
etc.
flickers

Receiver E19
8 / 8 28506100_E19_EN_2012-08-07_EN.docx
8 Declaration of Conformity
Dickert Electronic GmbH declares with complete responsibility, that the product meets the
regulations of Directive 1999/5/EC of the Council of the European Union. The complete text
of the Declaration of Conformity can be found on the website www.Dickert.com under
"Download“.
9 Environmental protection / Disposal
The receiver does not contain any integrated batteries. Solely ROHS-conforming components
are used. Properly dispose of old and defective appliances and device parts in a collecting
point! Do not put them in domestic waste!
10Troubleshooting
Errors Possible causes Comments / Actions
LED remains off on
the socket receiver
during transmitter
activation.
Battery in the transmitter is
empty. Check / replace battery.
Transmitter not taught. Teach transmitter.
Transmitter has incorrect cod-
ing schematic. Delete all transmitters and teach again.
No power on the socket. Check mains fuse (circuit breaker).
Transmitter faulty. Replace transmitter.
Socket receiver faulty. Replace receiver.
LED on the wireless
socket goes on with
transmitter activation,
but the "consumer"
does not react.
Consumer possibly switched
off? Check and switch on if necessary.
"Consumer" faulty. Check whether the "consumer" functions if it is
run directly from mains. If yes, replace the wire-
less socket.
The "consumer" al-
ways goes off again
automatically after a
specific time.
Check whether the LED on the
wireless socket blinks when it is
switched on. If yes, the timer
mode was accidentally activat-
ed.
Delete timer.
11Technical data
The operation of the control system is only allowed according to these specifications / data!
Receiving frequency: 433.92 MHz/AM or 868.30 MHz/AM (see imprint)
Coding: 12 bit, 18 bit or Keeloq, self-teaching, max. 13 codes (transmitter keys) can be
taught
Antenna: integrated (no ext. antenna required)
Operating voltage: 230 V, ± 10 % 50 Hz
Power consumption: <0.5W (standby operation)
Output: max. 1000 W active load, 500 W lamp load, internal fuse (T5A)
Switch off timer: programmable from 1s to approx. programmierb18 h, in 1s intervals
Operating
temperature:
-20° C to +35° C at 20 % to 90 % rel. humidity, only indoor installation allowed.
Dimensions: approx. 96 mm x 64 mm x 49 mm (L x W x H) housing ABS, IP 20, self-extinguishing
Weight: approx. 155 g
This manual suits for next models
1
Table of contents
