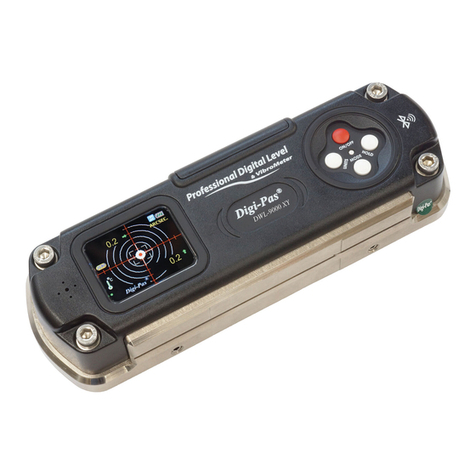
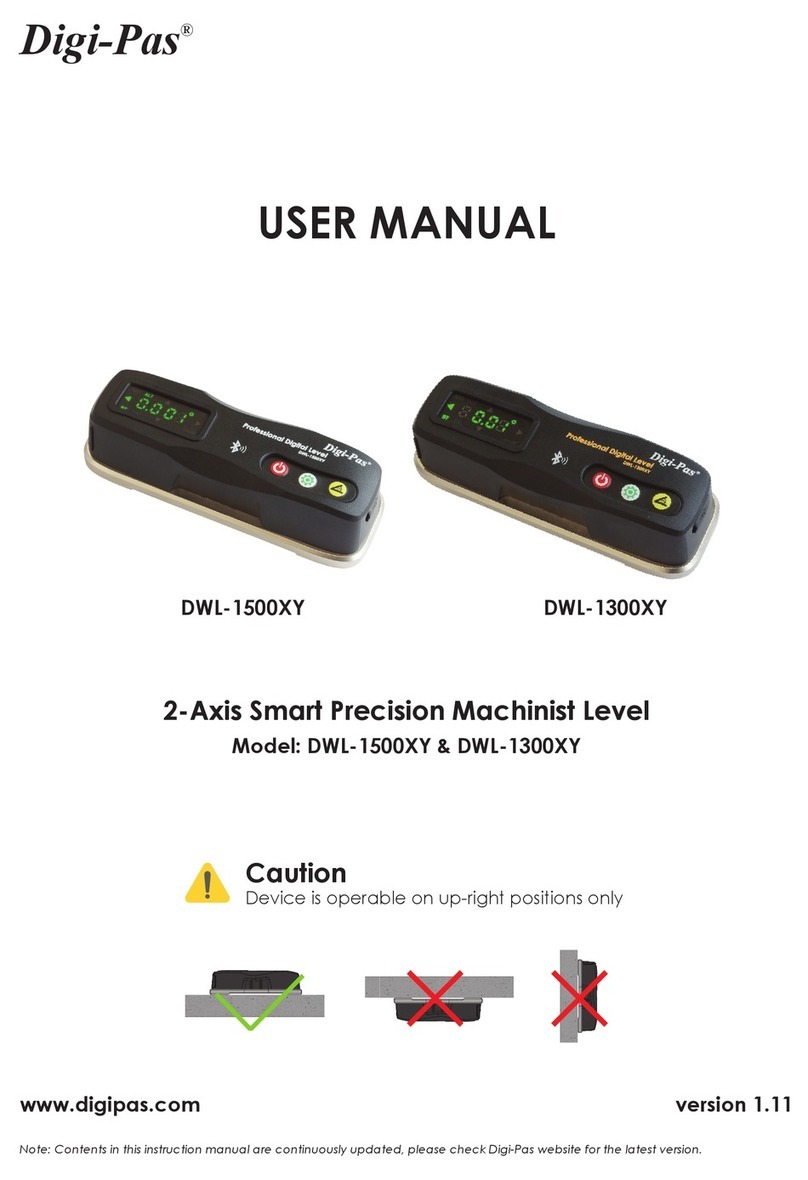
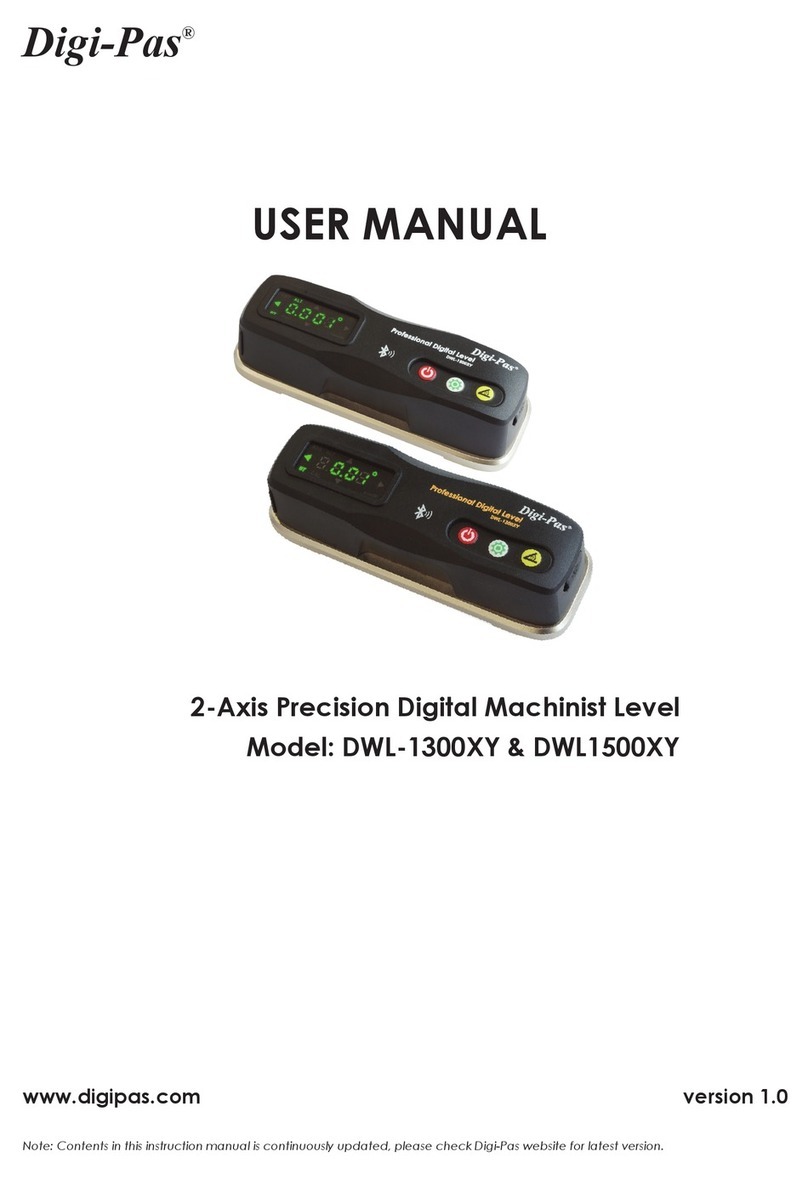
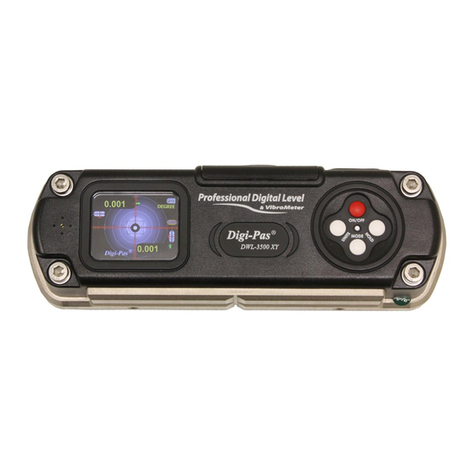
Digi-Pas DWL3000XY Owner's manual

www.digipas.com version 1.11
Note: Contents in this instruction manual are continuously updated, please check Digi-Pas website for the latest version.
Digi-Pas®
Installation and Operation Guidelines for
DWL3000XY and DWL3500XY
2-Axis High Precision Digital Machinist Level

Digi-Pas®
© 2021 Digipas Technologies Inc. All Rights Reserved.
www.digipas.com
DWL-3000XY & DWL-3500XY Instruction Manual
INTELLECTUAL PROPERTY
This manual contains propriety information, which is protected by copyrights. All rights
are reserved. No part of this manual may be photocopied, reproduced, redistributed, or
translated to another language without the prior written consent of Digipas Technologies
Inc.
The information in this manual was correct at the time of printing, stored in CD, or upload-
ed to the Company website. However, Digipas Technologies Inc. will continue to improve
products and reserves the right to change specication and maintenance procedures at
any time without prior notice.
Digi-Pas ®Products were manufactured under ISO9001 & ISO14001 standards, tested to
comply by the followings certication bodies:
Cert : SG00/0050 Cert : SG04/00450 Cert : SG08/50066

Digi-Pas®
© 2021 Digipas Technologies Inc. All Rights Reserved.
www.digipas.com
DWL-3000XY & DWL-3500XY Instruction Manual
CONTENTS
1. DEVICE OVERVIEW .................................................................................................................... 1
1.1. Technical Specication..................................................................................................... 1
1.2. Device Overview ............................................................................................................... 2
1.3. LCD Display Overview ....................................................................................................... 2
1.4. List of items...........................................................................................................................5
2. OPERATION PROCEDURE ..........................................................................................................6
2.1. Initialization ..........................................................................................................................6
2.2. Mounting Device On Fixture or Work Piece.....................................................................7
2.3. Switching Axis Reading ......................................................................................................7
2.4. Absolute Level Mode..........................................................................................................8
2.5. Alternate Zero Mode .........................................................................................................9
2.6. SYNC Menu........................................................................................................................10
2.7. Angle Meter Mode ...........................................................................................................11
2.8. Vibro Meter Mode ............................................................................................................12
2.9. Setting Menu .....................................................................................................................13
3. STORAGE AND CLEANING.......................................................................................................14
3.1. Storage...............................................................................................................................14
3.2. Cleaning ............................................................................................................................14
4. WARRANTY ................................................................................................................................15
4.1. Limitation of Liability..........................................................................................................15

Digi-Pas®
© 2021 Digipas Technologies Inc. All Rights Reserved.
www.digipas.com
DWL-3000XY & DWL-3500XY Instruction Manual
1
1. DEVICE OVERVIEW
1.1. Technical Specication
DWL-3000XY DWL-3500XY
Measuring Range 0° ~ ±90.00° (Single-Axis)
0° ~ ±15.00° (Dual-Axis)
0° ~ ±20.000° (Single-Axis)
0° ~ ±10.000° (Dual-Axis)
Resolution & Repeatability 0.01° (175μm/M) (0.002 in/Ft) 0.001° (18μm/M) (0.0002 in/Ft)
Accuracy ± 0.01° at 0° to 10.00°
± 0.03° at other angles
± 0.001° at 0° to 2.000°
± 0.003° at other angles
Display Color TFT LCD
Power Supply*4 x AAA 1.5V Batteries / USB
Connectivity USB 2.0 Cable (≤ 5 metre)
Bluetooth (≤30 metre) (Optional)
Material PC ABS / Aluminium PC ABS / Alloy Steel
Operating Temperature 10°F to 120°F or -10°C to +50°C (Calibrated for the entire temperature range)
Dimension 188mm x 62mm x 37mm
Weight (Approx.) 580g 1100g
Cross Axis Error Negligible (± 0.0025°) Negligible (± 0.00025°)
PC SYNC Software Basic Edition
Professional Edition (Optional)
Vibrometer 2.0g
User Self Calibration Yes
Table 1. Technical specication of DWL3000XY & DWL3500XY
Notes:
- Product specication and appearance are subject to change for product improvement without prior notice.
- *Alternative power can be obtained from External USB Power Source.
- Product performance to specication complies with accredited Calibration & Test Providers in USA, Japan, UK,
and Germany to conform with NIST, JIS, UKAS & DIN under the International Laboratory Accreditation Cooperation
(ILAC) and American Association for Laboratory Accreditation (A2LA). For more information, please visit “www.
digipas.com”.

Digi-Pas®
© 2021 Digipas Technologies Inc. All Rights Reserved.
www.digipas.com
DWL-3000XY & DWL-3500XY Instruction Manual
2
1.2. Device Overview
Figure 1. Overview of the Machinist Level
1. Buzzer sound alert
2. LCD Colour graphic digital display
3. Battery Compartment of 4 x “AAA” size 1.5V batteries
4. USB Port
5. Unit
6. On/Off Button
7. HOLD / Right Scroll button
8. MODE:
9. CAL / Activate calibration mode
10. Product Serial Number
11. Steel Alloy base with magnet
12. Base screw holes: For mounting dome screws to achieve
3-point contact base levelling*
13. Side screw holes: For mounting
1.3. LCD Display Overview
1.3.1. Single Axis Mode
Figure 2. Single Axis Display DWL-3000XY & DWL-3500XY
1. Sound Alert
2. Digital Reading
3. Battery Level
4. Measurement Unit
1.3.2. Dual Axis Mode

Digi-Pas®
© 2021 Digipas Technologies Inc. All Rights Reserved.
www.digipas.com
DWL-3000XY & DWL-3500XY Instruction Manual
3
Figure 3. Dual Axis Display of DWL3500XY
1. Horizontal (X) Axis Digital Reading
2. Sound Alert
3. Battery Level
4. Measurement Units
5. Micrometer
6. Vertical (Y) Axis Digital Reading
1.3.3. Dual Axis Mode
Figure 4. Main menu display DWL3000XY & DWL3500XY Bluetooth version
1.3.4. Main Menu Icon Features
ABSOLUTE LEVEL
Enable user to ensure each measurement reading is in accordance
with the maximum device accuracy specied.

Digi-Pas®
© 2021 Digipas Technologies Inc. All Rights Reserved.
www.digipas.com
DWL-3000XY & DWL-3500XY Instruction Manual
4
ALTERNATE ZERO
Enable user to measure relative angles at a common plane with
respect to a reference angle. Set any angle to 0.00°as a reference.
SETTING MENU
Enable user to modify various parameters of the device.
VIBRO METER
Enables user to obtain real-time continuous vibration measurements
displayed in line graph.
*This feature is only applicable to Bluetooth device.
ANGLE METER
Enables user to obtain real-time continuous angle measurements
displayed in line graph.
*This feature is only applicable to Bluetooth device.
SYNC MENU
Enables user to select the connectivity (USB/Bluetooth) with a
computer installed with PC Sync Software.
*This feature is only applicable to Bluetooth device.
HELP MENU
Enable user to have a quick and easy reference on Device’s button
conguration.
For Bluetooth device, the HELP icon is represented as “?” instead.

Digi-Pas®
© 2021 Digipas Technologies Inc. All Rights Reserved.
www.digipas.com
DWL-3000XY & DWL-3500XY Instruction Manual
5
1.4. List of Items
Item No. Description Quantity
1 DWL 3000XY Precision Digital Level 1 Unit
2Certicate of calibration 1 Set
3 AAA batteries 4 Pcs
4 USB 2.0 cable (3 Meters) 1 Pc
5 Quick Guide 1 Pc
6 Dome Screws 3 Pcs
Table 2. List of items included in DWL-3000XY product package
Item No. Description Quantity
1 DWL 3500XY Precision Digital Level 1 Unit
2Certicate of calibration 1 Set
3 AAA batteries 4 Pcs
4 USB 2.0 cable (3 Meters) 1 Pc
5 Quick Guide 1 Pc
6 Dome Screws 3 Pcs
Table 3. List of items included in DWL-3500XY product package
2. OPERATION PROCEDURE
2.1. Initialization
1. Insert 4 pieces of “AAA” batteries into the battery compartment and press ON/OFF
button. Alternatively, insert USB power source to the USB Port to power up the de-
vice. Take note that the device performance might be affected when poorly regu-
lated USB power source is used.
Please ensure batteries are inserted incorrect polarity direction for a device to work.

Digi-Pas®
© 2021 Digipas Technologies Inc. All Rights Reserved.
www.digipas.com
DWL-3000XY & DWL-3500XY Instruction Manual
6
Figure 5. Power source of the device
2. Initial Setup screen pops up. Press ON/OFF button to scroll up or MODE button to
scroll down for selecting ‘’Default Units’’. For DWL-3500XY it is required to select ‘’Cur-
rent Device Location’’, Select the nearest option when your location is not avail-
able in the default list. Scroll to select ‘’Done’’ to continue.
Figure 6. DWL-3500XY Device Initial Setup
3. Allow sufcient time for device to warm up and stabilise after turning on the device.
4. Device ready to use.
For maximum accuracy, perform calibration (refer to APPENDIX: User Calibration) or Absolute
Level (refer to Chapter 2.3: Absolute Level Mode) before measurement.
Calibration tutorial video available on Digipas website, please visit the following link:
https://www.digipas.com/support/video.php

Digi-Pas®
© 2021 Digipas Technologies Inc. All Rights Reserved.
www.digipas.com
DWL-3000XY & DWL-3500XY Instruction Manual
7
2.2. Mounting Device On Fixture or Work Piece
1. The two threaded holes are provided for mounting the device onto user-dened
xtures/machinery.
Figure 7. M5 screw location for mounting
2. To mount the device onto user’s dened xture or work piece. Remove both the set
screw (M5), then replace with appropriate type of screws specied by user.
2.3. Single Axis & Dual Axis Mode Interface
To change display reading value from X to Y axis or vice versa. Turn the device vertically
and the display screen will automatically change from metered into “Target Ball“ or “Bull
Eye“(refer to Sub-chapter 1.3: LED Display Overview for more details).
Please ensure the contact surfaces of the device and measuring plane are clean and free from
dust particles.
The device is able to auto detect its position is single axis position or dual-axis.
2.4. Absolute Level Mode
1. Place the device on the surface to be measured. Press “MODE” button to start the
measurement and wait until the loading bar is full.
Please ensure the contact surfaces of the device and measuring plane are clean and free from
dust particles.

Digi-Pas®
© 2021 Digipas Technologies Inc. All Rights Reserved.
www.digipas.com
DWL-3000XY & DWL-3500XY Instruction Manual
8
Figure 8. Absolute level setting position 1 display
2. Turn the device 180° and press MODE button again to start the measurement.
Figure 9. Absolute level setting position 2 display
3. Turn the device 180° and press MODE button again to start the measurement.
Figure 10. Absolute level display
2.5. Alternate Zero Mode
Place the digital level on the surface to be measured. Press “MODE” button to set the
angle to 0°as a reference.
Please ensure the contact surfaces of the device and measuring plane are clean and free from dust
particles.

Digi-Pas®
© 2021 Digipas Technologies Inc. All Rights Reserved.
www.digipas.com
DWL-3000XY & DWL-3500XY Instruction Manual
9
Figure 11. Alternate zero mode display
Single Axis Position : The logo is shown to indicate that the device is in Alternate Zero
mode. A reference line is displayed to indicate the angle.
Figure 12. Alternate zero mode of single axis position
Dual Axis Position : The logo is shown to indicate the device is in the Alternate Zero
mode. A reference crosshair is displayed to indicate the real angle.
Figure 13. Alternate zero mode of dual axis position

Digi-Pas®
© 2021 Digipas Technologies Inc. All Rights Reserved.
www.digipas.com
DWL-3000XY & DWL-3500XY Instruction Manual
10
2.6. SYNC Menu Mode
14.The status bar indicates current selected mode as Bluetooth then press “MODE” but-
ton. To change to USB mode, scroll the ‘Left’ button.
Bluetooth only available on Bluetooth version device.
Figure 14. SYNC menu display
15.Reboot the device by turning off the device and then turn on the device again to
activate the new setting.
Figure 15. Bluetooth sync setting
16.Once Bluetooth mode is activated, the icon will display on the single and dual-
axis mode screen display.
Figure 16. Bluetooth sync mode

Digi-Pas®
© 2021 Digipas Technologies Inc. All Rights Reserved.
www.digipas.com
DWL-3000XY & DWL-3500XY Instruction Manual
11
2.7. Angle Meter Mode
Place the digital level on the surface to be measured.
Please ensure the contact surfaces of the device and measuring plane are clean and free from
dust particles.
Figure 17. Operation of angle meter display
The Angle Meter displays real-time continuous angle measurements in line graph.
Figure 18. Freeze display of angle meter mode
User may “freeze” the screen by pressing the HOLD button. The HOLD icon pops up to indi-
cate the screen is paused. To resume operation, press the hold button once.
Figure 19. Angle meter mode

Digi-Pas®
© 2021 Digipas Technologies Inc. All Rights Reserved.
www.digipas.com
DWL-3000XY & DWL-3500XY Instruction Manual
12
2.8. Vibro Meter Mode
Place the device on the surface to be measured. Press Auto Set button to set the line
graph to the centre of display.
Please ensure the contact surfaces of the device and measuring plane are clean and free from
dust particles.
Figure 20. Operation of vibro meter mode
When the device detect the vibration, the relative magnitude (g) is shown on the graph.
Figure 21. Freeze display of vibro meter mode
To change the scale and speed of the line graph, press the scale selection button or the
speed selection button accordingly.
Figure 22. Vibro meter mode

Digi-Pas®
© 2021 Digipas Technologies Inc. All Rights Reserved.
www.digipas.com
DWL-3000XY & DWL-3500XY Instruction Manual
13
2.9. Setting Menu
Figure 23. Setting menu display DWL3000XY & DWL3500XY
Menu Description
Auto Off To set automatic power off according to user dened time period.
Auto Dim To set automatic dim according to user dened time period.
Units To change the measuring unit (Degree, mm/M, In/FT).
Buzzer To turn on/off the device buzzer.
Display Brightness To set LCD brightness according to user dened level.
Table 4. Setting menu function
3. STORAGE AND CLEANING
4. Storage
Keep the device in the equipment box and maintain the storage temperature within
-20°C to 60°C or -4°F to 140°F.
When the device is not in used, the batteries are to be removed from the device.
4.1. Cleaning
1. Keep the device dry and clean. Remove any moisture or dirt with a soft dry
cloth before measurement to obtain the maximum accuracy. Do not use harsh
chemicals, strong detergents or cleaning solvent to clean the device.
2. Do not submerge device in liquid while cleaning.

Digi-Pas®
© 2021 Digipas Technologies Inc. All Rights Reserved.
www.digipas.com
DWL-3000XY & DWL-3500XY Instruction Manual
14
5. WARRANTY
Digi-Pas® 2-Axis High Precision Digital level is warranted to the original purchaser to be
free from defects in workmanship and material. JSB Tech will, at its option, repair or re-
place any defective part which may malfunction under normal and proper use within a
period of 2 (two) years from the date of purchase. The forgoing warranty shall not ap-
ply to defects resulting from misuse, abuse, assignment, or transfer by the Buyer. Buyer-
supplied software or interfacing, unauthorized modication or operation outside of
environment specications for the product. JSB Tech does not warrant that the op-
eration of instrument software, or rmware, will be uninterrupted or error free. The ex-
clusive remedy under any and all warrants and guarantees, expressed herein, and we
shall not be liable for damages from loss or delay of equipment uses, consequential, or
incidental damage. No other Warranty is expressed or implied. JSB Tech specically dis-
claims the implied warranties of merchantability and tness for a particular purpose.
5.1. Limitation of Liability
In no event shall DIGIPAS TECHNOLOGIES, INC., (hereinafter, “the Company”) be liable
to you or any third party for any indirect, special, incidental, exemplary or consequential
damages of any kind resulting from any breach of warranty or from the performance or
use of the product. This includes without limitation: property damage, loss of value of the
product or any third party products that are used with the product, or loss of use of the
product or any third party products that are used with the product, even if the Company
has been advised of the possibility of such loss or damages. The Company’s total cumu-
lative liability arising from or related to the product, whether in contract, tort (including
negligence) or otherwise, shall not exceed the amount actually paid by you for the prod-
uct. Some states and/or jurisdictions do not allow the exclusion or limitation of incidental
or consequential damages, so the above limitations or exclusions may not apply to you.
If any limitation of liability shall be deemed invalid by any applicable law, then the limitations
of liability set forth above shall apply to the maximum extent permitted under applicable law.

Digi-Pas®
© 2021 Digipas Technologies Inc. All Rights Reserved.
www.digipas.com
DWL-3000XY & DWL-3500XY Instruction Manual
15
APPENDIX : USER CALIBRATION
Calibration Instruments:
Master Square
Granite Table
DWL3000XY DWL3500XY
Granite Table Grade AA (Levelled to ≤10 arcsec) Grade AA (Levelled to ≤1.0 arcsec)
Master Square Flatness : ≤ 2.0μm
Perpendicularity: ≤ 2.0μm
Parallelism: ≤ 2.0μm
Not Required
Number of Calibration Steps 8 4
** Allow sufcient time for device to warm up and stabilise after turning on the device.
** Hold the device rmly and do not move the device during calibration process.

Digi-Pas®
© 2021 Digipas Technologies Inc. All Rights Reserved.
www.digipas.com
DWL-3000XY & DWL-3500XY Instruction Manual
16
Calibration Procedure:
For DWL-3500XY model you only need to perfrom step 1 to step 4.
Calibration tutorial video available on Digipas website, please visit the following link:
https://www.digipas.com/support/video.php
1. Power off the device. Press and hold the CAL button
while concurrently press the ON/OFF button to get
into calibration mode. “Calibration 1” will be shown
on display screen.
Place the device to Position 1. Press the MODE but-
ton once and wait until the countdown reach “0”,
the LCD screen displays “Calibration 2”.
2. Turn the device 180° to Position 2. Press the MODE
button again to start the calibration at “Position 2”
and wait until the countdown reach “0”, the LCD
screen displays “Calibration 3”.
3. Place the device 90° on the side of Master Square
as shown in Position 3. Hold the device rmly and
do not move the device during each count down
period. Press the MODE button again to start the
calibration and wait until the countdown reach “0”,
the LCD screen displays “Calibration 4”.
4. Turn the device 180° and place on the opposite
side of the master square as shown in Position 4.
Hold the device rmly and do not move the device
during each count down period. Press the MODE
button again to start the calibration and wait until
the countdown reach “0”, the LCD screen displays
“Calibration 5”.

Digi-Pas®
© 2021 Digipas Technologies Inc. All Rights Reserved.
www.digipas.com
DWL-3000XY & DWL-3500XY Instruction Manual
17
5. Rotate the device 180° as shown Position 5. Hold
the device rmly and do not move the device
during each count down period. Press the MODE
button again to start the calibration and wait until
the countdown reach “0”, the LCD screen displays
“Calibration 6”.
6. Turn the device 180° and place on the opposite
side of the master square as shown in Position 6.
Hold the device rmly and do not move the device
during each count down period. Press the MODE
button again to start the calibration and wait until
the countdown reach “0”, the LCD screen displays
“Calibration 7”.
7. Place the device to Position 7. Press the MODE but-
ton once and wait until the countdown reach “0”,
the LCD screen displays “Calibration 8”.
8. Turn the device 180° to Position 8. Press the MODE
button again and wait until the countdown reach
“0”, the LCD screen will switch to measuring mode
once calibration is completed.
Other manuals for DWL3000XY
1
This manual suits for next models
1
Table of contents
Other Digi-Pas Measuring Instrument manuals
Popular Measuring Instrument manuals by other brands

Rotem
Rotem AMP-50 operating & maintenance manual

Sensit
Sensit ULTRA-TRAC APL Quick start instructions

Ecom
Ecom CN operating instructions

Mitsubishi Electric
Mitsubishi Electric EcoMonitorPro EMU2-RD3-F instruction manual

Elektor
Elektor Dual DC LISN user manual

PCB Piezotronics
PCB Piezotronics IMI SENSORS HT625B01 Installation and operating manual