Digital Equipment Pro-Face GPW-CB03 User manual


-1-
Safety Precautions
This guide contains a variety of safety markings related to the safe and correct
operation of the USB Data Transfer Cable. Be sure to read this guide and any
related manuals carefully to fully understand how to correctly use this cable.
Safety Symbol
This guide uses the following safety-related symbol. Please pay attention to this
symbol and follow the instructions given.
Safety symbol and its meaning:
A potentially hazardous situation that could result in
serious injury or death and cause major equipment dam-
age if instructions are not followed.
WARNINGS
• Do not disassemble or remodel this cable in any way. Doing so may cause
an electric shock or fire.
• Do not use this cable in areas where flammable gases are present. Doing
so may cause an explosion.
WARNING
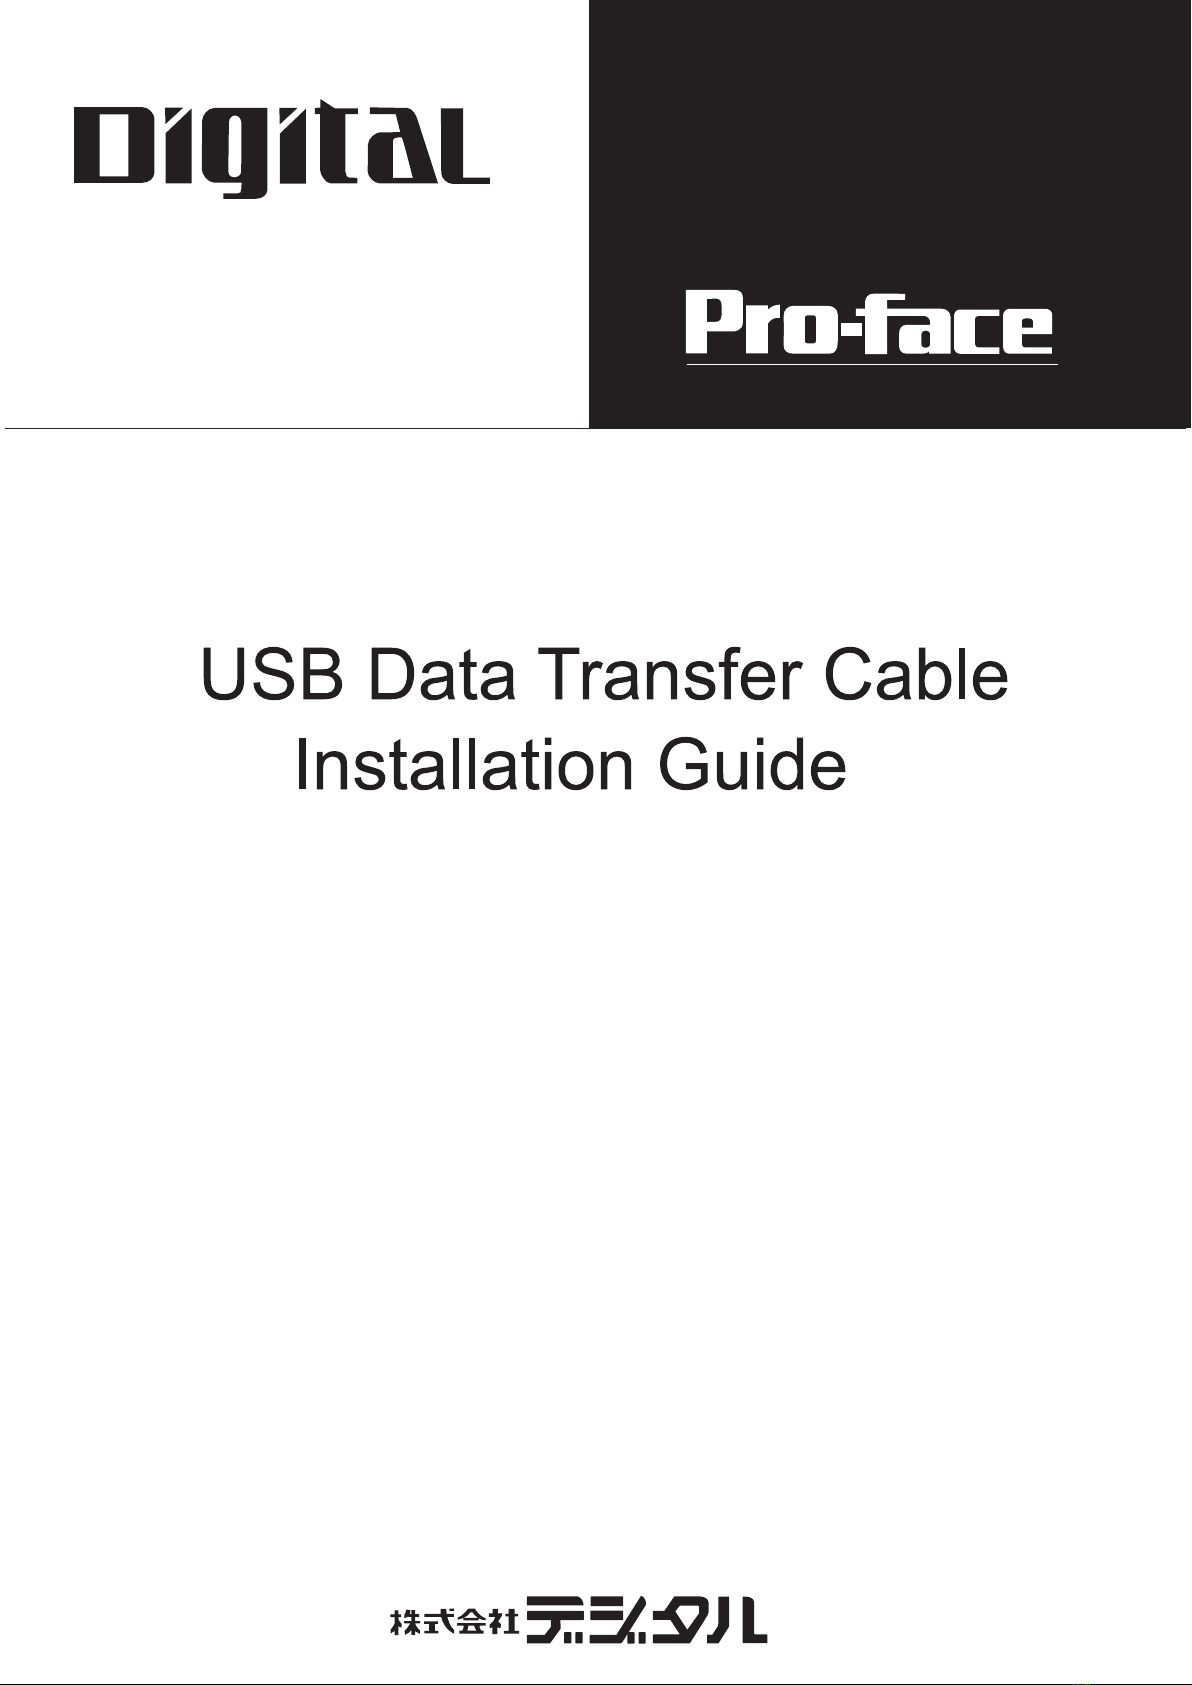
To Prevent USB Data Transfer Cable Damage
• Do not use the USB Data Transfer Cable at temperatures outside the range
specified in this guide.
• Do not use or store this cable at very high temperatures.
• Do not use or store this cable in direct sunlight or excessively dusty ordirty
environments.
• Do not use or store this cable in an environment where it may be exposed to
chemical vapors or fumes.
• Do not allow water to enter the connector. Also, do not touch the connector if your
hands are wet. Doing so may cause an electric shock.
• Do not connect or disconnect the USB Data Transfer Cable during data transfer.
Doing so may cause a data communication error.

-2-
Package Contents
USB Data Transfer Cable (1)
(GPW-CB03)
Driver CD (1)
This unit has been carefully packed, with special attention to quality. However,
if for any reason, you find any of the contents of this package damaged or miss-
ing, please contact your local Pro-face representative immediately.
The following items are included in this unit’s package. Prior to using the unit,
be sure to confirm that all the items shown below are present in the package.
USB Data Transfer Cable
Installation Guide
(This document)
Compatible OS Types
Microsoft®Windows®98, Microsoft®Windows®Me, Microsoft®Windows®
2000, and Microsoft®Windows®XP.
Product names other than those listed below are trademarks or registered trade-
marks of their respective owners.
Trademark Name Trademark Holder
Pro-face DigitalElectronicsCorporation
(InJapan and othercountries)
Windows®98,Windows®Me,
Windows®2000,Windows®XP MicrosoftCorporation,USA

-3-
Electrical
Rated Voltage 5VDC
(Powered from USBbus &GPtoolconnector)
PowerConsumption 0.5W (Max)
Environmental
AmbientTemperature 0oCto 50oC
Storage Temperature -10oC to +60oC
AmbientHumidity 10%RHto 90%RH
(Nocondensation,
wetbulbtemperature:39oCorless)
Storage Humidity 10%RHto 90%RH
(Nocondensation,
wetbulbtemperature:39oCorless)
External
Weight 180g orless
External Dimensions
(Cable length)
OverallLength 2.2 +0.07m
(FromPC USBconnector to circuitcase
2.0 +0.05m)
Specifications
1
General
I/F Type USB(Specification Rev.1.1)
ConnectorType USB(Series APlug)
• The GP and PC signals are not insulated.
• In the Data Transfer Cable, the FG (cable shield) and SG
wires are shorted together.
• Extending the length of the cable via a USB extension cord
can degrade (weaken) signals, possibly causing an error.
As a result, do not extend the length of the Data Transfer
Cable.

-4-
Installation
2
Connect the USB Data Transfer Cable’s USB connector to your PC’s
USB port.
• Be sure to hold the cable connector, not the cable itself, when
unplugging the cable from the GP unit. Next, pull down on the
connector to release the connector’s lock feature (However,
certain GP types do not have this locking feature).
• When connecting the USB Data Transfer Cable to your PC or to
the GP, be sure to insert the cable’s connector at the correct
90oangle. Failure to do so may damage either the connector or
the main unit.
• Since the data transfer cable’s connector case is metal, be sure
it does not contact the charged section of any other equipment.
PC USB Data Transfer Cable GP
Connector Case

-5-
Installation Procedure
3
Windows®98
1. Start Windows, and connect the GPW-CB03 to your PC’s USB port. Then,
insert this package’s driver CD into the PC’s CD-ROM drive.
2. In the following [Add New Hardware Wizard] dialog box, click [Next].
3. The [Add New Hardware Wizard] dialog box should now display as shown
below. Check the [Search for the best driver for your device. [Recom-
mended].] option, and click [Next].
4. In the following dialog box, check the [Specify a location:] option, and
click [Browse...]. Select the [GPW-CB03] folder in the installation CD-ROM.
When the [Add New Hardware Wizard] dialog box reappears, click [Next].

-6-
5. Confirm that the [Windows driver file search for the device:] is [Pro-face
GPW-CB03], and click [Next].
6. Click [Finish] to complete the installation.
• COM Port Numbers will be assigned in order, after previously con-
nected devices.
• If installation does not complete successfully, be sure to restart the PC and
quit all resident applications before re-installing the software.

-7-
3. Check the [Specify a location:] option, and click [Browse].
Windows®Me
1. Start Windows, and connect the GPW-CB03 to your PC’s USB port. Then,
insert this package’s driver CD into the PC’s CD-ROM drive.
2. In the [Add New Hardware Wizard] dialog box, check the [Specify the
location of the driver [Advanced]] option, and click [Next].
4. Select the [GPW-CB03] folder in the installation CD-ROM, and click [OK].

-8-
5. In the [Add New Hardware Wizard] screen, click [Next].
6. Confirm that the [Windows driver file search for the device:] is [Pro-face
GPW-CB03], and click [Next].
7. Click [Finish] to complete the installation.
• COM Port Numbers will be assigned in order, after previously con-
nected devices.
• If installation does not complete successfully, be sure to restart the PC and
quit all resident applications before re-installing the software.

-9-
Windows®2000
1. Start Windows, and connect the GPW-CB03 to your PC’s USB port. Then,
insert this package’s driver CD into the PC’s CD-ROM drive.
2. In the following [Found New Hardware Wizard] dialog box, click [Next].
3. The [Found New Hardware Wizard] dialog box should now display as
shown below. Check the [Search for a suitable driver for my device
[recommended]] option, and click [Next].
4. In the following dialog box, check the [Specify a location] option, and
click [Next].

-10-
5. In the following dialog box, click [Browse...].
6. Select the [SERWPL.INF] file located in the CD-ROM drive’s [GPW-
CB03] folder, and click [Open].
7. In the following dialog box, click [OK].

-11-
8. Confirm that [The wizard found a driver for the following device:] is [Pro-
face GPW-CB03], and click [Next].
9. Click [Finish] to complete the installation.
If the Data Transfer Cable is unplugged from the port desig-
nated during installation and connected to a different port, the
OS will recognize the new port. Therefore, be sure to always
use the port designated during installation.
If installation does not complete successfully, be sure to restart the PC and
quit all resident applications before re-installing the software.

-12-
Windows®XP
1. Start Windows, and connect the GPW-CB03 to your PC’s USB port. Then,
insert this package’s driver CD into the PC’s CD-ROM drive.
2. In the [Found New Hardware Wizard] dialog box, check the [Install from a
list or specific location (Advanced)] option, and click [Next].
3. Check the [Include this location in the search:] option, and click [Browse].

-13-
4. Select the [GPW-CB03] folder in the installation CD-ROM, and click [OK].
5. In the [Found New Hardware Wizard] screen, click [Next].
6. In the [Hardware Installation] screen, click [Continue Anyway].

-14-
If the Data Transfer Cable is unplugged from the port desig-
nated during installation and connected to a different port, the
OS will recognize the new port. Therefore, be sure to always
use the port designated during installation.
7. Click [Finish] to complete the installation.
If installation does not complete successfully, be sure to restart the PC and
quit all resident applications before re-installing the software.

-15-
41. Right-click on [My Computer] and click on [Properties]. When the [Sys-
tem Properties] box appears, click on [Device Manager].
2. Confirm that [Pro-face GPW-CB03 (COM3)] is available in the
[Ports [COM & LPT]] sub-folder (Windows Me System Properties
dialog box).
• The COM number (“3” in the above figure) is assigned automatically by the OS.
• If the OS has previously allocated COM numbers for other devices (internal
modems, IrDA ports, etc.), the GPW-CB03 will be allocated to the next
available COM number.
Post-Installation Check

-16-
COM Number Input/Output Range
COM1 03F8-03FF
COM2 02F8-02FF
COM3 03E8-03EF
COM4 02E8-02EF
6. Double-click again on [Ports [COM & LPT]]. Select [Pro-face GPW-
CB03], and click the [Properties] button.
7. In the [Pro-face GPW-CB03 [COM3] Properties] dialog box, click on
the [Resources] tab. Uncheck the [Use Automatic Settings] checkbox.
8. Confirm that [Input/Output range] is selected, and click the [Change
Setting] button.
9. In the following [Edit Input/Output Range] dialog box, select/enter a COM
range (in the [Value] box) that does not conflict with any of the other previ-
ously set COM numbers. Then, click [OK].
Changing the COM Port Number
5
Windows®Me (Windows®98)
1. Right-click on your desktop’s [My Computer] icon. Then, click on the
[Properties] selection to call up the [System Properties] dialog box. There,
click on the [Device Manager] tab.
2. Double-click on [Ports [COM & LPT]], and check which COM number is
being used for the USB cable.
3. In [Device Manager], double-click on [Modem], and check the modem’s
COM number (This can only be done if your PC is equipped with a modem).
4. If your PC contains an IrDA device, check that device’s COM number.
5. The following table shows valid Input/Output range values for any cur-
rently unused COM port numbers:

-17-
Windows®XP (Windows®2000)
1. Right-click on your desktop’s [My Computer] icon. Then, click on the
[Properties] feature.
2. This opens up the [System Properties] dialog box. Click on the [Hardware]
tab, and click the [Device Manager] button.
10. The following [Creating a Forced Configuration] dialog box will appear.
Click [Yes]. Last, in the [System Settings Change] dialog box, you will be
asked to restart your computer. Click [Yes].
3. In [Device Manager], double-click on [Ports [COM & LPT]]. Select
[Pro-face GPW-CB03], and click on [Properties].
4. In the [Pro-face GPW-CB03 [COM3] Properties] dialog box, click on the
[Port Settings] tab, and click the [Advanced] button.

-18-
6. When the following [Communication Port Properties] dialog box appears,
click [Yes].
Uninstalling the Driver
6
Unplug the USB Data Transfer Cable from your PC’s USB port. Double-click
the CD-ROM’s “DRemover_2k.exe” file to start the uninstallation process.
5. In the following [Advanced Settings for COM1] dialog box, select an un-
used number for the [COM Port Number], and click [OK].

-19-
Troubleshooting
7
The following table describes errors that may occur when using the USB Data
Transfer Cable, and their possible solutions.
Problem/Symptom Solution
The USBData Transfer Cable
isnotrecognized.
Overcurrentoccurred.
The Plug and Playisnot
functioningcorrectly. The powersupplied from the hub maybe
insufficient.Be surethehub isself-powered.
Connectthe USBData TransferCable directly
to the PC'sUSBport.
Confirmthatthe USBData TransferCable
confirmsto USBSpecification Rev.1.1 orlater
Afterinstallation,a "?" is
displayed whenItryto confirmthe
cable'sstatus viathe
Device Manager.
The driverhas notbeen installed correctly.
Uninstallthe driverand then re-installit.
Fordriveruninstallation procedures,
"6 Uninstalling the Driver"
Fordriverinstallation procedures,
"3 Installation Procedure"
Connectthe USBData Transfercable correctly,
ORrestartyour PC.Also,when connecting a
USBhub,be sure to connectitdirectlyto your
PC'sUSBport.
Iam unable to use the USBData
TransferCableafterIconnectitto a
USBhub.
Although this USB Data Transfer Cable has been thoroughly tested, occasion-
ally data transfer may not be possible due to USB-related device incompatibility
or your PC's system design.
Table of contents
Other Digital Equipment Cables And Connectors manuals