5.Menual for Remote Viewer Software(TCP/IP)
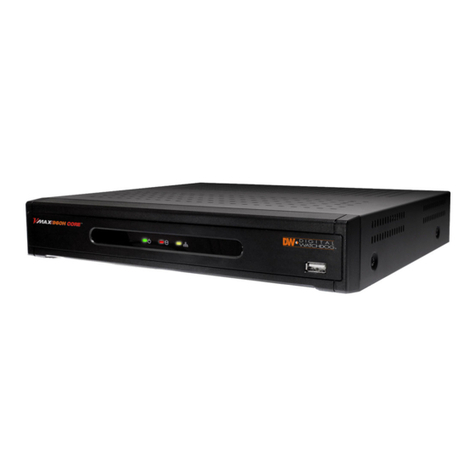
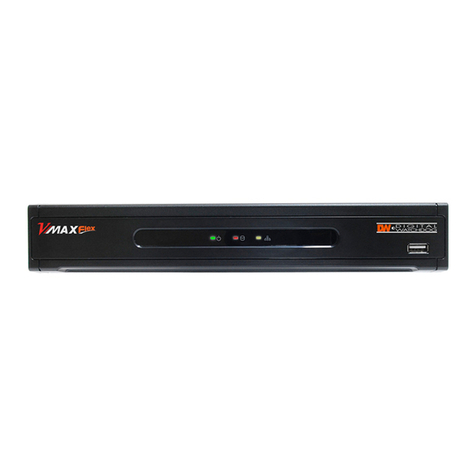
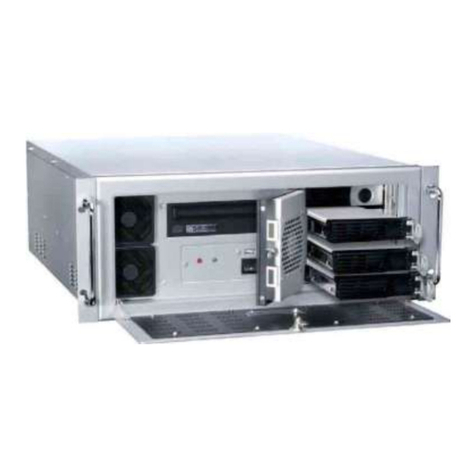
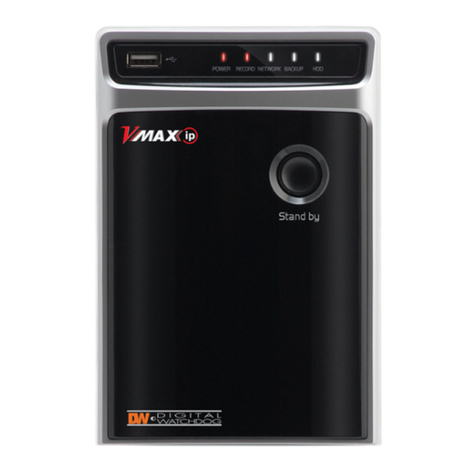
8Channel stand-alone DVMR
ALL ABOUT IMAGE RECOGINITON & PROCESSING
1. Unit Description
8Channel stand-alone DVMR
ALL ABOUT IMAGE RECOGINITON & PROCESSING
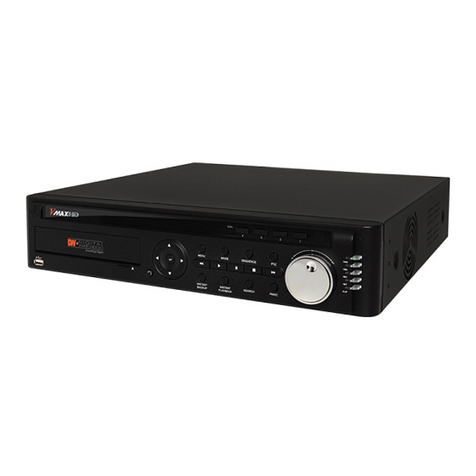
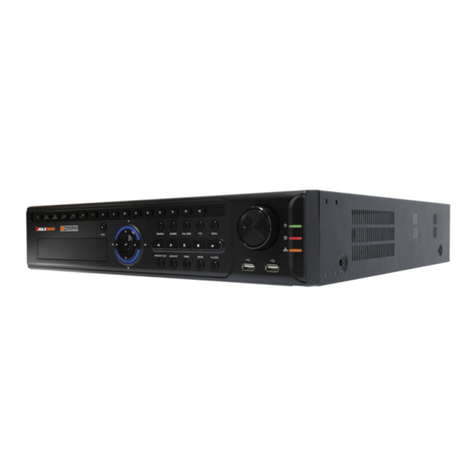
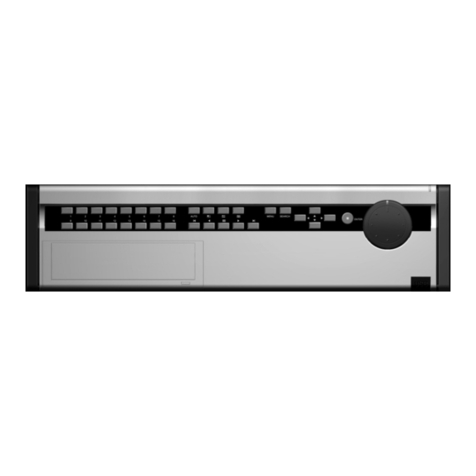
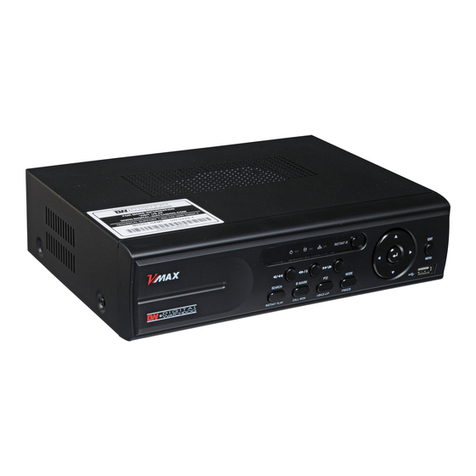
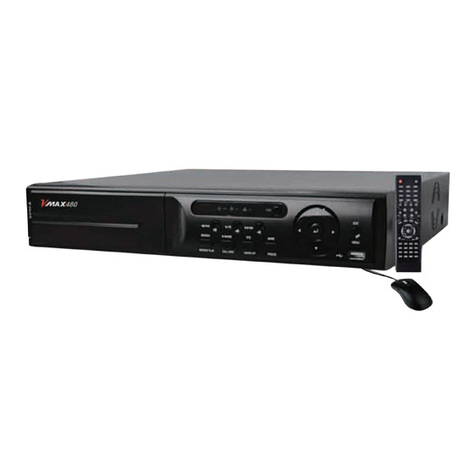
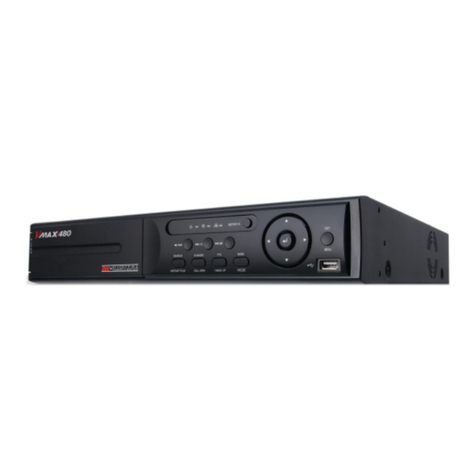
1-2. Name and function each button (front panel)
113 6
2 3 4 5 6 7 8 9 10 12
1. POWER SWITCH WITH LED : DC power switch with LED
Generally speaking, cutting power to system may cause trouble in DVMR
system or damage to HDD when HDD is in writing process, and we ask you
to press [MENU] button first to protect HDD from being damaged or system
failure before you press DC power switch off in practical operation.
2. MENU : Used to check or change parameters settings in SYSTEM SETUP. After pressing [MENU] button,
input password and press [ENTER] button to enter into SYSTEM SETUP.
3. PLAY/ENTER : Starts playback, and in some functions, it is used as the SELECT key. Press shortly and
it starts playback. If you press this button for a long time, you enter into GO TO menu to
start playback from image you want to start.
4. MODE : Changes screen division. Whenever you press [MODE] button, screen division is changed from
full screen to 4-split screen, 9-split screen in sequence, both in live or playback mode.
To change channel in full screen mode, just press number button.If you press [MODE] button for
a lone time, it changes type of monitor connected to DVMR unit form COMPOSITE to VGA,
or from VGA to COMPOSITE, in case VGA option is included in DVMR system.
5. P/T : Manages PAN/TILT CONTROLLER. To control PTZ camera connected to DVMR unit, you have to
select model of PTZ camera in PAN TILE CMD SETUP/MISCELLANEOUS SETUP.
6. 1/5,2/6,3/7,4/8 : Chooses each indicated camera in full screen mode. Each button is double number button,
and pressing [1], [2], [3], and [4] for a very short time is for 1, 2, 3, and 4 respectively, and
pressing [1], [2], [3], and [4] for a long time is for 5, 6, 7, and 8 respectively.
7. PIP : Assigns PIP (Picture In Picture)
8. FRZ : Displayed screen is paused.
9. SEQ : To see display screen in rotation from channel number 1, 2, 3, and so on, both in live and playback
mode. It also change Quad screen from 1/2/3/4 to 5/6/7/8.
10. ZOOM : Enlarges the display screen by 200%. Digital zooming.
11. Remote Controller Sensor Input Window
12. Direction button : [LEFT], [RIGHT], [UP] and [DOWN]. In playback mode, [LEFT] and [RIGHT] buttons
are for selecting playback direction(forward/backward), and [UP] and [DOWN] buttons are for increasing
or decreasing speed of playback.
Setting video system : In the process of booting, we can set video type (NTSC or PAL) using direction
buttons. While you press [UP] and [LEFT] button at the same time, turn on DC power switch on the front
panel to set video type at NTSC. Immediately after you turn on DC power switch, you shall hear beep
sound, and it is set at NTSC and stop pressing [UP] and [LEFT] button. If you turn on DC power switch
with [UP] and [RIGHT] button pressed, it is set at PAL system. Setting is memorized in the system, and it
is not necessary to do it again in the next booting, unless you change video system of camera.
13. LED Lamps : Represent status of operation. OVERWRITE/RECORD/PLAYBACK/SETUP.
NOTICE : If the Input window (IR receiver) is covered, the remote controller may not work.
NOTICE : If several buttons are simultaneously or incorrectly pressed, the system may not be
operated unproperly.
USER PANTILT COMMAND
- It is to input protocols for specific PTZ camera you will connect to 16ch DVMR unit, to control PTZ
camera while you see live pictures in the client program.
- You can save protocols of specific PTZ camera in the form of computer file (text file). Prepare text file of
protocol for PTZ camera and save it on your PC. In the User Pantile Command window, press [Menu]
button and again press [Load User PT File]. Then you can assign text file of protocol for PTZ camera you
pre pared in advance. It is very convenient function.
- If you want to control PTZ camera using buttons on the front of 16ch DVMR unit, you must input the same
protocol into DVMR unit in PAN/TILE CMD SETUP.
b) Scan. : Press scan button to enter into search window. Using various operation buttons, you can
search recorded pictures, save selected pictures on client PC, or print pictures. Refer to
following paragraph “3. Search recorded pictures over IP network” for details
8) PTZ control. You can control Zoom, Focus, and Pan/Tilt of camera while you see live pictures via IP network.
Of course, you must first input PTZ protocol for a specific PTZ camera you connected to your DVMR unit,
into your DVMR unit. You can control PTZ camera with various of commands in USER PANTILE COMMAND
window above.
When you press corresponding buttons for Pan/Tilt control, press a couple of second every time you press to
take care of data transmission speed through IP network. Otherwise, there is a possibility that given protocol
is transmitted repeatedly, regardless of your intention.
Notice : From time to time, connection shall be cut unexpectedly due to conditions of network line, and you will
see disconnect button(3) is activated. Just press connect button(2) again, and you can continue to see
live pictures.
35 4
