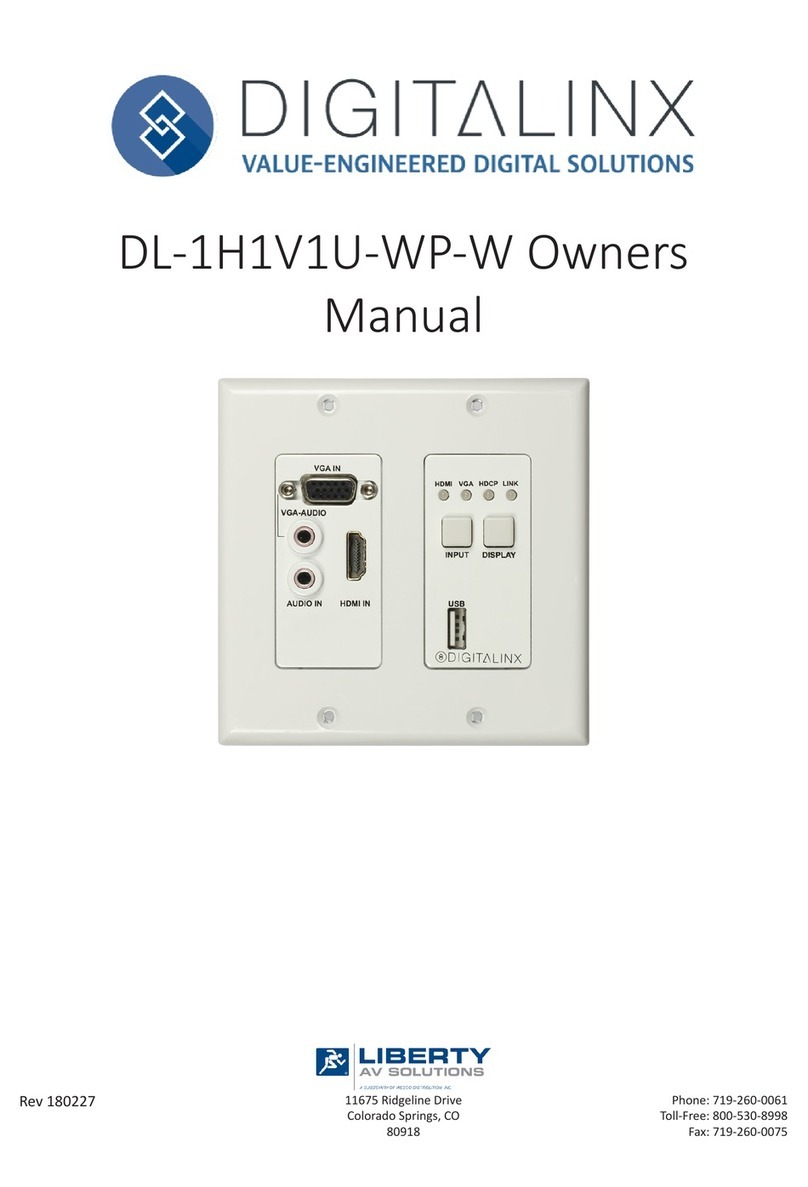
DigitaLinx DL-3H1U-WP-W User manual

11675 Ridgeline Drive
Colorado Springs, CO
80921
Rev 190918 Phone: 719-260-0061
Toll-Free: 800-530-8998
Fax: 719-260-0075
DL-3H1U-WP-W Owners
Manual


DL-3H1U-WP-W Owners Manual
3
Important Safety Instrucons
»Please completely read and verify you understand all instrucons in this manual before operang this equipment.
»Keep these instrucons in a safe, accessible place for future reference.
»Heed all warnings.
»Follow all instrucons.
»Do not use this apparatus near water.
»Clean only with a dry cloth.
»Do not install near any heat sources such as radiators, heat registers, stoves, or other apparatus (including ampliers)
that produce heat.
»Use only accessories specied or recommended by Intelix.
»Explanaon of graphical symbols:
◊ Lightning bolt/ash symbol: the lightning bolt/ash and arrowhead within an equilateral triangle
symbol is intended to alert the user to the presence of uninsulated “dangerous voltage” within the
product enclosure which may be of sucient magnitude to constute a risk of shock to a person or
persons.
◊ Exclamaon point symbol: the exclamaon point within an equilateral triangle symbol is intended
to alert the user to the presence of important operang and maintenance (servicing) instrucons
in the literature accompanying the product.
»WARNING: TO REDUCE THE RISK OF FIRE OR ELECTRIC SHOCK, DO NOT EXPOSE THIS APPARATUS TO RAIN OR
MOISTURE AND OBJECTS FILLED WITH LIQUIDS, SUCH AS VASES, SHOULD NOT BE PLACED ON THIS APPARATUS.
»Use the mains plug to disconnect the apparatus from the mains.
»THE MAINS PLUG OF THE POWER CORD MUST REMAIN READILY ACCESSIBLE.
»Do not defeat the safety purpose polarized or grounding-type plug. A polarized plug has two blades with one wider
than the other. A grounding-type plug has two blades and a third grounding prong. The wide blade or the third prong
is provided for your safety. If the provided plug does not t into your outlet, consult an electrician for replacement of
your obsolete outlet. Cauon! To reduce the risk of electrical shock, grounding of the center pin of this plug must be
maintained.
»Protect the power cord from being walked on or pinched parcularly at the plugs, convenience receptacles, and the
point where they exit from the apparatus.
»Do not block the air venlaon openings. Only mount the equipment per Intelix’s instrucons.
»Use only with the cart, stand, table, or rack specied by Intelix or sold with the equipment. When/if a
cart is used, use cauon when moving the cart/equipment combinaon to avoid injury from p-over.
»Unplug this apparatus during lightning storms or when unused for long periods of me.
»Cauon! Shock Hazard. Do not open the unit.
»Refer to qualied service personnel. Servicing is required when the apparatus has been damaged in any way, such as
power supply cord or plug is damaged, liquid has been spilled or objects have fallen into the apparatus, the apparatus
has been exposed to rain or moisture, does not operate normally, or has been dropped.

DL-3H1U-WP-W Owners Manual
4
Table of Contents
Product Overview��������������������������������������������������������������������������������������������������������������������������������������� 5
Package Contents ��������������������������������������������������������������������������������������������������������������������������������������� 5
Front and Rear Panel ���������������������������������������������������������������������������������������������������������������������������������� 6
Transmier View ������������������������������������������������������������������������������������������������������������������������������������������� 6
Transmier View (connued) ������������������������������������������������������������������������������������������������������������������������ 7
Installaon Instrucons������������������������������������������������������������������������������������������������������������������������������ 8
Quick Start ���������������������������������������������������������������������������������������������������������������������������������������������������� 8
Connect HDBaseT Link ����������������������������������������������������������������������������������������������������������������������������������8
HDBaseT Connecon .............................................................................................................................. 8
Connecng A/V Sources �������������������������������������������������������������������������������������������������������������������������������� 9
HDMI Inputs ........................................................................................................................................... 9
Connecng USB Peripherals �������������������������������������������������������������������������������������������������������������������������� 9
USB Host ................................................................................................................................................. 9
USB Client (Receiver) .............................................................................................................................. 9
Connecng a Display (Receiver) �������������������������������������������������������������������������������������������������������������������� 9
HDMI Output .......................................................................................................................................... 9
Connecng Audio ������������������������������������������������������������������������������������������������������������������������������������������ 9
Audio Input ............................................................................................................................................. 9
Audio Output (Receiver) ......................................................................................................................... 9
Connecng Control (Receiver) ���������������������������������������������������������������������������������������������������������������������10
RS232 Control Wiring ...........................................................................................................................10
Apply Power ������������������������������������������������������������������������������������������������������������������������������������������������10
Applicaon Diagram �������������������������������������������������������������������������������������������������������������������������������� 11
RS232 Port Conguraon Soware Usage ������������������������������������������������������������������������������������������������ 12
Overview �����������������������������������������������������������������������������������������������������������������������������������������������������12
Downloading RS232 Port Conguraon Soware ................................................................................12
Making a PC Connecon.......................................................................................................................12
Running RS232 Automaon Conguraon Soware ����������������������������������������������������������������������������������13
Serial Sengs for DL-3H1U-WP-W �������������������������������������������������������������������������������������������������������������14
Conguring RS232 Serial Commands ����������������������������������������������������������������������������������������������������������16
Conguring System Timeout �����������������������������������������������������������������������������������������������������������������������19
RS232 / CEC Control Conguraon������������������������������������������������������������������������������������������������������������ 20
CEC Setup and Control ��������������������������������������������������������������������������������������������������������������������������������21
RS232 Control and Conguraon ����������������������������������������������������������������������������������������������������������������22
System / Factory Default �����������������������������������������������������������������������������������������������������������������������������24
Technical Specicaons ���������������������������������������������������������������������������������������������������������������������������� 25

DL-3H1U-WP-W Owners Manual
5
The DigitaLinx DL-3H1U-WP-W is a 3x1 auto switching HDBaseT 2.0 transmier that supports the long
distance transport of HDMI and High Speed USB 2.0 signals up to 100 meters / 330’ using category
cabling. The DL-3H1U-WP-W is 4K compable with a max resoluon of 4K@60Hz / 4:2:0 8bit deep
color. An addional analog audio pass through input is located on the wall plate that allows for audio
distribuon to the HDBaseT receiver side. With 48V integrated PoH, the DL-3H1U-WP-W can be
powered via HDBaseT receiver with a PSE module or the wall plate can be powered by a local power
supply. The DL-3H1U-WP-W is ideal for situaons where USB must be extended alongside HDMI for
display interacvity for items such as interacve whiteboards or projectors.
The DL-3H1U-WP-W gives you the ability to automate the display power ON by using pre-loaded RS232
commands whenever a video signal is introduced to the system using either HDMI input. It will also turn
the display power OFF aer a specied amount of me has passed when no video signal is present. It
also gives you the ability to turn the display ON or OFF as well and switch from one input to another
manually from the transmier face plate.
NOTE: The DL-3H1U-WP-W HDBaseT transmier must be used with the DL-HD2-RX or the DL-HD2A-RX
HDBaseT 2.0 receiver (sold separately) to complete the circuit.
Product Overview
Package Contents
• DL-3H1U-WP-W HDBaseT Wall Plate Transmier
• (1) Quick Install Guide
• (1) 2 pin Phoenix Male Connector
• (1) 2 gang Decorator style wall plate cover with screws
• (1) 2m / 6’ USB A to B Cable

DL-3H1U-WP-W Owners Manual
6
Front and Rear Panel
Transmier View
1. HDMI IN1, IN2, IN3 - HDMI inputs 1-3
2. RESET - Factory default reset buon
3. HDMI LEDs
• When ON; Corresponding HDMI input signal is being transmier
• When OFF; No HDMI signal is being transmied or signal is unstable
4. HDCP LED
• When ON; HDCP video is being transmied
• When BLINKING; Non-HDCP video is being transmied
• When OFF; No video is being transmied
5. LINK LED
• When ON; HDBaseT Link is normal
• When OFF / BLINKING; No HDBaseT link or link error
6. POWER LED
• When ON; The transmier is powered on
• When OFF; The transmier is powered o

DL-3H1U-WP-W Owners Manual
7
Transmier View (connued)
7. INPUT - Input Selecon Buon
8. DISPLAY - Display On/O Buon
9. AUDIO IN - Pass-through Audio Input
10. USB - USB B Input
11. UPDATE - Micro USB Service Port for Firmware Update
12. HDBT OUT - RJ45 / HDBaseT Output
13. DC12V - DC12V Power Supply Input

DL-3H1U-WP-W Owners Manual
8
Installaon Instrucons
Quick Start
1. Connect HDBaseT Link
2. Connect A/V sources
3. Connect USB peripherals
4. Connect display
5. Connect audio (oponal)
6. Connect and congure control (oponal)
7. Apply power
Connect HDBaseT Link
TIA/EIA-568B
Orange/White
Orange
Green/White
Blue
Blue/White
Green
Brown/White
Brown
Pin 1
Pin 2
Pin 3
Pin 4
Pin 5
Pin 6
Pin 7
Pin 8
1 8
Connect a category cable from the DL-3H1U-WP-W HDBaseT output to the DL-HD2-RX or DL-HD2A-RX receivers
HDBaseT input (sold seperately).
HDBaseT Connecon
Twisted Pair Wiring
Use TIA/EIA-568B wiring for Category 6
connecon between the transmier and
receiver
To ensure proper performance of the DL-3H1U-WP-W it is recommended that you use solid
core shielded Category 6 F/UTP cabling at a minimum. Category 5e F/UTP may perform well
but may not support power over HDBaseT reliably.
For opmized performance use the following Liberty Wire and Cable branded cabling;
Category 6 plenum; 24-4P-P-L6SH
Category 6A plenum; 24-4P-P-L6ASH
Category 6 NON-plenum; 24-4P-L6SH
Category 6A NON -plenum; 24-4P-L6ASH
When using shielded category cabling ALWAYS...
....use shielded connectors
....properly ground the category cable

DL-3H1U-WP-W Owners Manual
9
USB Host
USB Client (Receiver)
Connect a USB host device to the USB B input using a USB A to B cable that is less than or equal to 5 meters in
length.
Connect a USB client device to any USB A port on the DL-HD2-RX or DL-HD2A-RX receiver using a USB A to A
cable that is less than or equal to 5 meters in length.
Connect HDMI source devices to the HDMI inputs using HDMI cables that are less than or equal to 5 meters
in length. For source devices that are further away, an extension device will be required to complete the
connecon.
Connecng A/V Sources
Connecng USB Peripherals
HDMI Inputs
Connecng a Display (Receiver)
HDMI Output
Connect the display devices to HDMI output on the receiver using an HDMI cable that is less than or equal to
5 meters in length.
Audio Input
Audio Output (Receiver)
Note: The DL-HD2-RX audio output only passes audio fed from the dedicated AUDIO IN port on the DL-
3H1U-WP-W transmier wall plate, it does not pass embedded HDMI audio. If this opon is required
use the DL-HD2A-RX HDBaseT receiver.
Connecng Audio
Connect an audio source to the transmiers audio input using a 3.5mm audio cable. The DL-3H1U-WP-W
supports a 3.5mm stereo unbalanced input
Connect an audio amplier to the receivers audio output using a 3.5mm audio cable. The DL-HD2-RX
supports a 3.5mm stereo unbalanced output

DL-3H1U-WP-W Owners Manual
10
Connecng Control (Receiver)
RS232 Control Wiring
Connect the DL-HD2-RX receivers RS232 port to a displays serial connecon for serial control.
Apply Power
Plug the power supply into the power input port on the rear of DL-HD2-RX receiver. The receiver will power the
transmier via HDBaseT. Twist the locking ring clockwise to prevent accidental disconnecon of power.
Note: The DL-HD2-RX RS232 port can be congured to send stored serial commands from the
DL-3H1U-WP-W
For direcons on RS232 conguraon see complete list of control commands on pg13 RS232 / CEC
Control Conguraon
Connect the display devices RX RS232 signal to TX port of the DL-HD2-RX receiver. Then connect the displays
TX RS232 signal to the RX port on the DL-HD2-RX receiver.
TX G RX
RX G TX
DL-HD2-RX
RS232 PORT
DISPLAY
RS232
PINOUT
Connecng to
TV Display

DL-3H1U-WP-W Owners Manual
11
Laptop
Document
Camera
Apple TV
Audio
Source
Interactive
Projector
HDMI
CATx
AUDIO
USB
RS232
up to 100m / 330’
DL-HD2-RX (NOT INCLUDED)
Audio Amp
Applicaon Diagram

DL-3H1U-WP-W Owners Manual
12
Downloading RS232 Port Conguraon Soware
Overview
Making a PC Connecon
The Digitalinx RS232 Automaon Conguraon Soware can be found online on the DL-3H1U-WP-W product
page under the SOFTWARE tab at www.libav.com. Download the zip le and extract the le, then run
the tool on a Windows PC that will be used to congure the DL-3H1U-WP-W.
The Digitalinx RS232 Automaon Conguraon Soware allows you to load ON and OFF serial commands
into the RS232 control port of the DL-3H1U-WP-W so the commands can be sent to a connected display or
projector to automate power when a video signal is introduced and the DL-3H1U-WP-W is in an o state.
When programming ON/OFF commands using this soware tool, it will also program the DISPLAY on/o buon
operaon of the DL-3H1U-WP-W as well.
The DL-HD2-RX compable receiver must be used to congure automaon when using this device and
the receiver will come supplied with the cable in the box. If you do not have the cable you will need
to connect a a DB9 (RS232) to USB adapter from the RS232 port of the HDBaseT receiver to your PC
to congure using the soware. The Liberty 120-DA-0004 RS232 to USB adapter can be used for this
conguraon connecon.
Once the RS232 to USB adapter has been installed on the PC, connect the USB adapter to a DB9 female
connector that is terminated to a 3 pin phoenix connector.
RS232 Port Conguraon Soware Usage

DL-3H1U-WP-W Owners Manual
13
Running RS232 Automaon Conguraon Soware
Open the conguraon soware by double clicking the conguraon tool icon. The following screen
will appear

DL-3H1U-WP-W Owners Manual
14
Serial Sengs for DL-3H1U-WP-W
To establish communicaon with the soware, select the DL-3H1U-WP-W under DEVICE TYPES.

DL-3H1U-WP-W Owners Manual
15
Aer a device is selected, select the Port number in the drop down eld that the USB to RS232 is
connected to on the computer. Typically this will default when starng the soware aer the serial
COM connecon has been made.
Enter in the baud rate for the DL-3H1U-WP-W in the BAUD RATE eld and click CONNECT. The default
baud rate for the DL-3H1U-WP-W is 115200.
If you are successfully connected to the unit, a green light will appear next the Connect buon which
will now read DISCONNECT.
To obtain current RS232 sengs you can click the GET CURRENT SETTINGS buon.

DL-3H1U-WP-W Owners Manual
16
Conguring RS232 Serial Commands
In the Power on/o pre-loading secon, enter in the Baud Rate of the display device by selecng the
correct seng from the drop down menu and the click Send. The baud rate of the display device will
be located in the manufacturers owners manual of the display device.
If connecon was successful, the green light next to the Send buon will illuminate and pop up window will
nofy you of the successful connecon.
Once you have entered in the Baud Rate of the display device in the soware, the
DL-3H1U-WP-W default baud rate seng will be changed to the same rate seng as
well. The RS232 conguraon tool will reset the connecon to the device using the newly
selected baud rate.

DL-3H1U-WP-W Owners Manual
17
Enter the displays POWER ON and OFF/STANDBY command for the display device in the Power on and Power o
eld. Serial commands for displays and projectors are provided by the display manufacturer and can be found in
the products instruconal documentaon.
Click the Send buons adjacent to both the Power On and Power o eld to upload the commands. If upload is
successful a green light next to the Send buon will illuminate and a pop up window will conrm a successful
upload.
If the ASCII based commands require a terminator, choose the appropriate terminator from the Set terminator
secon and then click the Set buon. If upload is successful a green light next to the Set buon will illuminate
and a pop up window will conrm a successful upload. Note, this opon is only for ASCII based commands, this
is not required or is an opon for HEX based commands.
Explanaon of terminator menu:
\r = Carriage Return <CR>
\n = Line Feed <LF>
\r\n = Carriage Return + Line Feed <CR><LF>
none = No terminator required

DL-3H1U-WP-W Owners Manual
18
By default, ASCII command type is used. If the command for display ON/OFF is only available in Hex coding,
check the HEX buon next to the Power On command eld and then enter the Hex command in the Power On
and Power O eld.
NOTE: When entering in HEX formaed commands, place a space between each character. Prex and sux
characters are not required i.e. 0x01 0x 02, 01h, 02h. Correct formaed example is below.

DL-3H1U-WP-W Owners Manual
19
By default system meout is set to 3 minutes. Aer there is no present video signal passing through the
DL-3H1U-WP-W for 3 minutes the system will transmit the Power o command to the display or projector and
trigger the second relay port switch.
To change the default system meout, choose the desired me from the Delay drop down menu underneath
the Power o command eld.
Click the Send buon adjacent to the Power o eld. If upload is successful a green light next to the Send buon
will illuminate and a pop up window will conrm a successful upload.
Conguring System Timeout

DL-3H1U-WP-W Owners Manual
20
RS232 / CEC Control Conguraon
RS232 Sengs: 115200 baud, 8 Data bits, 1 Stop bit, Parity = None
The commands are case sensive
All responses end in a carriage return (hex 0D) and a line feed (hex 0A).
<CR> = Carriage return (Hex 0D)
<LF> = Line Feed (Hex 0A)
To congure control using command line interface so a connected display can be controlled by the wall plate,
connect the DL-3H1U-WP-W USB service port to a local computer using a micro USB to USB A cable. Use a
RS232 scripng tool like Puy or Docklight to issue the commands in this guide to set the CEC and RS232
sengs according to the displays manufacturers instrucons.
Table of contents
Other DigitaLinx Transmitter manuals
Popular Transmitter manuals by other brands
Extron electronics
Extron electronics XTP T HWP 101 Setup guide
Speck
Speck IP-MDOCK user manual
AALogic
AALogic ST-101 user manual

Yellobrik
Yellobrik OTX 1742-2 quick reference
Greystone Energy Systems
Greystone Energy Systems CDD3A1 Series installation instructions
ICP DAS USA
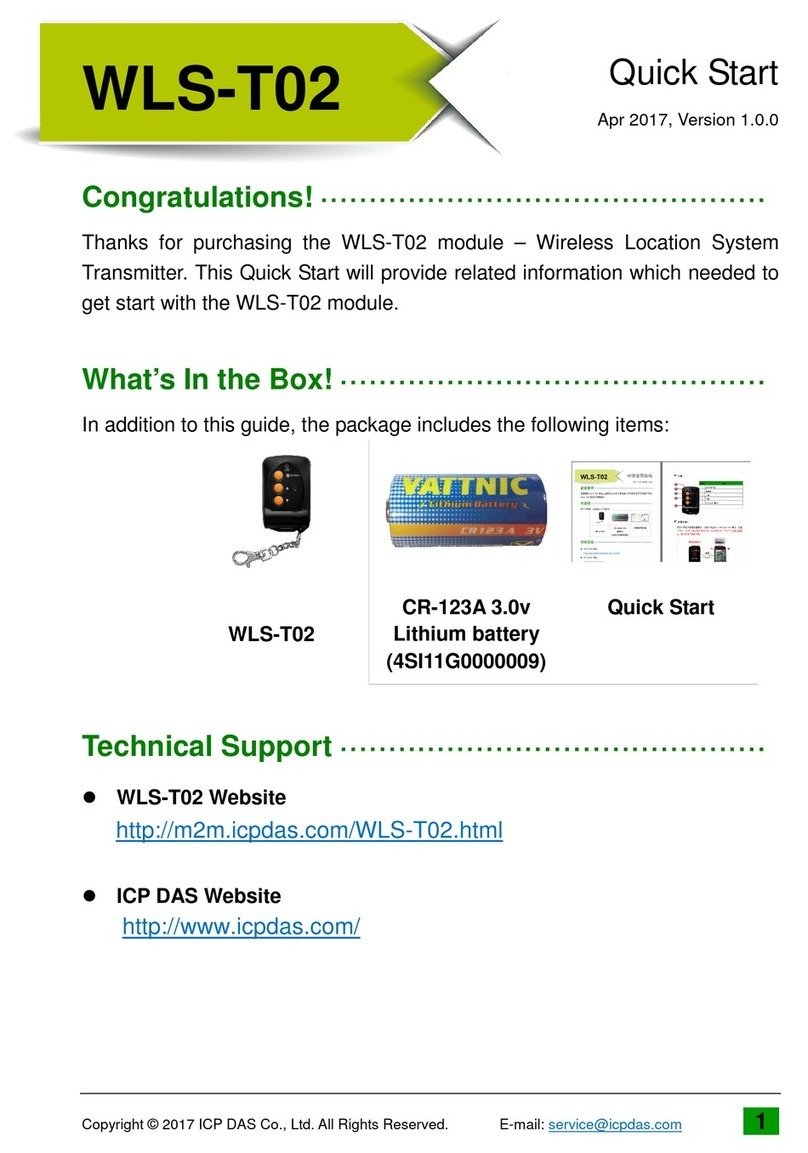
ICP DAS USA WLS-T02 quick start
