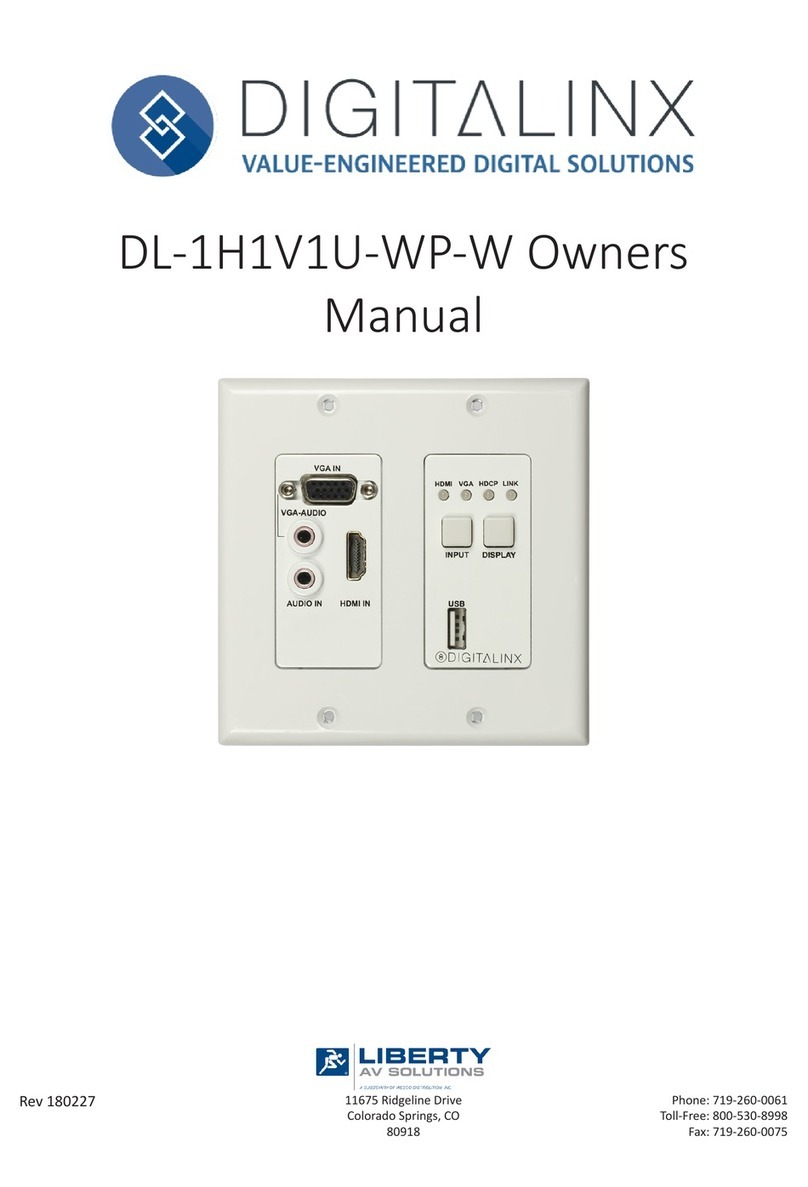
DigitaLinx DL-2H1V1U-WP-W User manual

11675 Ridgeline Drive
Colorado Springs, CO
80921
Rev 191028 Phone: 719-260-0061
Toll-Free: 800-530-8998
Fax: 719-260-0075
DL-2H1V1U-WP-W Quick Install Guide
This guide is for quick installaon only.
For complete owners manual go to www.libav.com or use a QR reader to access the
manual via QR code below.
Scan QR Code with your Smart-phone or Tablet

DL-2H1V1U-WP-W Quick Guide
2
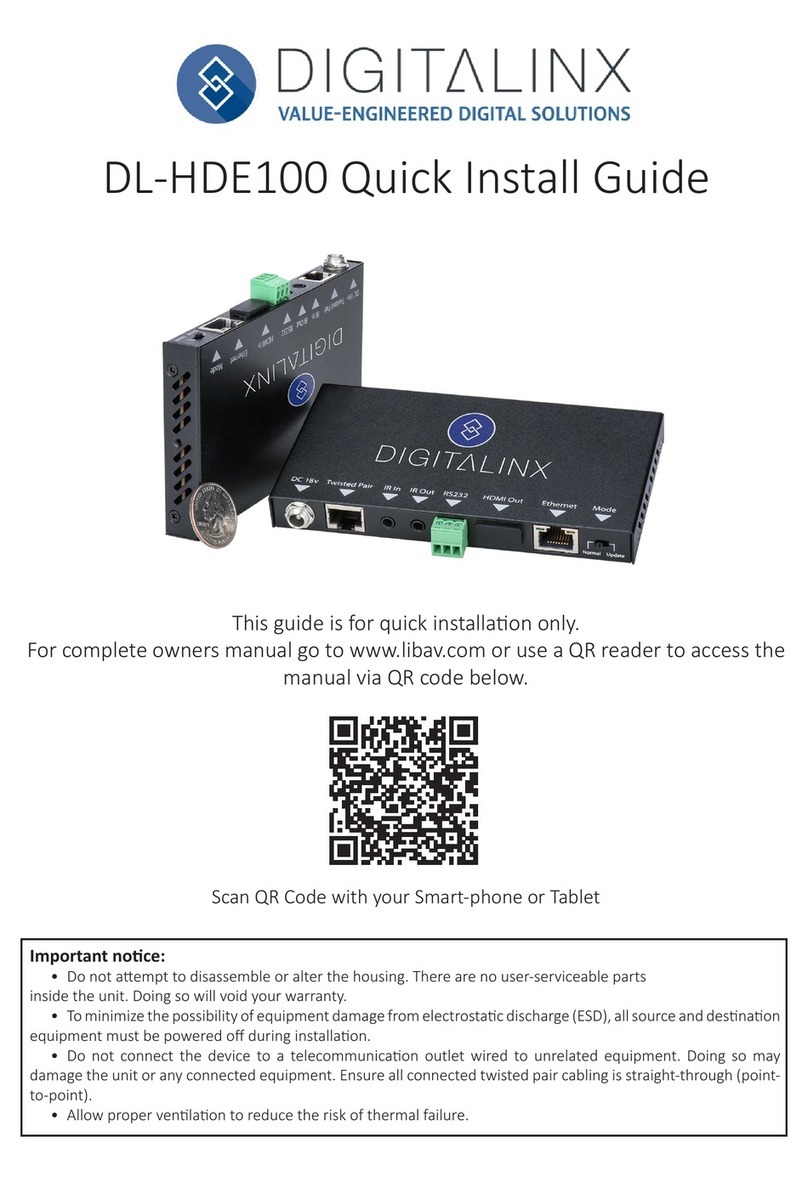
The DigitaLinx DL-2H1V1U-WP-W is a 3x1 auto switching HDBaseT 2.0 transmier that supports the
long distance transport of HDMI, VGA and High Speed USB 2.0 signals up to 100 meters / 330’ using
category cabling. The DL-2H1V1U-WP-W is 4K compable with a max resoluon of 4K@60Hz / 4:2:0
8bit deep color. An addional analog audio pass through input is located on the wall plate that allows
for audio distribuon to the HDBaseT receiver side. With 48V integrated PoH, the DL-2H1V1U-WP-W
can be powered via HDBaseT receiver with a PSE module or the wall plate can be powered by a local
power supply.
The DL-2H1V1U-WP-W gives you the ability to automate the display power ON by using pre-loaded
RS232 commands whenever a video signal is introduced to the system using either HDMI input. It will
also turn the display power OFF aer a specied amount of me has passed when no video signal is
present. The DL-2H1V1U-WP-W also gives you the ability to turn the display ON or OFF as well and
switch from one input to another manually using the control buons on the transmier face plate. For
a complete list of programming commands to automate display power status, please see the complete
owners manual online at www.libav.com or by using the QR code on the print page of this guide.
The DL-2H1V1U-WP-W is ideal for situaons where USB must be extended alongside HDMI for display
interacvity for items such as interacve whiteboards or projectors.
NOTE: The DL-2H1V1U-WP-W HDBaseT transmier must be used with the DL-HD2-RX or the
DL-HD2A-RX HDBaseT 2.0 receiver (sold separately) to complete the extension circuit.
Product Overview
Package Contents
• DL-2H1V1U-WP-W HDBaseT Wall Plate Transmier
• (1) Quick Install Guide
• (1) 2 pin Phoenix Male Connector
• (1) 2 gang Decorator style wall plate cover with screws
• (1) 2m / 6’ USB A to B Cable

DL-2H1V1U-WP-W Quick Guide
3
Front Panel View
1. VGA IN - VGA Input
2. VGA Audio- VGA Audio Input
3. HDMI IN1 - HDMI inputs 1
4. HDMI IN2 - HDMI inputs 2
5. RESET - Factory default reset buon
6. VGA LED
• When ON; Corresponding VGA input signal is being transmied
• When OFF; No VGA signal is being transmied or signal is unstable
7. HDMI LEDs
• When ON; Corresponding HDMI input signal is being transmied
• When OFF; No HDMI signal is being transmied or signal is unstable
8. HDCP LED
• When ON; HDCP video is being transmied
• When BLINKING; Non-HDCP video is being transmied
• When OFF; No video is being transmied
9. LINK LED
• When ON; HDBaseT Link is normal
• When OFF / BLINKING; No HDBaseT link or link error
10. POWER LED
• When ON; The transmier is powered on
• When OFF; The transmier is powered o
11. INPUT - Input Selecon Buon
12. DISPLAY - Display On/O Buon

DL-2H1V1U-WP-W Quick Guide
4
13. AUDIO IN - Pass-through Audio Input
14. USB- USB B Input
15. UPDATE - Micro USB Service Port for Firmware Update
16. HDBT OUT - RJ45 / HDBaseT Output
17. DC12V - DC12V Power Supply Input

DL-2H1V1U-WP-W Quick Guide
5
Connecvity Instrucons
1. Verify all components included with the extender set are present before installaon.
2. Turn o power and disconnect the audio/video equipment by following the manufacturer’s
instrucons.
3. Connect Category 6 or greater twisted pair cable with RJ45 connectors between the transmier
(DL-2H1V1U-WP-W) and the receiver (DL-HD2-RX or DL-HD2A-RX, sold separately) HDBaseT ports .TIA/
EIA-568B straight-through wiring connecons must be used with all HDBaseT extenders.
4. Connect an HDMI cable between the AV source and the transmier (DL-2H1V1U-WP-W).
5. Connect a USB A TO B cable (provided) between a USB host peripheral and the transmier
(DL-2H1V1U-WP-W).
6. Connect the power supply adapter to the receiver (DL-HD2-RX/DL-HD2A-RX, sold separately) to
power the DL-2H1V1U-WP-W using HDBaseT or connect a 12V power supply to the 2 port phoenix
power input of the DL-2H1V1U-WP-W to power locally.
7. Power on aached audio/video and USB devices.

DL-2H1V1U-WP-W Quick Guide
6
Cabling Wiring Requirements
Twisted Pair Wiring
Use TIA/EIA-568B wiring for Category 6
connecon between send and receive
units.
HDBaseT Cabling
To ensure proper performance of the DL-2H1V1U-WP-W, it is recommended that you
use solid core, shielded Category 6 F/UTP cabling at a minimum. Category 5e F/UTP may
perform well but may not support power over HDBaseT reliably over longer distances.
For opmized HDBaseT performance use the following Liberty Wire and Cable branded
cabling;
Category 6 plenum; 24-4P-P-L6SH
Category 6A plenum; 24-4P-P-L6ASH
Category 6 NON-plenum; 24-4P-L6SH
Category 6A NON -plenum; 24-4P-L6ASH
When using shielded category cabling ALWAYS ...
....use shielded connectors
....properly ground the category cable

DL-2H1V1U-WP-W Quick Guide
7
Technical Specicaons
Video
Video Inputs (1) VGA, (2) HDMI
Video Input Connector (1) DB-15, (2) HDMI type A
Input Video Signal HDMI, VGA
Output Video Signal HDBaseT 2.0
Input Resoluons Supported HDMI: 4096 x 2160@24/30/60 (YUV4:2:0); 3840 x 2160@24/30/60
(YUV4:2:0); 2560 x 1600@60; 2560 x 1440@60; 1920 x 1200@60; 1920
x 1080@60; 1680 x 1050@60; 1600 x 1200@60; 1600 x 900@60; 1440 x
990@60; 1366 x 768@60; 1360 x 768; 1280 x 1024@60; 1280 x 960@60;
1280 x 800@60; 1280 x 768@60; 1280 x 720@60; 1024 x 768@60; 800 x
600@60
VGA: 1920x1080@60; 1920 x 1200@60; 1680 x 1050@60; 1600 x
1200@60; 1600 x 900@60; 1440 x 900@60; 1360 x 768@60; 1280 x
1024@60; 1280 x 960@60; 1280 x 800@60; 1280 x 720@60; 1024 x
768@60; 800 x 600@60
Standards Compliant with HDMI 2.0 & HDCP 2.2
USB
Supported USB Standard Up to USB 2.0 High Speed up to 190Mbps
USB Port Type USB B
Audio
Supported input formats HDMI: PCM 2.0, LPCM 5.1, LPCM 7.1, Dolby TrueHD, DTS-HD Master Audio
Unbalanced 3.5.mm: Stereo
Audio Input (1) Unbalanced stereo 3.5mm (VGA)
(1) Unbalanced stereo 3.5mm (pass through)
General
System Bandwidth 10.2Gbps
Transmission Distance 1080P @ 100m or less when using Cat6A F/UTP, 4K @ 70m or less when
using Cat6 F/UTP
Operang Temperature 0 ~ +45 C (32 F to +113 F)
Storage Temperature -20 - +70 C (-4 - +158 F)
Humidity 10% ~ 90%
Power Supply DC12V / PoH
Power Consumpon 7 was (maximum)
Dimension (W*H*D) 106mm*91mm*36mm / 4.1”*3.6”*1.4”
Weight 0.18kg, .4 lbs
Warranty 5 years
Cercaon CE, FCC, RoHS

Thank you for your purchase.
For Technical Support please call our toll free number at
800-530-8998 or email us at supportlibav@libav.com
www.libav.com
Digitalinx is a brand of:
11675 Ridgeline Drive
Colorado Springs, Colorado
80921 USA
Phone: 719-260-0061
Fax: 719-260-0075
Toll-Free: 800-530-8998
Table of contents
Other DigitaLinx Transmitter manuals
Popular Transmitter manuals by other brands
Emerson
Emerson Rosemount 1208C quick start guide

Dwyer Instruments
Dwyer Instruments 650 Series Specifications-installation and operating instructions

Berker
Berker KNX-RF operating instructions

Servonaut
Servonaut AIR-U manual

Dwyer Instruments
Dwyer Instruments PMT2 Series Installation and operating instructions
Widex
Widex SCOLA TEACH44 User instructions