8
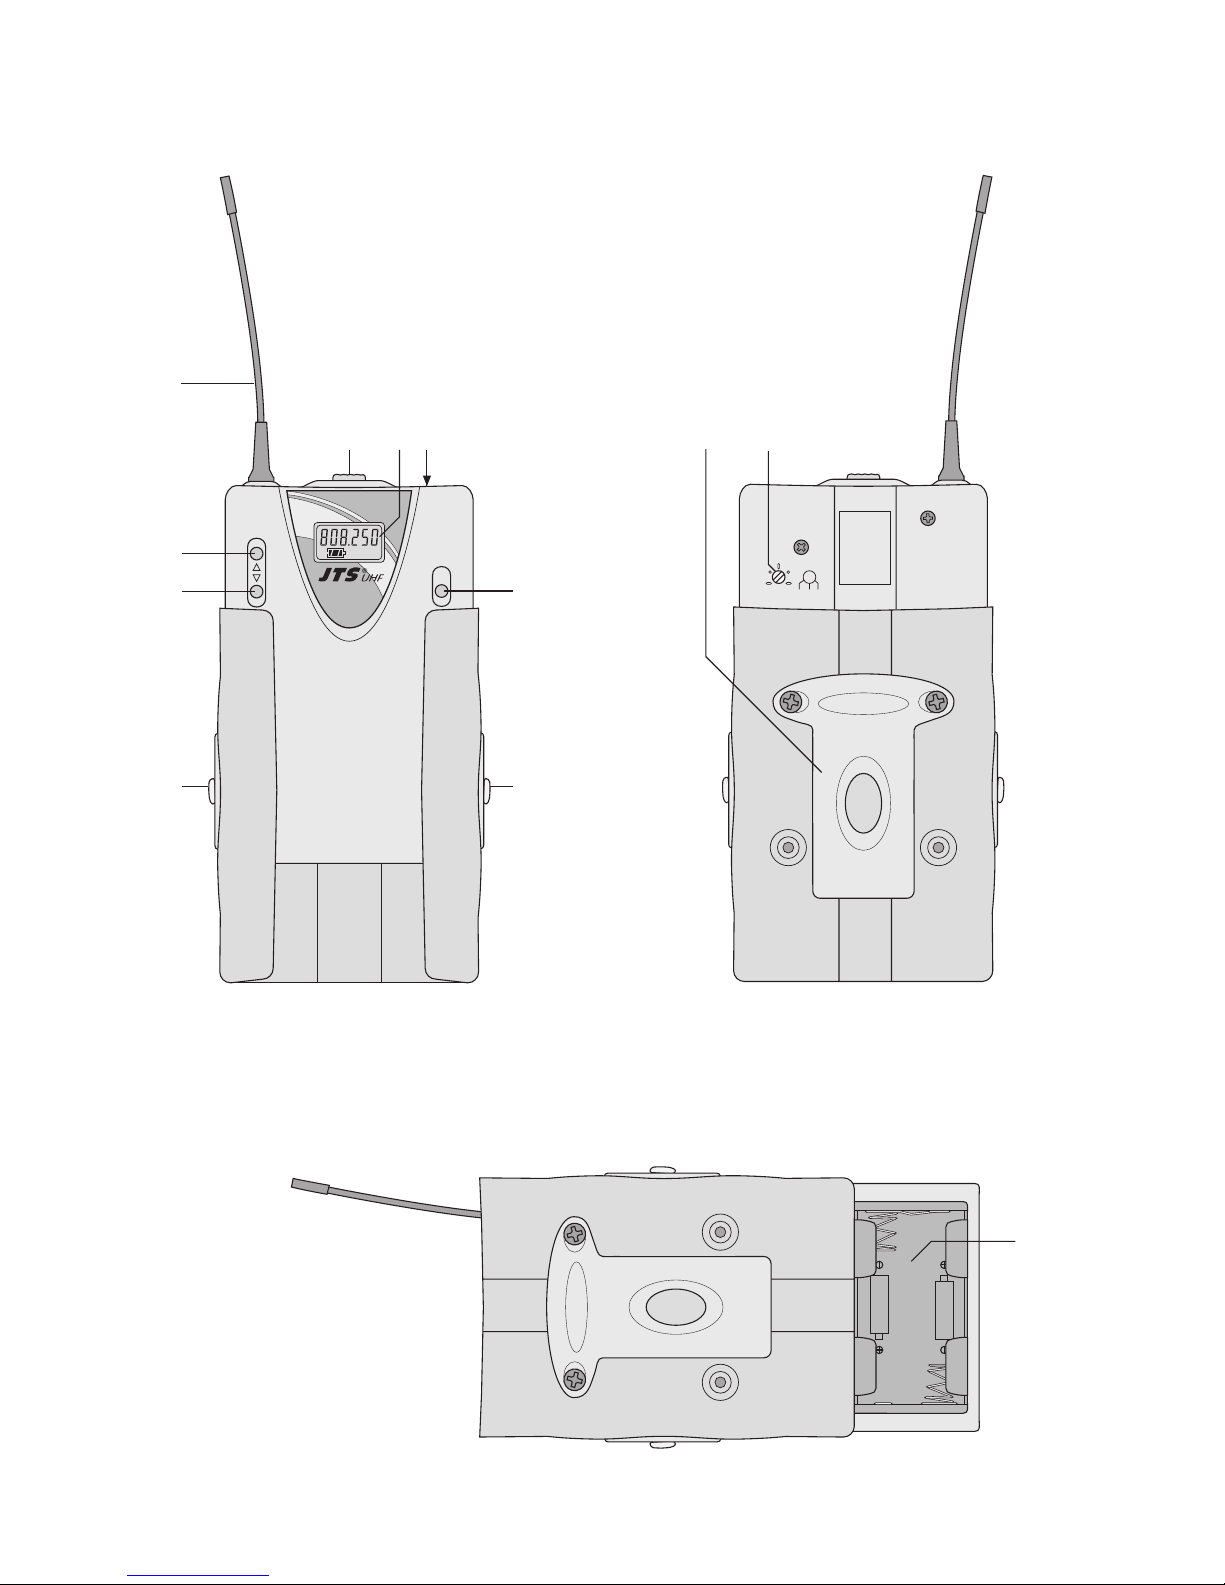
displaced in its casing. Slide the control part down-
wards until it locks into place again. The battery
compartment (11) on the rear side will be accessi-
ble (see fig. 3).
2) Insert two 1.5 V batteries of size AA (R6) with the
positive and negative connections as indicated in
the compartment.
3) Unlock the control part again, slide it back to its pre-
vious position and let it lock into place.
5Setting the Transmitter into Operation
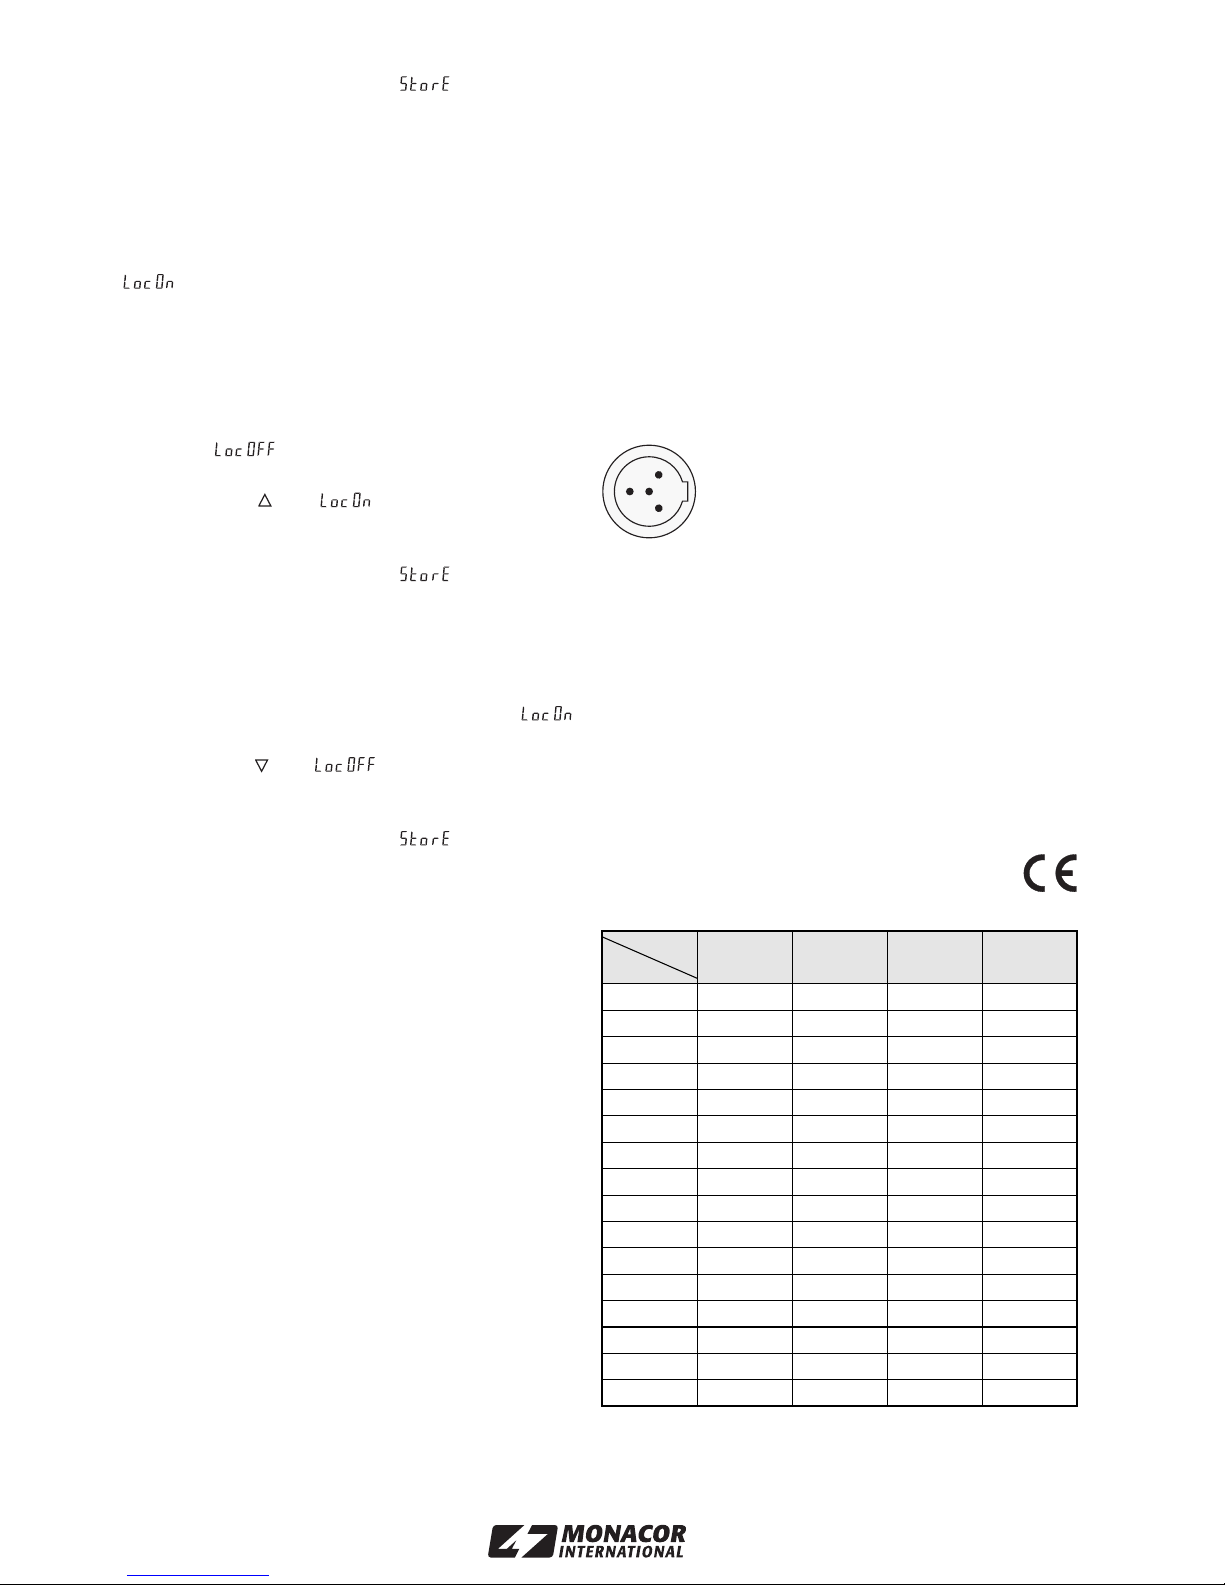
1) Connect the Lavalier microphone CM-501 supplied
to the mini XLR jack INPUT (4) and fasten it to your
clothes (e. g. tie or lapel) by means of the clip.
It is also possible to use another matching JTS
microphone with 4-pole mini XLR plug (see chap-
ter 3).
2) Before switching on the pocket transmitter, set the
receiver to an interference-free transmission chan-
nel (see instruction manual of the receiver).
3) Then switch on the transmitter: Slide the switch (2)
to the position ON. The display (3) will indicate the
transmission group adjusted with the corresponding
transmission channel (in the group mode), e. g.
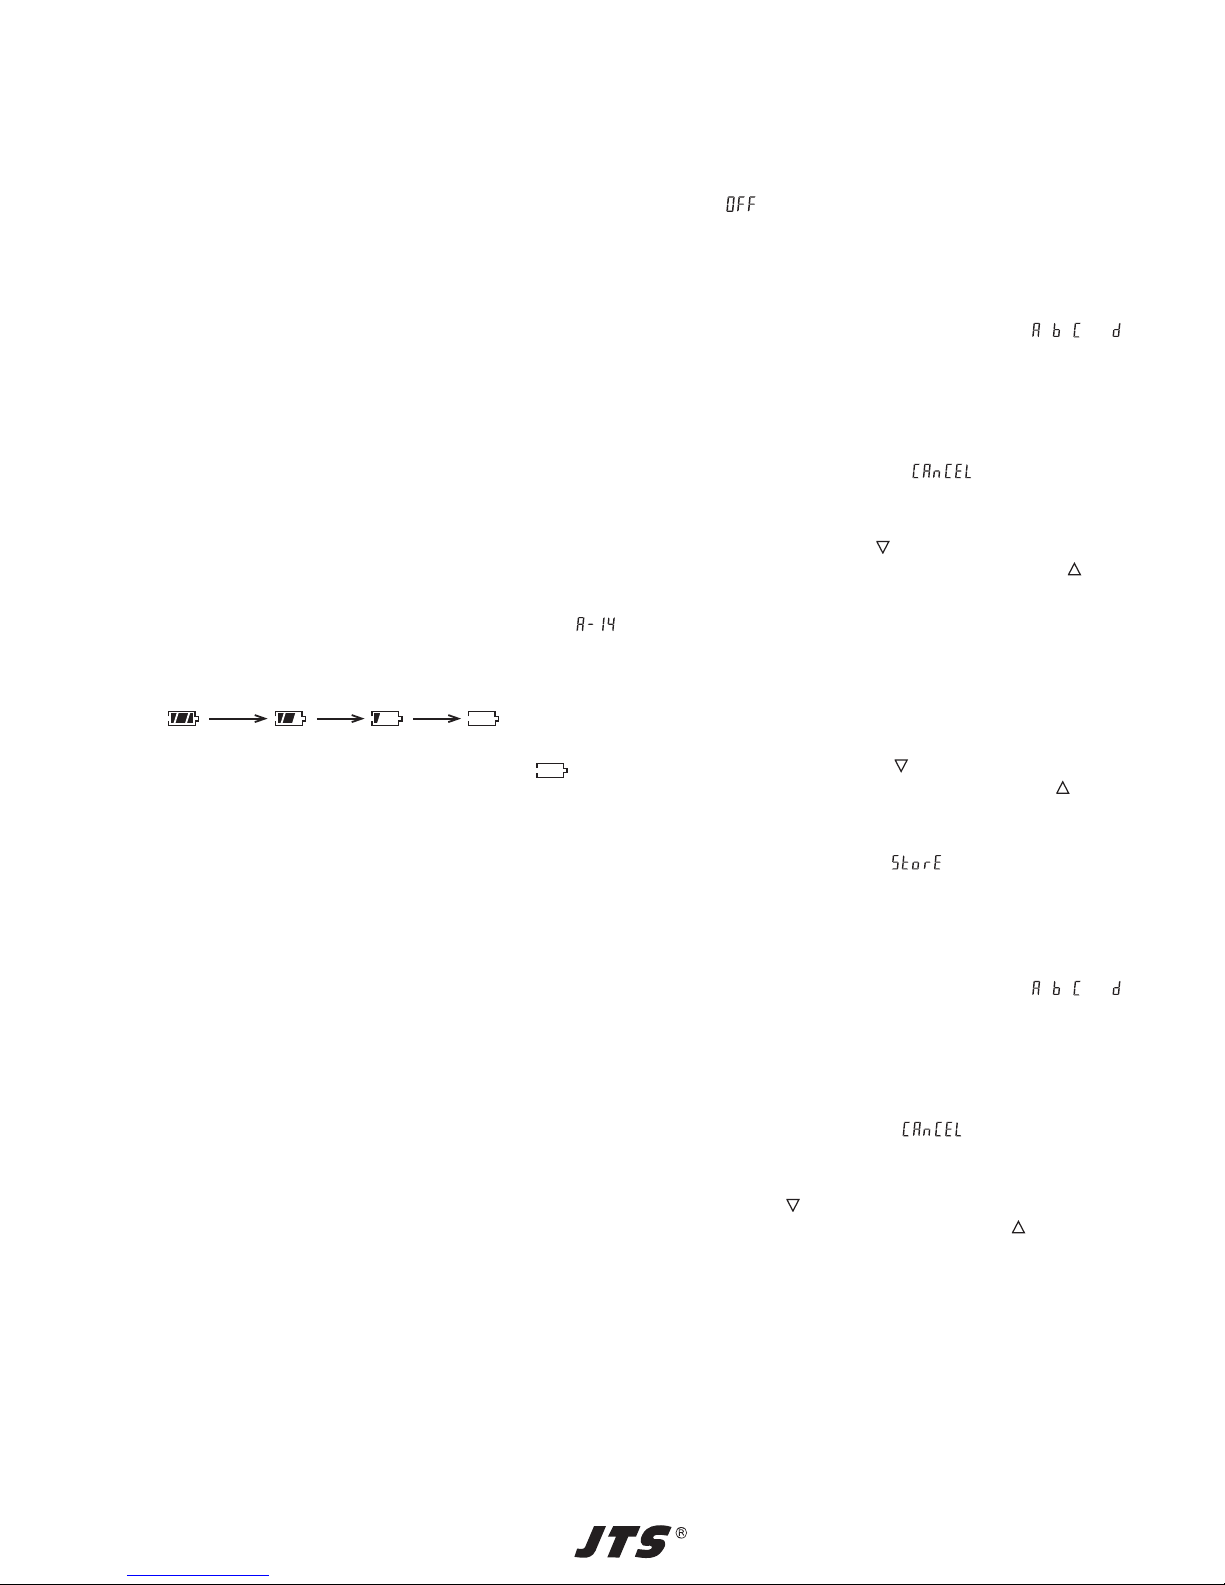
or the transmission frequency (in the frequency
mode) and a battery symbol showing the current
charging status of the batteries in several steps:
fully charged exhausted
If the batteries are exhausted (indication ), the
colour of the display on the receiver will additionally
change from green to orange as a warning.
4) Press the locking buttons (8) on the sides of the
transmitter and slide the control part upwards in its
casing until it locks into place (see fig. 1).
5) Set the transmitter to the same transmission
group and the same transmission channel or the
same radio frequency adjusted on the receiver:
→chapter 5.1 or chapter 5.2.
6) Speak/sing into the microphone connected. The
volume level can be readjusted by changing the
sensitivity via the trimming control GAIN (10) on the
rear side of the control part (fig. 2). For this pur-
pose, use the adjusting key supplied. Adjust the
transmitter to the optimum level according to the
indication AF on the display on the receiver. If the
level is too high, the transmitter will distort; in this
case, turn back the control (if necessary, turn it to
the left stop). If the level is too low, a poor signal-
noise ratio will result; in this case, advance the con-
trol correspondingly.
7) The transmitter can be locked to prevent accidental
change of the radio frequency or switching off
→chapter 5.3.
8) After all adjustments have been made, unlock the
control part, slide it back to its previous position and
let it lock into place. Fasten the transmitter to your
clothes (e. g. belt or waistband) by means of the
clip (9).
To modify the position of the transmitter on your
clothes, the clip can also be mounted in a different
way: Unscrew the clip, turn it (clockwise or counter-
clockwise by 90° or by 180°), then retighten it.
9) To switch off the transmitter after operation, set the
power switch (2) to OFF. The display will shortly
show before it is extinguished completely.
5.1 Adjusting the transmission group and the
transmission channel
1) Keep the key SET (7) pressed for 2 s until either the
indication “MHZ” or the group indication , , or
starts flashing on the display. If the indication “MHZ”
starts flashing, shortly actuate the key SET once
again to go to the group adjusting mode.
Note: To exit the adjusting mode without making an
adjustment, press the key SET so many times
until the display shows . The transmitter
will then return to normal operation.
2) Use the cursor keys to adjust the transmission
group: With the key (6), the groups will be
scanned in descending order; with the key (5),
they will be scanned in ascending order. The corre-
sponding channels and transmission frequencies
can be found in the table fig. 4 on page 9.
3) Press the key SET again to call the channel ad-
justing mode. On the display, the channel indication
1–16 will start flashing.
4) Use the cursor keys to adjust the transmission
channel: With the key , the channels will be
scanned in descending order; with the key , they
will be scanned in ascending order.
5) To memorize the adjustment, press the key SET. The
display will shortly show , the adjusting mode
will be exited, and the unit will go to normal operation.
5.2 Adjusting the transmission frequency
1) Keep the key SET (7) pressed for 2 s until either the
indication “MHZ” or the group indication , , or
starts flashing on the display. If the group indication
starts flashing, shortly actuate the key SET twice
again to go to the frequency adjusting mode.
Note: To exit the adjusting mode without making an
adjustment, press the key SET so many times
until the display shows . The unit will then
return to normal operation.
2) Use the cursor keys to adjust the frequency: Each
time the key (6) is pressed, the frequency will be
decreased by 25 kHz; each time the key (5) is pres-
sed, it will be increased by 25 kHz. To scan a wide fre-
quency range, keep the corresponding key pressed.
Note: If several wireless transmission systems are
operated at the same time, the radio frequencies
of the individual systems should be carefully
matched to each other to prevent interference.
Examples for frequencies for simultaneous op-
eration of several systems can be found in the
Internet on www.jts-germany.de under “Informa-
tionen/Intermodulationsfreies Frequenzsetup”.
ENGLISH