Digitool Solutions DWU-2501 User manual

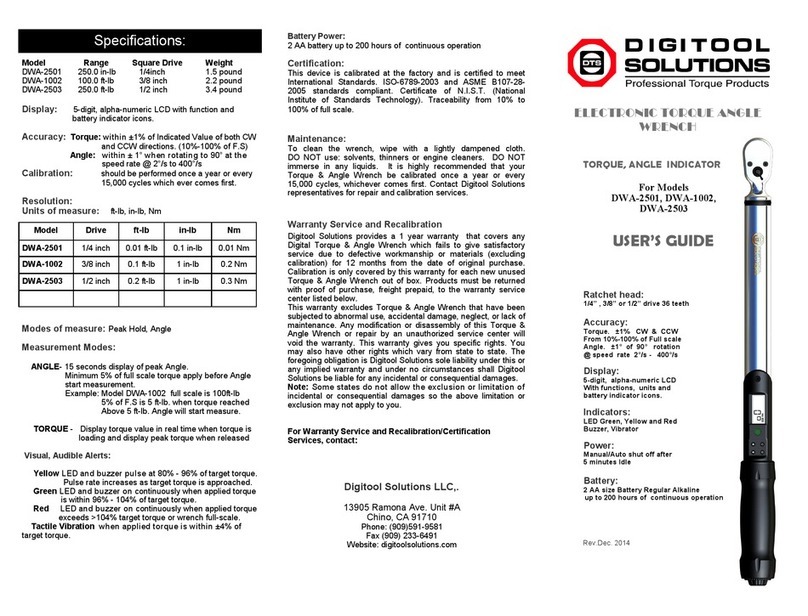
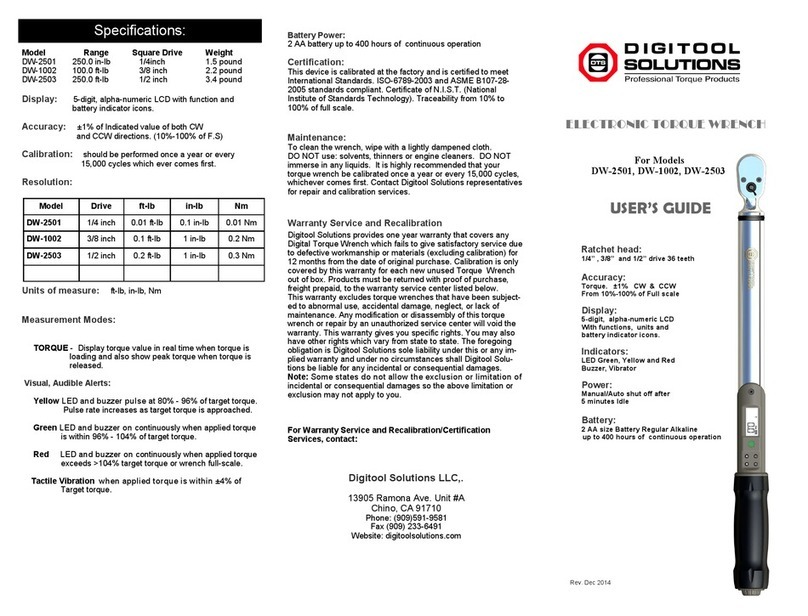
Model Range Square Drive Weight
DWU-2501 250.0 in-lb 1/4inch 1.5 pound
DWU-1002 100.0 ft-lb 3/8 inch 2.2 pound
DWU-2503 250.0 ft-lb 1/2 inch 3.4 pound
Display: 5-digit, alpha-numeric LCD with function and
battery indicator icons.
Accuracy: ±1% of Indicated value of both CW
and CCW directions. (10%-100% of F.S)
Calibration: should be performed once a year or every
15,000 cycles which ever comes first.
Resolution:
Units of measure: ft-lb, in-lb, Nm
Measurement Modes:
TORQUE - Display torque value in real time when torque is
loading and also show peak torque when torque is
released.
Visual, Audible Alerts:
Yellow LED and buzzer pulse at 80% - 96% of target torque.
Pulse rate increases as target torque is approached.
Green LED and buzzer on continuously when applied torque
is within 96% - 104% of target torque.
Red LED and buzzer on continuously when applied torque
exceeds >104% target torque or wrench full-scale.
Tactile Vibration when applied torque is within ±4% of
Target torque.
Battery Power:
2 AA battery up to 400 hours of continuous operation
Certification:
This device is calibrated at the factory and is certified to meet
International Standards. ISO-6789-2003 and ASME B107-28-
2005 standards compliant. Certificate of N.I.S.T. (National
Institute of Standards Technology). Traceability from 10% to
100% of full scale.
Maintenance:
To clean the wrench, wipe with a lightly dampened cloth.
DO NOT use: solvents, thinners or engine cleaners. DO NOT
immerse in any liquids. It is highly recommended that your
torque wrench be calibrated once a year or every 15,000 cycles,
whichever comes first. Contact Digitool Solutions representatives
for repair and calibration services.
Warranty Service and Recalibration
Digitool Solutions provides one year warranty that covers any
Digital Torque Wrench which fails to give satisfactory service due
to defective workmanship or materials (excluding calibration) for
12 months from the date of original purchase. Calibration is only
covered by this warranty for each new unused Torque Wrench
out of box. Products must be returned with proof of purchase,
freight prepaid, to the warranty service center listed below.
This warranty excludes torque wrenches that have been subject-
ed to abnormal use, accidental damage, neglect, or lack of
maintenance. Any modification or disassembly of this torque
wrench or repair by an unauthorized service center will void the
warranty. This warranty gives you specific rights. You may also
have other rights which vary from state to state. The foregoing
obligation is Digitool Solutions sole liability under this or any im-
plied warranty and under no circumstances shall Digitool Solu-
tions be liable for any incidental or consequential damages.
Note: Some states do not allow the exclusion or limitation of
incidental or consequential damages so the above limitation or
exclusion may not apply to you.
For Warranty Service and Recalibration/Certification
Services, contact:
Digitool Solutions LLC,.
13905 Ramona Ave. Unit #A
Chino, CA 91710
Phone: (909)591-9581
Fax (909) 233-6491
Website: digitoolsolutions.com
Ratchet head:
1/4” , 3/8” and 1/2” drive 36 teeth
Accuracy:
Torque. ±1% CW & CCW
From 10%-100% of Full scale
Display:
5-digit, alpha-numeric LCD
With functions, units and
battery indicator icons.
Indicators:
LED Green, Yellow and Red
Buzzer, Vibrator
Power:
Manual/Auto shut off after
5 minutes Idle
Battery:
2 AA size Battery Regular Alkaline
up to 400 hours of continuous
operation
Model Drive ft-lb in-lb Nm
DWU-2501 1/4 inch 0.01 ft-lb 0.1 in-lb 0.01 Nm
DWU-1002 3/8 inch 0.1 ft-lb 1 in-lb 0.2 Nm
DWU-2503 1/2 inch 0.2 ft-lb 1 in-lb 0.3 Nm
Specifications:
ELECTRONIC TORQUE WRENCH
For Models
DWU-2501, DWU-1002, DWU-2503
USER’S GUIDE
Rev. Aug 2016

1. Setup:
a. Turn on the torque wrench by pushing the M key.
b. In TORQUE mode
Press the U key to view the units of measure.
Repeatedly push the U key to display the desired units
of measure, ft-lb, in-lb or Nm.
TORQUE - Displays torque value in real time when torque is
loading and also shows peak torque when torque is released.
c. Manual Power off: Hold the M key for more than 5 sec
d. Push the ▲ or ▼ key to view the TARGET TORQUE
value. Use these same keys to increase or decrease to
the desired value.
During loading, the torque wrench will display applied
torque in real time. The yellow LED and the buzzer will
begin to pulse at 80% of TARGET TORQUE, and getting
faster as the TARGET TORQUE value is approached.
2. Application:
a. With the power is on, insert the torque wrench driver into
the socket.
b. Apply torque load to the fasterner in either CW or CCW
directions. During loading, the torque wrench will display
applied torque in real time.
c. When the applied torque is within 4% of the TARGET
TORQUE value, the green LED, buzzer and vibrator
(optional) will output continuously. Stop applying torque,
as the installation is complete.
Release Indications:
Should the applied torque exceed the TARGET
TORQUE value by more than 4%, the red LED and
buzzer will trigger. If the torque applied is exceeded
125% of torque range, the display will indicate “OVER
TORQUE.”
Temperature Drift: ± 0.0015%/F
Storage Temperature 0ºF to 125ºF
Operating Temperature 40ºF to 110ºF
Humidity - up to 90% non-condensing
Re-Order Components :
DWU Torque wrench USB P/N DWU-XXXX
User ‘s Guide P/N DTS-UG– DWU
Warning - Risk of flying particles.
Read this entire User’s Guide before using
this torque wrench
Always follow good professional tool practices.
Wear Safety goggles.
Insure that all equipment is in good working
order and that ratings of the torque wrench,
tools and drives exceed the torque being
applied.
Never use the torque wrench with the power
off.
Never initiate ZeroTare with torque applied.
Do not use the wrench as a breaker bar to
loose nuts, bolts or fasteners
Save these instructions.
The “DWU” series of electronic torque wrenches establishes a
new standard in threaded faster installation tools. It features the
latest state-of-the-art sensing and micro-controller technology in a
robust tool designed for the professional mechanic.
The DW series feature +/-1% accuracy of torque reading between
10% and 100% of full scale in both CW and CCW directions
which exceeds the ASME B107.28 Standard. The wrench is
usable down to 5% of full scale at +/-3% of reading precision. Its
integral 36-tooth ratchet drive provides strength as well as versa-
tility in use. Three wrench sizes are available, providing 1/4in,
3/8in and 1/2in square drive ratchet heads, covering 20 in-lb to
250 ft-lb torque capacity.
The wrench is powered by two easily replaceable AA Alkaline
cells. This battery provides up to 400 hours of continuous opera-
tion. This electronic torque wrench is intended for use in industri-
al, aerospace, automotive repair, reliability labs and quality assur-
ance environments.
Keypad Functions:
Power ON - M key
U - Unit Selection - ft-lb, in-lb or Nm
- Zero Tare Torque (Press and hold key 3 seconds)
M - Mode - Manual power off, (Press and hold key 3 seconds)
▲ - Increase TARGET TORQUE value
(Press and Hold Key for rapid scrolling Up )
▼ - Decrease TARGET TORQUE value
(Press and Hold Key for rapid scrolling Down)
Automatic Power OFF after 5 minutes of idle time.
Note: For resolutions and decimal point, see table on back.
.
Important Safety Instructions
Introduction
Operator Instructions How to Print, Erase and Exit
Before use of the tool, set up the driver “USB Driver.exe”
and open up the program “DTS_USB.exe”, which will
both be located on the flash drive that is sent with this
product.
When the .exe file is opened press the “BEGIN” button,
the “Connection Status” box will then read “Ready for
transmission”.
Open up Microsoft Excel to record the data, placing the
cursor at the location you wish to save the data at.
SIDE NOTE:
If you move the cursor and click on a different location
while the device is still storing data, the data will move to
the new location and continue to store data.
To store data, apply torque to the device to the target
torque you wish to store and then release the pressure. The
number that was reached will then begin to blink on the
display. You may then store the data by pressing the down
arrow key, or you can immediately upload the data (if al-
ready connected to the computer) by pressing the up arrow
key.
The display will flash the number for the next 15 seconds.
After 15 seconds have elapsed the meter will once again
read 0.0.
After storing data, press the “M” key which will prompt
one of the following commands: “PRINT”, “ERASE”, or
“EXIT”.
When you wish to the print the data that has been down-
loaded to the device, press the “M” key until the device
reads “PRINT”, and press the “U” key.
When you wish to the erase the data from the wrench,
press the “M” key until the device reads “ERASE”, and
press the “U” key.
If you wish to continue to make measurements or simply
wish to exit the choosing screen, press the “M” key until
the device reads “EXIT”, and press the “U” key.
This command screen will display any of the following
three commands for 60 seconds. After the 60 seconds has
elapsed, the device will return back to measuring mode.
SIDE NOTE: If the battery is removed from the device,
any previously stored data will be automatically deleted.
SIDE NOTE: The maximum amount of data entries that
can be stored at a time is 330 entries
This manual suits for next models
2
Other Digitool Solutions Power Tools manuals
Popular Power Tools manuals by other brands

Seymour
Seymour Z-2501-1 Product information sheet
Rikon Power Tools
Rikon Power Tools 10-342 Operator's manual
Hilti
Hilti TE 80-ATC operating instructions
Scheppach
Scheppach HMS1070 Translation from the original instruction manual
Powerfix Profi
Powerfix Profi SET PDS 45 A1 operating instructions
Atlas
Atlas RIV 916 instruction manual
