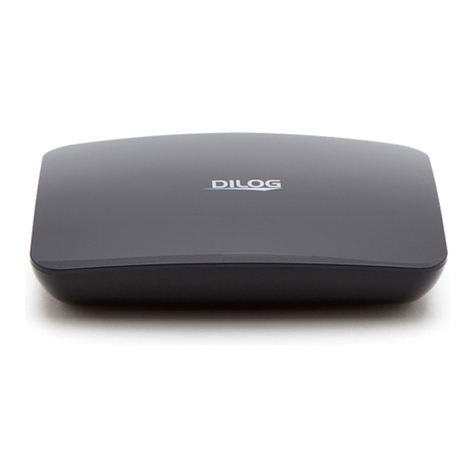
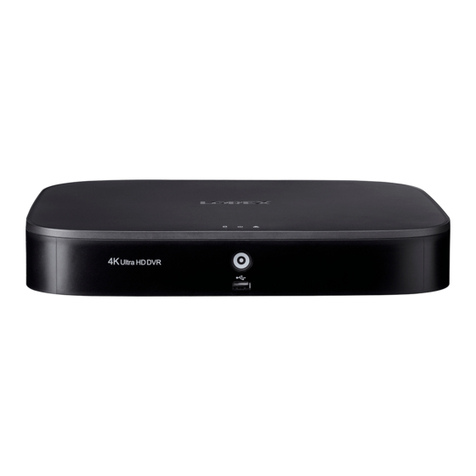
Dilog DSH-710 User manual

Quick Start Guide
Dilog DSH-710
Connections
Safety
Please carefully read this guide before you connect your box. For a complete guide, visit www.dilog.se. Save this guide
for later use. Always place the box on a flat, clean, dry surface. If the box is somehow damaged, it should always be
examined by a dealer before being used again. Always unplug the power to the box if you must travel away or there is a
risk of thunder. Any cleaning is done with a damp cloth and mild soap.
Warning!
Never open the box cover as you can damage both yourself as well as the electronics. Make sure there is plenty of space
around the box where it is placed so that proper ventilation can be achieved. Do not block the box ventilation holes in any
way. Do not place the box in a tight cabinet or on top of other equipment that generates heat.
Environment
This product is made with respect to our environment. It is designed to have low power consumption, reduced use of
environmentally hazardous substances, increased opportunities for recycling and easy handling during recycling.
Consequently, the box should be handed over to recycling center that handles electronic scrap when considered
exhausted.
Power source
This box is designed to be powered from a wall outlet with a rated voltage 230V 50Hz. Do never remove the cover of the
box yourself as it has live parts and can cause serious injury.
All service/ repair should be performed by Dilog Nordic AB
Liquid
The box should not be exposed to moisture or water, never place any type of liquid on or next to the box.
Should the box be exposed to liquid, immediately disconnect the power cord and contact the dealer.
• Do not leave your box or remote control in a place exposed by direct sunlight.
• The box should be placed on a flat, stable surface.
• The box should not be installed in areas with high humidity.
• Place the box in a place with good air circulation, the box should not be placed in closed cabinets, or under other devices.
• Connect the cables to other devices, before connecting the power to the box.
• Replace dead batteries for the remote control immediately after they run out and remove the batteries if you will not
use the box for some time. The remote control can be damaged due to leakage from old batteries.
• If you move the unit from an environment of low temperature, wait to plug it in until it reaches room temperature.
First-time installation
When you start the box for the first time the installation guide
appears. First, select language.
Under Mode, select ”DVB Mode” to receive only from satellite,
”IP” to only receive via IP or ”Hybrid” to to receive both via
satellite and IP.
Mark ”Select” and press OK button on the remote.
Make sure that the satellite you intend to take the signal from
is selected (for SVT World; Eutelsat 9A or Thaicom 5).
Check that the frequency, polarization and symbole rate
complies with the correct satellite (these values are preset
correctly for Eutelsat 9A but not for Thaicom 5 or other satellite
positions).
Select ”Start” and press the OK button on the remote.
You will now be able to make settings for your particular
configuration, select ”Setup” and press OK on the remote.
Set the LNB type, and configure DiSEqC to correct input for
the LNB aimed for the satellite position, make sure to have
good signal quality and signal strength shown as two green
bars.
Mark ”Select” and press the OK button on the remote to start
the channel search.
Version 2013-08-27
Video/audio input jack
Connect to the cable signal
Connect to a digital audio component
with OPTICAL cable
Connect to Ethernet
with an Ethernet cable
Connect to the antenna input of
another device, such as a TV
Connect to the HD TV
Connect to the cable signal.
Connect HDD/USB
Video/audio input jack
Connect to the cable signal
Connect to a digital audio component
with OPTICAL cable
Connect to Ethernet
with an Ethernet cable
Connect to the antenna input of
another device, such as a TV
Connect to the HD TV
Connect to the cable signal.
Connect HDD/USB
Video/audio input jack
Connect to the cable signal
Connect to a digital audio component
with OPTICAL cable
Connect to Ethernet
with an Ethernet cable
Connect to the antenna input of
another device, such as a TV
Connect to the HD TV
Connect to the cable signal.
Connect HDD/USB
Video/audio input jack
Connect to the cable signal
Connect to a digital audio component
with OPTICAL cable
Connect to Ethernet
with an Ethernet cable
Connect to the antenna input of
another device, such as a TV
Connect to the HD TV
Connect to the cable signal.
Connect HDD/USB
Video/audio input jack
Connect to the cable signal
Connect to a digital audio component
with OPTICAL cable
Connect to Ethernet
with an Ethernet cable
Connect to the antenna input of
another device, such as a TV
Connect to the HD TV
Connect to the cable signal.
Connect HDD/USB
Video/audio input jack
Connect to the cable signal
Connect to a digital audio component
with OPTICAL cable
Connect to Ethernet
with an Ethernet cable
Connect to the antenna input of
another device, such as a TV
Connect to the HD TV
Connect to the cable signal.
Connect HDD/USB
Video/audio input jack
Connect to the cable signal
Connect to a digital audio component
with OPTICAL cable
Connect to Ethernet
with an Ethernet cable
Connect to the antenna input of
another device, such as a TV
Connect to the HD TV
Connect to the cable signal.
Connect HDD/USB
Socket to connect
compatible USB
fixings/devices.
Connection to
Network/Internet.
Socket to connect
SCART/Composite
adapter.
Connect power to
box with the power
adapter.
Optical digital output to
connect to HI-FI or home
theater.
Connect to HDMI input on the TV.
HDMI connection is to prefer, gives the best quality.
Connect the coax cable
from the dish/LNB
For connection to TV
or other digital TV box.

Remote control
Toggle On/Stand by
Audio On/Off
Numeric buttons
Toggle TV/Radio mode
Toggle/jump between the two last used channels
Quick selection Audio/Subtitle language
Function button
Apps/Function button
Show channel and program information
Confirm selection
Change channel, change volume, menu navigation
Main menu
Programguide
Choices in menu
Back
Page Up/Down
Channel Up/Down
Video On Demand
Tele-text
Subtitling choice
Start/Stop recording
Stop recording or playback, back to live in
timeshift mode
Open PVR list
Rewind
Play/Pause live program or recording
Fast forward
ON/OFF
Mute
0-9
Tv/Radio
Last
Audio/Subtitle
Help
App
Info
OK
Navigation buttons
Menu
EPG - TV Guide
OPT
Back
Page
CH
VOD
Text
Subtitling
REC
STOP
PVR
REW
Play/Pause
FF
1
2
3
4
5
6
7
8
9
10
11
12
13
14
15
16
17
18
19
20
21
22
23
24
25
26
Favorites
TV
PVR
VOD
Radio
Internet Radio
Portal TV
Web on TV
Parental control
USB
CA
Conguration
TV Guide
Search
Reminders
Scheduled recordings
Ongoing recordings
Completed recordings
Failed recordings
Configure
Change PIN
Block channels
CA-info
Subscription status
Event status
Channel installation
Channel status
Time zone
A/V output settings
Languages
User interface
System settings
System information
HDTV
TV
Radio
FTA
Encrypted
Satellite setup
Automatic channel scanning
Manual channel scanning
Technical info/quality/strength
Time setting
Time zone
Video settings
Audio settings
Menu language
Primary audio language
Secondary audio language
Primary subtitle language
Secondary subtitle language
Hard of hearing subtitles
Instant timeshift
Favorites numbering
PVR start marging
PVR end marging
Autodelete oldest recording
Default PVR-quota
Screensaver timeout
OSD/banner display time
Restart device
Restore factory defaults
IP-network
Software
Chip-id
Menu tree
Main menu
1 2
3
45
8
9
6
7
10 11
12
13
15
14
15
16
17
18
19
20
22
21 23
24
25
26
Table of contents
Other Dilog DVR manuals
