TQ SUPREME Cart | 4
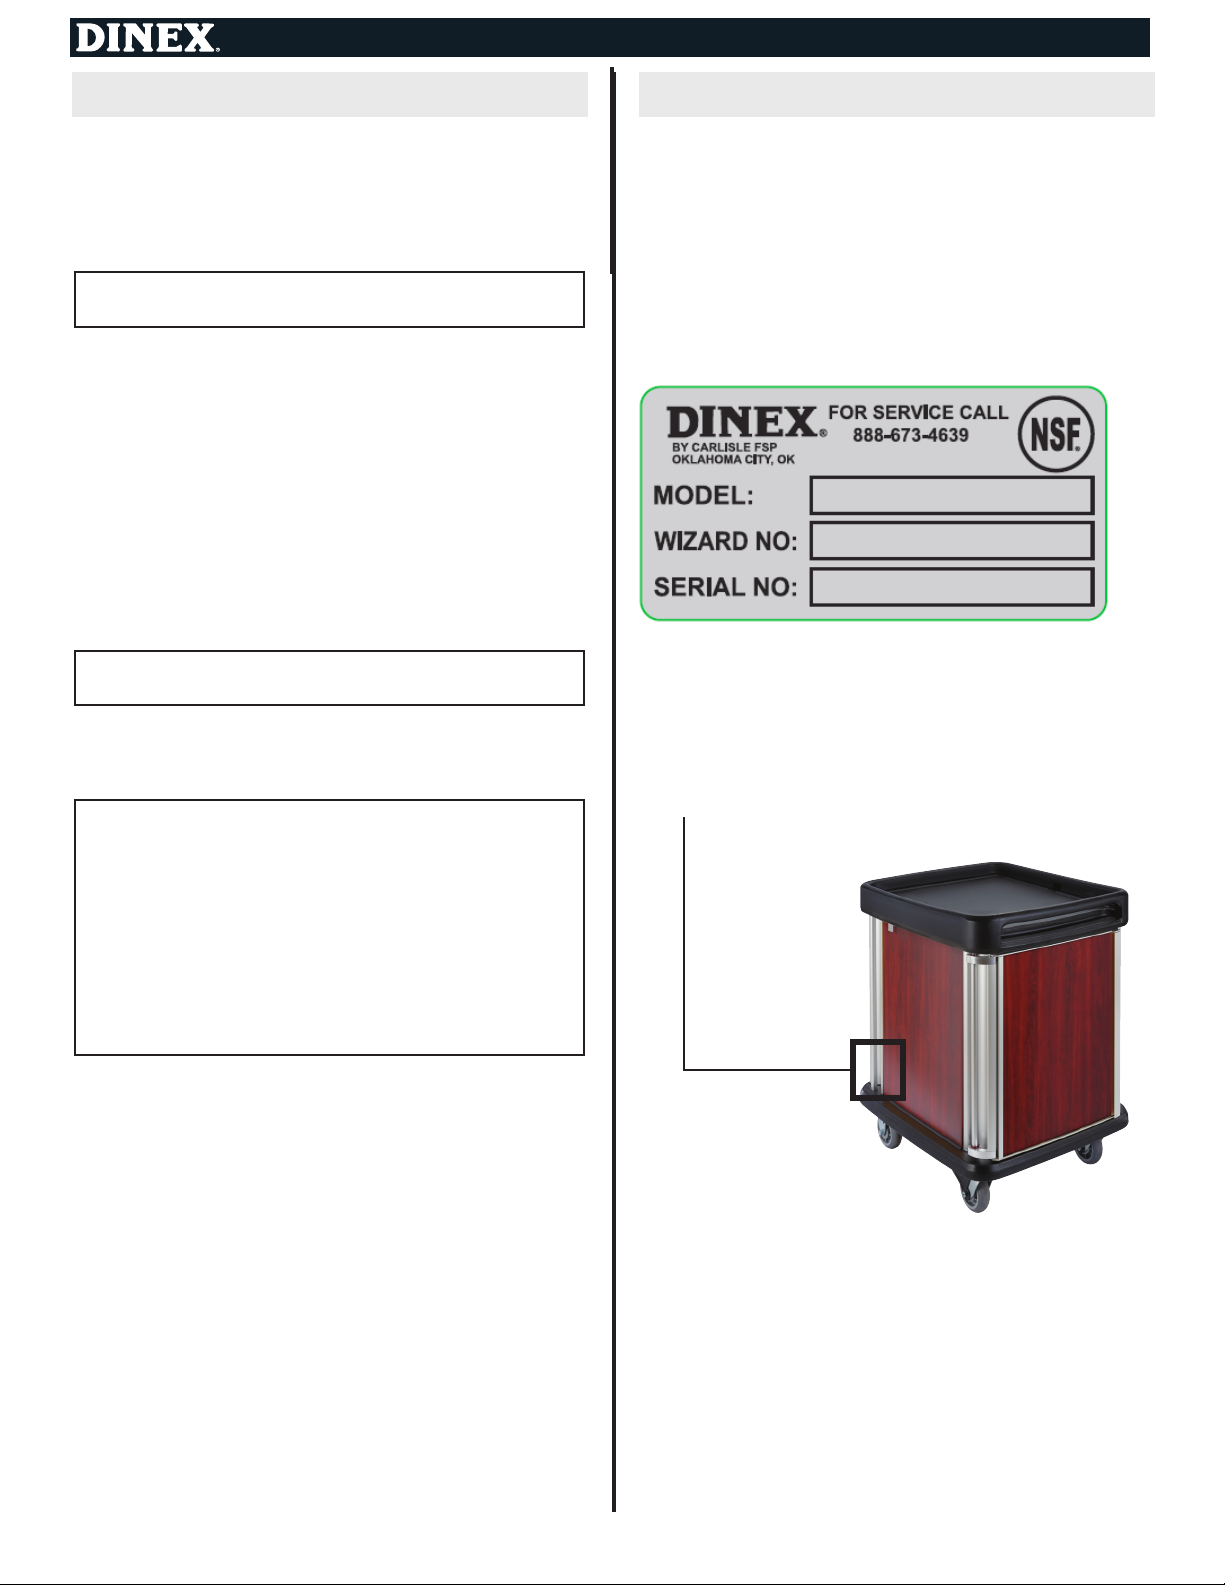
MAINTENANCE
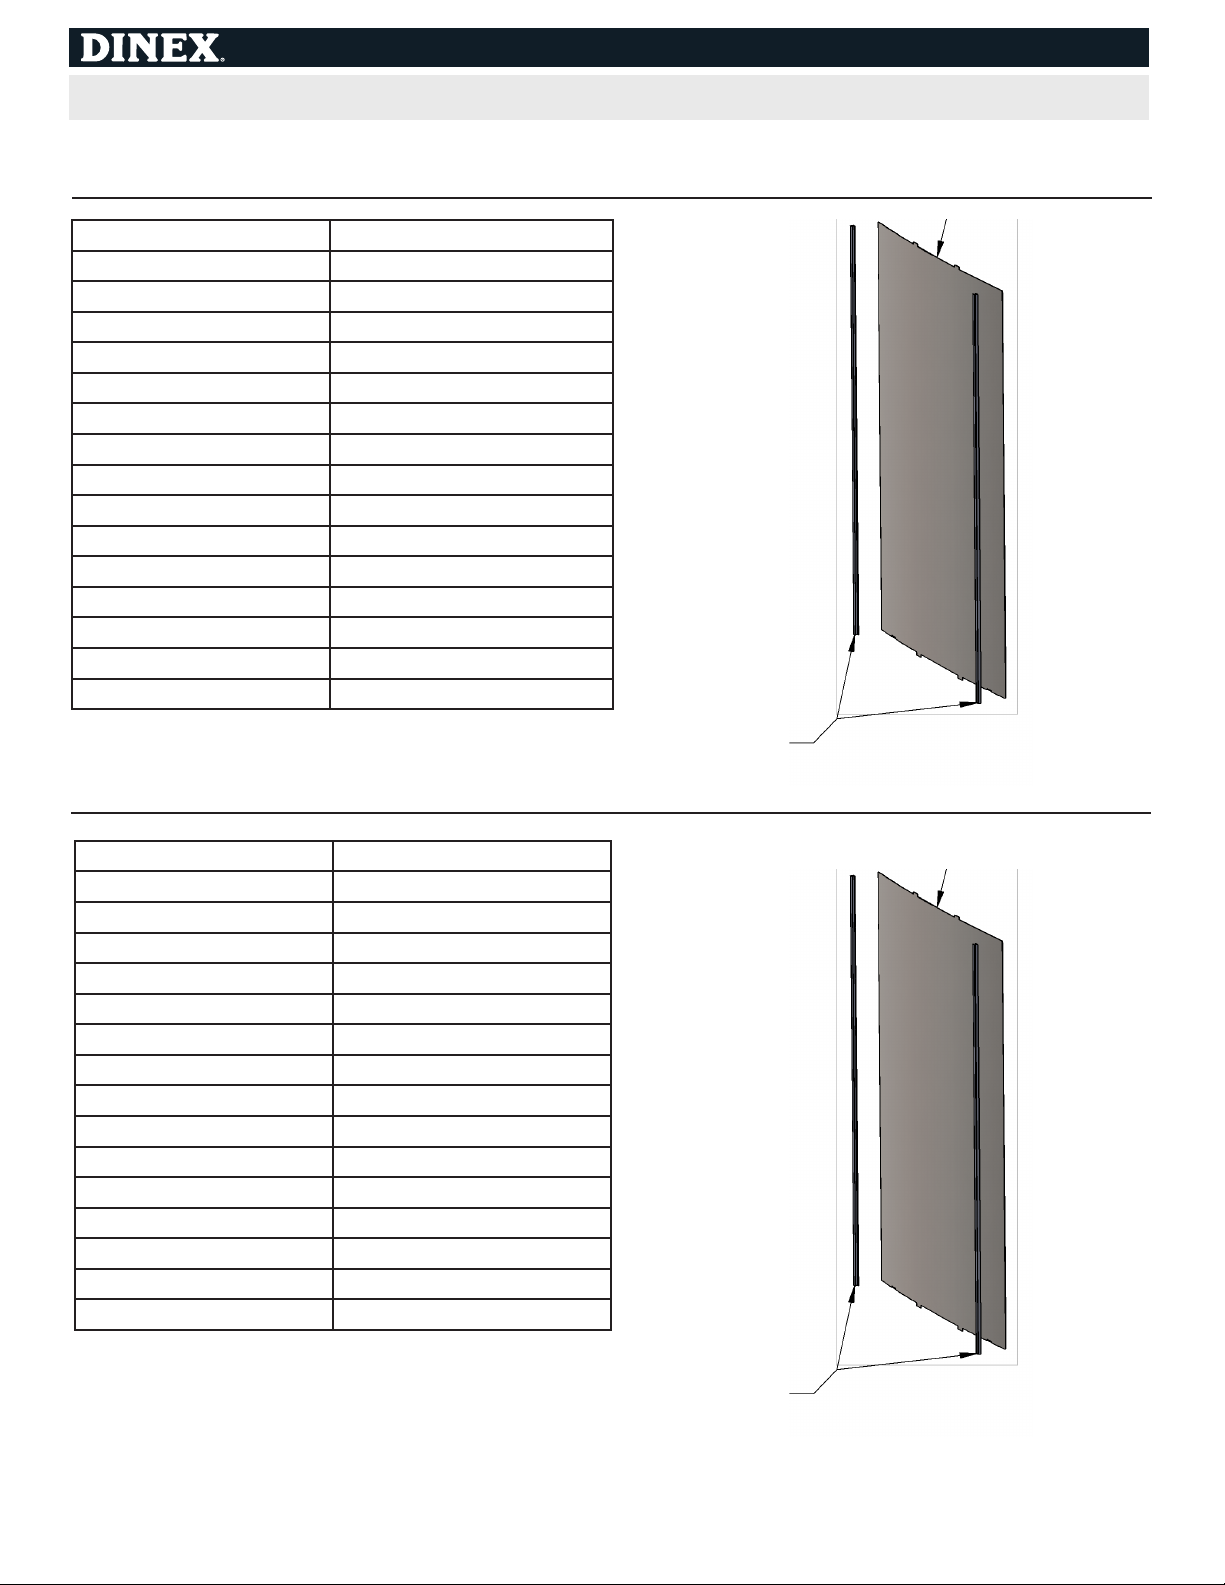
# Replacement kits item
numbers
Description
1 DXSUSKITB1001 TQS HINGE ASSEMBLY B10
2 DXSUSKITB1201 TQS HINGE ASSEMBLY B12
3 DXSUSKITB1601 TQS HINGE ASSEMBLY B16
4 DXSUSKITB2001 TQS HINGE ASSEMBLY B20
5DXSUSKITB1002 TQS DR FRM ASSEMBLY B10
6 DXSUSKITB1202 TQS DR FRM ASSEMBLY B12
7 DXSUSKITB1602 TQS DR FRM ASSEMBLY B16
8 DXSUSKITB2002 TQS DR FRM ASSEMBLY B20
9 DXSUSKITB1003SS TQS DOOR PANEL B10 SS
10 DXSUSKITB1003OW TQS DOOR PANEL B10 OW
11 DXSUSKITB1003CW TQS DOOR PANEL B10 CW
12 DXSUSKITB1003MW TQS DOOR PANEL B10 MW
13 DXSUSKITB1203SS TQS DOOR PANEL B12 SS
14 DXSUSKITB1203OW TQS DOOR PANEL B12 OW
15 DXSUSKITB1203CW TQS DOOR PANEL B12 CW
16 DXSUSKITB1203MW TQS DOOR PANEL B12 MW
17 DXSUSKITB1603SS TQS DOOR PANEL B16 SS
18 DXSUSKITB1603OW TQS DOOR PANEL B16 OW
19 DXSUSKITB1603CW TQS DOOR PANEL B16 CW
20 DXSUSKITB1603MW TQS DOOR PANEL B16 MW
21 DXSUSKITB2003SS TQS DOOR PANEL B20 SS
22 DXSUSKITB2003OW TQS DOOR PANEL B20 OW
23 DXSUSKITB2003CW TQS DOOR PANEL B20 CW
24 DXSUSKITB2003MW TQS DOOR PANEL B20 MW
25 DXSUSKITB1004SS TQS DOOR PANEL B10 SS
26 DXSUSKITB1004OW TQS SIDE PANEL B10 OW
27 DXSUSKITB1004CW TQS SIDE PANEL B10 CW
28 DXSUSKITB1004MW TQS SIDE PANEL B10 MW
29 DXSUSKITB1204SS TQS SIDE PANEL B12 SS
30 DXSUSKITB1204OW TQS SIDE PANEL B12 OW
31 DXSUSKITB1204CW TQS SIDE PANEL B12 CW
32 DXSUSKITB1204MW TQS SIDE PANEL B12 MW
33 DXSUSKITB1604SS TQS SIDE PANEL B16 SS
34 DXSUSKITB1604OW TQS SIDE PANEL B16 OW
35 DXSUSKITB1604CW TQS SIDE PANEL B16 CW
# Replacement kits item
numbers
Description
36 DXSUSKITB1604MW TQS SIDE PANEL B16 MW
37 DXSUSKITB2004SS TQS SIDE PANEL B20 SS
38 DXSUSKITB2004OW TQS SIDE PANEL B20 OW
39 DXSUSKITB2004CW TQS SIDE PANEL B20 CW
40 DXSUSKITB2004MW TQS SIDE PANEL B20 MW
41 DXSUSKITB1005OW TQS BACK PANEL B10 OW
42 DXSUSKITB1005CW TQS BACK PANEL B10 CW
43 DXSUSKITB1005MW TQS BACK PANEL B10 MW
44 DXSUSKITB1005SS TQS BACK PANEL B10 SS
45 DXSUSKITB1205SS TQS BACK PANEL B12 SS
46 DXSUSKITB1205OW TQS BACK PANEL B12 OW
47 DXSUSKITB1205CW TQS BACK PANEL B12 CW
48 DXSUSKITB1205MW TQS BACK PANEL B12 MW
49 DXSUSKITB1605SS TQS BACK PANEL B16 SS
50 DXSUSKITB1605OW TQS BACK PANEL B16 OW
51 DXSUSKITB1605CW TQS BACK PANEL B16 CW
52 DXSUSKITB1605MW TQS BACK PANEL B16 MW
53 DXSUSKITB2005SS TQS BACK PANEL B20 SS
54 DXSUSKITB2005OW TQS BACK PANEL B20 OW
55 DXSUSKITB2005CW TQS BACK PANEL B20 CW
56 DXSUSKITB2005MW TQS BACK PANEL B20 MW
57 DXSUSKITB1006 TQS RPLMT RACK B10
58 DXSUSKITB1206 TQS RPLMT RACK B12
59 DXSUSKITB1606 TQS RPLMT RACK B16
60 DXSUSKITB2006 TQS RPLMT RACK B20
61 DXSUSKIT6SW07 TQS 6" RPLCMNT CASTER SWIVEL
62 DXSUSKIT6RD07 TQS 6" RPLCMNT CASTER RIGID
63 DXSUSKITCP08 TQS CASTER PAD
64 DXSUSKITDP09 TQS DRAIN PLUG ASSEMBLY
65 DXSUSKITCB10 TQS CORNER BUMPER ASSEMBLY
66 DXSUSKITOSP11 TQS OUTSIDE STRIKE PLATE ASSEMBLY
67 DXSUSKITMAB12 TQS MAGNET ASSEMBLY BRKT SCREWS
68 DXSUSKITSC13 TQS SPRING CLIP, SPACE, SCREWS
69 DXSUSKITSBB14 TQS SIDE BRACKET W/ BUMPERS
70 DXSUSKITBBB15 TQS BACK BRACKET W/ BUMPERS
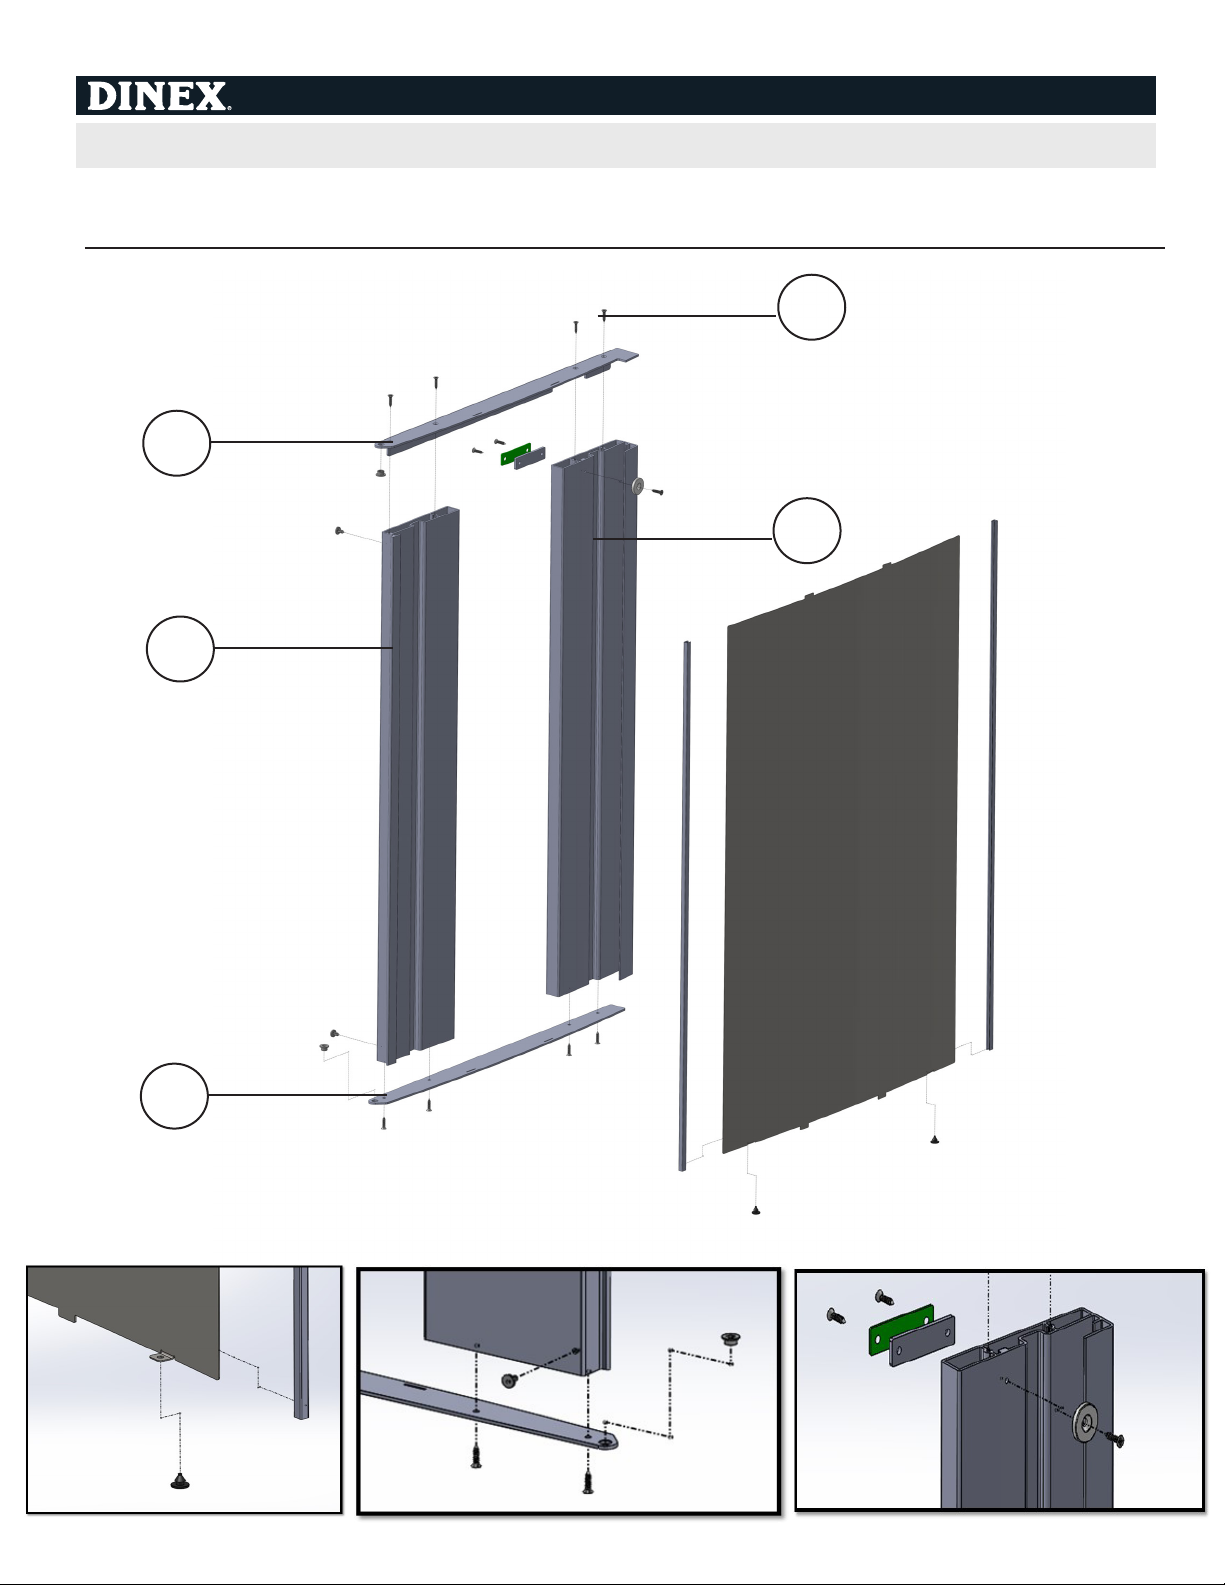
REPLACEMENT PARTS OVERVIEW