DirecTV L14 User manual

DIRECTV®
RECEIVER USER GUIDE
Model: L14

WARNING
To reduce the risk of fire or electric
shock, do not expose this product
to rain or moisture. The apparatus
should not be exposed to dripping
or splashing and that no objects
filled with liquids, such as vases,
should be placed on the apparatus
TIP
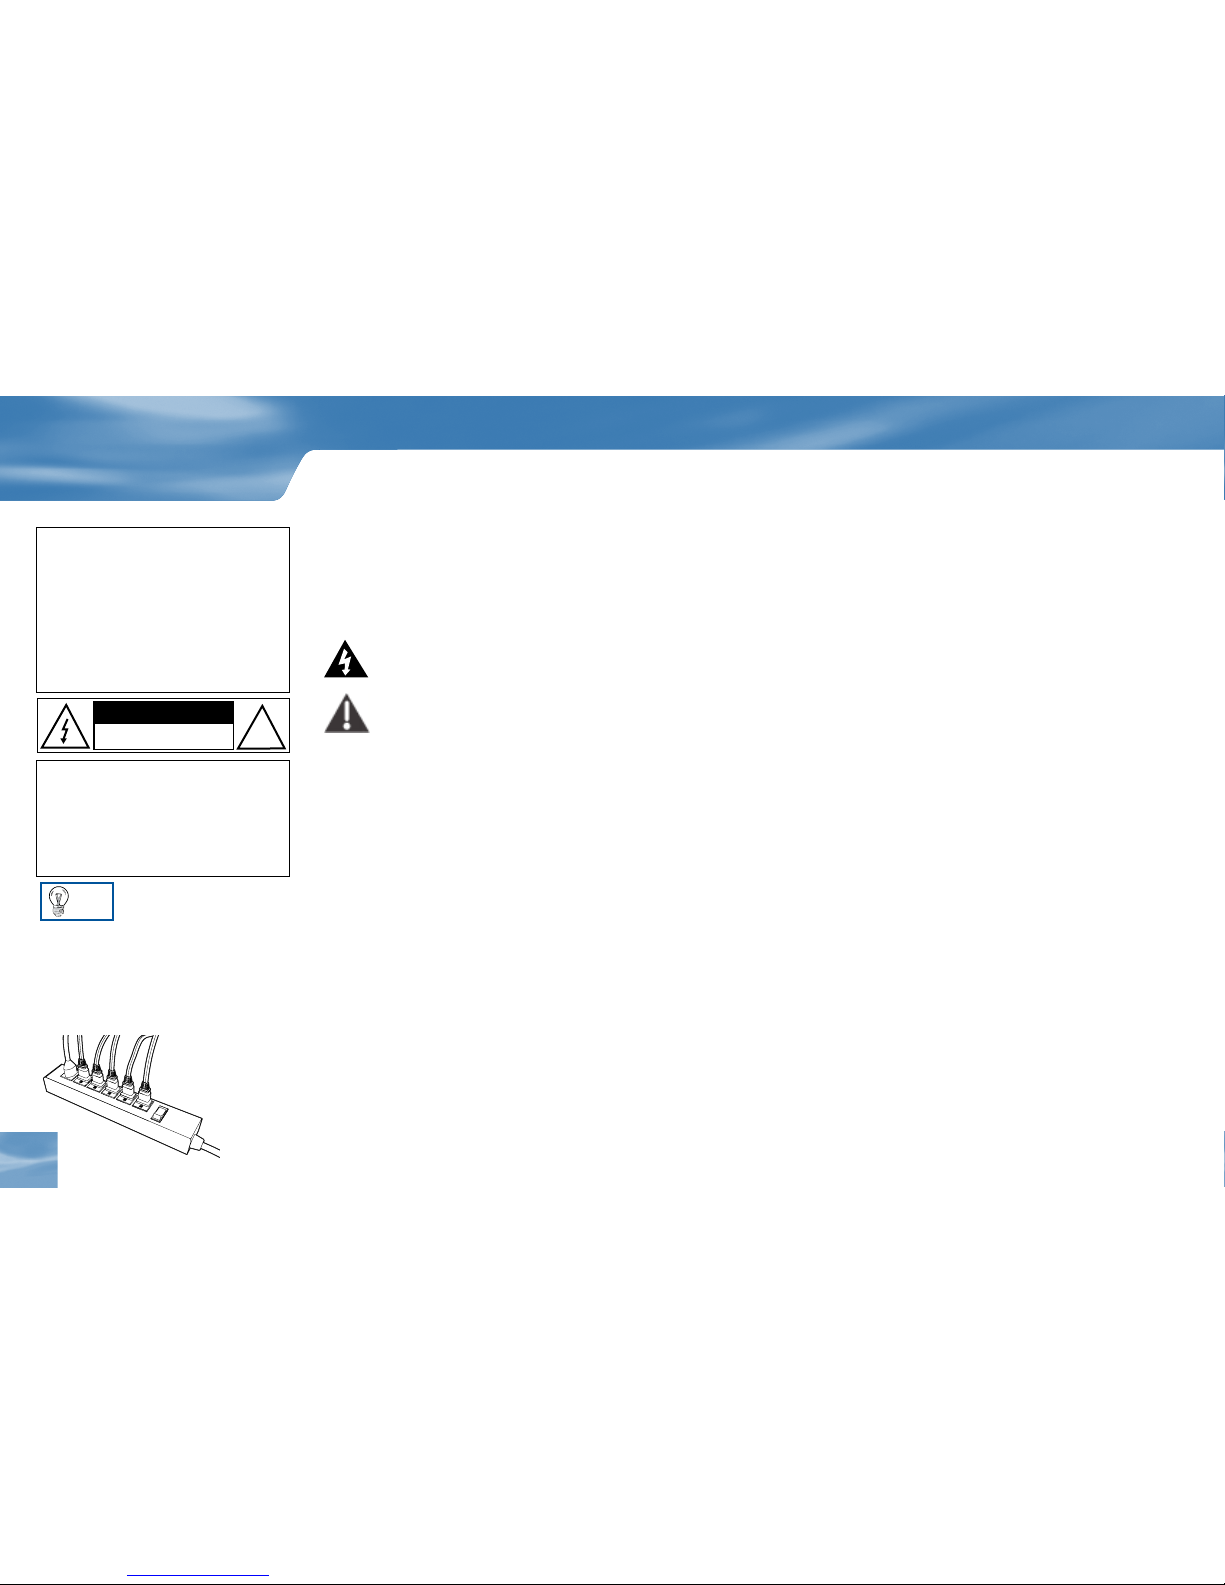
We highly recommend plugging the
DIRECTV®Receiver into a surge
protector to prevent damage from
uctuations in your power supply.
Safety & Care
Your DIRECTV®Receiver has been designed and manufactured to stringent quality and safety
standards. You should, however, be aware of the following important precautions for safe and optimal
use of the equipment. Improper use can result in potential electric shock, property damage or fire hazards.
Meaning of symbols printed on the rear panel of the product:
e “ bolt of lightning” indicates uninsulated material within your unit may cause an electrical
shock. For the safety of everyone in your household, please do not remove product covering.
e “exclamation point” calls attention to features for which you should read the enclosed
literature closely to prevent operating and maintenance problems.
Power Consumption: 12 V 1.5 A, 18 Watts
Important Safety Instructions
1) Read these instructions.
2) Keep these instructions.
3) Heed all warnings.
4) Follow all instructions.
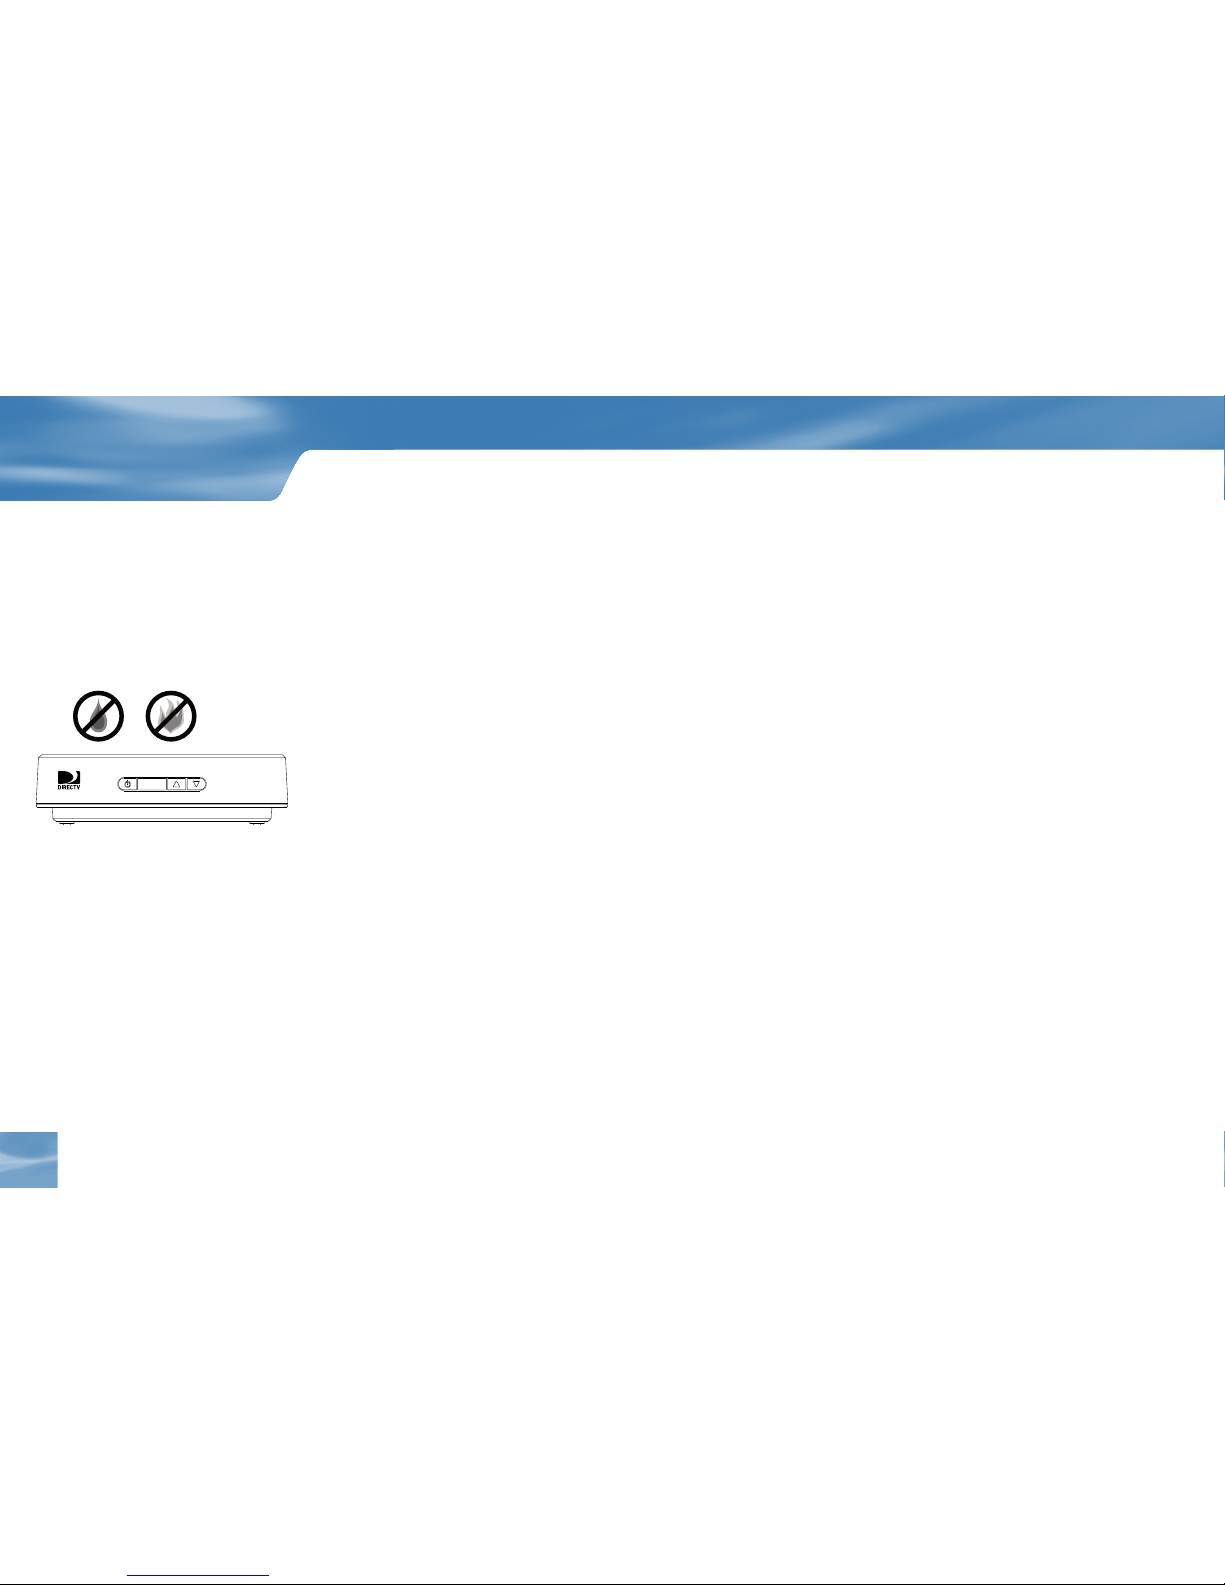
5) Do not use this apparatus near water.
6) Clean only with dry cloth.
7) Do not block any ventilation openings. Install in accordance with the manufacturer’s
instructions.
8) Do not install near any heat sources such as radiators, heat registers, stoves, or other apparatus
(including amplifiers) that produce heat.
9) Protect the power cord from being walked on or pinched particularly at plugs, convenience
receptacles, and the point where they exit from the apparatus.
10) Only use attachments/accessories specified by the manufacturer.
CAUTION
RISK OF ELECTRIC SHOCK
DO NOT OPEN
CAUTION: Toreduce The risk of
elecTric shock, do noT remove
cover (or back).
nouser-serviceable parTs inside.
refer servicing To qualified service
personnel.
!
Safety & Care
ii

11) Use only with the cart, stand, tripod, bracket, or table specified by the manufacturer, or sold with
the apparatus. When a cart is used, use caution when moving the cart/apparatus combination to
avoid injury from tip-over.
12) Unplug this apparatus during lightning storms or when unused for long periods of time.
13) Refer all servicing to qualified service personnel. Servicing is required when the apparatus has
been damaged in any way, such as power-supply cord or plug is damaged, liquid has been spilled
or objects have fallen into the apparatus, the apparatus has been exposed to rain or moisture, does
not operate normally, or has been dropped.
• CAUTION:eDIRECTV®Receivershouldnotbeusednearwater(forexample,kitchensink,
bathtub, pool, damp basement). Also, never spill liquid on the DIRECTV® Receiver, and do not place
vessels containing liquid on top of it.
• Ensureproperventilation—theventslotsontheDIRECTV®Receivermustbeleftuncovered
to allow proper airflow to the unit. Blocking the airflow to the unit could impair performance or
damage your DIRECTV® Receiver and other components.
• DonotstackelectroniccomponentsorotherobjectsontopoftheDIRECTV®Receiver.Also,do
not stack the DIRECTV® Receiver on top of a “hot component” such as an audio power amplifier.
• To avoid possible damage to the DIRECTV® Receiver or to a connected TV or component, all AC
power cords must be plugged into properly wired outlets. As with all electrical products, connection
to faulty or defective components, or the failure to connect the DIRECTV® Receiver to a properly
wired outlet, may cause sparking, property damage or damage to any TV or other component
connected to the DIRECTV® Receiver and pose a fire hazard. Failure to heed the Safety Information
provided by failing to connect to a properly wired outlet may void the manufacturer’s warranty.
Safety & Care
iii
Safety & Care

• Protectyourcomponentsfrompowersurgesbyconnectingallthecomponentsbeforepluggingany
power cords into the wall outlet. Use of a surge protector is also recommended.
• Don’toverloadpoweroutletsorextensioncords,whichcanresultintheriskofreorshock.It’s
also important to use only the type of power source indicated on the marking label or in this
manual.
• Topreventelectricalshock,thisapparatusshallbeconnectedtoamainssocketoutletwitha
protective earthing and fully inserted.
• Avoidaudiohumorinterferencebyinsertingallcableplugsrmlyintotheirjacks.Also,place
Audio/Video (A/V) cables to the sides of the TV back panel rather than down the middle once
connected. Try not to coil any twin-lead cables and keep them away from A/V cables as much as
possible.
• NeverinsertobjectsofanykindintoanyopeningsintheDIRECTV®Receiver(otherthanthe
DIRECTV® Access Card as detailed in this chapter).
• Placeitonaat,hardsurface—donotoperatetheDIRECTV®Receiveronacarpetorother
padded surface.
• AlwaysunplugyourDIRECTV®Receiverbeforemovingit.
• AlwaysunplugtheDIRECTV®Receiver,TVandotherequipmentbeforeyouconnector
disconnect any cables.
• Todisconnectpowerfromtheunit,alwaysremoveitspowersupplyunitfromtheACmainssupply
(rather than disconnect the 12 V cord from the unit). erefore you must install your DIRECTV®
Receiver near to the wall AC outlet, which should be easily accessible.
IMPORTANT: Be sure not
to place your DIRECTV®
Receiver near anything
WET or HOT!
Safety & Care
Safety & Care
iv

• CAUTION:ElectricShock—neverattempttodisassembletheDIRECTV®Receiveryourself.
Always take the DIRECTV® Receiver to a qualified service person when repair is required. Opening
or removing covers may expose dangerous voltage or other risks, and incorrect reassembly can cause
shock when the DIRECTV® Receiver is subsequently used. Attempted self-repair may also void your
warranty. Changes or modifications not expressly approved by the party responsible for compliance
(by the warranty or by the manufacturer) could void the user’s authority to operate the equipment.
• DonotdropyourDIRECTV®Receiverandalwaysmoveitwithcare.
• HaveyourDIRECTV®Receiverprofessionallyserviced(donotattempttoserviceityourself).
• Anychangesormodicationsinconstructionofthisdevicewhicharenotexpresslyapprovedby
the party responsible for compliance could void the user’s authority to operate the equipment.
• Toensurecorrectoperation,usethisDIRECTV®ReceiveronlywiththeDIRECTV®-approved
power supply unit provided. If you use an unapproved alternative, you will invalidate the warranty.
• emodelnumber,serialnumberandelectricalratingofyourDIRECTV® Receiver are on a label
on its base.
For your information:
e identification sticker can be located underneath or on the back of your DIRECTV® Receiver.
e telecommunications network voltage used is the category number 3.
Important
Important: This device incorporates an anticopy process technology that is protected by U.S. patents and other intellec-
tual property rights. The anticopy process is licensed for non-commercial, home use only. Reverse engineering or disas-
sembly is prohibited. Unauthorized changes or modifications to this equipment may void the user’s authority to operate it. Safety & Care
Safety & Care
v

Great TV viewing is in your hands!
A good way to begin learning about your DIRECTV®System is to
familiarize yourself with the remote control. You’ll nd further
details throughout the User Guide relating to specic functions.
Basic Navigation Tips
You’ll nd you can get around nearly all onscreen menus the
same simple way.
4Highlight… a menu or button by using the ARROW keys
(up, down, left and right).
4Choose it… by pressing SELECT while the item is
highlighted.
Note: Don’t worry about getting stuck in a menu.
You can always press EXIT to return to video.
Equipment Controls
TV INPUT
Press to select the available input of equipment
connected to your TV
MODE SWITCH
Slide Switch to control other equipment.
Left position controls DIRECTV®Receiver.
Note: Other equipment must be programmed individually.
RECEIVER & TV ON/OFF
Turns both your DIRECTV®Receiver and TV on/off at the
same time.
Notes: Remote must be programmed for your TV to use
this function. Receiver still records when off.
MUTE
Turns the Sound on or off.
VOLUME
Rises or lowers the sound level
Interactive Controls
RED
In the Guide, jumps 12 hours back.
In some menus, cycles through available menu options.
GREEN
In the Guide, jumps 12 hours forward.
Inserts Bookmarks on recorded programs.
In some menus, cycles through available menu options.
YELLOW
In full-screen TV, opens TV Options.
BLUE
In full-screen TV, displays the Mini Guide.
In recorded lists, marks show to prevent automatic removal.
Remote Control
vi
Remote Control

BACK
Returns to previously displayed screen.
MENU
Displays the Quick menu when in DIRECTV®mode or other menu for
another selected device.
INFORMATION
Displays current channel and program information when watching
live TV or in the Guide.
PREVIOUS
Tunes to last channel viewed.
NUMBERS: 0 - 9
Press keys to directly enter channel (e.g. 730)
ENTER
Speeds up channel tuning. Sets up Autotune for DIRECTV®Receiver.
CHANNEL/PAGE
Changes channels in live TV.
Scrolls a full page in the Programming Guide.
Navigation Controls
GUIDE
Press once to see different On-Screen Program Guide categories.
Press twice to display the General DIRECTV®Program Guide.
ACTIVE
Displays DIRECTV®mosaic - channel 100 (Not available on all
DIRECTV®Receivers).
LIST
Displays your TO DO list of programs (Not available on all DIRECTV®
Receivers).
EXIT
Exits any menu screens and Programming Guide to return to last
channel viewed.
SELECT
Selects any highlighted item.
ARROWS
Allow you to move around in Program Guide and menu screens.
To place batteries in your remote control:
1. Remove cover from the battery compartment by sliding it downward.
2. Insert 2 AA batteries (supplied), matching the positive (+) and negative (–) at each end.
3. Slide the cover back on to complete installation.
Quick Tip
To program your remote control:
1. See “Programming Your Remote
Control” on page 17.
Remote Control
vii

Chapter 1 – Getting Started
Welcome ..................................................................................................................................... 2
Making the Right Connections .................................................................................................. 3
Hardware Reference.................................................................................................................... 4
Getting Familiar ......................................................................................................................... 6
Choose Your Setup...................................................................................................................... 9
Guided Setup & Activation ...................................................................................................... 15
Programming Your Remote Control ......................................................................................... 17
Chapter 2 – What’s On
Watching TV............................................................................................................................ 21
e Guide ................................................................................................................................. 23
Autotune ................................................................................................................................... 25
Pay Per View ............................................................................................................................. 27
Contents
Contents
viii

ix
Chapter 3 – The Quick Menu
Using the Quick Menu ............................................................................................................. 29
Settings ..................................................................................................................................... 29
Audio Options .......................................................................................................................... 32
Category Sort............................................................................................................................ 33
Pay Per View ............................................................................................................................. 33
Find By ..................................................................................................................................... 34
Date & Time ............................................................................................................................ 35
Favorites.................................................................................................................................... 35
Messages ................................................................................................................................... 36
Parental Controls ...................................................................................................................... 37
Chapter 4 – Other Information
Troubleshooting........................................................................................................................ 43
FCC Customer Information ..................................................................................................... 52
Remote Control setup Codes .................................................................................................... 55
Index......................................................................................................................................... 57
Icon Reference........................................................................................................................... 61
Contents
Contents

2Welcome
3Making the Right Connections
4 Hardware Reference
6 Getting Familiar
9 Choose Your Setup
15 Guided Setup & Activation
17 Programming Your Remote Control
Chapter 1

Getting Started
Welcome
With its astounding variety of channels and choices, crisp digital-quality picture and sound
and one-of-a-kind sports and events DIRECTV® Service offers everything you’d want in your
television experience. With the DIRECTV® Receiver you can expect more than ever before,
with access to a variety of programming options, including over 30 premium movie channels,
with all the convenience of DIRECTV® service. DIRECTV® Pay Per View offers a handy
choice in recent hit movies, plus exciting live sports, concerts and specials. ere are exclusive
sports subscriptions for every taste and team. Even access to 36 commercial-free music
channels!
To deliver this unique programming and enhance your entertainment experience, the
DIRECTV® System has been designed to be simple and user-friendly. You’ll find that most
features are self-explanatory, with onscreen directions to lead you through them.
So, welcome to the family.
2
Chapter 1
You can nd additional
information and the latest
updates at directvla.com.
TIP

Making the Right Connections
When you are ready to connect your DIRECTV® Receiver and your other components, whether
you’re having your system professionally installed or handling it yourself, be sure to read over the
following few pages to familiarize yourself with some important tips for safety and care.
Before You Begin
Your satellite dish antenna must be installed before you can begin following the procedures in this
User Guide. (Professional installation is highly recommended.) Your dish needs to be mounted in
a position where it has access to the satellite signals, and RG-6 coaxial cables must be run into the
room(s) where your DIRECTV® Receiver(s) will be located. If you choose to install the dish yourself,
see the separate instruction manual that came with your satellite dish antenna.
Package Contents
e following items are included with your DIRECTV® Receiver:
4A/Vcables(miniDINtoRCAtype) 4Access card
4User Guide4External power supply and power cord
4Remote Control & batteries
Getting Started
3Hardware Reference

4
Chapter 1
Hardware Reference
General
Satellite Dish Antenna
is is your “dish” and related hardware, affixed to your roof or other surface, which picks up the
broadcast signals from our satellites.
DIRECTV® Receiver (or Satellite Receiver)
Your DIRECTV® Receiver picks up the signal from your satellite dish antenna and translates it
into viewable TV programming.
Access Card
Contains information about your DIRECTV® service. It must be properly inserted for your
DIRECTV® Receiver to work and to activate your programming.
Hardware Reference

Cables & Connections
Audio/Video (A/V) Jacks and Cable
Audio/Video (A/V) cables provide very good picture quality and stereo sound. e DIRECTV®
Receiver’s A/V jackisa10-wayminiDINconnector.eA/Vcablesuppliedisttedwitha10-way
miniDINplugononeendandcolorcodedvideoandaudioplugsontheotherend(yellowforvideo,
red for right audio and white for left audio). If your TV has only one input for audio (mono), connect
the left (white) audio plug to it.
RF Jack and Coaxial Cable (F-type)
An RF jack is used to connect the DIRECTV® Receiver to your satellite dish or feed connection.
e RF jackontheDIRECTV®ReceiverislabeledSATIN.Note:BesuretouseRG-6coaxialcable
when connecting from the satellite dish to the DIRECTV® Receiver.
Getting Familiar
Getting Started
5
RF cable not included RF jack
Mini DIN plug and DIRECTV®Receiver jack
RCA plugs and TV jacks

Chapter 1
Getting Familiar
Getting Familiar
DIRECTV®Receiver Front Panel
Your equipment may not look exactly like the model illustrated.
1) POWER – Turns your DIRECTV® Receiver on or off. Your DIRECTV® Receiver still tunes
and receives messages when powered off.
2) REMOTE SENSOR – e infrared sensor picks up commands from the remote control.
3) ARROWS – Use the arrows to select the previous or next channel.
4) CARD SLOT – e access card slot is located on the underside of the unit.
1 2 3
6
4

6
Getting Familiar 6
DIRECTV®Receiver Underside
Insert your DIRECTV® Access Card
Locate the access card that came packed with your DIRECTV® Receiver materials. On the underside
of the unit insert the card, facing upward, fully into the slot.
To remove your DIRECTV® Access Card
On the underside of the unit, place your thumb in the slot and slide the card out.
Getting Started
7

Chapter 1
Getting Familiar
8
DIRECTV®Receiver Rear Panel
Your equipment may not look exactly like the model illustrated.
1) SAT IN – Use to connect the DIRECTV® Receiver to the satellite dish antenna.
2) A/V OUT – Use to connect to the AUDIO and VIDEO jacks on your TV or VCR.
3) USB PORT – For future use.
4) RESET – Many problems can be corrected by performing a simple reset of the DIRECTV®
Receiver.
5) POWER – Connects the DIRECTV® Receiver to the external DC power supply with a rated
output of 12 V, 1.5 A, 18 Watts.
142 3 5

9
Getting Started
Choose Your Setup
ere are several ways to connect your DIRECTV® Receiver to match your particular equipment
setup and gain optimum signal quality. e basic steps are as follows:
• ConnectthesatellitedishcabletoyourDIRECTV®Receiver.
• ConnecttheDIRECTV®ReceiveraudioandvideotoyourTVorVCR.
• IfyouconnectedtheDIRECTV®ReceivertoaVCR,connecttheVCRtoyourTV.
• PlugintheexternalDCpowersupplyandallpowercords.
efollowingpagesgivedetailedconnectioninstructions.NotethatthebackpanelsofyourTVand
other equipment may not exactly match those illustrated.
Connecting Your DIRECTV®Receiver to the Satellite Dish
Connect the RG-6 RF coaxial cable (not included) from your satellite dish to the jack labeled
SATELLITEINontheDIRECTV®Receiver.
Choose Your Setup
When working with
cables, be sure to
connect corresponding
outputs and inputs (Video
OUT to Video IN, Right
Audio OUT to Right Audio
IN, etc.). Never connect
an IN to an IN or an OUT
to an OUT.
All A/V jacks and inputs
are color coded. Always
match the color of the
plug to the same color of
the jack.
OUT IN
TIP

Chapter 1 10
Connecting Your DIRECTV®Receiver to Your TV or VCR
e DIRECTV® Receiver is provided with a single A/V jack for video and audio connection to a TV
or VCR.
ese connections are described on the following pages.
NOTE: To obtain optimum picture quality, make sure the DIRECTV®Receiver is connected directly to the TV.
Connecting the DIRECTV®Receiver to the TV through a VCR or DVD recorder is known to yield less than optimum
picture quality, particularly when viewing copy-protected programming.
Note
Choose Your Setup

A/V Connection
Connectthe10-wayDINplugtotheAVOUTjack on the back of the DIRECTV® Receiver.
If connecting directly to a TV, connect the white, red and yellow plugs on the other end of the A/V
cable to the AUDIO L (white) and R (red) and VIDEO (yellow) A/V input jacks on your TV.
If hooking up a VCR, connect the white, red and yellow plugs on the other end of the A/V cable to
the AUDIO L (white) and R (red) and VIDEO (yellow) A/V input jacks on your VCR.
en, run an A/V cable from the VCR’s A/V output to the TV’s A/V inputs. is will allow you to
watch videotapes.
11
Getting Started
Choose Your Setup
TIP
To switch between watching your
VCR and watching video from your
DIRECTV® Receiver, you may need
to program the INPUT key on your
DIRECTV®remote. (See page 19 for
info.) Some TVs also have a MENU
button that allows you to change
the video source using an onscreen
menu. If you have trouble changing
the video source, refer to the
instructions that came with your TV.
Table of contents
Other DirecTV TV Receiver manuals

DirecTV
DirecTV LH27 User manual

DirecTV
DirecTV D10-300 User manual

DirecTV
DirecTV H10 User manual

DirecTV
DirecTV HD RECEIVERS User manual

DirecTV
DirecTV Wireless Cinema Connection Kit Specification sheet

DirecTV
DirecTV LSS-3200A User manual

DirecTV
DirecTV D10 User manual

DirecTV
DirecTV H21 User manual

DirecTV
DirecTV HUGHES/ HTL-HD User manual

DirecTV
DirecTV HD DVR User manual