Discovery Telecom 47019 User manual

INSTRUCTION MANUAL
MODEL #47019
by
introdUction
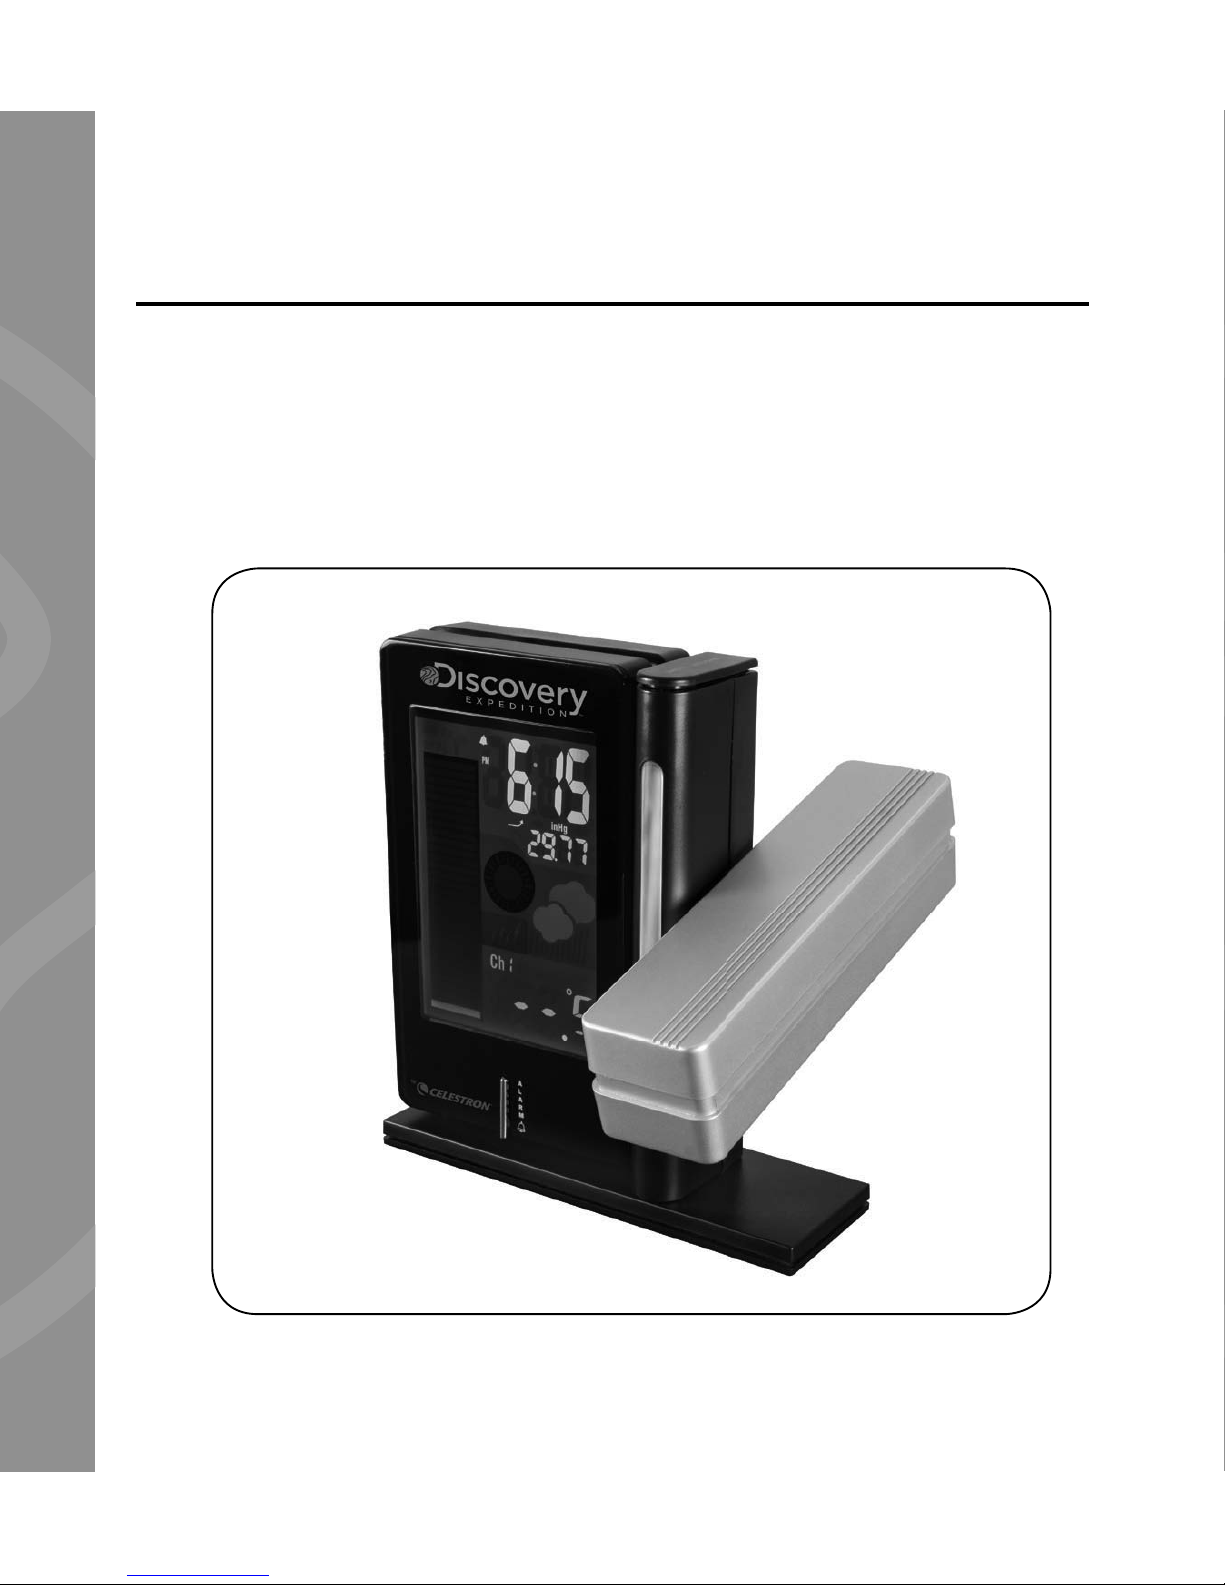
Congratulations on your Discovery Expedition by Celestron Deluxe
Projection Weather Station purchase. Please read the instructions
prior to use. We hope it brings you many years of enjoyment.
Note: This product was designed and intended for ages 13 and
older!
1
poWering the receiver
Remove the protective plastic film from the LCD. Plug the socket of
the AC Adapter into the back of the Receiver unit. Insert the plug into
an AC wall type socket, and the display will be seen on the Receiver.
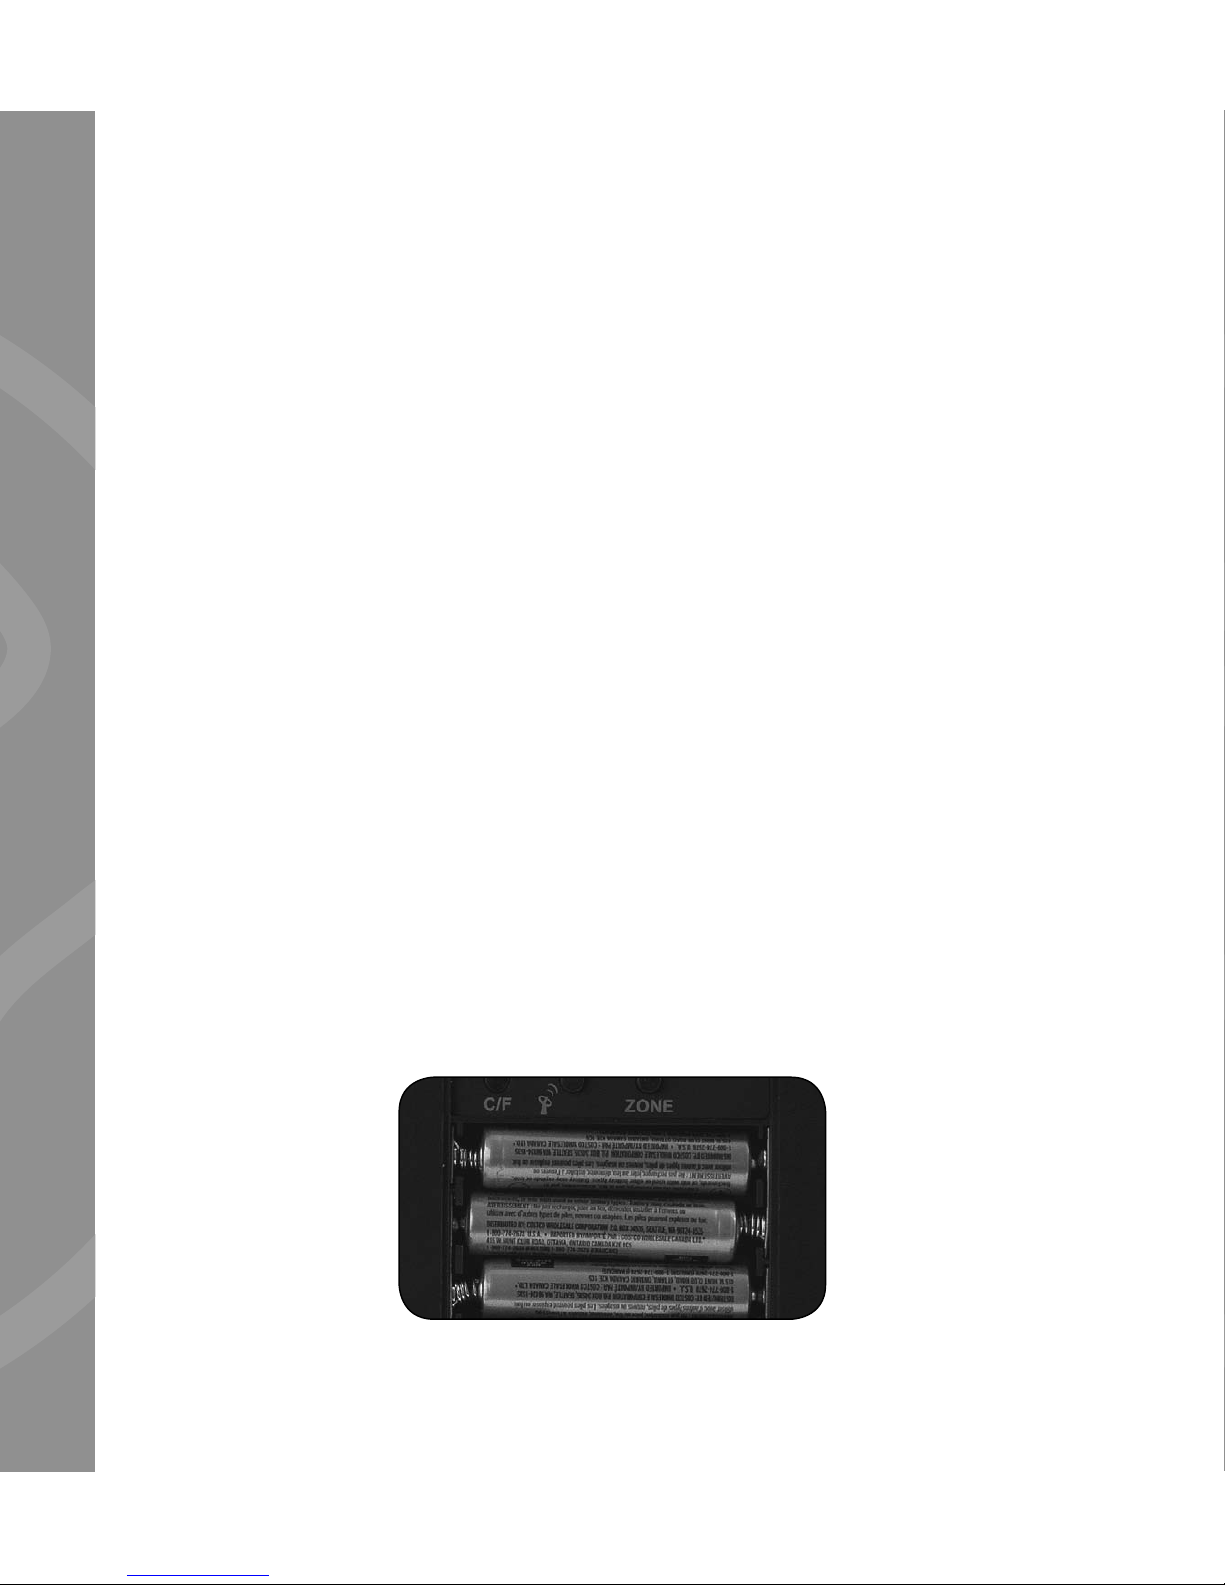
The Receiver uses three AAA batteries (user supplied) so that the
time and other settings will remain in memory if the Receiver loses
power for any reason. If a low battery indicator is displayed, then
the batteries should be replaced. To install the batteries, remove the
battery door and install the batteries according to the correct polarity
as indicated.
For optimum performance, please place the Receiver away from
metal and other sources of interference such as mobile phones, TVs,
computers, appliances, etc.
2

poWering and adJUsting settings
for the WireLess reMote sensor
Remove the protective plastic film from the LCD. Remove the two
small screws from the rear door of the sensor with a small Phillips head
screwdriver. Insert two AAA batteries (user supplied) according to the
polarity as indicated on the sensor. Set the switch (on the right side)
to 1 (for Channel 1), push/toggle the center switch so readings will
be shown in “C” (Centigrade) or “F” (Fahrenheit). Next, push the left
switch “TX” which will transmit the RF signal from the sensor to the
Receiver. The Sensor itself will display the outside temperature.
The Sensor should be mounted in an open area and can maintain
communication with the Receiver from a distance of up to 100 feet (20
meters). The Sensor is built to securely mount to any surface.
If the Sensor’s battery power becomes low, a “low battery icon” will
appear on the LCD display. Change the batteries to ensure a strong
signal is being sent to the Receiver.
3

settings and operation
of the receiver
Barometer/Altitude Setting – After battery installation of the Receiver,
it will enter altitude setting mode directly. Press the UP or DOWN
arrows on the side of the Receiver to select the barometer units in
“inHg” or “hPa” or “mb”. After choosing the units, press PRESSURE
to confirm. Next, press the UP or DOWN buttons to enter your current
altitude and press PRESSURE to confirm and exit the setting. This
allows the Receiver to provide a more accurate barometric pressure
and weather forecast readings. You can change the
altitude setting during normal operation by pressing
and holding down the PRESSURE button to enter the
altitude setting mode and press PRESSURE to confirm.
Synchronize Remote Sensor – Press and hold the
CHANNEL button on the side of the Receiver. You will
hear a beep when the unit is searching for the remote.
Indoor and Outdoor Temperature – Can be
displayed on the Receiver. Press the CHANNEL button
on the side of the Receiver to switch from “Indoor”
data to “Outdoor” data (Channel 1). You can also have
the indoor and outdoor information automatically
switch about every six seconds when you push the
CHANNEL button where you see an icon referring to
“switch” mode. A color bar graph on the LCD shows
temperature changes as the information changes.
4
Data displayed in “C” or “F” – On the rear of the Receiver, you will
see a button you can push to change from “C” (Centigrade) or “F”
(Fahrenheit) for the display you desire.
Clock and Calendar – Press CLOCK on the side of the Receiver and
hold down for a few seconds to enter the setup mode. Use the “UP”
or DOWN buttons to make changes. Press CLOCK after each setting
is correct. The settings in sequence will be 12 or 24 hour format/hour/
minute/year/day and month or month and day format/month/date/
exit. By pressing CLOCK, you can switch between the time/month and
day/day of week.
Home (Time Zone) Setting – Hold down the ZONE button under the
battery door and press the UP or DOWN buttons to offset the desired
hour (-12 to +12 hours). Then press the ZONE button to confirm.
Press the ZONE button to toggle between home time and time zone
setting.
Note: The center button (if supplied) is not used in this model.
Memory of Maximum/Minimum Data – You can display the maximum
and minimum temperature history by pushing the MEM button on the
side of the Receiver. To clear the memory readings, press and hold the
MEM button for a few seconds.
5
Weather Forecast and Barometric Pressure Trend – The weather
station has a built-in barometer to measure atmospheric pressure
and forecasts the weather with icons for Sunny/Partly Cloudy/Cloudy/
Rainy/Stormy. The unit predicts the weather conditions of the next
12 to 24 hours based on the atmospheric pressure and is about 70%
correct. The company accepts no liability for any incorrect weather
forecast. A weather trend indicator bar is shown below the time
display and shows Rising/Steady/Falling trends.
If the weather icon is not displaying correctly, please be sure your
altitude setting is correct for your location.
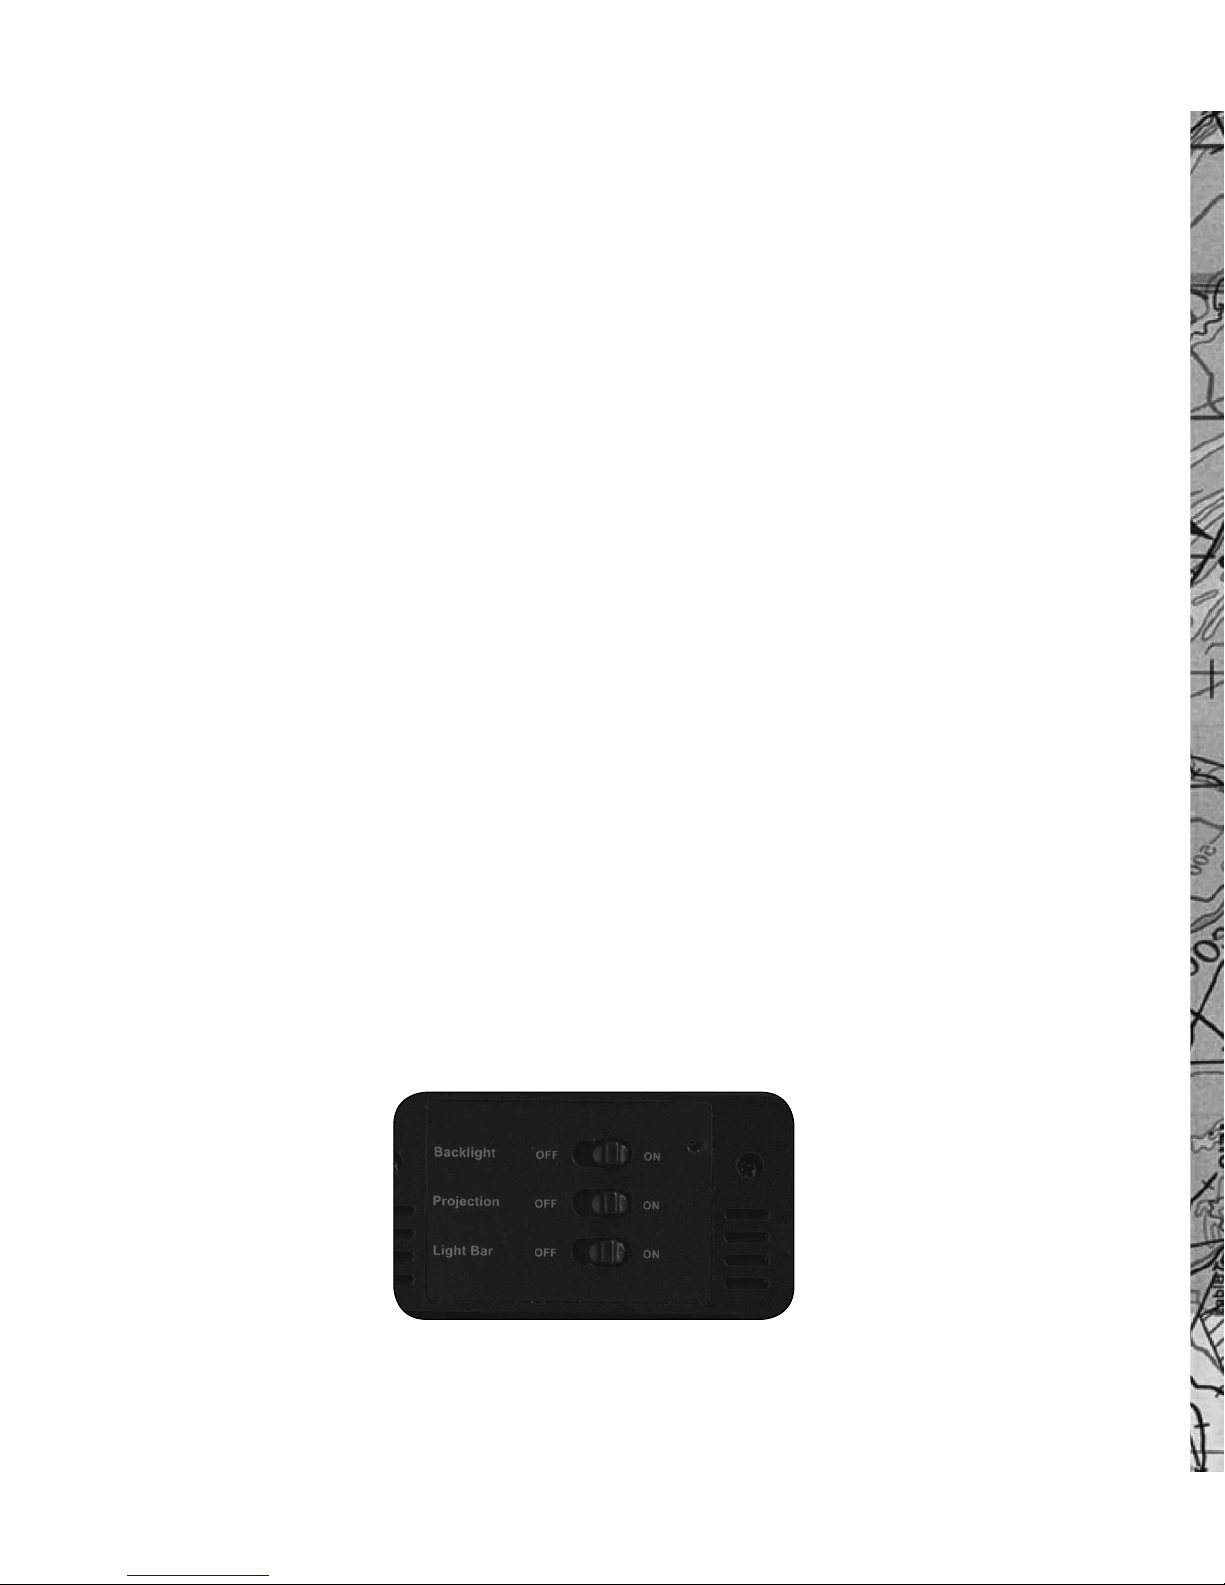
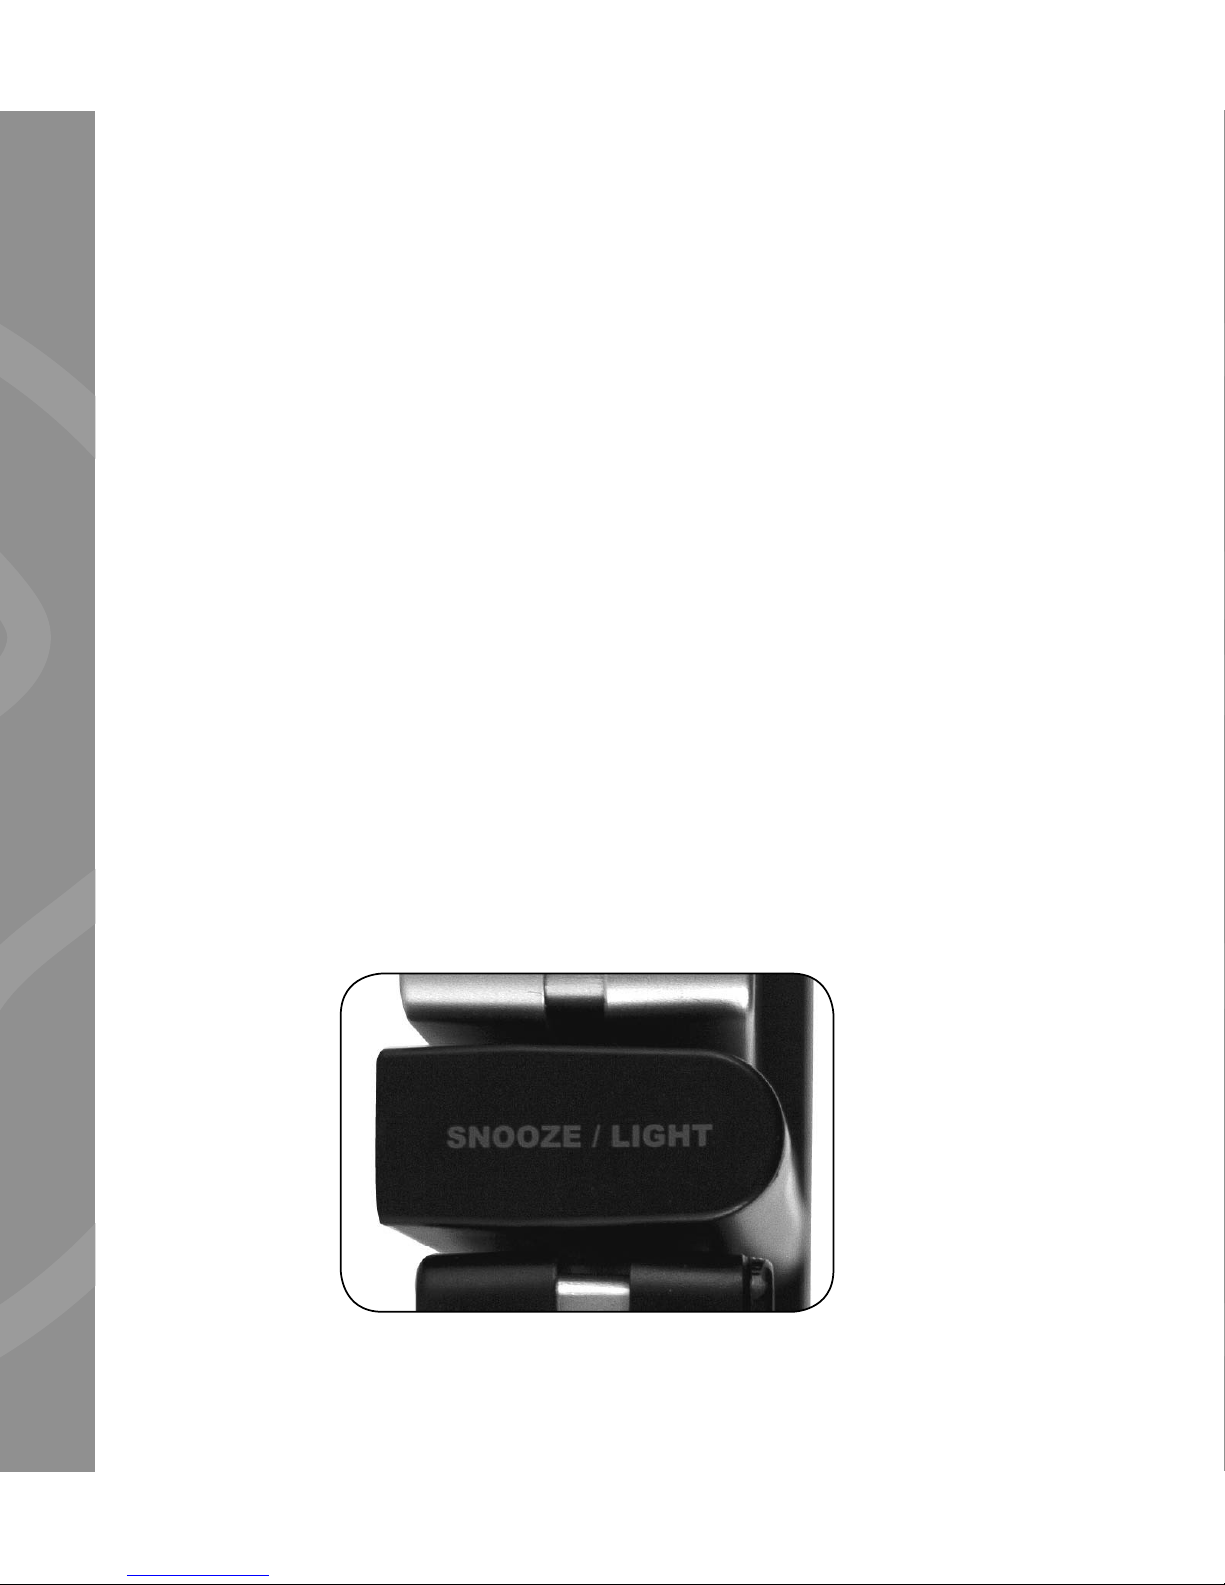
LCD Display – To have the color LCD display backlight on all the
time, slide the Backlight switch on the rear of the Receiver to the
ON position. This function is only available when the AC Adapter is
powering the Receiver. To turn off the color LCD display, switch the
Backlight switch to the OFF position. When the switch is in the OFF
position, you can view the LCD backlight display for about 15 seconds
by pressing the SNOOZE/LIGHT button on top of the light bar. The
color graph display represents the IN/OUT temperature. When the
temperature changes, the number of the illuminated bars will also
change.
6
Light Bar/Night Light – To turn on the blue colored light bar, turn
the LIGHT BAR switch on the rear of the Receiver to the ON position.
This function is only available when the AC Adapter is powering the
receiver. To turn off the light bar, turn the switch to the OFF position.
When the switch is in the OFF position, you can turn the light bar/
night light on for about 15 seconds by pressing the SNOOZE/LIGHT
button on top of the light bar.
Alarm Setting – Press and hold the ALARM button on the front of the
Receiver to enter the setting mode. Enter the desired hour and minute
values by pressing the UP and DOWN arrow buttons and pressing
ALARM to set each. Press ALARM to show the alarm time and the
“AL” icon will be displayed briefly. Press the ALARM again to have a
bell appear which indicates the alarm is enabled. To turn the alarm off
(disable), press “ALARM” again, and the bell icon will disappear.
Snooze – When the alarm goes off, press SNOOZE/LIGHT button to
go into snooze mode and the “Zz” icon will appear. The alarm will
go off again after 5 minutes and will repeat if you push the Channel/
Snooze button.
7

Image Projection (Red Color) – To project
the time image on a wall or ceiling, press the
SNOOZE/LIGHT button, and the projection will
display for about 15 seconds. The projection unit
can be rotated to any position within a 90° range.
If you want to keep the projection on all the time,
slide the PROJECTION switch (on the rear of the
Receiver) to the ON position. Continuous display
of the projection is only available when the AC
Adapter is powering the Receiver.
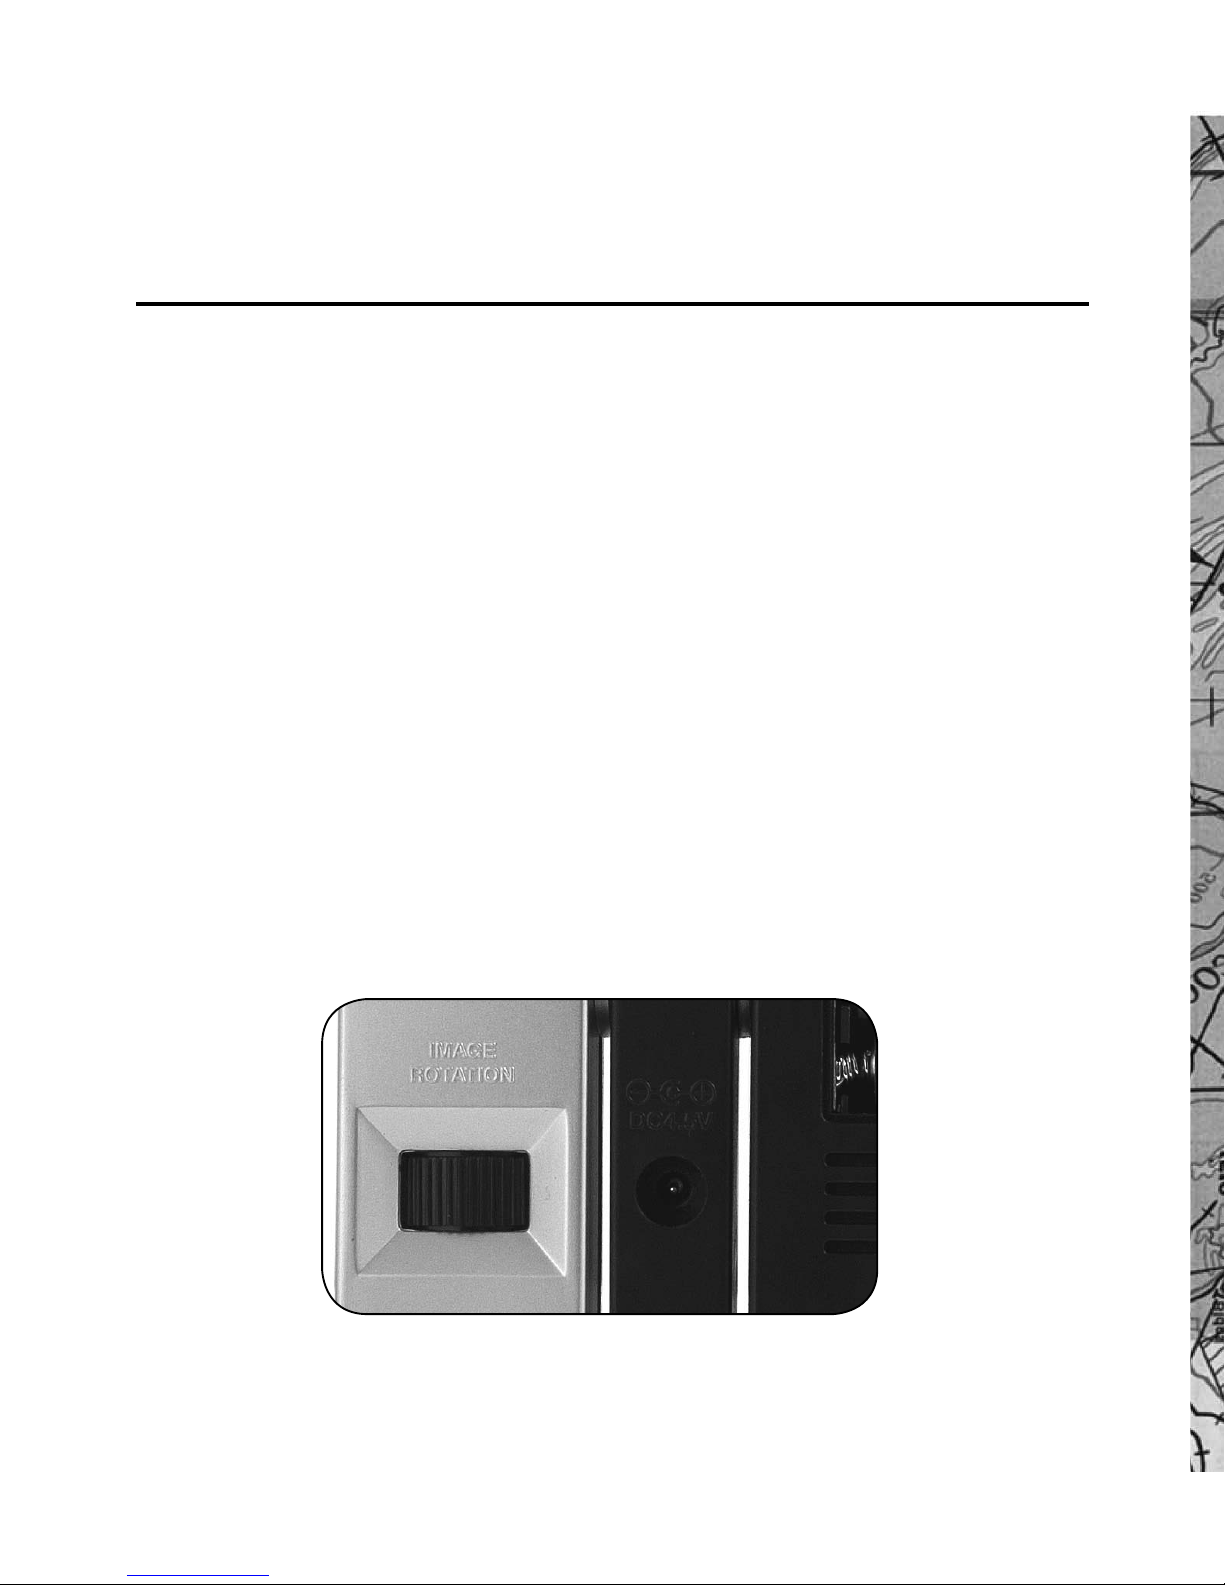
Focus the projected image by turning the FOCUS
knob (on the back of the projection unit) to obtain
a sharp image of the projected time.
You can rotate the image by turning the IMAGE
ROTATION knob on the back of the projection
unit.
specifications
• Indoor Temperature Range = 0º to +50º C (+ 32º to + 122º F)
Temperature Resolution = 0.2° F (0.1° C)
• Remote Sensor Temperature Range = -20º to + 60º C ( -4º to + 140º F)
• Forecast Accuracy = about 70%
• Display = Color LCD
• Clock = Digital quartz
• Power = 4.5 Volt AC Adapter and backup batteries – 3 AAA (user supplied) for
8

Receiver and 2 AAA batteries (user supplied) for Wireless Remote Sensor
• Transmission = RF434 MHz, up to 100 feet (30 meters) in an open area
• Dimensions = Receiver – 4.7” x 1.5” x 5.2” (119 mm x 38 mm x 132 mm)
Sensor – 2.5” x 1.0” x 3.6” (64 mm x 25 mm x 91 mm)
• Weight = Receiver – 11 oz (312 g) Sensor – 3 oz (85 g)
NOTE: THE MANUFACTURER IS NOT RESPONSIBLE FOR ANY RADIO OR
TV INTERFERENCE CAUSED BY UNAUTHORIZED MODIFICATIONS TO THIS
EQUIPMENT. SUCH MODIFICATIONS COULD VOID THE USER AUTHORITY
TO OPERATE THE EQUIPMENT.
©2011 Discovery Communications, LLC. Discovery Expedition and related logos are trademarks of Discovery
Communications, LLC, used under license. All rights reserved.
©2011 Celestron • 2835 Columbia Street • Torrance, CA 90503 U.S.A.
Telephone: 310.328.9560 • Fax: 310.212.5835 • All rights reserved.
This device complies with Part 15 of FCC Rules. Operation is subject to the following two conditions: (1)
This device may not cause harmful interference, and (2) This device must accept any interference received,
including interference that may cause undesired operation.
Table of contents
Popular Weather Station manuals by other brands

La Crosse Technology
La Crosse Technology V21V3 Faqs

La Crosse Technology
La Crosse Technology Wireless Weather Station instruction manual

Oregon Scientific
Oregon Scientific BAR339DP user manual

Bresser
Bresser Wind Gauge Pro instruction manual

Youshiko
Youshiko YC9370 user manual

RainWise
RainWise PVMET-330 user guide


La Crosse Technology
La Crosse Technology WS-2510 Commissioning instructions

Bresser
Bresser ClimaTemp TB instruction manual

hager
hager TXE531 quick start guide

Oregon Scientific
Oregon Scientific WMR200 user manual

Coastal
Coastal WEATHERPAK MTR Training guide

Ambient Weather
Ambient Weather EZ-HD-PTP-100 user manual