6
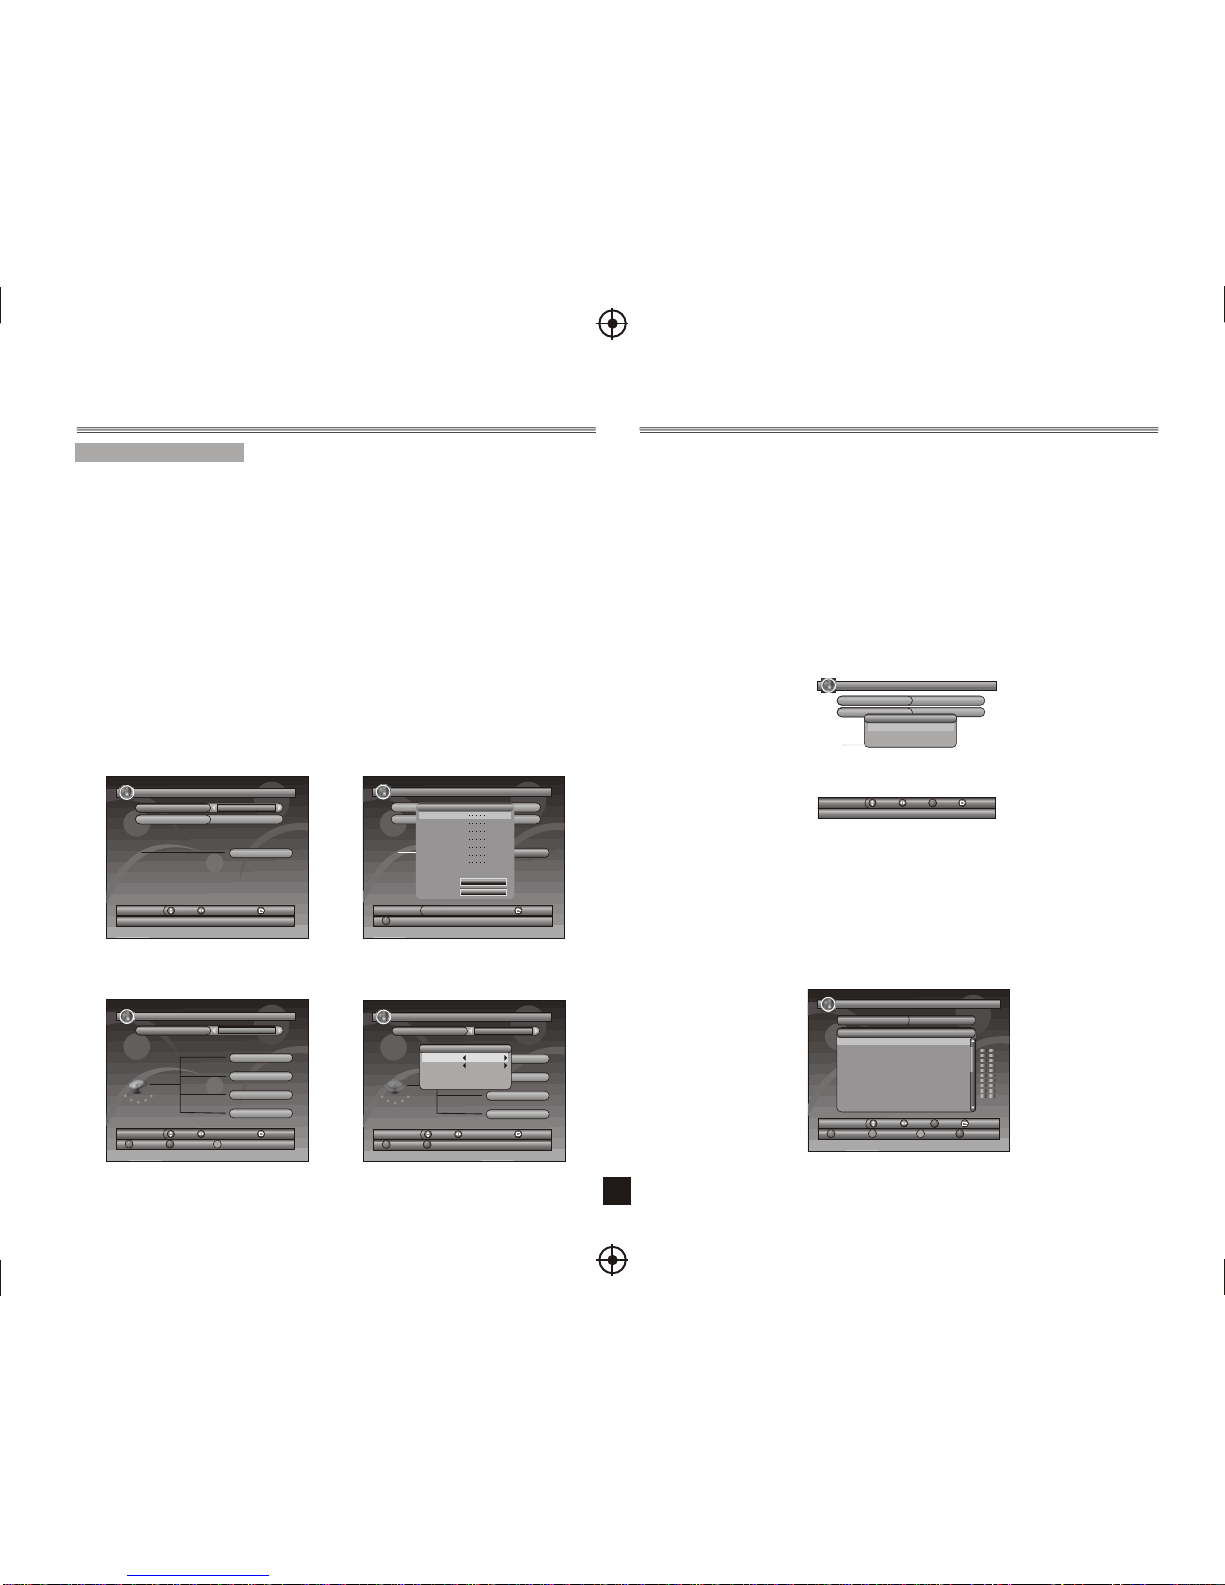
2.4.1.1 Thumbnail/Folder
The info (Width X Height and Date) of selected photo will be displayed atthe left bottom in
Thumbnail mode and right up inFolder mode. See Figure11.
Press <Up/Down/Left/Right/OK> button to browse folders or files.
Press <OK> button to view the selected photo and press again to start slideshow.
Press <Info> button to see the help information when view or slide show.
2.4.1.2 Zoom
Press <RED> button to zoom in or zoom out the photo in view mode.
The zoom factor can be 25%, 50%, 100%, 150%,2 00%. If zoom factor greaterthan 100%,
press <Up/Down/Left/Right> button can move around the photo.
2.4.1.3 Rotation
Press <Left/Right> button to rotate left or right and <YELLOW/BLUE> button to flip horizontal
or vertical in view mode. After rotating or flipping thephoto and return Thumbnail mode,
the effect will be keeped.
2.4.1.4 Slide Show
Press <OK> button to view the photo fromThumbnail or Folder mode and
press it again to start the slide show.
Press <RED> button to play or pause the slide show.
Press <GREEN> button to set music playing at background when slide show.
Press <YELLOW> button to set repeating or once.
Press <BLUE> button to set the time interval between current and next photo.
Press <Up/Down> button to next or previous photo right away.
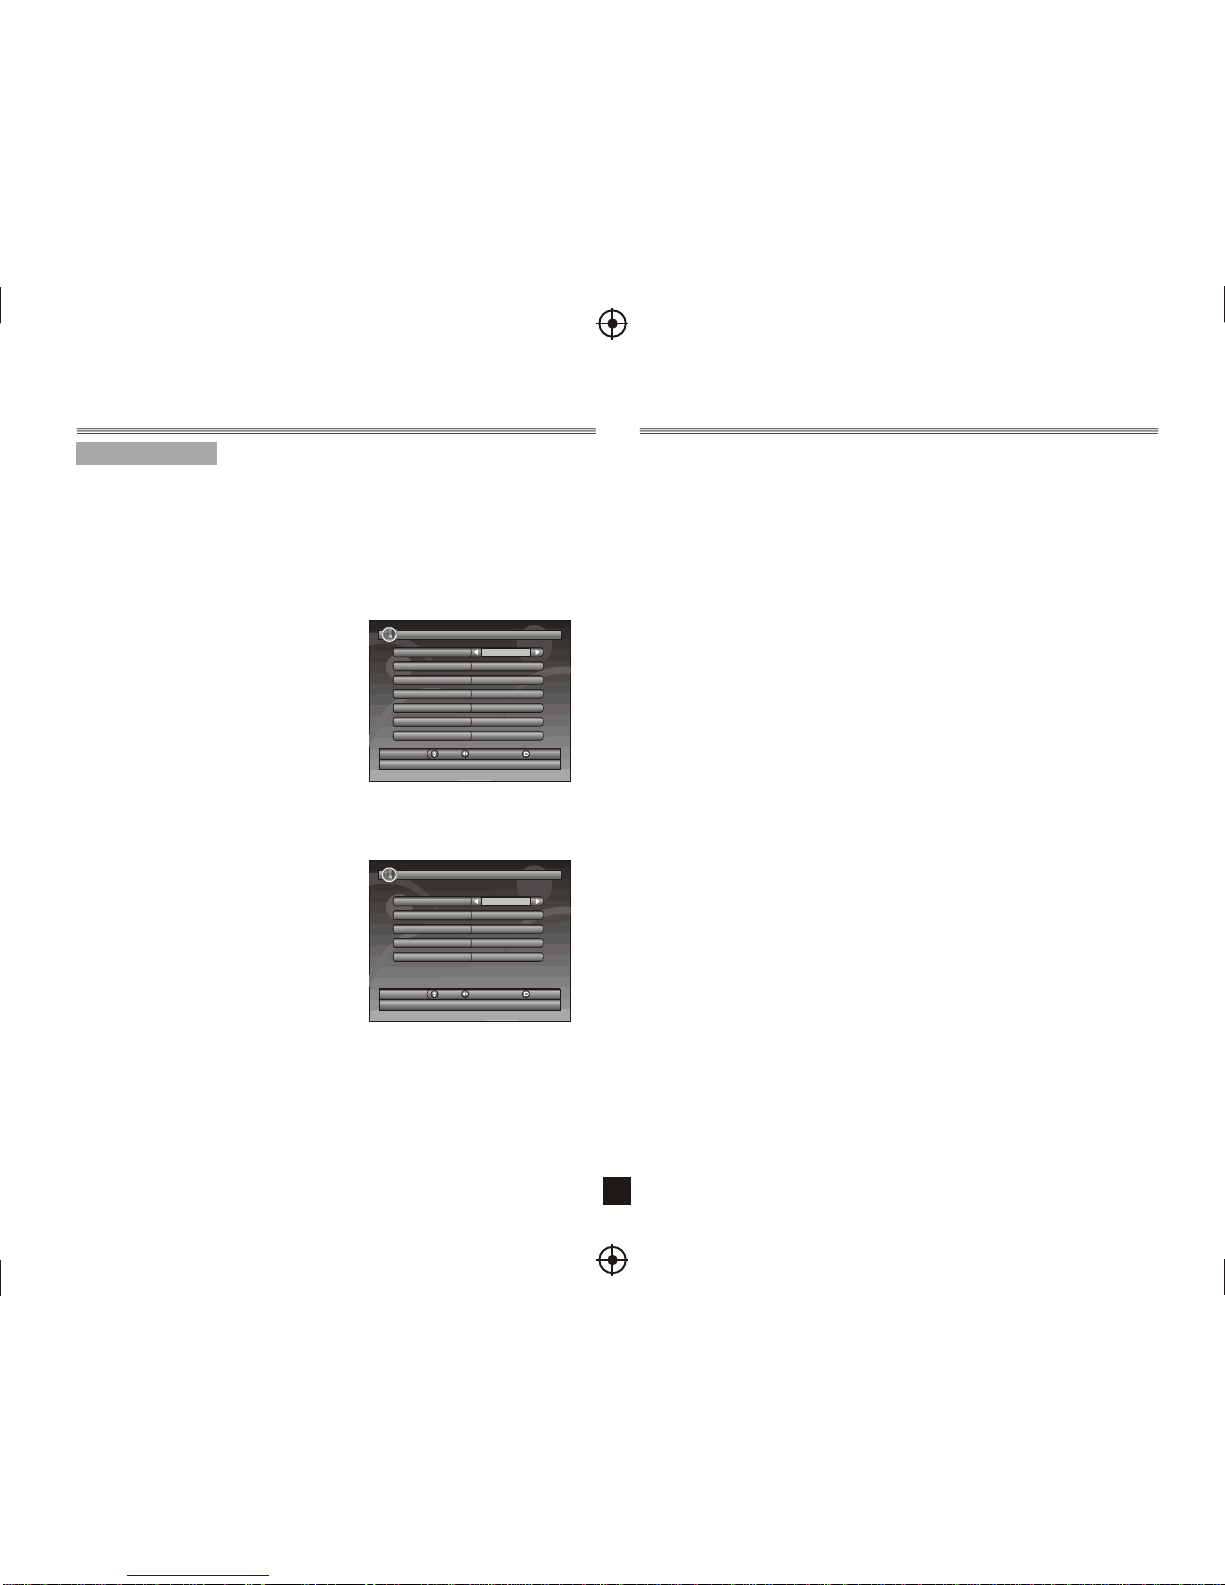
2.4.2 My Music
My Music can play most of MP3/WMA files. It displays progress bar, audio spectrum,
current playing time and total time while playing. See Figure 12.
Press <Info> button to select device if an external USB hub connected.
Press <Up/Down/Left/Right/OK> button to browse folders and files.
Press <OK> button to start play.
Press <RED> button to play or pause.
Press <GREEN> button to stop.
Press <YELLOW> button to set play mode as Repeat All, Repeating,
Random, repeat Off.
Press <BLUE> button to set fast forward speed as x2,x3,x4,Normal.
Press <Left/Right/Mute> button to adjust volume while playing.
Figure11. MyAlbum - Thumbnail Figure 12. My Music- Browser
My Album - Thumbnail 17/10/07 12:59
View
OK
Move Move Exit
Folder
Select
OK
Move Move
STBAF
JPEG
PROGRE-1
QUALITYO
GUNDAM
HAPPY
Root(USB) 001.18-vbr_48KB_44.1
002.19-vbr_64KB_44.1
003.20-vbr_96KB_44.1
004.22-vbr_192KB_44.
005.23-vbr_256KB_44.
006.24-vbr_320KB_44.
007.25-vbr_32KB_44.1
Device Exit
MyMusic 04/07/05 19:21
MUSIC : 66 songs
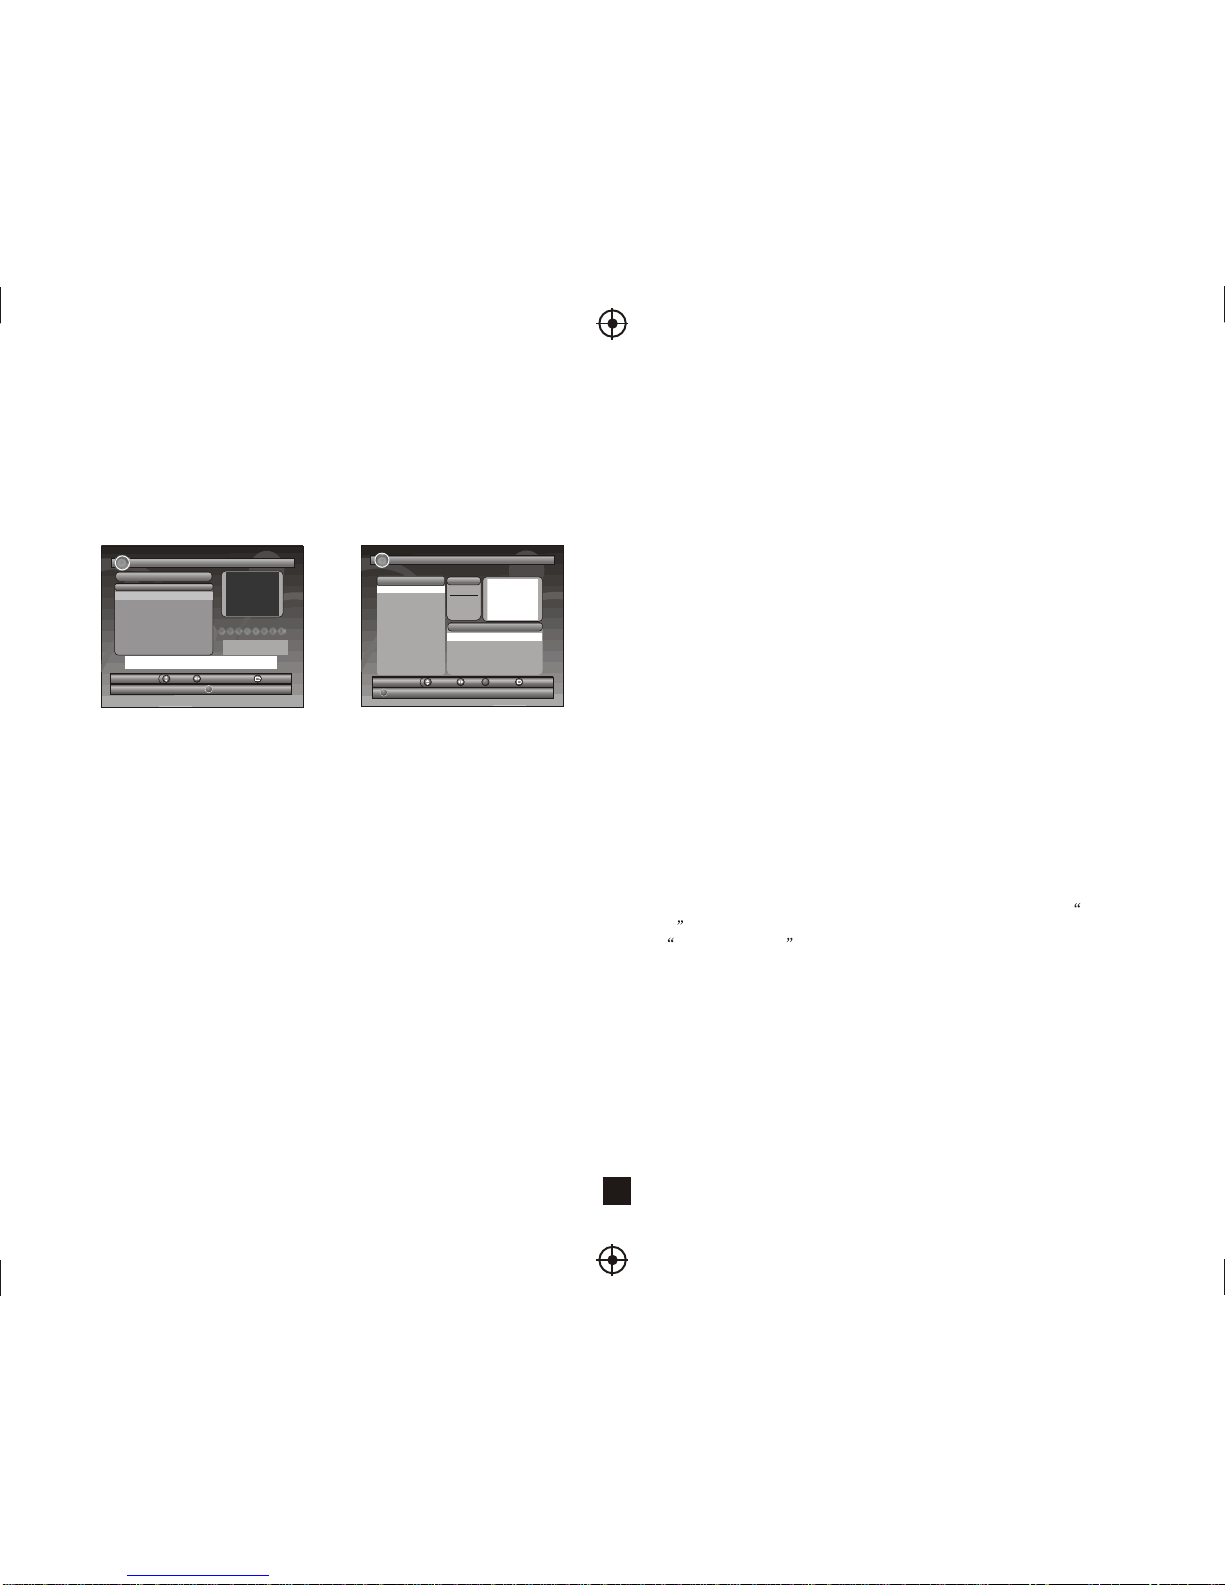
2.4.3 My Movie
My Movie can play most of MPEG2/4 files. It displays the played file name at the topleft
corner , and use the info key to get the current playing time andtotal time information while
playing.
Press<Info>button to select device if an external USB hub connected while browsing, and to
show the control info bar while playing.
Press<Up/Down/Left/Right/OK> to select folders and files during
browsing, and to switch next/previous file or adjust the volume while playing.
Press<OK>button to select a file to play.
Press<RED>button to play or pause while playing.
Press<GREEN>button to play the frame one by one while playing.
Press<YELLOW>button to set fast backward speed as x2, x4, x8, x16, x32, Normal.
Press<BLUE>button to set fast forward speed as x2, x4, x8, x16, x32, Normal.
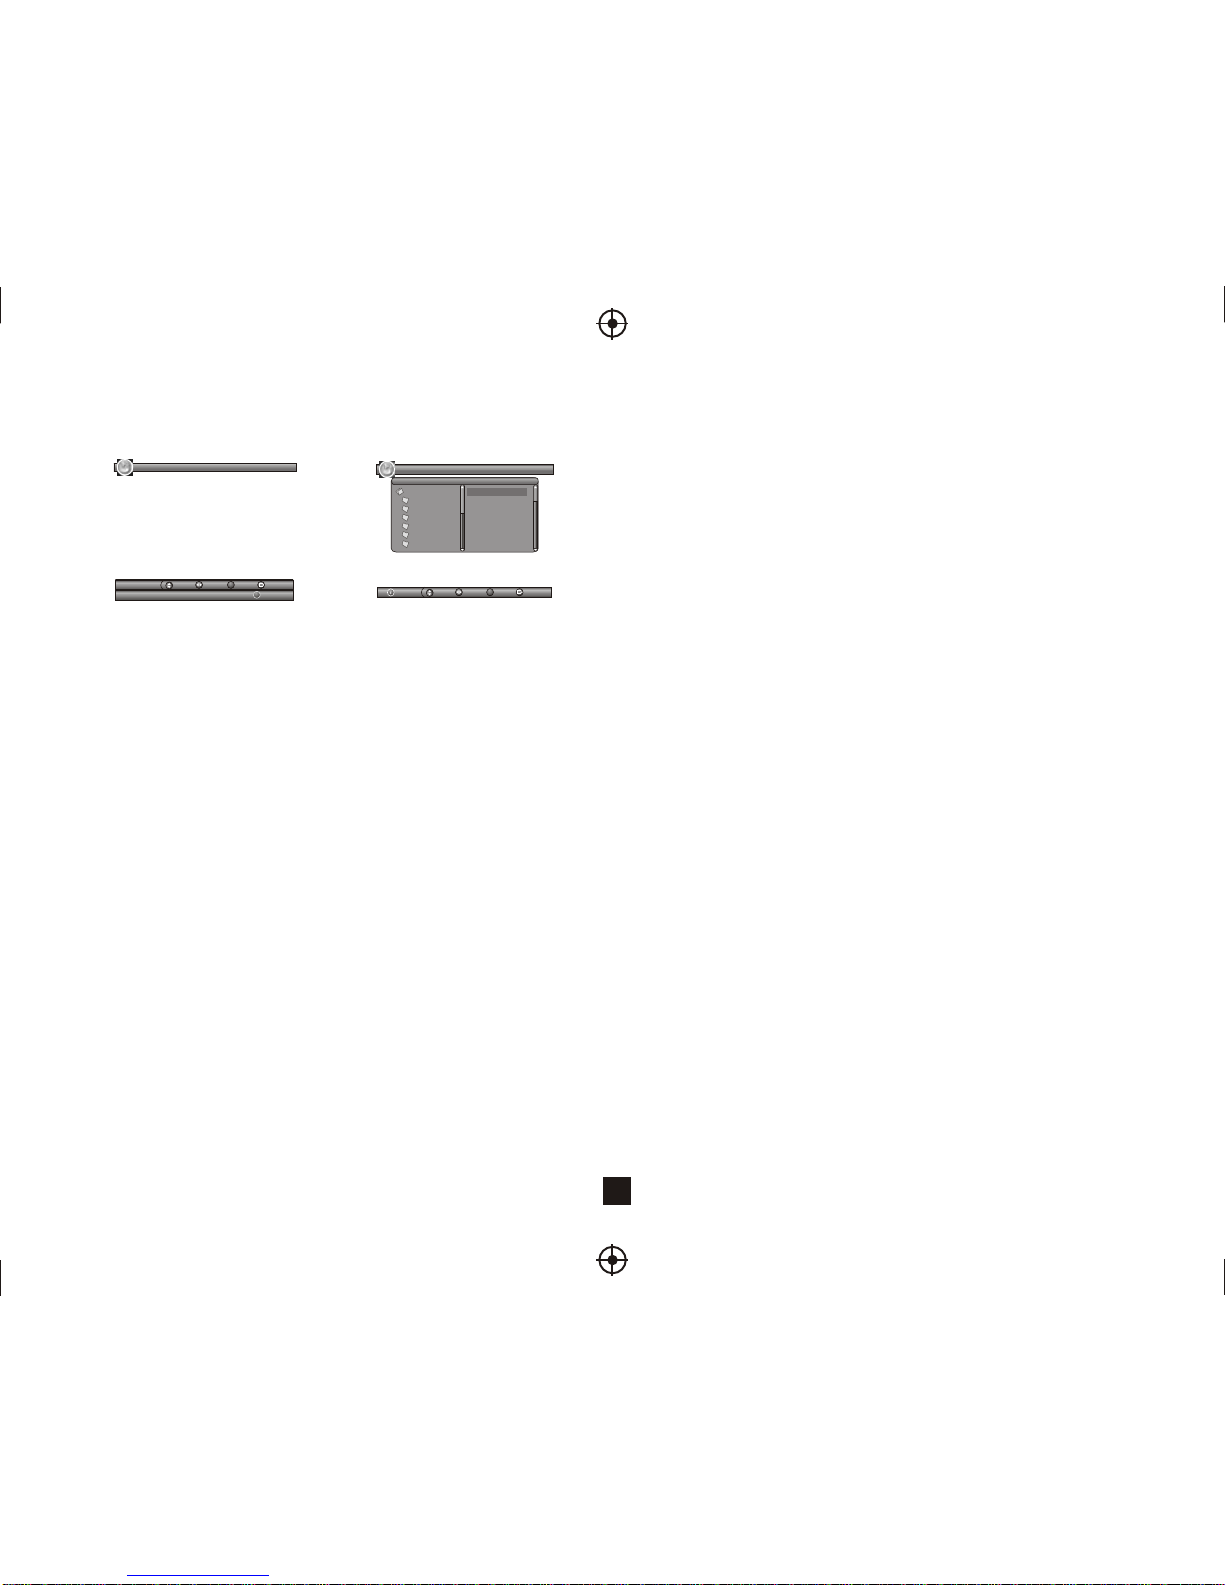
2.4.4 My Record
My Record make user can view theprogram thathas been recorded, or configure the
options for recording. Pleasenotice that the File System supportedis FAT and FAT32.
InRecorded List menu, usercan view ordelete the recorded program.InRecording
Device menu, usercan select different storagemedia or different partitionin one storage
media for recording. InRecording Preference menu, usercan change the mode ofTime
Shift, One Button Recording, and the length of defaultrecording period.Please notice
thatTime Shift Size is calculatedautomatically according to thecurrent storagemedia
or current partition, it can't be modified.
Time Shift:
Auto: this option willstart Time Shiftrecording automatically for programbeing viewed.
Pause: this option willstart Time Shiftrecording only after PAUSE key is pressedby user.
OFF: this option willdisable Time Shiftrecording.
One Button Recording:
ON: this option willstart recording the programbeing viewed directly afterRECORD key
is pressed. OFF: thisoption will enable userto pre-set the lengthof recording after
RECORD key is pressed.
Press <Up/Down/Left/Right> for navigationin the menu.
Press <OK> to selector modification confirm.
Press <EXIT> to exitthe current menu.
Press <RED/GREEN/YELLOW/BLUE> for specialfunction indicated in themenu.
Note:
For usility of TIMESHIFT/RECORDING/PLAYBACK function, USB2.0 storagedevice
is needed basicly.We strongly recommend userto use USB2.0 HDD,and use
independent partition for PVR.Before using the partition,please format the partition
through the set-top-box.
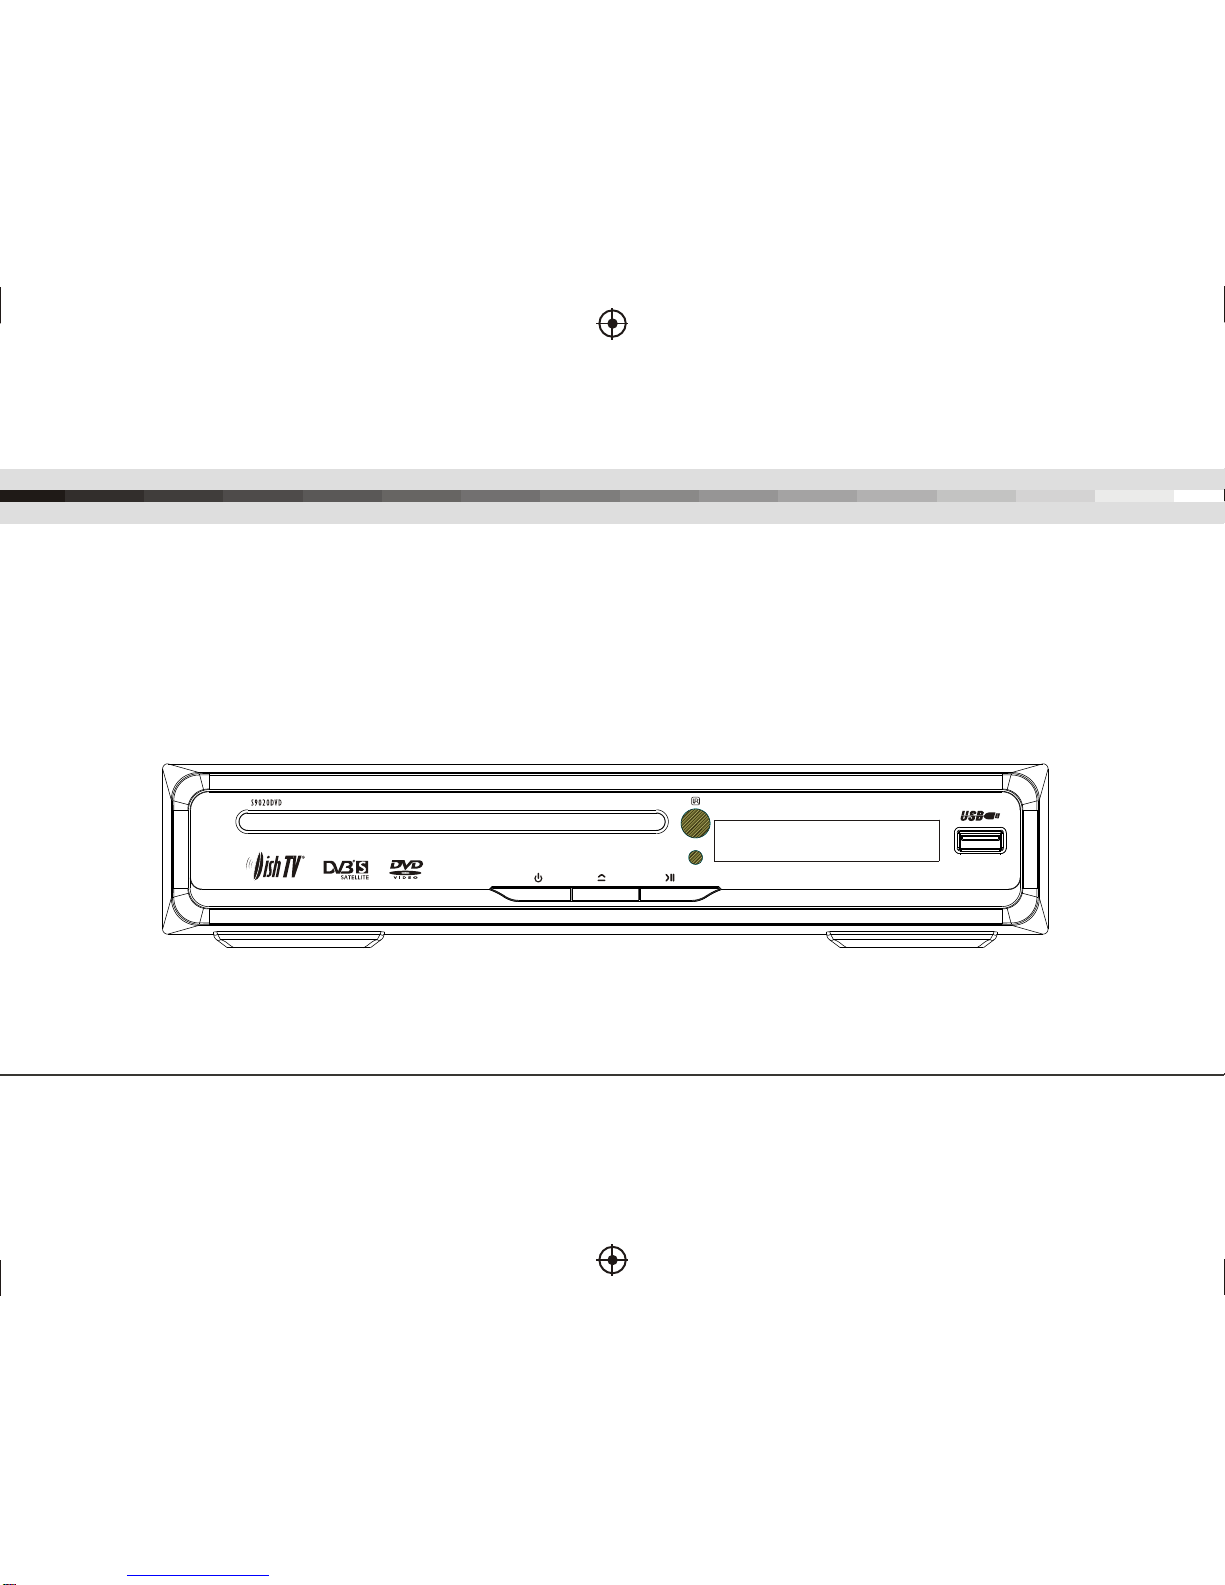
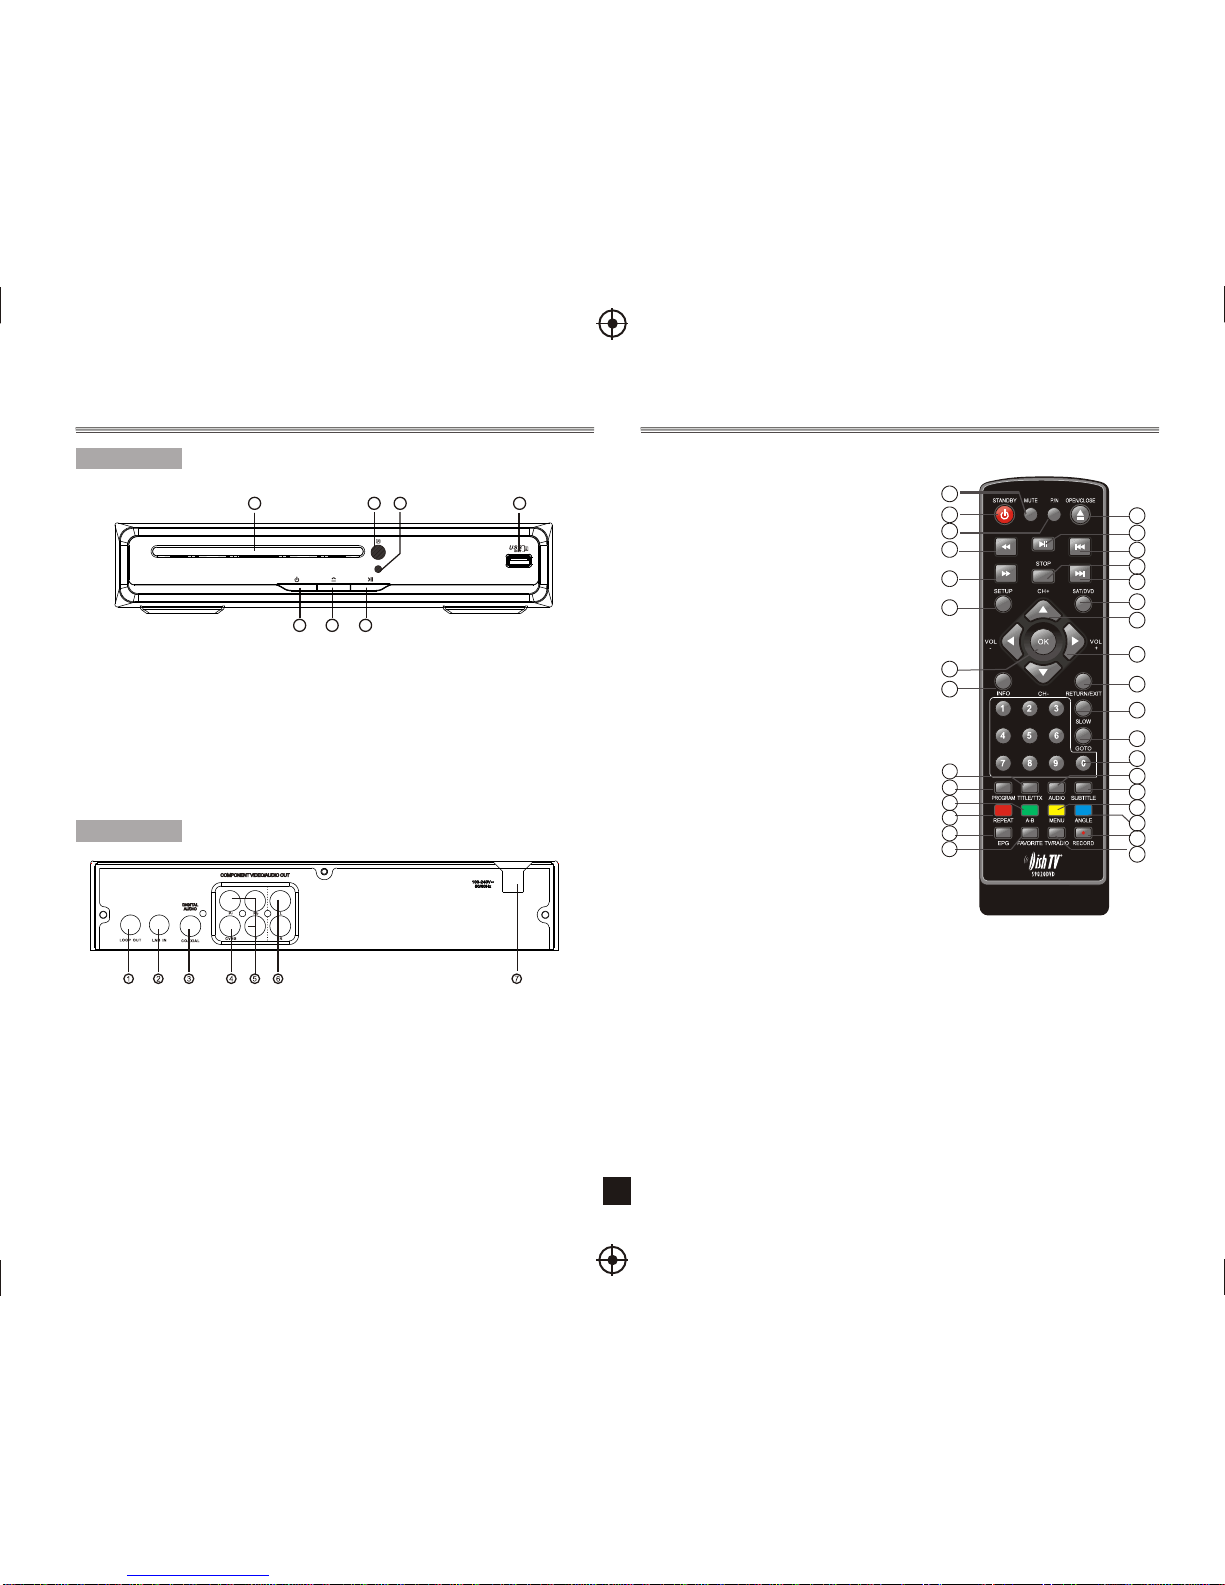
Front and Rear PanelIllustration ..................................................................................1
Remote Controller............................................................................................................ 1
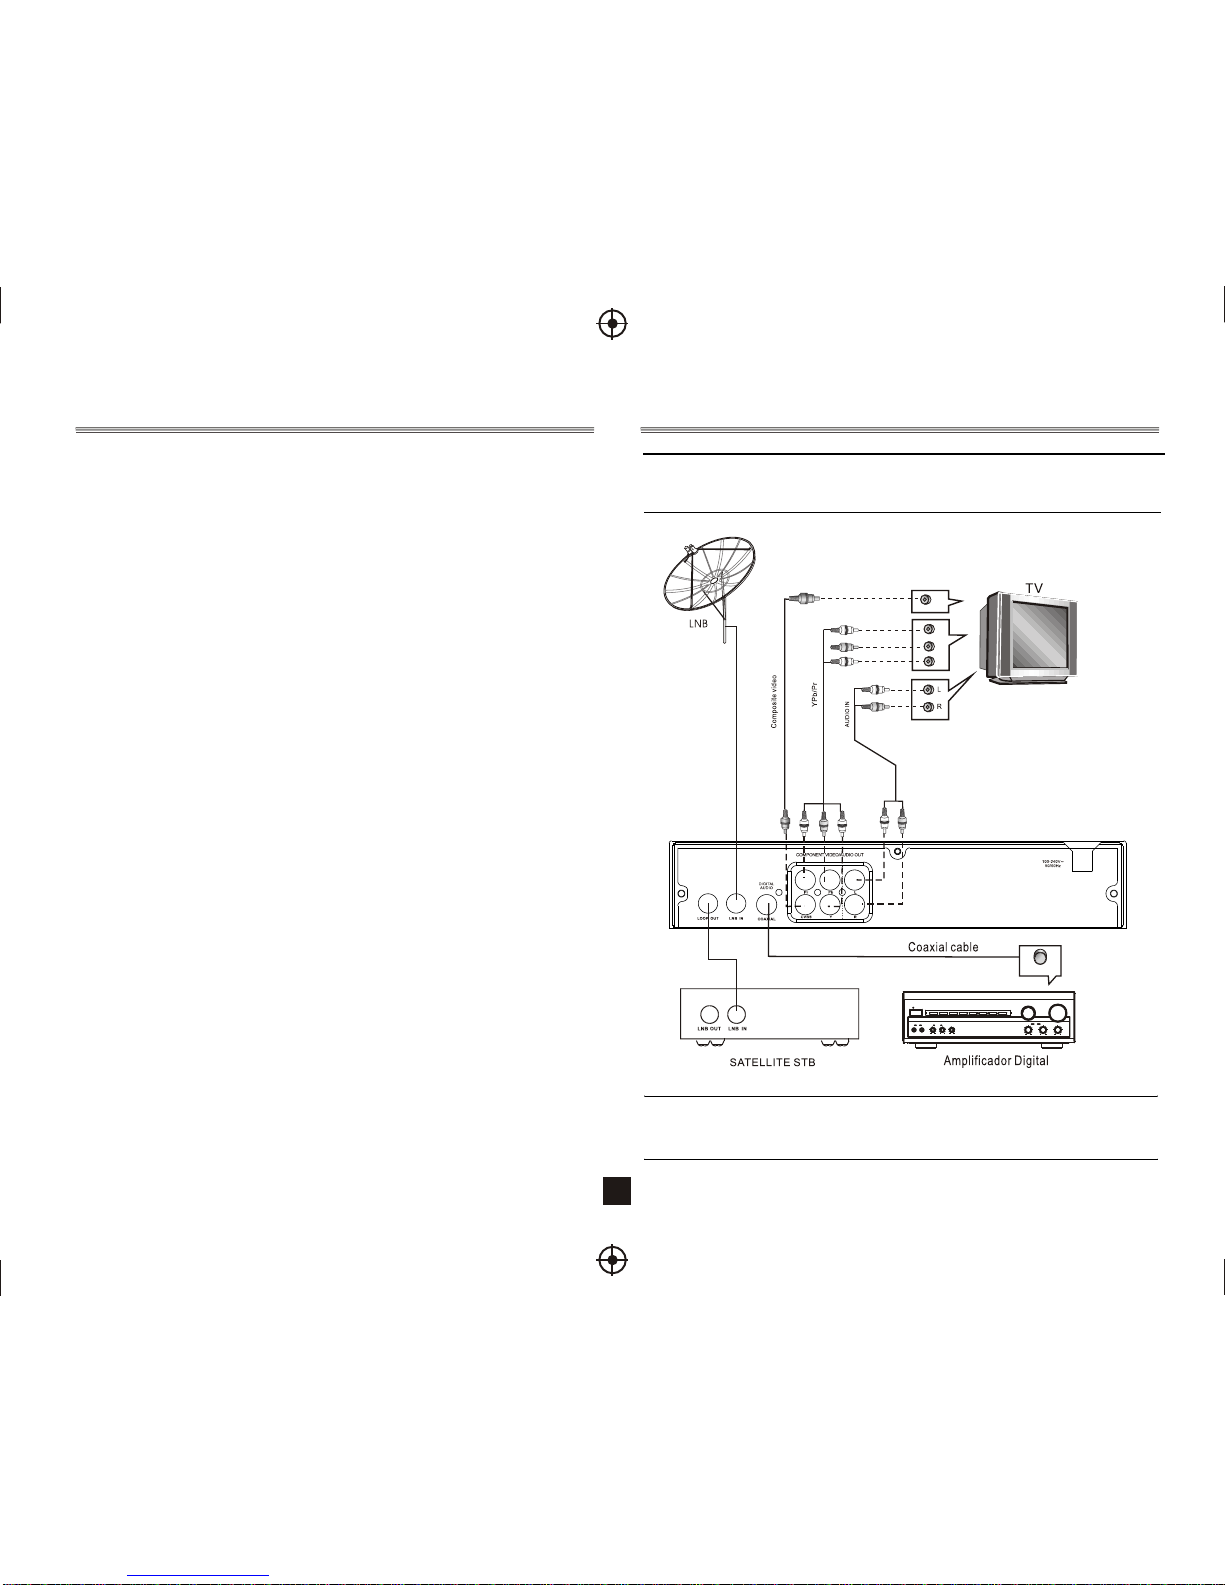
Connections ......................................................................................................................2
3
Troubleshooting............................................................................................................. 10
Specifications..................................................................................................................10
User Interface of DVB-S...................................................................................................
Quick Installation .....................................................................................................3
Menu Operations.......................................................................................................4
Normal Play...............................................................................................................7
User Interface of DVDPlayback.....................................................................................8
The Setup Menu System ..........................................................................................8
Mp3 Playback............................................................................................................9