TOP
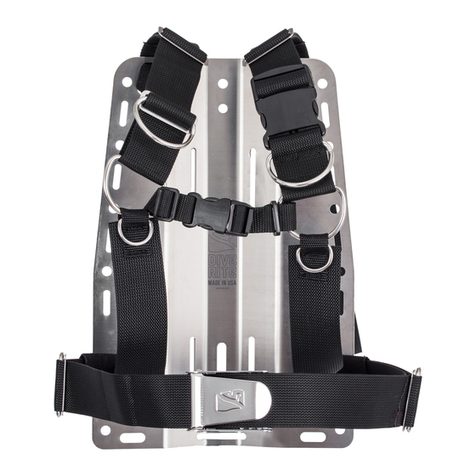
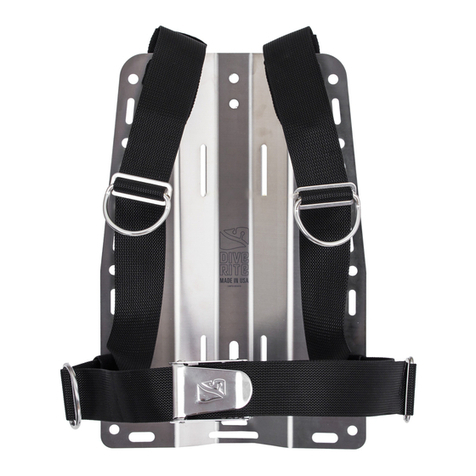
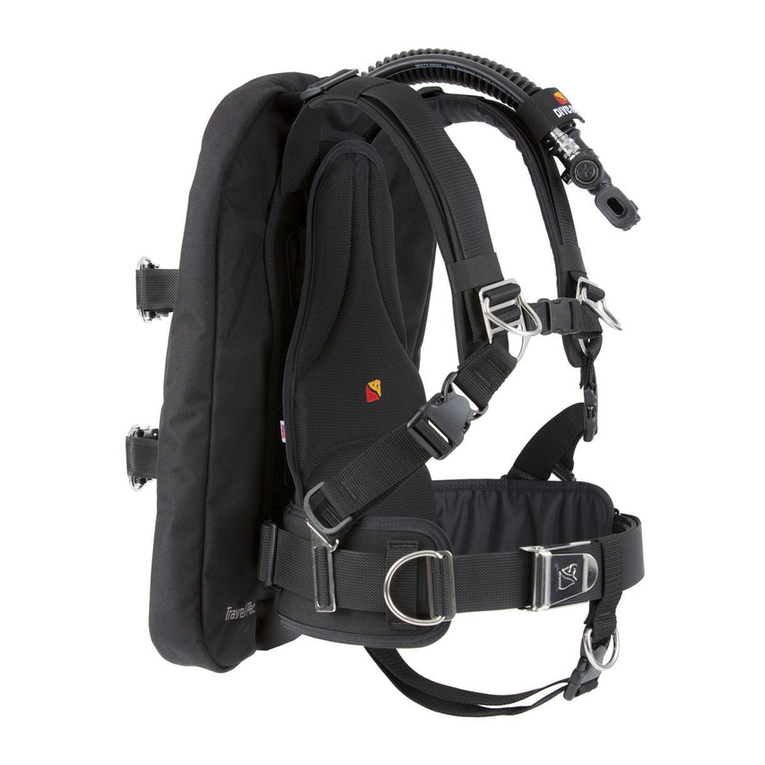
Threading Deluxe Harness
RIGHT
LEFT
BACK
Shoulder Strap Routing
STEP
7
B
FRONT
C
Waist Strap
Routing
D
STEP
6
Minor
Adjustment
Major
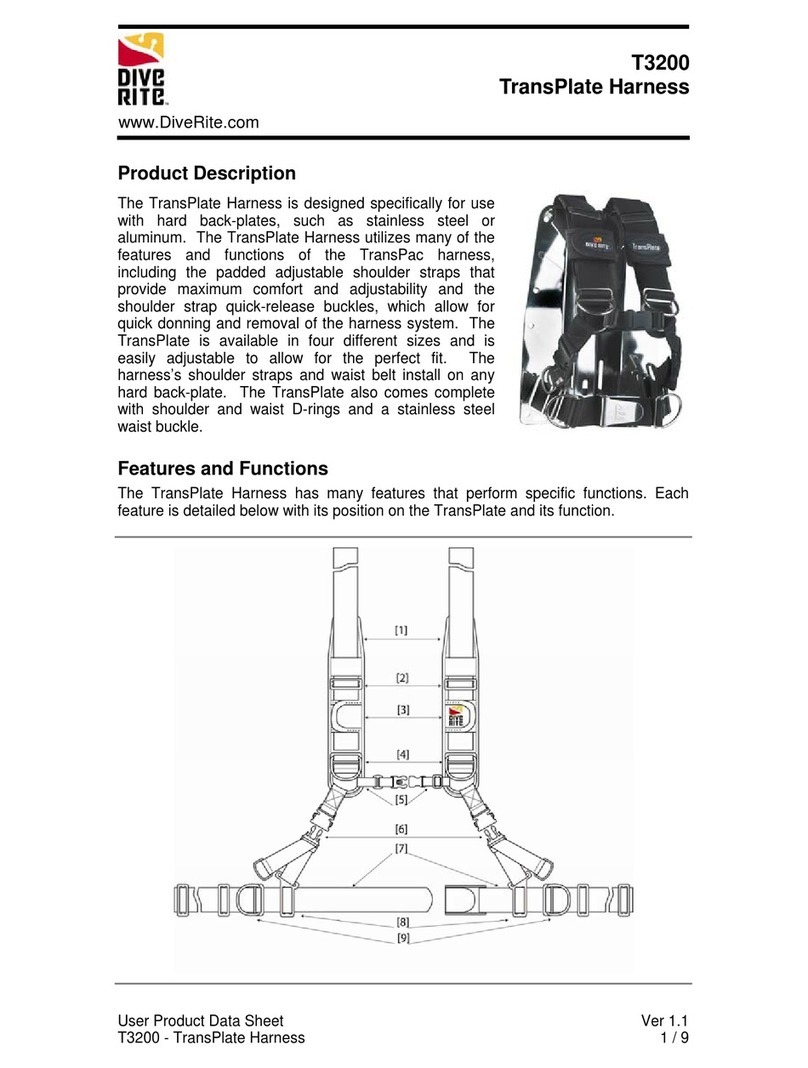
1) Begin by threading 2 tubular sleeves onto the 5.5-foot piece
of harness webbing. These will end up where the harness goes
through the upper harness strap slots, as shown in figure A.
2) Thread the 5.5-foot webbing piece through the upper
shoulder strap slots, as shown in Figure A, positioning the
webbing so the grommet is over the upper tank bolt-hole on the
backplate.
3) Thread the remaining 2 tubular sleeves onto the 3-foot
sections of the webbing, with them ending up where the two
sections go through the waist slots, as shown in figure C.
4) Using one waist strap assembly, weave the tail end through
the two left (as you are looking at the front of the back plate)
waist slots - starting from the front, through the inner slot, and
back out through the outer slot again.
5) Repeat step 4 on the right side with the second waist-
strap assembly.
6) Using Figure B, install one 2" belt slide and one 2" D-ring on
each tail of waist straps.
7) Install one 2-inch belt slide on each shoulder strap.
8) Install one 2" belt slide with one 2" bent "D"-ring on each
shoulder strap.
9) Weave the tail of the each shoulder strap through the
corresponding pivot ring located on the waist strap as
shown. Then weave the webbing back through both 2"
belt slides.
10) Using right chest-strap assembly (with buckle), loop
webbing through right-side pivot-ring and weave back
through belt slide.
11) Using left chest-strap assembly, loop webbing through
left-side pivot-ring and pull tail through ring.
12) Weave tail of left chest-strap assembly through the
slots in the quick-release buckle of the right-side chest-
strap assembly.
13) Install the crotch strap components, as shown in figure
"D".
14) Install the waist-strap release buckle on the same side
of the waist-strap as the crotch-strap loop is installed.
www.DiveRite.com
