8
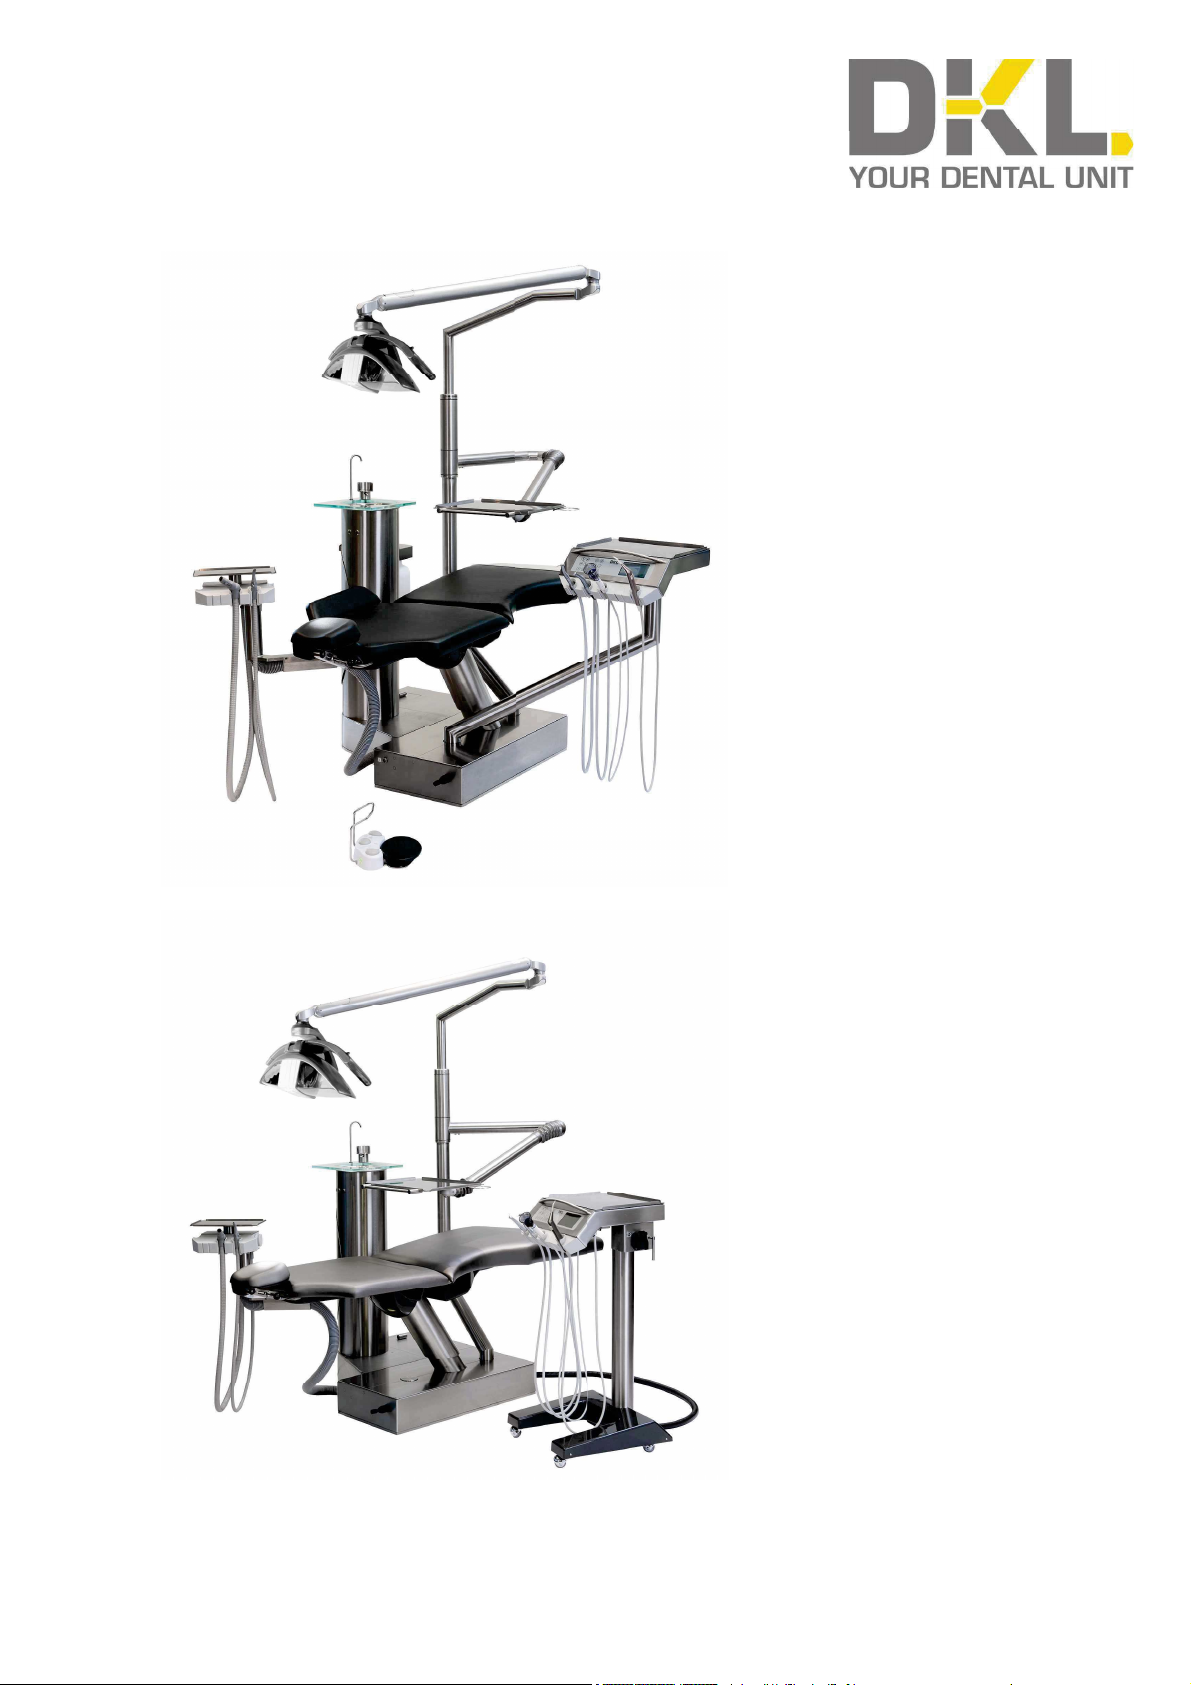
Safety Notes – Doctor’s Device, Assistant’s device and Cuspidor
> Before putting the device into initial operation and after downtimes (weekends,
(public) holidays etc.), $ush the water lines intensively.
> Flush all instrument connections for 2 minutes before starting work.
> Press the glass !ll button several times before starting work.
> Rinse used instruments for 20 seconds after each treatment.
Risk of injury or infection caused by instruments that are not in use:
The arrangement of the instruments may cause injury or infection to the hand and
forearm when accessing the tray or the display.
Therefore, when accessing the tray or the display, pay attention to the arrangement of
the instruments.
Safety notes – Transmission Instruments
> Do not exceed the maximum permissible load of 2 kg on the doctor‘s
device and on the assistant’s device.
> If you have a mobile doctor‘s device as a cart version, avoid driving over
objects on the ground when moving the cart. If there is strong resistance,
the doctor‘s device could tip over.
Follow the instructions and safety notes in the operating instructions for the
transmission instruments.
> For the motors, only use transmission instruments with transmission systems that are
ISO 3964 (DIN 13940) compatible and approved by the manufacturer.
> For air-powered instruments, only use coupling systems according to ISO 9168.
> For air-powered instruments, only use coupling systems with anti-retraction stop for
contaminated cooling water.
> Observe the information provided by the manufacturer of transmission instruments
regarding transmission ratio, maximum speed and maximum torque.
> Only use faultless instruments and with the motors pay attention to the direction of
rotation of the rotating instrument. Follow the manufacturer‘s instructions.
> Plug in the transmission instrument only when the device is at a standstill.
> If the coolant supply fails, switch o# the transmission instrument immediately.
> Before each use, check the transmission instrument for damage and loose parts.
> Never operate the clamping mechanism of the transmission instrument while using
the device or while the device is running down.
> Never reach into the instrument while it is running or running down.
> Avoid overheating of the treatment site.
> Check the secure placement of the instrument.
Highly immunosuppressed patients or patients with speci!c lung diseases should not
get into contact with the water of the treatment unit.
It is recommended to use sterile solutions.
Never touch the USB plug below the doctor‘s device and the patient at the same time.