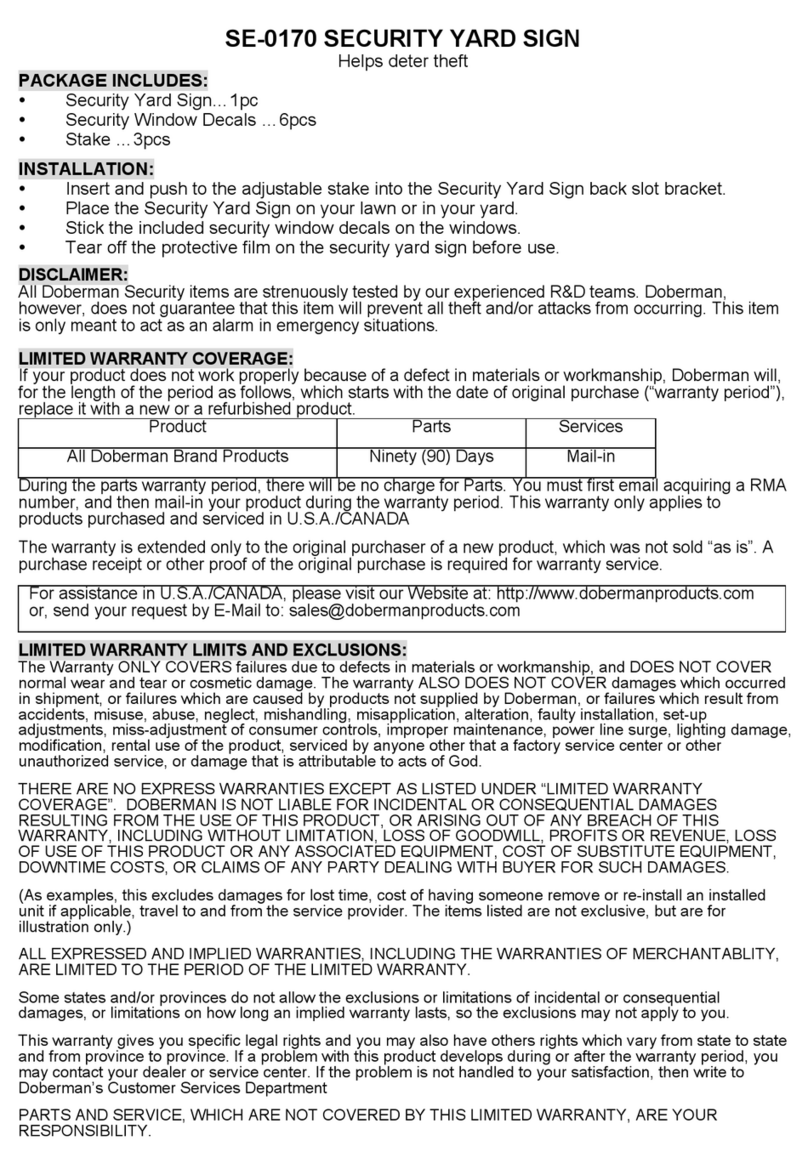
Product Parts Services
All Doberman Brand Products Ninety (90) Days Mail-in
During the parts warranty period, there will be no charge for Parts. You must first email acquiring a RMA number, and then mail-in
your product during the warranty period. This warranty only applies to products purchased and serviced in U.S.A./CANADA
The warranty is extended only to the original purchaser of a new product, which was not sold “as is”. A purchase receipt or other
proof of the original purchase is required for warranty service.
For assistance in U.S.A./CANADA, please visit our Website at: http://www.dobermanproducts.com or, send
LIMITED WARRANTY LIMITS AND EXCLUSIONS:
The Warranty ONLY COVERS failures due to defects in materials or workmanship, and DOES NOT COVER normal wear and tear
or cosmetic damage. The warranty ALSO DOES NOT COVER damages which occurred in shipment, or failures which are caused
by products not supplied by Doberman, or failures which result from accidents, misuse, abuse, neglect, mishandling, misapplication,
alteration, faulty installation, set-up adjustments, miss-adjustment of consumer controls, improper maintenance, power line surge,
lighting damage, modification, rental use of the product, serviced by anyone other that a factory service center or other unauthorized
service, or damage that is attributable to acts of God.
THERE ARE NO EXPRESS WARRANTIES EXCEPT AS LISTED UNDER “LIMITED WARRANTY COVERAGE”. DOBERMAN IS
NOT LIABLE FOR INCIDENTAL OR CONSEQUENTIAL DAMAGES RESULTING FROM THE USE OF THIS PRODUCT, OR
ARISING OUT OF ANY BREACH OF THIS WARRANTY, INCLUDING WITHOUT LIMITATION, LOSS OF GOODWILL, PROFITS
OR REVENUE, LOSS OF USE OF THIS PRODUCT OR ANY ASSOCIATED EQUIPMENT, COST OF SUBSTITUTE EQUIPMENT,
DOWNTIME COSTS, OR CLAIMS OF ANY PARTY DEALING WITH BUYER FOR SUCH DAMAGES.
(As examples, this excludes damages for lost time, cost of having someone remove or re-install an installed unit if applicable, travel
to and from the service provider. The items listed are not exclusive, but are for illustration only.)
ALL EXPRESSED AND IMPLIED WARRANTIES, INCLUDING THE WARRANTIES OF MERCHANTABLITY, ARE LIMITED TO
THE PERIOD OF THE LIMITED WARRANTY.
Some states and/or provinces do not allow the exclusions or limitations of incidental or consequential damages, or limitations on
how long an implied warranty lasts, so the exclusions may not apply to you.
This warranty gives you specific legal rights and you may also have others rights which vary from state to state and from province to
province. If a problem with this product develops during or after the warranty period, you may contact your dealer or service center.
If the problem is not handled to your satisfaction, then write to Doberman’s Customer Services Department
PARTS AND SERVICE, WHICH ARE NOT COVERED BY THIS LIMITED WARRANTY, ARE YOUR RESPONSIBILITY.
©2010, Doberman Security Products, Inc.
3002 Dow Avenue, Suite #408
Tustin, CA 92780 USA
Internet: www.dobermanproducts.com
FCC Statement
This equipment has been tested and found to comply with the limits for a Class B digital device, pursuant to Part 15 of the FCC
Rules. These limits are designed to provide reasonable protetion against harmful interference in a residental installation.
This equipment generates, uses and can radiate radio frequency energy and, if not installed and used in accordance with the
instructions, may cause harmful interference to radio communications. However there is no guarantee that interference will not occur
in a particular installation.
If this equipment does cause harmful interference to radio or television reception, which can be determined by turning the equipment
off and on, the user is encouraged to try to correct the interference by one of the following measures:
Reorient or relocate the receiving antenna.
Increase the separation between the equipment and receiver.
Connect the equipment into an outlet on a circuit different from that to which the receiver
is connected.
Consult the dealer or an experienced radio/TV technician for help.
To assure continued compliance, any changes or modifications not expressly approved by the party responsible for compliance
could void the user's authority to operate this equipment.
(Example - use only shielded interface cables when connecting to computer or peripheral
devices).


