9
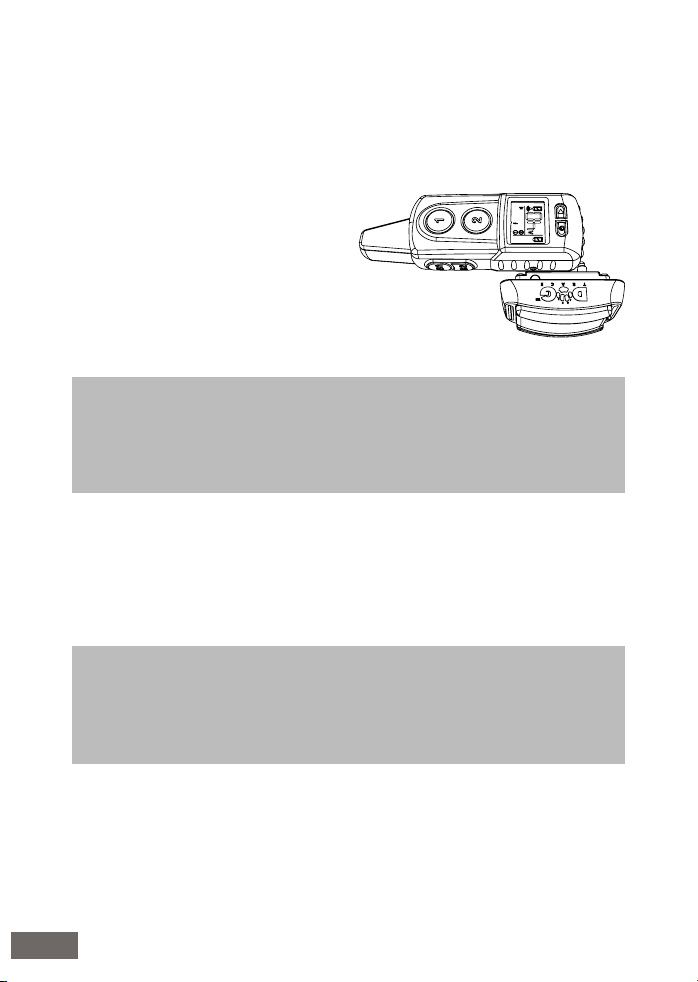
Switching the receiver ON / OFF
To turn the receiver ON / OFF ( or for programming the transmitter with the receiver)
is used a magnetic switch, marked with the red target on the receiver.
Important: When turning the receiver ON hold the red target of the receiver close
to the red target of the transmitter for about 1 second. When the targets are close
to each other for longer than 5 seconds the receiver will switch to the pairing (pro-
gramming) mode of the transmitter with the receiver. This programming mode is
indicated by alternate ashing of the red and green LED indicator. If this occurs,
follow the chapter Programming (pairing) the transmitter with the receiver.
Switching ON
1. Move the red target of the transmitter
towards the receiver so it comes into
the contact with the red target of the
receiver. The red LED indicator of the
receiver will lit up, afterwards the green
LED indicator will lit up.
2. When the green LED lighted up, move
your transmitter away from the receiver.
The receiver LED indicator will ash
green to indicate the receiver is ON.
Switching OFF
When switching OFF, follow the same steps as when switching ON.
1. Move the red target of the transmitter towards the receiver so it comes into the
contact with the red target of the receiver. The green LED indicator of the receiver
will lit up, afterwards the red LED indicator will lit up.
2. When the red LED is lighted up, move your transmitter away from the receiver. The
receiver LED indicators will stop ashing.
Important: When turning the receiver OFF hold the red target of the receive close
to the red target of the transmitter for about 1 second. When the targets are close
to each other for longer than 5 seconds, the receiver will switch to the pairing (pro-
gramming) mode of the transmitter with the receiver. This programming mode is
indicated by alternately ashing of the red and green LED indicator. If this occurs,
follow the chapter Programming (pairing) the transmitter with the receiver.
Programming (pairing) the transmitter with the receiver
Each transmitter has its own radio operational code. The programming of the trans-
mitter with the receiver enables those two units to work together. When purchasing
new d-control professional set, there is no need to program the device. The set is pro-
grammed from the manufacture. In case you want to use another transmitter or re-
ceiver, you need to program the devices together. Programming is also necessary for
using all four function buttons with one receiver.
10