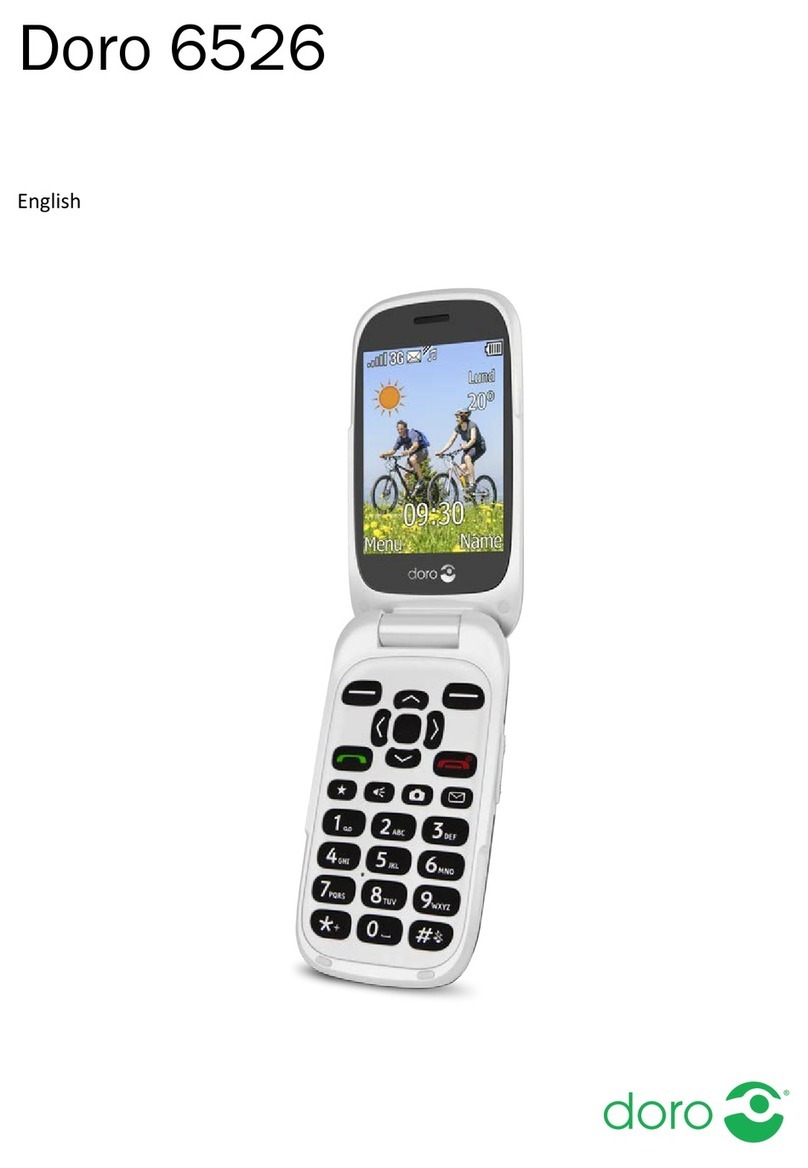
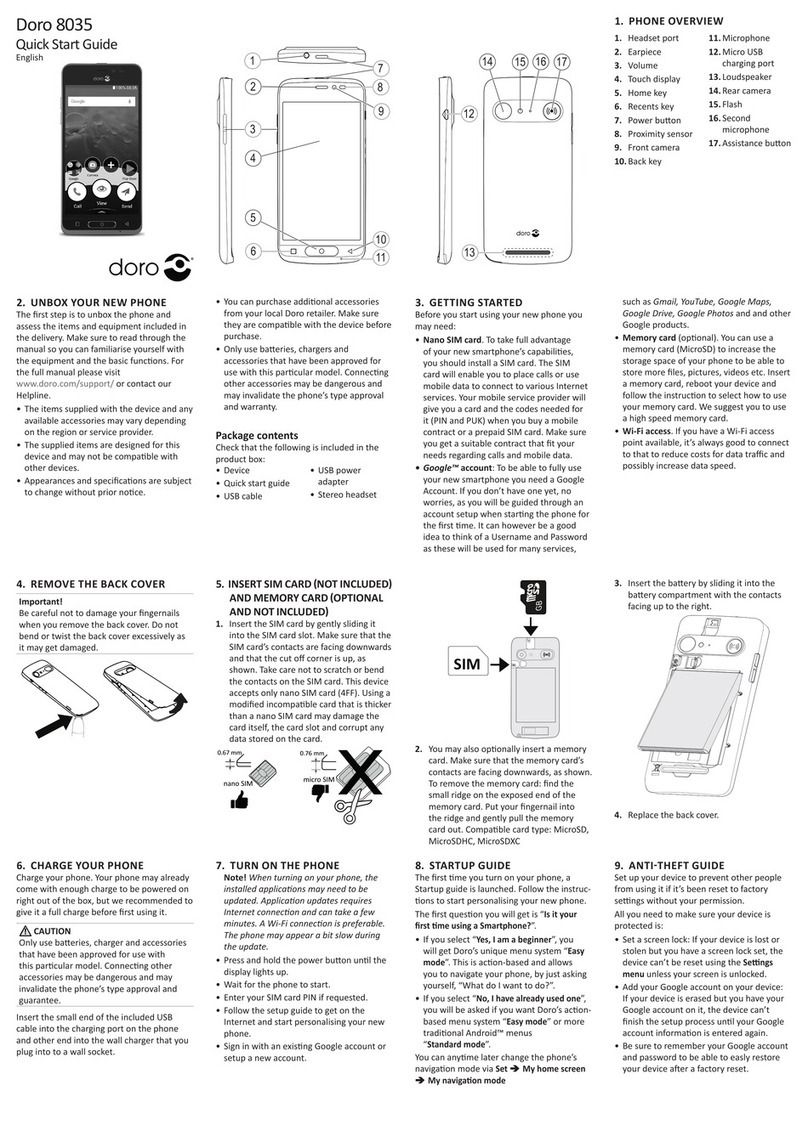
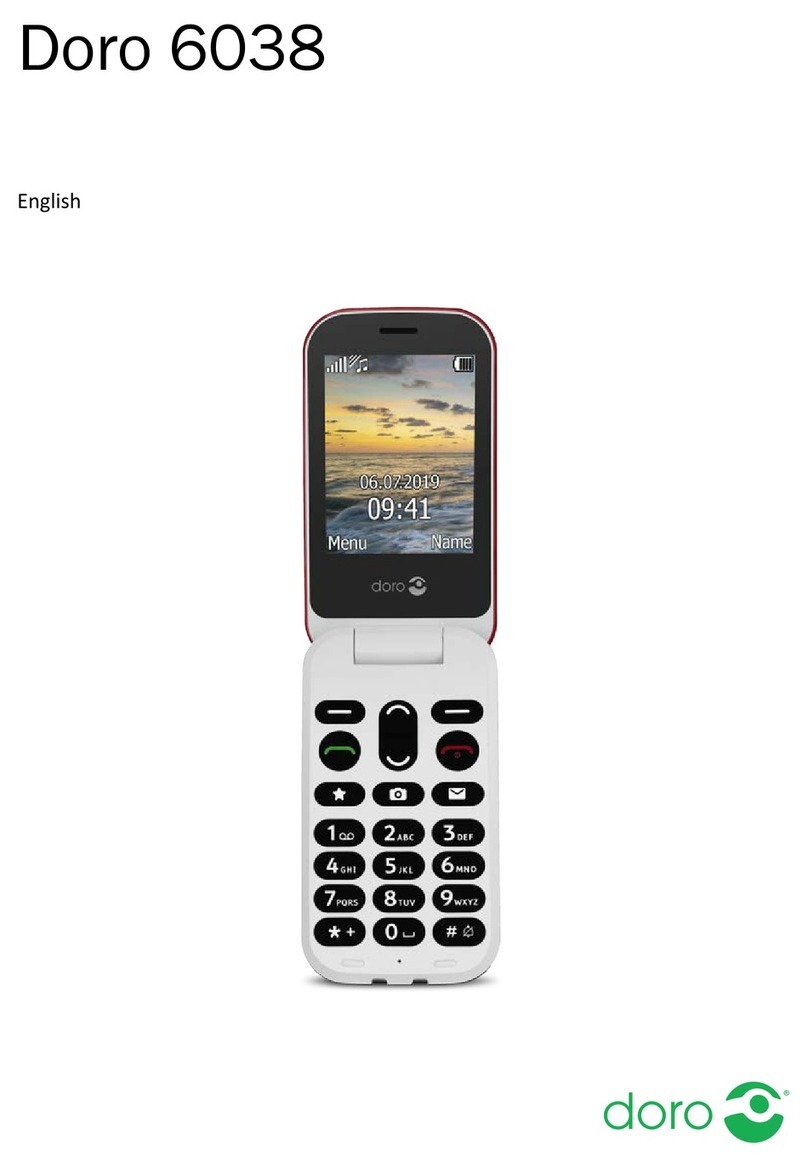
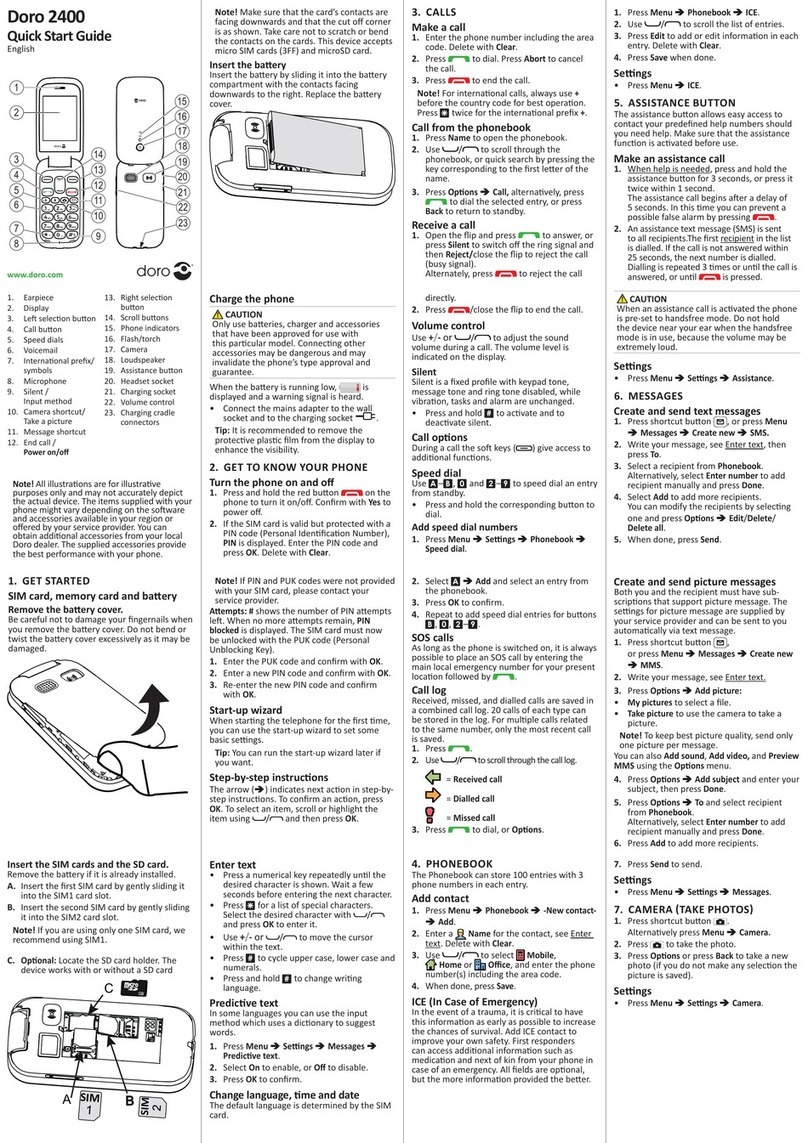
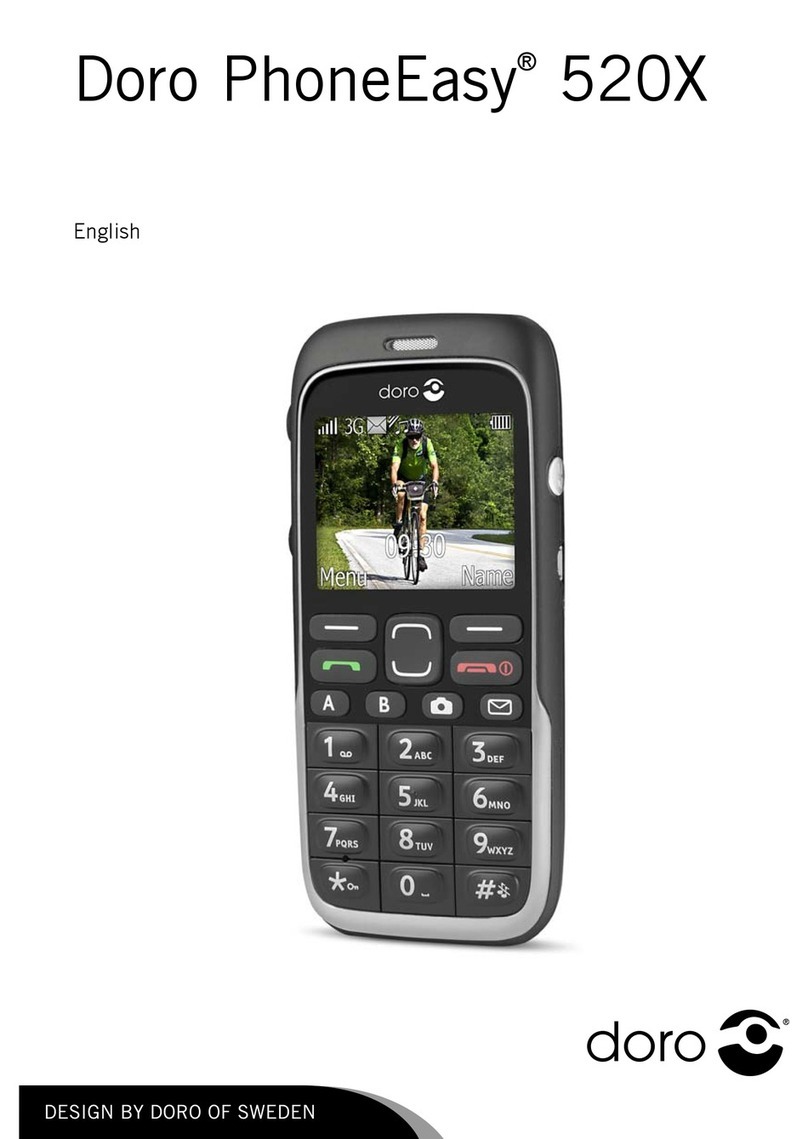
Doro Secure 580IP User manual

English
Doro Secure®580IP
Installation guide

23 1
6
4
7
8
9
514
13
11
10
15
16
12
Note! All illustrations are for illustrative purposes only and may not
accurately depict the actual device.
English
1. Power on/off
2. Headset socket
3. Charging socket
4. Earpiece
5. Volume keys (+/-)
6. Left selection button
7. Call key
8. Speed dial keys
(A-D or Telecare functions)
9. Settings menu
10. Microphone
11. Name list
12. End call key/Back
13. Navigation buttons
14. Right selection button
15. Loudspeaker
16. Assistance button
The items supplied with your phone might vary depending on the soft-
ware and accessories available in your region or offered by your service
provider. You can obtain additional accessories from your local Doro deal-
er. The supplied accessories provide the best performance with your
phone.

English
Contents
Set up the phone........................................................................................... 1
Get started............................................................................................. 1
Installation and assembly............................................................. 1
Turn the phone on and off ............................................................ 2
Navigate the phone ....................................................................... 2
Enter text........................................................................................ 3
Phonebook............................................................................................. 3
Add number ................................................................................... 3
ICE (In Case of Emergency)........................................................... 3
My number..................................................................................... 4
Emergency call .............................................................................. 4
Phone settings....................................................................................... 5
See .......................................................................................... 5
Hear ........................................................................................... 5
Handle .................................................................................... 7
Safety ......................................................................................10
Connectivity .................................................................................12
Safety Timer.........................................................................................14
General information ....................................................................................14
Safety instructions............................................................................... 14
Network services and costs........................................................14
Operating environment ...............................................................15
Medical units ...............................................................................15
Areas with explosion risk ............................................................15
Li-ion battery................................................................................16
Protect your hearing.................................................................... 16
Emergency calls........................................................................... 16
GPS/Location based functions ..................................................16
Vehicles........................................................................................ 17
Protect your personal data ......................................................... 17
Malware and viruses ................................................................... 17
Care and maintenance .......................................................................18
Warranty...............................................................................................19
Copyright and other notices................................................................19
Content copyright ........................................................................20
Specifications ......................................................................................20
Hearing aid compatibility ............................................................20
Specific Absorption Rate (SAR) .................................................. 21
English
Set up the phone
Get started
IMPORTANT!
The Assistance alarm feature is disabled when connected to a PC with
a USB cable.
Installation and assembly
Remove the battery cover
IMPORTANT!
Turn off the phone and disconnect the
charger before removing the battery cover.
Insert the SIM card/cards
The Doro Secure®580IP accepts micro SIM
card/cards. Use of incompatible SIM cards may
damage the card or the device, and may corrupt
data stored on the card.
Tip: Take care not to scratch or bend the
contacts on the SIM card when inserting into
the card holder/holders.
Remove SIM card
Insert the battery
1

English
Turn the phone on and off
1. Press and hold 1to turn the phone on/off.
2. If the inserted SIM card is protected with an PIN code (Personal
Identification Number) PIN is displayed. Use the side buttons +/–to
enter the PIN code and press OK to confirm or delete with Clear (
upper right corner of keypad).
Tip: It is recommended to use Automatic SIM lock in order to ease
the use, see SIM lock (PIN code option), p.10.
Note! If PIN and PUK codes were not provided with your SIM card, please
contact your service provider.
Tip: It is recommended to remove the protective plastic film from the
display to enhance the visibility.
Attempts: #shows the number of PIN attempts left. When no more at-
tempts remain, PIN blocked is displayed. The SIM card must then be un-
locked with the PUK code (Personal Unblocking Key).
1. Use the side buttons +/–to enter the PUK code and confirm with OK.
2. Use the side buttons +/–to enter a new PIN code and confirm with
OK.
3. Use the side buttons +/–to re-enter new PIN code and confirm with
OK.
Navigate the phone
Step-by-step instructions
•The arrow ( ) indicates next action in step-by-step instructions.
•To confirm an action, press OK.
2

English
•To select an item, scroll or highlight the item using / and then
press OK.
Example
1. Press and hold (6 seconds).
2. Select Settings Sound Audio setup.
3. Select an option and press OK.
Enter text
•Use the side buttons +/–to select a character from the list. Wait a
few seconds before entering the next character.
Phonebook
Add number
1. Press and hold .
2. Select Phonebook A-D Empty Add.
3. Use the side buttons +/–to enter a name. Delete with Clear.
4. Use the side buttons +/–to enter number, then press OK to confirm.
5. Repeat until you have 4 contacts (maximum).
Note! To edit or delete contact, select Options Edit or Delete.
Some versions of this phone may have other functions for buttons A-D.
ICE (In Case of Emergency)
All fields are optional, but the more information provided the better.
1. Press and hold .
2. Select Phonebook ICE.
3. Use / to scroll the list of entries.
4. Press Edit to add or edit information in each entry. Use the side but-
tons +/–to enter info. Delete with Clear.
ID
•Name: enter name.
•Birth: enter date of birth.
•Height: enter height.
•Weight: enter weight.
•Address: enter home address.
3

English
•Language: enter preferred language.
•Insurance: enter insurance provider and policy number.
Contacts
•Contact 1: enter name and number. If possible, add your
relationship.
•Contact 2: enter name and number. If possible, add your
relationship.
•Doctor: enter name and number.
Important info.
•Condition: enter any medical conditions/medical devices (e.g.
diabetic, pacemaker).
•Allergies: enter any known allergies (e.g. penicillin, bee stings).
•Blood type: enter your blood type.
•Vaccination: enter any relevant vaccinations.
•Medication: enter any medication that you are treated with.
•Other info: enter other information (e.g. organ donor, living will,
consent to treat).
5. When done, press Save.
My number
The phone number assigned to the SIM card is saved as My number if
this is allowed by the card.
1. Press and hold .
2. Select Phonebook My number Empty Add.
3. Use the side buttons +/–to enter name and number.
4. When done, press Save.
Emergency call
1. Press and hold .
2. Select Phonebook Emergency call Empty Add.
3. Use the side buttons +/–to enter name and number.
4. When done, press Save.
4

English
Phone settings
See
Idle display
Select what information is shown in standby mode.
1. Press and hold .
2. Select Settings Display Idle display.
3. Select Clock only,Clock & Operator or All info.
4. Press OK to confirm.
Themes
The themes use different contrasts between text and the background
mixing colours for optimised readability.
1. Press and hold .
2. Select Settings Display Themes.
3. Select Theme 1,Theme 2,Theme 3 or Theme 4.
4. Press OK to confirm.
LCD backlight
Select the delay time for the display backlight.
1. Press and hold .
2. Select Settings Display LCD backlight.
3. Select 15 sec.,30 sec. or 1 min.
4. Press OK to confirm.
Brightness
You can adjust the brightness of the display. The higher value, the better
contrast.
1. Press and hold .
2. Select Settings Display Brightness.
3. Select Level 1,Level 2 or Level 3.
4. Press OK to confirm.
Hear
Audio setup
Customise the audio settings if using a hearing aid or having hearing dif-
ficulties when using the device in a noisy environment.
5

English
1. Press and hold .
2. Select Settings Sound Audio setup:
•Normal for normal hearing in normal conditions.
•High for moderate hearing impairment or use in a very noisy
environment.
•HAC mode for use with hearing aid in T-mode.
3. Press OK to confirm.
Tone setup (ringtone)
Select a ringtone with the best tone curve adjustments and frequencies
to best fit the requirements.
1. Press and hold .
2. Select Settings Sound Tone setup Ringtone.
3. Use / to select one of the available melodies, the melody will
be played.
4. Press OK to confirm.
Tip: Set up the Message tone,Keypad tone,Power on and Power off
tones in the same way.
Volume
1. Press and hold .
2. Select Settings Sound Volume.
3. Use / to change the ringtone volume.
4. Press OK to confirm.
Alert type
Select to use ringtone and/or vibration for incoming calls.
1. Press and hold .
2. Select Settings Sound Alert type.
•Ring only for ringtone only.
•Vib. only for vibration only.
•Vib. and ring for vibration and ringtone.
•Vib. then ring to start with vibration and adds ringtone after a
short while.
•Silent for no sound or vibration, the display light is lit.
3. Press OK to confirm.
6

English
Note! Selected alert type is visible in the status bar.
Extra tone
Set warning and error tones to alert of low battery power, phone and SIM
card errors, etc.
1. Press and hold .
2. Select Settings Sound Extra tone Warning or Error.
3. Select On to enable, or Off to disable.
4. Press Done to save.
Handle
Language
The default language for the phone menus, messages, etc. is determined
by the SIM card. You can select to change to any language supported by
the phone.
1. Press and hold .
2. Select Settings General Language.
3. Use / to select language.
4. Press OK to confirm.
Start-up wizard
When starting the phone for the first time, you can use the Start-up wiz-
ard to set some basic settings.
•Press Yes to change or No if you do not want to change.
Tip: You can run the start-up wizard later if you want. Press and hold ,
then select Settings General Start-up wizard.
Block function
1. Press and hold .
2. Select Settings General Block function.
3. Select each function you want to disable and press Off.
4. Press Done to confirm.
Network setup
The phone automatically selects (service provider's) home network if
within range.
1. Press and hold .
2. Select Settings General Network setup.
7

English
3. If dual SIM, select SIM1 or SIM2.
4. Select one of the following options and press OK to confirm:
•Select network to view available network, a list of available net-
work operators is displayed (after a short delay). Select desired
operator.
•Service selection to select type of service for your phone.
•Network information to view current network settings.
Services
This menu may contain pre-programmed services from the service pro-
vider depending on network support and subscription.
1. Press and hold .
2. Select Settings General Services.
3. Press OK to confirm.
Whitelist
Select to only accept incoming calls from contacts saved in the number
list.
Note! If enabled and no numbers added, no calls can be received.
1. Press and hold .
2. Select Settings Calls Whitelist Activate On.
3. Select Number list Empty Add.
4. Use the side buttons +/–to enter the number.
5. Press Done to confirm.
6. Repeat until you have 20 contacts (maximum).
SMS settings
IMPORTANT!
This is needed if the Assistance function is activated! See .
In order to send any text messages, a message centre number is needed.
The number is supplied by your service provider and is usually set on the
SIM card.
1. Press and hold .
2. Select Settings Messages SMS settings.
3. If dual SIM, select SIM1 or SIM2.
4. Select SMS centre Edit.
8

English
5. Use the side buttons +/–to edit the service centre number. Press
Clear to delete.
6. Press OK to confirm.
Cell broadcast
Depending on service provider, it is possible to receive messages on vari-
ous topics, such as weather or traffic conditions in a particular region.
For available channels and relevant channel settings, contact the service
provider. Cell broadcast messages cannot be received when the device is
roaming.
1. Press and hold .
2. Select Settings Messages SMS settings.
3. If dual SIM, select SIM1 or SIM2.
4. Select Cell broadcast:
•Function on/off to turn information On or Off.
•Read messages to read the message.
•Languages to select language.
•Channel settings to select from which channels to receive/sub-
scribe messages. Use the options Add,Cancel subscription,Ed-
it and Delete to define your channels.
5. Press OK to confirm.
Reminder
Select to activate the reminder alert to be alerted once if a received mes-
sage hasn’t been read. When notified, press to end the notification
and no more reminders are heard.
1. Press and hold .
2. Select Settings Messages Reminder.
3. Select On to enable, or Off to disable.
4. Press OK to confirm.
Vibration
Select text message vibration alert.
1. Press and hold .
2. Press Menu Settings Messages Vibration:
•Short (4 seconds)
•Long (12 seconds)
9

English
3. Press OK to confirm.
Note! If Alert type is set to Ring only the phone will not vibrate.
Delete
1. Press and hold .
2. Select Settings Messages Delete Delete Inbox?.
3. Press Yes to delete all messages.
Auto reply
Select to automatically send an auto reply for all received text messages.
1. Press and hold .
2. Select Settings Messages Auto reply (Your message has been
received. Receiving device cannot reply.).
3. Select On to enable, or Off to disable.
4. Press OK to confirm.
Tip: To avoid additional costs, make sure to disable the auto reply
function if roaming. That is when using another network, when for
example travelling abroad.
Safety
SIM lock (PIN code option)
Select an option for the PIN code. It is recommended to use Automatic
SIM lock in order to ease the use.
1. Press and hold .
2. Select Settings Security SIM lock.
3. If dual SIM, select SIM1 or SIM2.
4. Select an option:
•On to activate the PIN code. You need to enter the PIN code
every time the phone is started.
•Off to deactivate the PIN code.
WARNING
If the SIM card is lost/stolen it is unprotected.
•Automatic to start the phone without the PIN code. The phone
remembers it automatically, but if the SIM card is moved to
10

English
another phone (lost/stolen) the PIN code needs to be entered
when the phone is started.
5. Press OK to confirm.
Change PIN code (passwords)
1. Press and hold .
2. Select Settings Security Passwords.
3. If dual SIM, select SIM1 or SIM2.
4. Select PIN.
5. Enter current PIN code and press OK.
6. Enter new PIN and press OK. Repeat to confirm.
Tip: Set up the PIN2 and Phone code,Power on in the same way.
Keypad lock
Select to automatically activate the keypad lock after a set time.
Activate
1. Press and hold .
2. Select Settings Security Keypad lock Auto keylock.
3. Select the time delay for automatic keypad locking.
4. Press OK to confirm.
Fixed dial (FDN)
Select to limit calls to certain numbers saved on the SIM card. The list of
allowed numbers is protected by your PIN2-code.
1. Press and hold .
2. Select Settings Security Fixed dial.
3. If dual SIM, select SIM1 or SIM2.
4. Select an option:
•Mode Select On to enable, or Off to disable.
•Fixed numbers Empty Add and enter the first allowed
number. Use the side buttons +/–to enter info.
Alternatively, select an entry and press Options Add/Edit/
Delete.
5. If needed, enter PIN2 and press OK to confirm.
11

English
Note! You can save parts of phone numbers. For example, if you save
01234, it allows calls to all numbers starting with 01234. It is always
possible to place an SOS call even when fixed dial is activated. When
fixed dial is activated you are not allowed to view or manage any phone
numbers saved on the SIM card.
Connectivity
Bluetooth®
IMPORTANT!
When not using Bluetooth®connectivity, turn off Function on/off or
Visibility. Do not pair with an unknown device.
Activate Bluetooth®
1. Press and hold .
2. Select Settings Connectivity Bluetooth Function on/off
On.
Visibility
1. Press and hold .
2. Select Settings Connectivity Bluetooth Visibility On.
Note! To prevent other devices from finding your device, select Off when
not pairing. Even if you select Off, paired devices can still detect your
device.
Device name
1. Press and hold .
2. Select Settings Connectivity Bluetooth Device name.
3. Use the side buttons +/–to enter the name that should appear for
other Bluetooth®devices.
If Bluetooth®is not enabled, press Yes to activate.
4. Press Options Done to confirm.
Search device
1. Press and hold .
2. Select Settings Connectivity Bluetooth Search device.
3. Select a device from the list and press Pair to connect.
If Bluetooth®is not enabled, press Yes to activate.
12

English
4. When connecting to another Bluetooth®device you need a shared
password. Use the side buttons +/–to enter the password and press
OK.
My devices (new devices)
1. Press and hold .
2. Select Settings Connectivity Bluetooth My devices
Search new.
3. Select from the list of devices and press Pair to connect
My devices (already paired devices)
1. Press and hold .
2. Select Settings Connectivity Bluetooth My devices
Options:
Phone
•Rename to change the name of the device.
•Delete to delete the device from the list.
•Delete all to delete all devices from the list.
Bluetooth®headset
•Connect to connect.
•Rename to change the name of the device.
•Delete to delete the device from the list.
•Delete all to delete all devices from the list.
3. Press OK to confirm.
Bluetooth beacon
Bluetooth beacons are devices using Bluetooth®to determine position.
Pair once with the unit. After pairing, you can select to turn off Bluetooth
in your phone to improve the battery performance. The unit is still con-
nected to the phone. You can connect and store up to 5 units with one
phone. Contact your service provider for available accessories.
1. Select Settings Connectivity Bluetooth Bluetooth beacon.
2. Select Search new. If needed select Yes to activate Bluetooth.
3. Select BT Beacon and start pairing.
Data roaming
13

English
The phone automatically selects the (service providers) home network if
within range. If not within range, use another network, provided that the
network operator has an agreement that allows you to do so (this is roam-
ing). Contact the service provider for more information.
Note! Using data services while roaming can be costly. Contact your
service provider for data roaming rates before you use data roaming.
1. Press and hold .
2. Select Settings Connectivity Data roaming.
3. If dual SIM, select SIM1 or SIM2.
4. Select On to enable, or Off to disable.
5. Press OK to confirm.
Safety Timer
The safety timer is used to the alert service centre if the timer isn't deac-
tivated within a set of time.
Set time
1. Press and hold .
2. Select Settings Safety Timer Time.
3. Use the side buttons +/–to enter time, maximum 120 minutes.
4. Press OK to confirm.
General information
Safety instructions
CAUTION
The unit and the accessories can contain small parts. Keep all of the equipment out
of the reach of small children.
The mains adapter is the disconnect device between the product and mains power.
The mains socket outlet must be close to the equipment and easily accessible.
Network services and costs
Your device is approved for use on the WCDMA 900/2100, GSM 900/1800/1900 MHz
networks. To use the device, you need a subscription with a service provider.
Using network services may result in traffic costs. Some product features require sup-
port from the network, and you may need to subscribe to them.
14

English
Operating environment
Follow the rules and laws that apply wherever you are, and always turn off the unit
whenever its use is prohibited or can cause interference or hazards. Only use the unit in
its normal user position.
Parts of the unit are magnetic. The unit can attract metal objects. Do not keep credit
cards or other magnetic media near the unit. There is a risk that information stored on
them can be erased.
Medical units
The use of equipment that transmits radio signals, for example, mobile phones, can in-
terfere with insufficiently protected medical equipment. Consult a doctor or the manu-
facturer of the equipment to determine if it has adequate protection against external
radio signals, or if you have any questions. If notices have been put up at health care fa-
cilities instructing you to turn off the unit while you are there, you should comply. Hospi-
tals and other health care facilities sometimes use equipment that can be sensitive to
external radio signals.
Implanted medical devices
To avoid potential interference, manufacturers of implanted medical devices recom-
mend a minimum separation of 15 cm between a wireless device and the medical de-
vice. Persons who have such devices should:
•Always keep the wireless device more than 15 cm from the medical device.
•Should not carry the phone in a breast pocket.
•Hold the wireless device to the ear opposite the medical device.
If you have any reason to suspect that interference is taking place, turn the phone off
immediately If you have any questions about using your wireless device with an im-
planted medical device, consult your health care provider.
Areas with explosion risk
Always turn off the unit when you are in an area where there is a risk of explosion. Fol-
low all signs and instructions. There is a risk of explosion in places that include areas
where you are normally requested to turn off your car engine. In these areas, sparks
can cause explosion or fire which can lead to personal injury or even death.
Turn off the unit at filling stations, and any other place that has fuel pumps and auto re-
pair facilities.
Follow the restrictions that apply to the use of radio equipment near places where fuel
is stored and sold, chemical factories and places where blasting is in progress.
Areas with risk for explosion are often – but not always – clearly marked. This also ap-
plies to below decks on ships; the transport or storage of chemicals; vehicles that use
liquid fuel (such as propane or butane); areas where the air contains chemicals or par-
ticles, such as grain, dust or metal powder.
15

English
Li-ion battery
This product contains a Li-ion battery. There is a risk of fire and burns if the battery pack
is handled improperly.
WARNING
Danger of explosion if battery is incorrectly replaced. To reduce risk of fire or burns,
do not disassemble, crush, puncture, short external contacts, expose to temperature
above 60° C (140° F), or dispose of in fire or water. Recycle or dispose of used
batteries according to the local regulations or reference guide supplied with your
product.
Protect your hearing
This device has been tested to comply with the Sound Pressure Level requirement laid
down in the applicable EN 50332-1 and/or EN 50332-2 standards.
WARNING
Excessive exposure to loud sounds can cause hearing damage. Exposure
to loud sounds while driving may distract your attention and cause an
accident. Listen to a headset at a moderate level, and do not hold the
device near your ear when the loudspeaker is in use.
Emergency calls
IMPORTANT!
Mobile phones use radio signals, the mobile phone network, the terrestrial network
and user-programmed functions. This means that connection cannot be guaranteed
in all circumstances. Therefore, never rely only on a mobile phone for very important
calls such as medical emergencies.
GPS/Location based functions
Some products provide GPS/Location based functions. Location determining functional-
ity is provided “As is”. No representation or warranty are made as to the accuracy of
such location information. Use of location-based information by the device may not be
uninterrupted or error free and may additionally be dependent on network service avail-
ability. Please note that functionality may be reduced or prevented in certain environ-
ments such as building interiors or areas adjacent to buildings.
CAUTION
Do not use GPS functionality in a manner which causes distraction from driving.
16
Table of contents
Other Doro Cell Phone manuals