5.0 OPERATING
5 . 1 Switching On
Ensure that the projector is connected to the power source as detailed in 3
.2.
The projector lamps are controlled by rocker switches on the lower right
hand side of the lamphousing. Separate switches control the profile and
surface illumination lamps. The profile lamp uses a 2 position switch: down
is low intensity, while up is high intensity.
NOTE: If equipped, Please refer to the separate operating instruction
manual for the various digital readout units available.
5 . 2 Pre-Run Checks
Ensure that the projector is secure on its stand or on a substantial bench.
Having selected a lens of the required magnification and locked it securely
in position, locate the component to be inspected in a suitable work
holding fixture which must be securely clamped to the table, the projector
is now ready for use, proceed as follows:
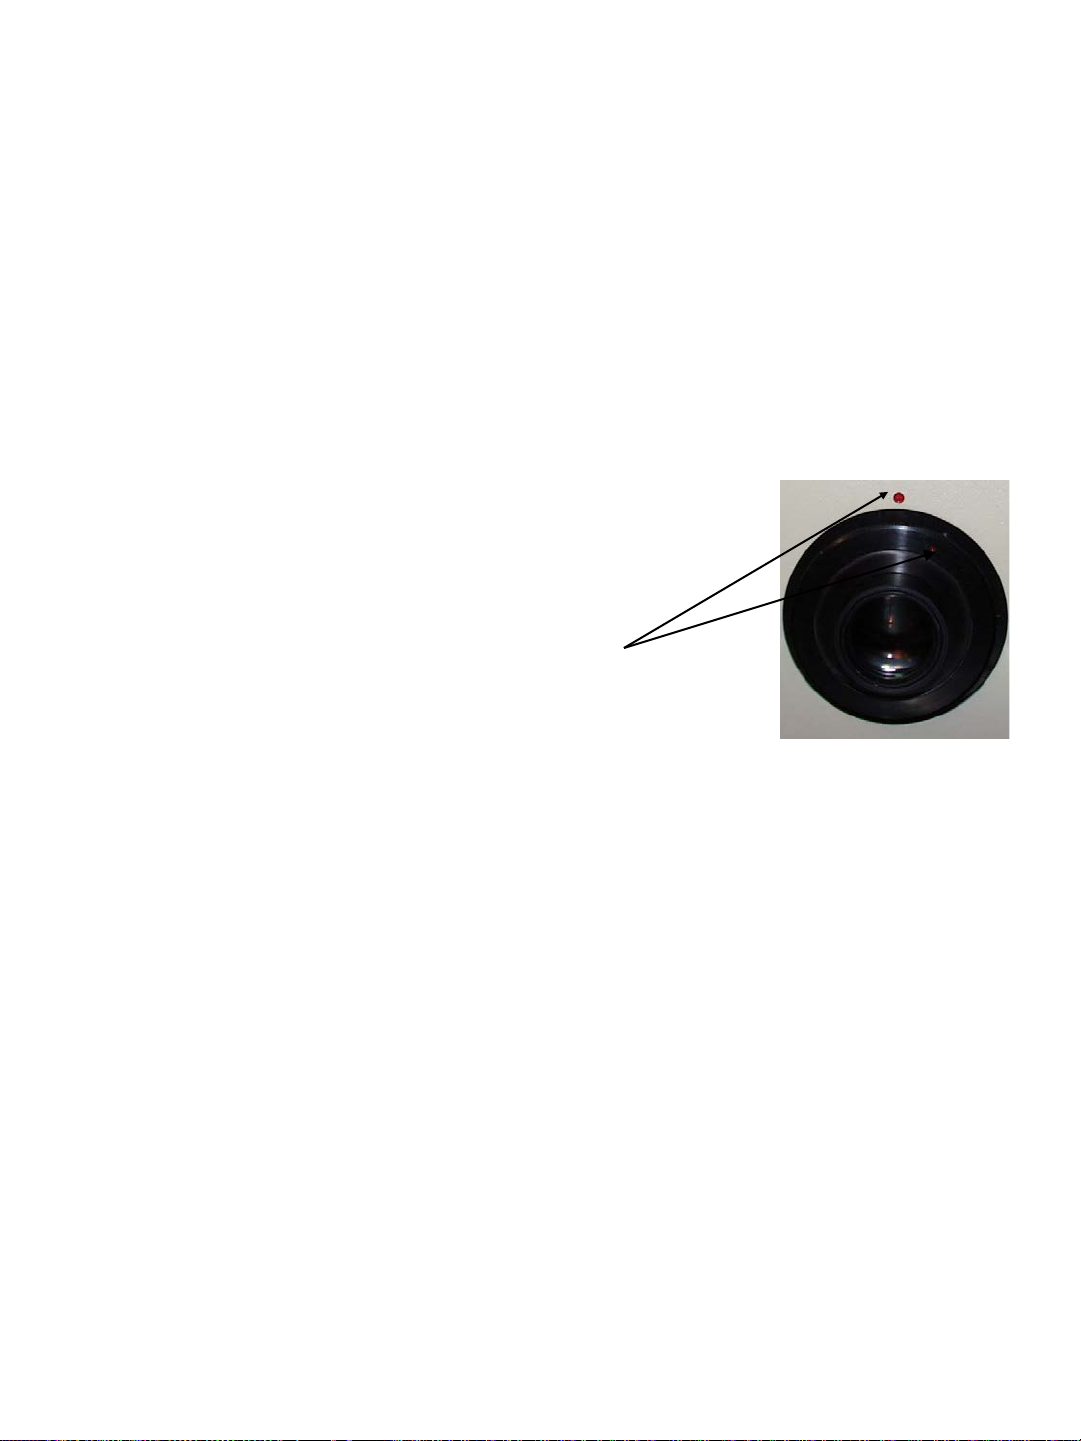
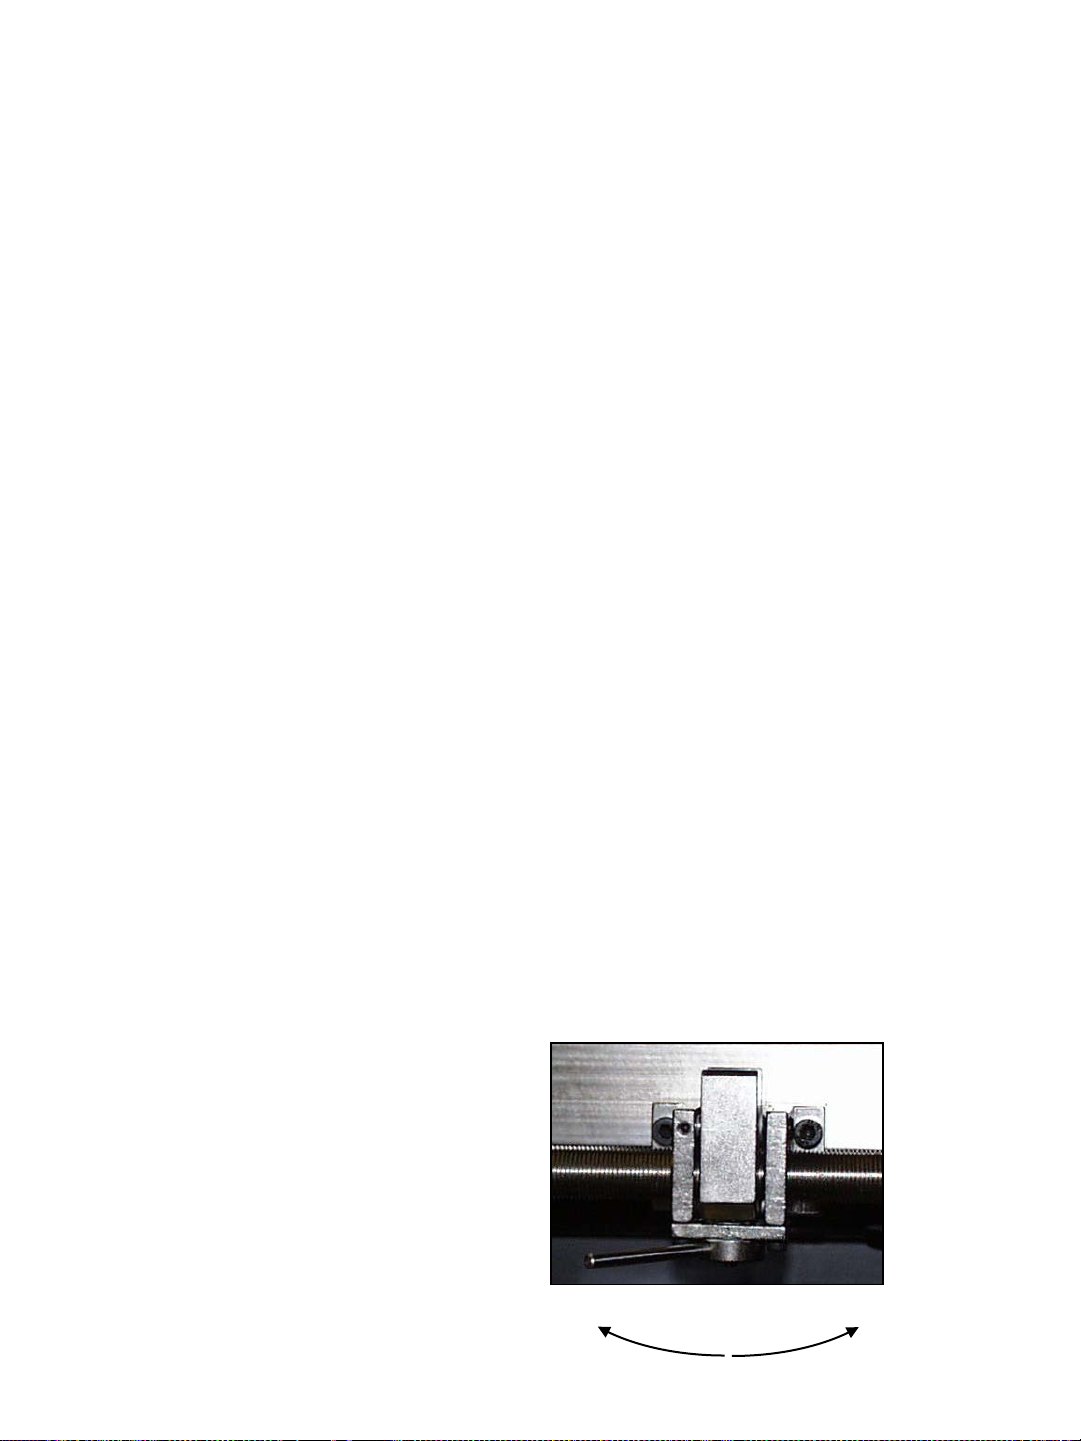
5 . 3 Focusing
Focus is achieved by rotating the small hand wheel on the right hand side
of the stage knee. The lens focal plane is approximately mid-way along
the focus traverse, central to the dovetail slot in the table.
5 . 4 Profile Projection Intensity
There are two profile light intensity levels, high or low, selected from the
rocker switch on the panel below the screen. Select the level that gives the
most comfortable viewing, according to the object projected and the
external lighting conditions prevailing.
Profile lighting is provided by a 24V 150W tungsten halogen lamp.
An iris diaphragm and or green filter is available as an optional extra which
may be fitted direct onto the lamp house to reduce the level of reflection
from brightly polished surfaces e.g. ground threads, etc.