manuals.online logo
Brands
  1. Home
  2. •
  3. Brands
  4. •
  5. Draytek
  6. •
  7. Network Router
  8. •
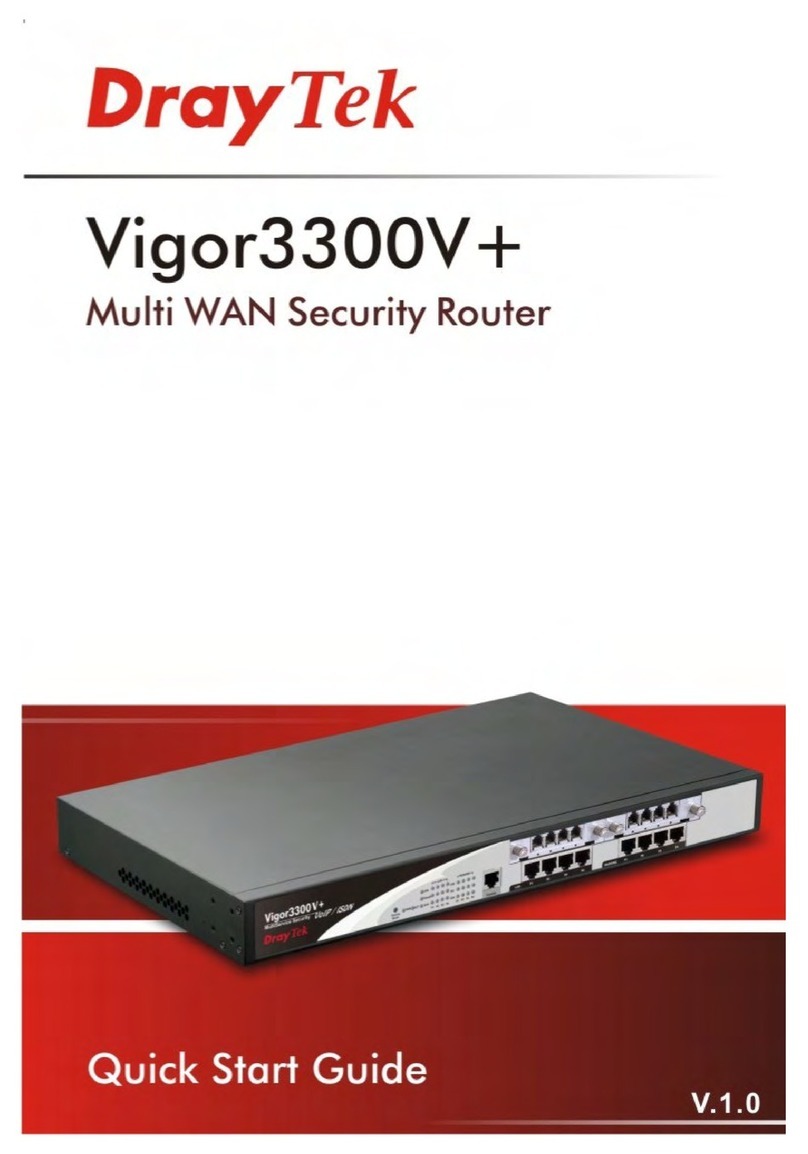
  9. Draytek Vigor 3300 Series User manual

Draytek Vigor 3300 Series User manual

Quick Start Guide and Safety Recommendations
Vigor3300 Series Broadband VoIP/Security/Load Balancer Router
1.3
Connect your broadband modem/router’s Ethernet cable
to the WAN1 port of Vigor3300, and then check the
WAN1 LED status. The WAN1 LED will light up.
1.4 Check the LED on VoIP modules. The LED will light up,
which means “In-Service”.
(Panel LEDs)
(Panel FXS)
(Panel FXO)
To ensure secure and reliable Internet access over
enterprise networks, Vigor3300 is a comprehensive NAT,
optional security suite combining firewall, VPN, URL content
filtering facilities, as well as bandwidth management, and
VoIP capabilities. The application scenario is shown as
follows.
The guide provides three sections of Vigor3300 series basic
indications and configurations.
The content covers the following topics:
• Installation and LED Indications
• Basic Settings
• Safety Recommendations and Warranty
1.
Installation
and L
ED Indications
1.1 At first step, connect the power cord to Vigor3300’s
power port, and the plug the power cord into an electrical
outlet. The PWR LED should be ON. After the system test
is complete, the ACT LED will light up and start blinking.
1.2 Connect one end of an Ethernet cable to one of the 4
LAN ports on the front of Vigor3300. Connect the other
end to the Ethernet port on your PC. The LAN LED on the
front panel will light up.
2. Basic
Setup
2.1 Start Your Configuration
Check your PC’s IP address to see if it is on the subnet, to
which the router’s LAN IP address belongs.
2.3 Login
A screen will show up asking for your User Name and
Password. Enter the user name and password in the
respective fields, and then click OK. The default user name
is draytek and password is 1234.
2.5 WAN Connection Mode Setting
2.6 Set LAN Connection
2.2 Access the Web-based Utility
To do the basic configuration, open the Web browser (e.g. IE
or Netscape). Enter the router’s default IP address in the
Address field.
2.4 Change User Password
Old Password If you don’t know the old password, you will
not be able to change it.
New Password Enter the router’s new password.
Confirm Password Re-enter the router’s new password to
confirm it.
Select the appropriate WAN connection type to connect to
the Internet. There are four modes available.
a. Static IP, b. DHCP, c. PPPoE, and d. PPTP.
If Static IP is selected, this screen will appear. Enter the IP
address specified by your ISP, and then click Apply.
If you choose DHCP mode, your ISP’s DHCP server will
assign a dynamic IP address to Vigor3300.
If your ISP uses PPPoE (Point-to-Point Protocol over
Ethernet), then click PPPoE. Once PPPoE is selected,
enter the username and password provided by your ISP.
If your ISP uses PPTP (Point-to-Point Tunneling Protocol),
then click PPTP. Once PPTP is selected, enter the
username and password provided by your ISP.
The LAN connection setup comes with the following
parameters:
The default values for the router’s local IP address and
Subnet Mask are 192.168.1.1 and 255.255.155.0.
You are able to change the default setting based on your
networking requirements.
Vigor3300 supports two modes –
NAT Usage – The source IP address will be translated into a
public IP for data transmission.
IP Routing Usage – The source IP address will be kept for
data transmission.
1
st
DHCP Server function enables the router to serve as a
DHCP server for your network. A DHCP server automatically
assigns an IP address and related parameters to each
computer on your network. You can specify the IP pool for
the router to start/end with when issuing IP address.
2
nd
DHCP Server function is able to be used if IP Routing
Usage is enabled.
You can restrict the number of hosts requesting for the IP
related parameters from the DHCP server
The maximum is 10.
Note: You can also enter DNS server IP address for the
router in the Primary DNS field or Secondary DNS field
for the DHCP Server to assign to each host along with
its IP address.
2.7 Set NAT Port Redirection Table
2.8 Set NAT Address Mapping Table
2.9 Set ICMP Access Control
2.10 Status
(Basic Status)
(LAN Status)
(WAN Status)
2.11 Reboot
The NAT Port Redirection means port forwarding. Port
forwarding sets up public services on your network, such as
web servers, FTP servers, or other special Internet
applications. When external users send this type of request
to your network over the Internet, the router will direct these
requests to the appropriate inside host. For example, you
can transfer port 66 to LAN IP address 192.168.1.100.
Whenever the incoming packet from the WAN side with the
port 100~500, the packet will be directly forwarded to LAN IP
address.
NAT (Network Address Translation) converts IP addresses
on a private network (designated as “inside” or “LAN”) into
public IP addresses so that packets can be forwarded to
another registered network (designated as “outside” or
“WAN”). It enables multiple PCs inside the LAN to access the
Internet by means of one public IP address. NAT is enabled
by default. By setting NAT Table, the public IP is provided by
your ISP.
The Access Control can prevent viruses from using ICMP
packets to attack the device. You can disable the ping from
the LAN/WAN side when there are worm-type viruses
detected on your network. The mechanism can avoid virus
spread, but in most cases it should not be enabled because
its activation may make the device block normal query
packets.
To monitor the router’s operating status, click the Status tab
for the information. The screen pops up displaying the
current settings of Vigor3300, including three windows –
Basic, LAN, and WAN.
Basic Status displays the profile setting of Vigor3300. These
items are Model, Firmware Version, Build Date/Time,
System Uptime, CPU Usage, and Memory Usage.
LAN Status displays the information about the LAN
interface, including the IP address, MAC Address, RX
Packets, and TX Packets.
WAN Status displays the information about four WAN
interfaces simultaneously, including IP address, MAC
Address, Primary DNS, Secondary DNS, Gateway, RX
Packets, and TX Packets.
The reboot screen also appears after you change the
password, WAN and LAN settings. Otherwise, you can select
Use default configuration to reboot the device.
3. Safety Recommendations
and Warranty
The section describes the standard operational procedures
involving electrical circuits to avoid accidents.
3.1 Operation Environment
Make sure that the AC power source is within the range
of AC 90-240V.
The router should be used in a sheltered area, within the
temperature range from 0to +50 °C and relative
humidity within the range from 10% to 90%.
Do not expose the router to direct sunlight or other heat
sources. The housing and electronic components may
be damaged accordingly.
3.2 Installation
Read the quick start guide and installation manual
before powering on the device.
Locate the emergency power-off switch near the device
before the router powers on.
It is highly recommended to fix the device to the chassis
to maintain air circulation and stable condition.
Do not work alone if the operation environment is
inappropriate.
Check and avoid the potential hazard under moist
environments, and grounding issues of power cabling.
Please turn off the device when you replace the fuse,
install or remove the chassis.
Do not put the device in a damp or humid place, e.g. a
bathroom-like environment.
Avoid cable connection if lightning arises.
When you want to dispose of the router, please follow
the local regulations on environmental protection.
3.3 Maintenance
Users can replace the fuse by removing the module
when necessary. Other parts of the device are
complicated and should be repaired by authorized and
qualified personnel. Do not try to open or repair the
device by yourself.
The fuse should conform to the following rating.
AC: 250VAC, 1A
For more information, please refer to the manual in the
attached CD. You may also find the latest product
information on our website: http://www.draytek.com.
The scope of delivery and other details are subject to
change without prior notice.
3.4 Warranty
The warranty of defects in materials is three years
starting from the purchase date. Please keep your
purchase receipt as proof of purchase.
During the warranty, when the product has indications of
failure due to faulty workmanship and/or materials, we
will, at our discretion, repair or replace the defective
products or components, without charge for either parts
or labor, to whatever extent we deem necessary to
re-store the product to its proper operating condition.
Any replacement will consist of a new or
re-manufactured functionally equivalent product of equal
value, and will be offered solely at our discretion.
This warranty will not apply if the product is modified,
misused, tampered with, damaged by an act of God, or
subjected to abnormal working conditions.
This warranty does not cover the bundled or licensed
software of other vendors. Defects, which do not
significantly affect the usability of the product, will not be
covered by the warranty.
We reserve the right to revise the manual and online
documentation and to make changes from time to time
in the contents hereof without obligation to notify any
person of such revision or changes. The scope of
delivery and other details are subject to change without
prior notice.
301-1000170-10
Other manuals for Vigor 3300 Series

5

Other Draytek Network Router manuals

Draytek Vigor 2750 Series User manual

Draytek

Draytek Vigor 2750 Series User manual

Draytek Vigor2766 User manual

Draytek

Draytek Vigor2766 User manual

Draytek Vigor2915 Series User manual

Draytek

Draytek Vigor2915 Series User manual

Draytek Vigor2765 Series User manual

Draytek

Draytek Vigor2765 Series User manual

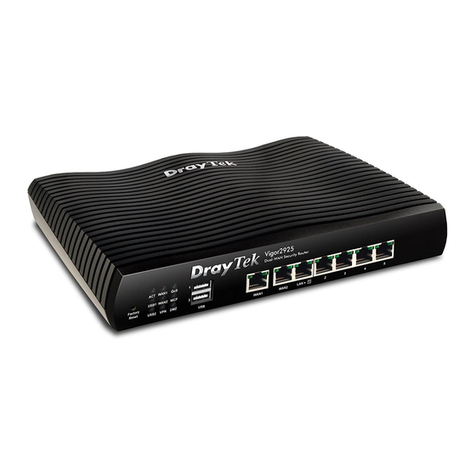
Draytek Vigor2925 Series User manual

Draytek

Draytek Vigor2925 Series User manual

Draytek Vigor 2800 Reference guide

Draytek

Draytek Vigor 2800 Reference guide

Draytek Vigor2122 Series User manual

Draytek

Draytek Vigor2122 Series User manual

Draytek Vigor2200 Series User manual

Draytek

Draytek Vigor2200 Series User manual

Draytek Vigor IPPBX 2820 User manual

Draytek

Draytek Vigor IPPBX 2820 User manual

Draytek Vigor 2930 User manual

Draytek

Draytek Vigor 2930 User manual

Draytek VigorPro 5300 User manual

Draytek

Draytek VigorPro 5300 User manual

Draytek Vigor2600 User manual

Draytek

Draytek Vigor2600 User manual

Draytek Vigor3100 User manual

Draytek

Draytek Vigor3100 User manual

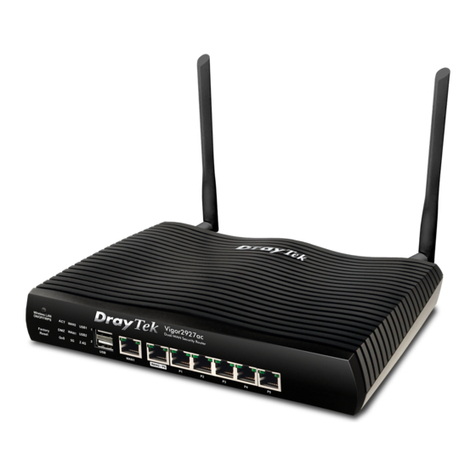
Draytek Vigor2927 Series User manual

Draytek

Draytek Vigor2927 Series User manual

Draytek Vigor2762 series User manual

Draytek

Draytek Vigor2762 series User manual

Draytek Vigor2620 Series User manual

Draytek

Draytek Vigor2620 Series User manual

Draytek Vigor 3100 Series User manual

Draytek

Draytek Vigor 3100 Series User manual

Draytek Vigor 2710 User manual

Draytek

Draytek Vigor 2710 User manual

Draytek Vigor2765 Series User manual

Draytek

Draytek Vigor2765 Series User manual

Draytek Vigor 2925 Series User manual

Draytek

Draytek Vigor 2925 Series User manual

Draytek Vigor 2104 User manual

Draytek

Draytek Vigor 2104 User manual

Draytek Vigor2133 Vac User manual

Draytek

Draytek Vigor2133 Vac User manual

Draytek Vigor 2925n User manual

Draytek

Draytek Vigor 2925n User manual

Draytek Vigor3912 Series User manual

Draytek

Draytek Vigor3912 Series User manual

Popular Network Router manuals by other brands

TRENDnet TDM-C500 user guide

TRENDnet

TRENDnet TDM-C500 user guide

Elecom WRC-1167GHBK3-A Setup guide

Elecom

Elecom WRC-1167GHBK3-A Setup guide

D-Link AirPlus XtremeG Ethernet-to-Wireless Bridge... Quick installation guide

D-Link

D-Link AirPlus XtremeG Ethernet-to-Wireless Bridge... Quick installation guide

LevelOne FSW-0511 Quick installation guide

LevelOne

LevelOne FSW-0511 Quick installation guide

Avaya 5600 Series Installation Job Aid

Avaya

Avaya 5600 Series Installation Job Aid

Cisco 700 series quick start guide

Cisco

Cisco 700 series quick start guide

Gembird IS-BR user manual

Gembird

Gembird IS-BR user manual

Motorola MotoWI4 PTP 600 Series Technical note

Motorola

Motorola MotoWI4 PTP 600 Series Technical note

Westermo RFI-219-T3G user guide

Westermo

Westermo RFI-219-T3G user guide

Allied Telesis AT-GS950/16 user guide

Allied Telesis

Allied Telesis AT-GS950/16 user guide

Wienet IP SWITCH UMS 4-C-2SC-FM installation instructions

Wienet

Wienet IP SWITCH UMS 4-C-2SC-FM installation instructions

Acksys AirBox LTE Quick installation guide

Acksys

Acksys AirBox LTE Quick installation guide

TRONTEQ Electronic ROQ-08F-U-LV-IP54 installation guide

TRONTEQ Electronic

TRONTEQ Electronic ROQ-08F-U-LV-IP54 installation guide

Nexxt Solutions Nyx300 quick start guide

Nexxt Solutions

Nexxt Solutions Nyx300 quick start guide

eero TANGERINE 6+ quick start guide

eero

eero TANGERINE 6+ quick start guide

PROLiNK PRC3801v2 Quick installation guide

PROLiNK

PROLiNK PRC3801v2 Quick installation guide

MikroTik RouterBOARD 750UP Quick setup guide and warranty information

MikroTik

MikroTik RouterBOARD 750UP Quick setup guide and warranty information

TECH Sinum EH-01 manual

TECH

TECH Sinum EH-01 manual

manuals.online logo
manuals.online logoBrands
  • About & Mission
  • Contact us
  • Privacy Policy
  • Terms and Conditions

Copyright 2025 Manuals.Online. All Rights Reserved.