ACHTUNG:
STROMVERSORGUNG:
LAMPENANSCHLUSS:
LAMPE:
LEISTUNG:
GEWICHT:
die Sicherheit des Apparates ist nur bei korrekter Befolgung nachstehender Regeln garantiert; deshalb muss man sie
aufbewahren.
230V~50/60Hz
GX 16D
PAR 64 230V ~50Hz
Lampe max 1000W
6,8 kg einschließlich Lampe
Der Apparat dient nicht dem Hausgebrauch und muss von TECHNISCH kompetentem Personal installiert werden.
Für den Netzanschluss einen Stecker mit dem Grad IP 66 benutzen und dabei die in Fig. (4) angezeigte Verbindung beachten.
Sicherstellen, dass die Erdung funktioniert.
Vor dem Austausch der Lampe die Stromversorgung unterbrechen.
Falls sie beschädigt oder von der Hitze verformt ist, muss die Lampe ersetzt werden.
Bei der Installation außer der zur Verankerung des Haltebügels benutzten M10-Schraube auch ein Hilfs-Verankerungssystem
einsetzen (ein Stahlkabel oder anderes geeignetes System). Der Apparat kann in Innenräumen verwendet werden.
DieeinzuhaltendeMindestdistanzzwischenLampeundbeleuchtetemObjekt.
DerApparatdarfaufnormalerweiseENTFLAMMBARENOberflächennichtinstalliertwerden
DasStromversorgungskabelmusshitzebeständigsein
BeschädigteSchutzschirmeaustauschen
IP66
2,5m
E
E
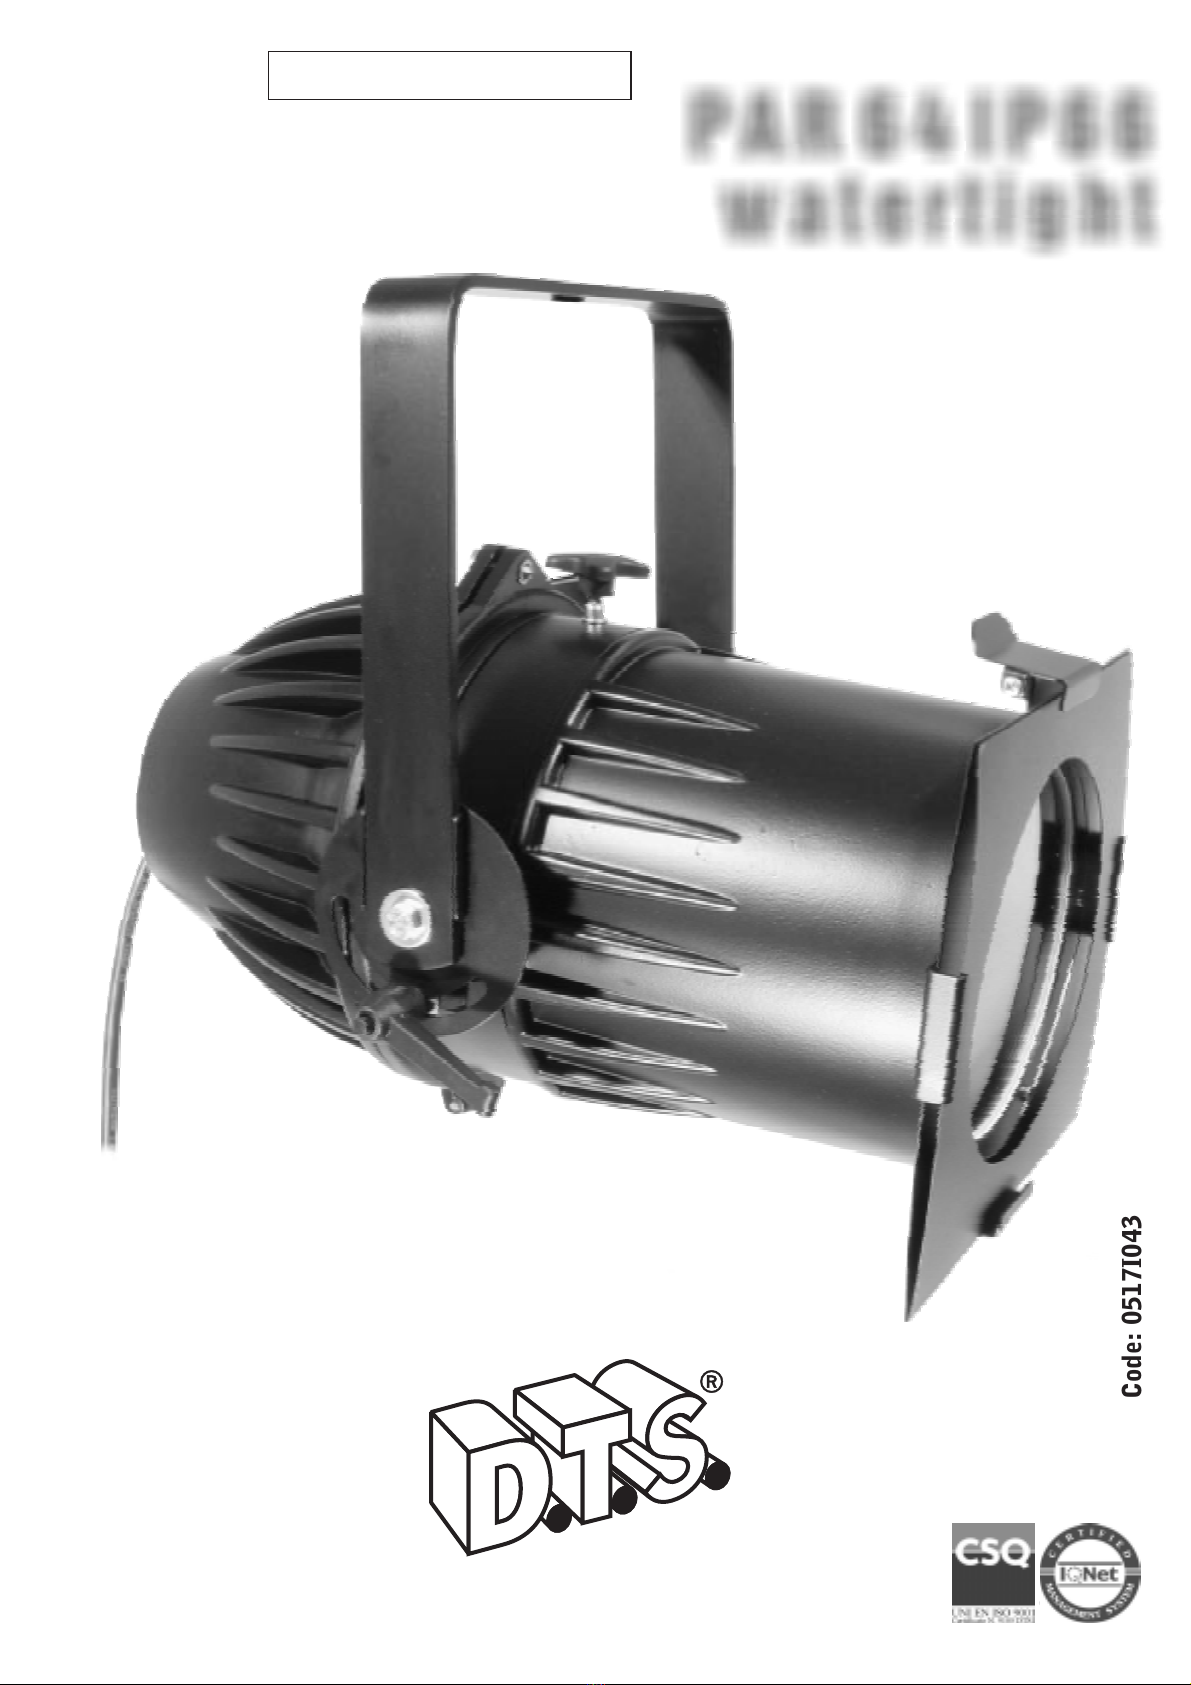
PAR64IP66
watertight
PAR 64IP66
watertight
F
ATTENTION:
ALIMENTATION:
FIXATION DE LA LAMPE:
LAMPE:
PUISSANCE:
POIDS:
la sécurité de l'appareil n'est garantie que si son installation et son utilisation sont conformes aux instructions
suivantes: il est donc nécessaire de conserver ces mêmes instructions avec soin
230V~50/60Hz
GX 16D
PAR 64 230V ~50Hz
Lampe max 1000W
6,8 kg, lampe comprise
L'appareil n'est pas destiné à une utilisation domestique et ne doit être installé que par un personnel TECHNIQUE compétent.
Pour le branchement sur le réseau d'alimentation, utiliser une fiche présentant un degré de protection IP 66 et respecter le
branchement indiqué sur la figure (4). S'assurer que le raccordement de mise à terre soit efficace. Couper l'alimentation avant de
remplacer la lampe. La lampe doit être remplacée si elle est endommagée ou si elle est déformée par la chaleur.
Pour l'installation, utiliser un système d'ancrage auxiliaire (câble en acier ou autre système approprié), outre la vis M10 employée
pour fixer l'étrier. L'appareil peut être utilisé en intérieur.
La distance minimale à respecter entre la lampe et l'objet illuminé.
L'appareil ne peut pas être installé sur des surfaces normalement INFLAMMABLES
Le câble d'alimentation doit être résistant à la chaleur.
Remplacerlesécransdeprotectionendommagés.
IP66
180
2,5m
E
E
F
180
D
FR