Drill Warning: Before drilling into the floor make sure the area where you are going to drill through is clear of any
electrical wiring, fuel lines, tanks, and reservoirs. You will have to look under the vehicle to make sure there are no
obstructions at the hole locations.
OPTION 1 — Self Tapping Screws: (Easiest Installation)
Use this method if you do not plan on taking your slide bracket out often.
Before drilling see ‘Drill Warning’ above.
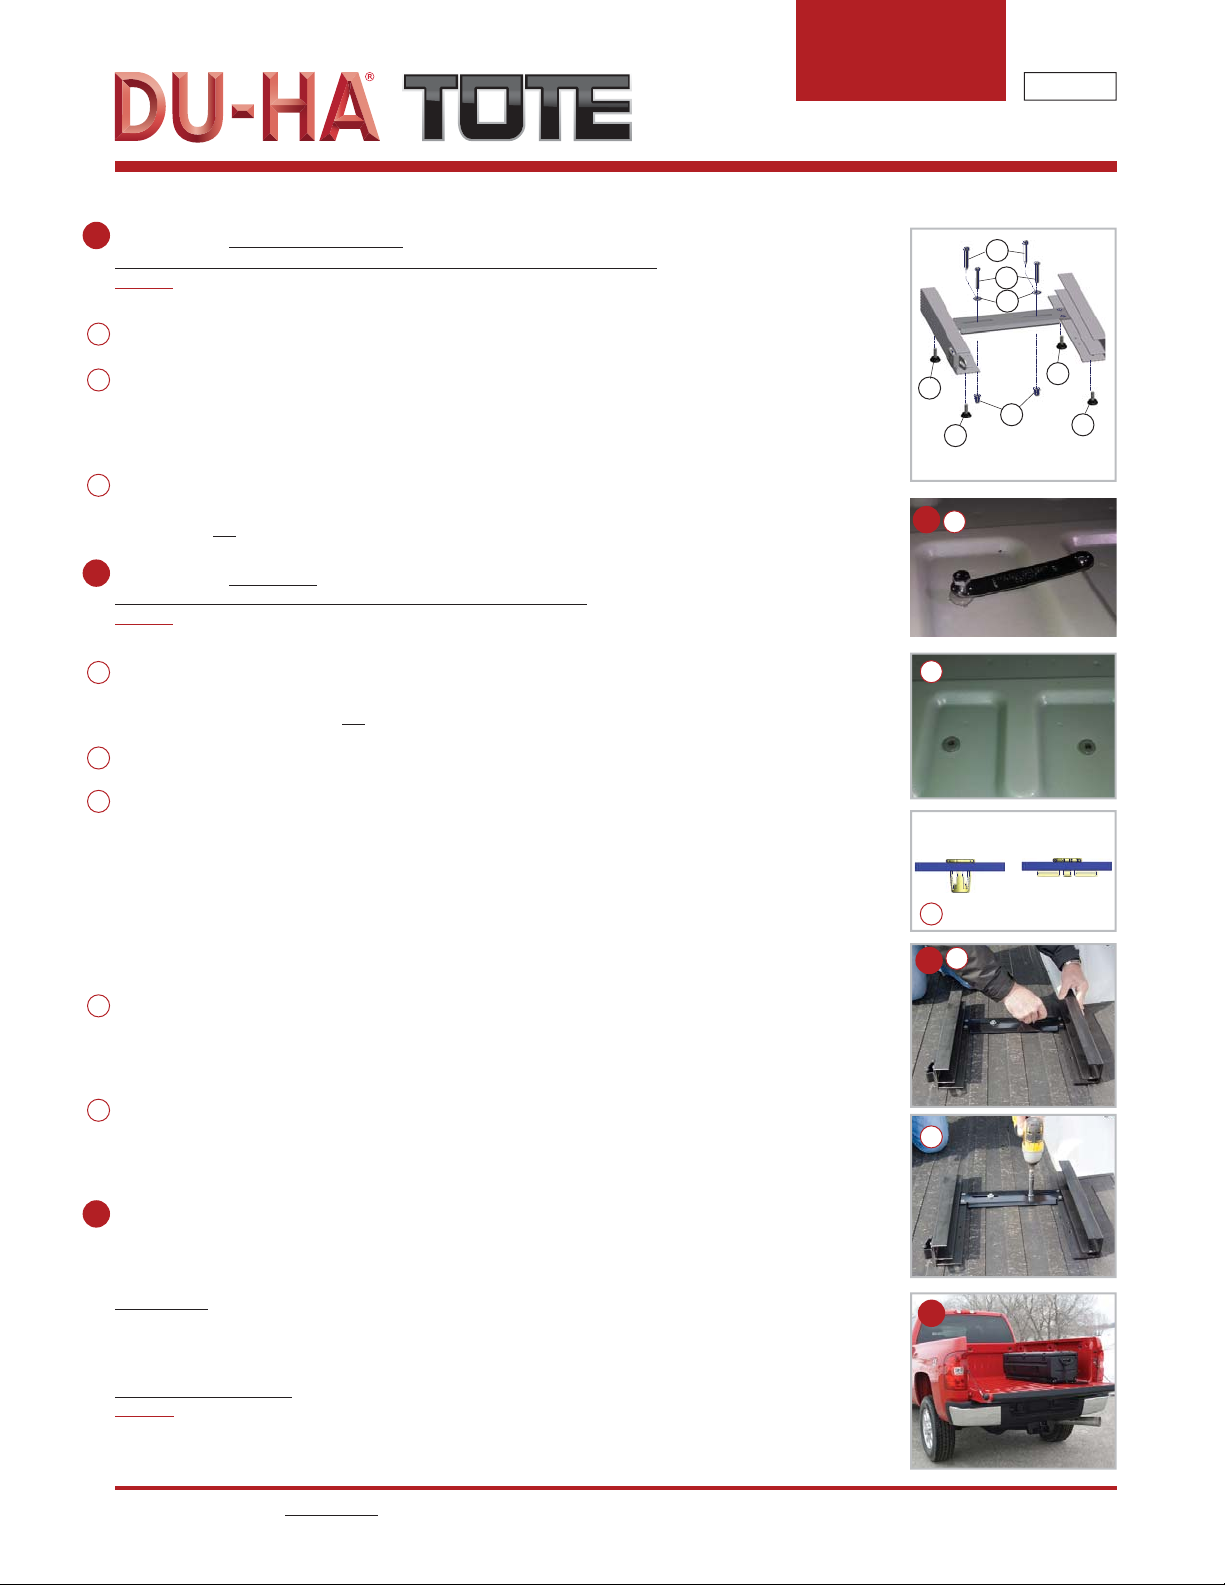
Place bracket in the proper position and line up with marks (determined in Steps 4 and 5).
Adjust the Adjustable Feet (N) on the bottom of the Channels (B) so the bracket is flush with the surface the Tote
will be rolling on. (The Tote needs to clear the trim piece to slide properly.)
(Note: You may not need to use the Adjustable Feet (N). You will only need to use the
Adjustable Feet if it’s necessary to raise or adjust the height of the Tote Slide Bracket.)
Place a Washer – Flat 1/4” (H) on each of the Self Tapping Screws – 1/4” x 2-1/2” (F) (Screws look like they have
a drill bit on the end). Insert the Screws through the slots in the base plate. Make sure to place Screws in the flat
area of the floor, not on a sloped surface. Install the bracket using a cordless drill and Socket – 3/8”.
OPTION 2 — Jack-Nuts:
Use this method if you intend to remove the slide bracket often.
Before drilling see ‘Drill Warning’ above.
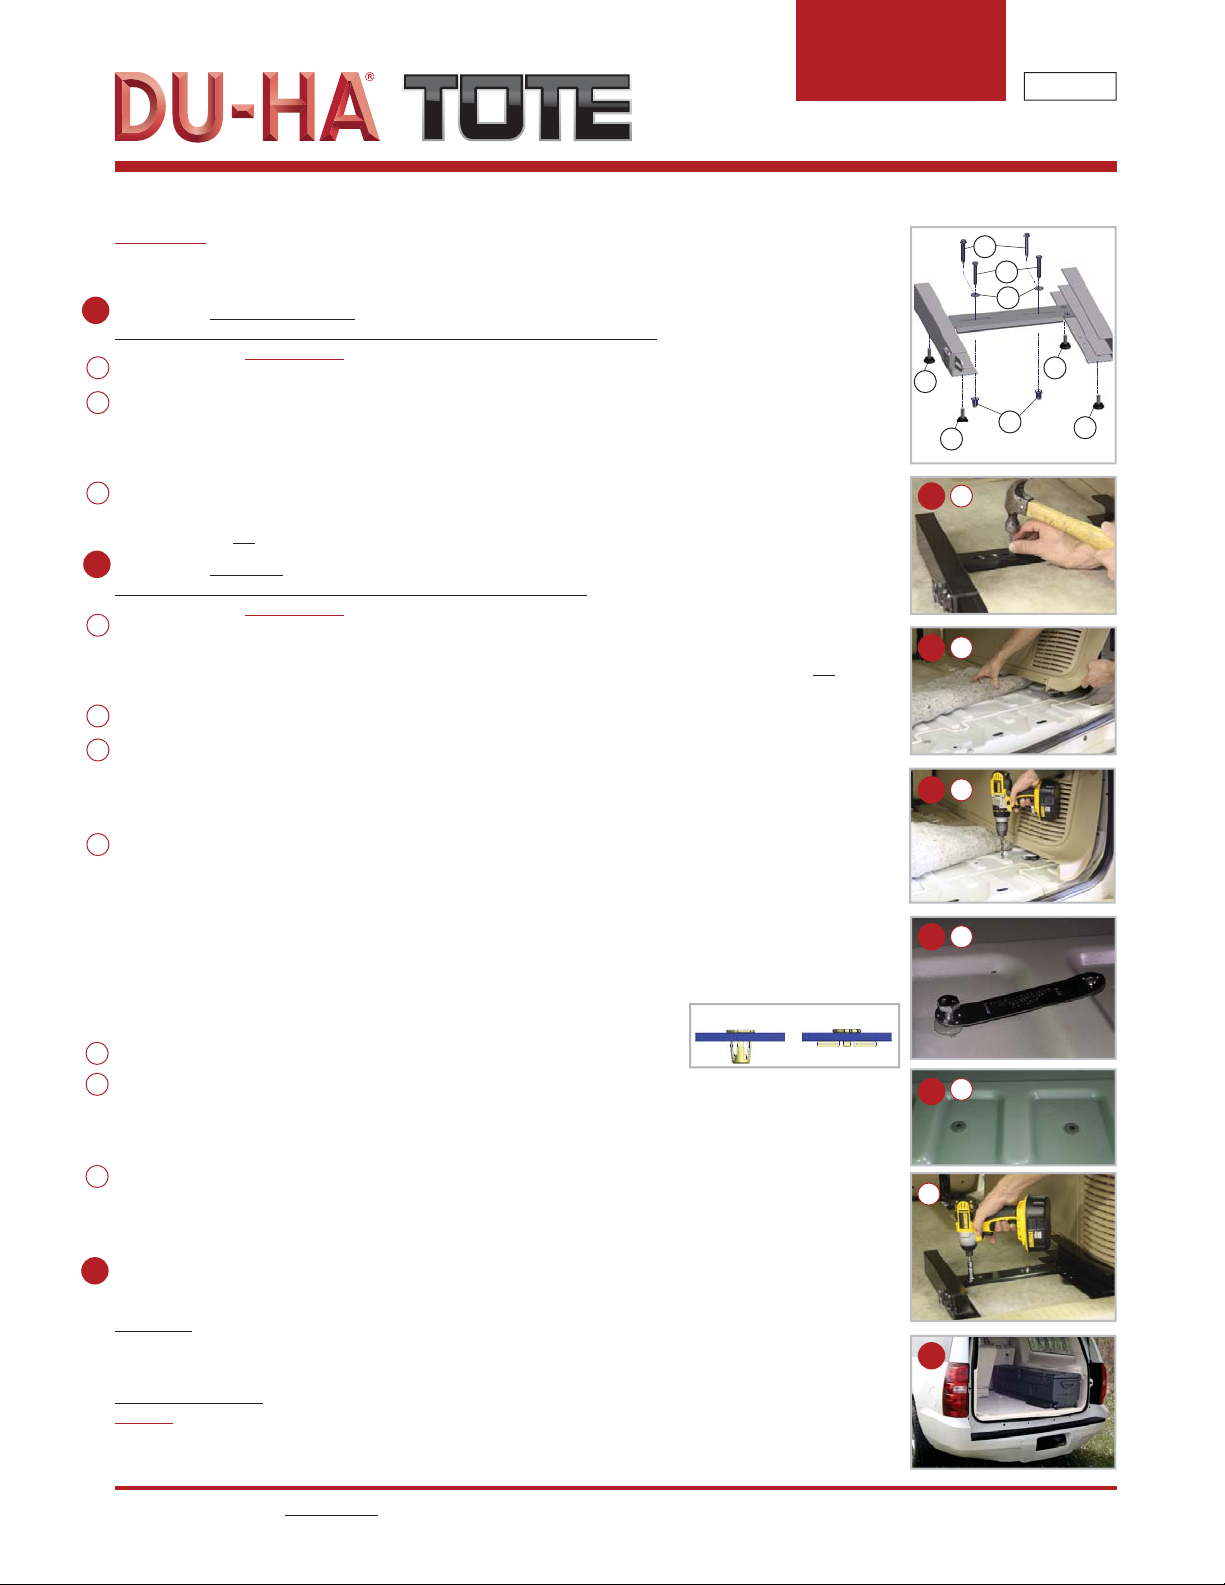
Re-align the bracket to the marks made in Step 5. Make a small indentation in the floor at the outside of each slot
using a hammer and a nail or sharp punch. Tap the nail or sharp punch through the carpet and insulation layers until
the vehicle floor (metal) is contacted. Make sure the marks are located on the flat part of the floor and not on a
sloped surface.
Remove rear trim and roll back carpet and insulation to expose the marks made in Step 8A.
Using a straight edge, draw a line from the left to right marks. Locate a flat point in between each set of marks,
one on the right and one on the left. Drill one 7/16” hole on each flat surface on the line. Mark the hole placements
onto the insulation and carpet layers and create a hole for the bolt to pass through. If using a drill and standard drill
bit: (a) Drill the carpet from the underside. (b) Drill through the insulation with the drill in reverse to reduce binding.
Prior to installing the Jack-Nut–1/4” (D) use a small phillips screwdriver and hold the Jack-Nut with a pliers. Using
the screwdriver, make a hole through the rubber on the Jack-Nut. Next insert the Bolt–Hex Head 1/4” x 2-1/2”
(G) through the hole in the Jack-Nut Friction Wrench and thread all the way into the Jack-Nut–1/4” (D). Place the
Jack-Nut–1/4” (D) in the drilled hole (may need a hammer to tap into hole). Secure the Jack-Nut to the vehicle by
tightening the Bolt–Hex Head 1/4” x 2-1/2” (G) using a 7/16” Socket, press firmly on the Jack-Nut Friction Wrench
and tighten Jack-Nut until you see the rubber on the Jack-Nut starting to get squished. Do not over tighten (max
torque = 41 in /lbs). Remove the bolt from the Jack-Nut–1/4” (D). Repeat this procedure for the other Jack-Nut.
Note: Jack-Nut Friction Wrench is only used to install Jack-Nuts. It does not take a lot of torque to break a Jack-
Nut so it is best to use a 7/16” Socket and Wrench.
If using a drill, be very careful not to over tighten and strip out the Jack-Nut.
Replace the carpet and insulation and snap the plastic trim pieces back into place.
Place the Tote Slide Bracket into position in the vehicle. Adjust the Adjustable Feet (N) on the bottom of the
Channels (B) so the bracket is flush with the plastic trim piece Tote will be rolling on. (The Tote needs to clear the
trim piece to slide properly.) (Note: You may not need to use the Adjustable Feet (N). You will only need to use the
Adjustable Feet if it’s necessary to raise or adjust the height of the Tote Slide Bracket.)
Insert two Bolts – Hex Head 1/4” x 2-1/2” (G) with two Washers – Flat 1/4” (H) through the slots in the Base Plate
(A), carpet, and insulation, and thread them into the Jack-Nut (D). DO NOT cross-thread (make sure Bolt–Hex Head
1/4” x 2-1/2” (G) threads into Jack-Nut–1/4” (D) properly and the threads are not misaligned). Adjust the Tote Slide
Bracket to the desired position. Tighten bolts using Socket – 7/16”, but do not over tighten max torque= 41 in/lbs).
Place the Tote into the Tote Slide Bracket to make sure the Tote slides in and out of the vehicle properly. If
necessary, adjust the (N) Adjustable Feet to raise or lower the Tote Slide Bracket.
Important:
If you remove the Tote Slide Bracket, you must put the Bolts – Hex Head 1/4” x 2-1/2” (G) and Washers – Flat 1/4”
(H) back into the Jack-Nuts – 1/4”(D) and tighten. Do not over tighten.
Safety Instructions:
Warning: Make sure the Tote lid is closed and latched and the Tote and Tote Slide Bracket are secured in the vehicle
according to the installation instructions while the vehicle is moving. Do not store explosives or hazardous materials in
the Tote. Do not place loaded guns in the Tote. For further instructions refer to the vehicle owner’s manual or contact
DU-HA, Inc.
Page 2 – Continued...
Installation Instructions
Jack-Nuts
DU-HA, Inc. // website: www.du-ha.com // phone: 1.866.306.DUHA (3842) // fax: 1.218.998.4013 // 306 Saint Andrews Street South, Fergus Falls, MN 56537
9
8
7
70104
SUV
G
H
F
N
N
DN
N
9
8
8
B
B
C
D
D
C
D
E
F
G
A
A
8
8
8
A
B
C
G