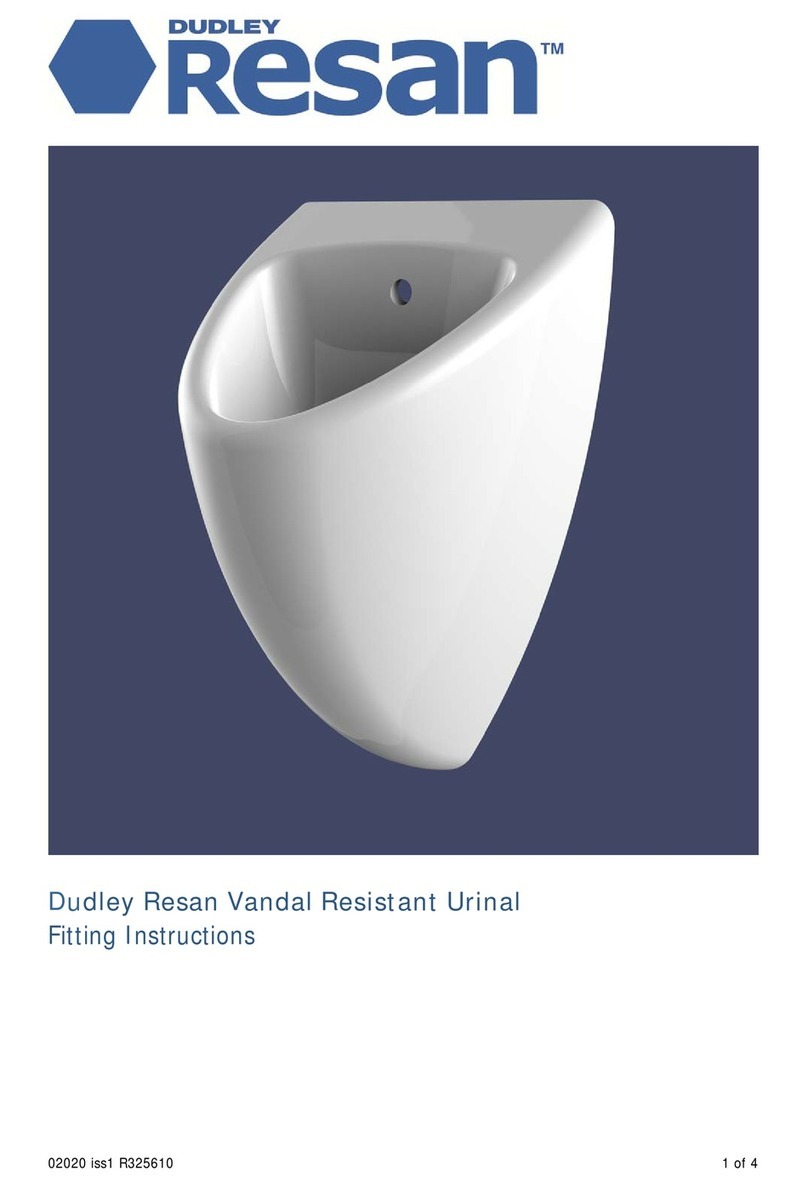
Dudley Resan User manual

12019 iss1 R325609 1 of 4
Dudley Resan Vandal Resistant WC Pan
Fitting Instructions

12019 iss1 R325609 2 of 4
Warning
60kg heavy product. It is recommended that at least two people carry out the installation to
prevent personal injury or any damage to the pan.
Important
Please read these instructions carefully before installation.
Disclaimer
1. The specifications of this product can change without notice as a result of continual product
development.
2. These instructions are intended to be a general guide only as specific conditions vary from
installation to installation.
3. The images in these instructions are for illustrative purposes only and may vary slightly from
the actual product as a result of continual product development.
4. Check the product for defects or damage prior to fitting. Fitting the product is an acceptance
that the product is free from defects and Thomas Dudley Limited cannot retrospectively
accept responsibility for any defects subsequently discovered.
Component Checklist
1. WC Pan
2. 4 x M10 threaded fixing studs
3. 4 x M10 lock nuts
4. 4 x M10 washers
5. Paper drilling template
6. Instruction leaflet
7. 5 x Restrictor Rings. 24, 26, 28, 30 & 32mm Options.
Equipment Checklist: Not Supplied
1. Drill, masonry bits and hole saw (optional) suitable to create required holes
2. Adjustable Spanner
3. Spirit level
4. Pencil
Unpacking
1. Unpack the pan taking care to avoid scratching or otherwise damaging the surface finish.
2. Check for any defects.
Pan Preparation
1. Fit a straight 4” waste pipe connector onto the waste spigot with a pipe long enough to pass
through the wall and connect to the waste system.
2. Insert the flush pipe connector corresponding to the size of flush pipe to be used. For best
performance always use a full length flush pipe if possible. If necessary fit one of the five
Restrictor Rings between the flush pipe and the WC depending on the flow rate on site. A
higher flow rate will require a smaller restrictor to minimise any splashing. (See Positioning
the Cistern).
3. Hand tighten the 4 off M10 threaded fixing studs into the threaded inserts on the back of the
pan. If the supplied rods are not long enough to pass through the wall it will be necessary to
cut lengths of standard M10 all-thread down to the correct size.

12019 iss1 R325609 3 of 4
Floor & Wall Preparation
1. Ensure that the floor where the WC pan is to be fitted is level, free from protrusions and
structurally capable of supporting its 60kg weight.
2. Ensure that the adjoining wall is vertical, flat and free from protrusions and debris.
3. Affix the paper drilling template to the wall using masking tape, ensuring that the bottom
datum is aligned with the surface of the floor and that it is crease free.
4. Using a pencil, mark the hole centres for the 4 off fixing positions, the flush inlet and waste
outlet
5. Remove the template and drill holes through the wall suitable to accept the following items:
a. 4 x M10 threaded fixing studs
b. 1 x 102mm or 4” waste pipe
c. 1 x flush pipe
6. Remove all debris from the holes.
Positioning the Cistern
1. The position of the cistern can have a dramatic effect on the performance of the flush:
a. Positioning the cistern too high could result in water splashing out of the pan.
b. Positioning the cistern too low could result in a weak flush and the pan may not clear.
c. When a cistern is used it should be positioned so that its height relative to the pan is such
that it provides an adequate flush.
2. In factory tests the pan gives a satisfactory flush when the cistern is set at a height of 720mm
above the ground, measured to the bottom face of the cistern.
3. To help eliminate splashing fit one of the five restrictors supplied into the flush pipe inlet
recess on the rear of the pan before fitting the flush pipe connector.
Note: Due to the rimless nature of the design it is impossible to completely eliminate all
splashing and some spotting may occur around the seat.
Fixing the Pan
Warning: The pan weighs 60kg and should only be fitted using recognised safe lifting
procedures.
Note: Fitting the basin requires two people: one to position and hold the basin in position
while the other secures it.
1. Slide into position taking care not to damage either the waste pipe or the fixing studs.
2. If required sealant can be used to eliminate any gaps between the pan and mating walls and
floor.
3. From the other side of the wall secure the pan into position using M10 washers and locknuts.
Ensure that there is enough thread to fully engage the locknut.
4. Push the inlet pipe through the wall and into the water inlet connector before fitting to the
cistern.
5. Connect the waste pipe as required
Commissioning for Use
1. Once the full installation complete check the system for leaks.

12019 iss1 R325609 4 of 4
Maintainance
1. It is not recommended that proprietary products be used for cleaning as the vast range of
different chemical composition makes it impractical to test individually with the pan.
2. Do not use scouring pads, abrasive cleaners, or sharp instruments.
3. In hard water areas lime scale removers can be used to remove lime scale deposits
4. Clean regularly using warm soapy water.
5. Matt Finish Pans: Deeper cuts can be removed with 1200 grade wet and dry paper.
6. Gloss Finish Pans: Light scratches and abrasions can be removed by rubbing with a soft cloth
and liquid cutting compound. Please ensure the cloth is dye free as this may cause stains
which need to be removed with wet and dry and then re polished with cutting compound.
Contact Details
Thomas Dudley Ltd
PO Box 28
Birmingham New Road
Dudley
West Midlands
DY1 4SN
United Kingdom
t: +44 (0) 121 557 5411
f: +44 (0) 121 557 5345
Table of contents
Other Dudley Toilet manuals