manuals.online logo
Brands
  1. Home
  2. •
  3. Brands
  4. •
  5. Dunelm
  6. •
  7. Indoor Furnishing
  8. •
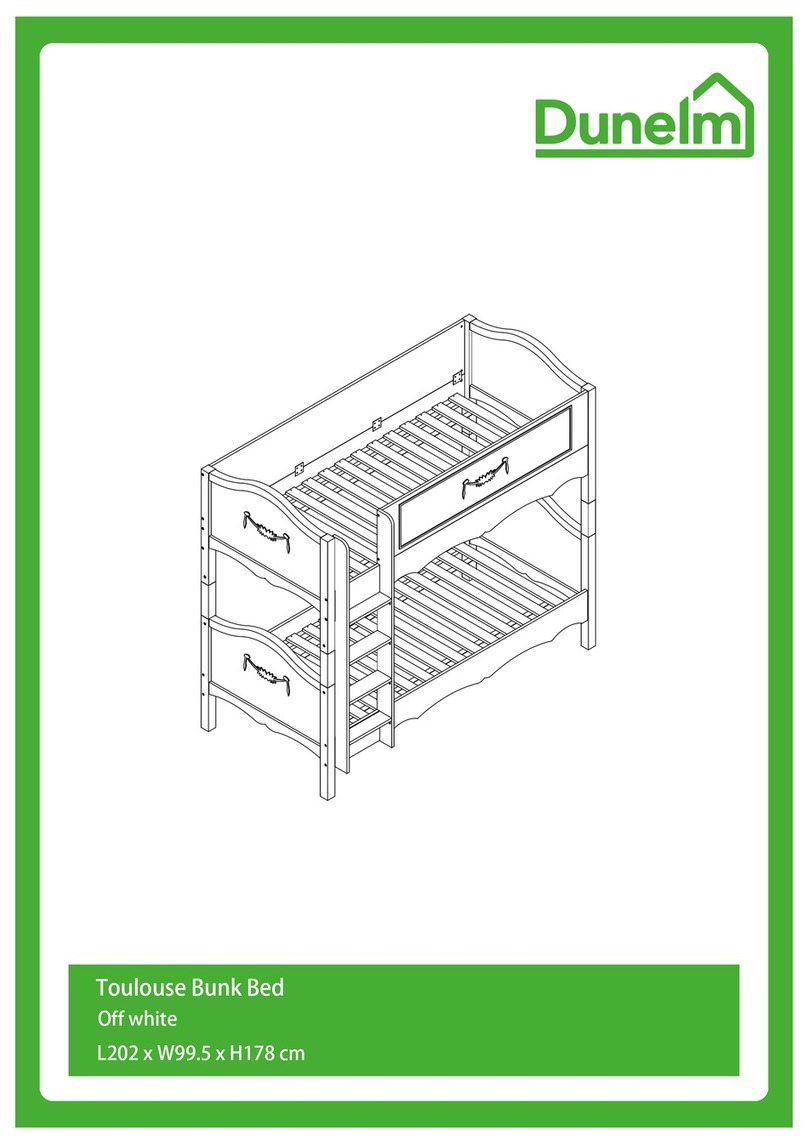
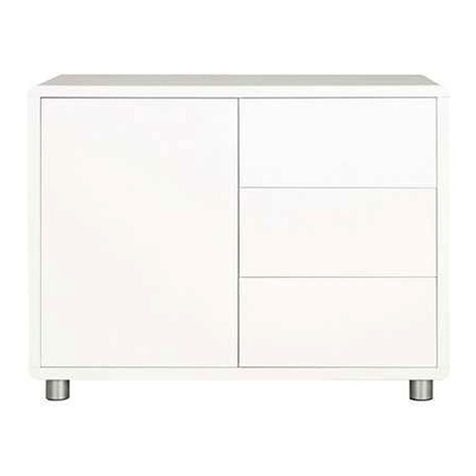
  9. Dunelm Toby User manual

Dunelm Toby User manual

www.dunelm.com
INSTRUCTIONS
Toby
Thank you
Dear Customer
Thank you for purchasing your new piece of furniture from Dunelm. We put a lot of effort in the
design and construction of our products to ensure they set the standard for quality, durability and
ease of assembly.
If for any reason you feel we haven’t lived up to the high standards we set ourselves, please don’t
hesitate in contacting us on 03451 656565 where our team will be very keen to understand what has
gone wrong and, more importantly, put it right.
The next step...
There is no need to feel daunted by the number of
parts and fitting sin front of you, we have compiled
this straight forward, step-by-step guide to make sure
that assembling your furniture is as easy as 1, 2, 3.
Before you begin, we advise that you check that you
have everything you need to get started.
Top tip
Find a space to spread everything out across the
floor before you begin assembling the item. Lay
each panel down on a clean and level area, ideally
in the room of intended use, ensuring there is
enough room to manoeuvre around the item. It
is recommended that two people assemble this
product together. The full list of furniture parts,
fixtures and fittings, as well as the tools you will need
for assembly can be found on page 2 and 3 of this
manual.
Top tip
Identify all of the fittings, make sure that you have
them all prepared and familiarise yourself with each
component, to make things easier when you are
putting it all together.
Safety and care advice
IMPORTANT - The first step you need to take is to
ensure your safety! Please take the time to read and
understand these instructions before assembling
your furniture.
Please keep these instructions for future reference.
Keep children and animals away from the assembly
area. This furniture contains small parts that could
cause choking if swallowed.
Keep all plastic wrapping materials away from
babies and children to avoid danger of suffocation.
Ensure that all packaging is disposed of carefully
and responsibly.
From time to time check that there are no loose
fittings on the unit, re-tighten when necessary.
Two people may be required for the assembly of this
product.
Once items are part or fully assembled they are not
returnable unless faulty.
This item is not for outdoor use – unless stated
otherwise.
Some items will be supplied with a wall fixing strap,
which we recommend is used to secure the item
to the wall, to prevent a child from accidentally
pulling furniture over.Furniture can be dangerous if
incorrectly installed. Assembly should be carried out
by a competent person. No liability will be accepted
for damage or injury caused by incorrectly installed
or assembled furniture.
www.dunelm.com
2 PERSON ASSEMBLY EASY ASSEMBLY
45 MINS
www.dunelm.com
Component parts supplied
11830x504x16 1
2 1830x504x16 1
31830x504x16 1
4731x504x16 2
5731x504x16 2
61737x369x5 4
7731x70x16 4
8432x70x16 2
91766x371x16 4
Ref Visual Qty
Dimensions
(mm)
www.dunelm.com
Parts and fittings
M6x40mmA B28pcs
28pcs 15x13.5
D M4x20mm
26pcs
8x30
8pcs E4pcs 29.5x23x19 16pcs
G
C
/
Z28pcs
Hinge 16pcs
ML=723mm 2pcs I60x17x10 4pcs HM4x16 24pcs
L2pcs
NL=1727mm
R2set
Φ20
/
ΦΦ
www.dunelm.com
Exploded view
1
2
3
5
6
6
7
7
8
9
6
6
9
9
9
5
7
8
7
4
4
www.dunelm.com
Step 1:
Step 2:
CORRECT WRONG
7
7
8
B
B
A
4pcs
15x13.5B
x2
B
A
B
A
5
B
B
B
B
B
A
x2
7 x2
A
AM6x40mm 4pcs Φ
A
A
A
A
5
15x13.5B
AΦ10pcs
M6x40mm
10pcs
www.dunelm.com
Step
3:
Step
4:
M6x40mm 4pcs
A4pcs
15x13.5B
BB
B
B
CC
CC
C
C
A
C
A
A
A
2
2
5
4
3
A
A
A
A
3
6
B
BB
CC
CCC
C
M6x40mm 4pcs
A4pcs
15x13.5B
6pcs
8x30
2
C
B
A
6N
B
A
B
Φ
6pcs
8x30
Φ
Φ
Φ
C
CNΦL=1727mm 1pcs
www.dunelm.com
Step
6:
3
3
A
A
AA
4
5
CCCC
CC
B
B
BB
2
C
B
A
1
BB
B
B
C
C
CC
C
C
6
6
N
1
C
B
A
A
A
A
A
Step 5:
M6x40mm 4pcs
A4pcs
15x13.5B Φ
6pcs
8x30
Φ
M6x40mm 4pcs
A4pcs
15x13.5B
6pcs
8x30
Φ
Φ
1pcs
C
CNL=1727mm
www.dunelm.com
Step
7:
Step
8:
G
G
G
H
!!Notice!!
Please make sure all
fittings are locked before
setting the wardrobe
upright.
6 x4
G
29.5x23x19
G16pcs
HM4x16 16pcs
G
H
G
www.dunelm.com
Step 10:
Step
9:
H
H
H
H
If necessary,
gently adjust the
top panel(4#)
sideways in either
direction until XX
and YY are equal.
M
M
4pcs
M4x16
ML=723mm 2pcs
60x17x10 H8pcs
I
XX
YY
YY
XX
www.dunelm.com
Step 11:
13 x4
Hinge 16pcs
L
www.dunelm.com
Step 12:
H
9
195480480480131
131
480480480195
195480480480
131
131
480480480195
9
9
9
high hinge
low hinge
high hinge
low hinge
H
i
nge
LE
DM4x20mm
16pcs 8pcs 4pcs
E
www.dunelm.com
Step 13:
Step 14:
Z
ZΦ20
Add the screw
covers for those
visible cams
Adjust the
left and right
gap through
screw
b
Adjust the
front and back
gap through
screw
c
a
Adjust the up
and down gap
through screw
abc
28pcs
www.dunelm.com
Step 15:
Fixing wardrobe to the wall
R1
R3
R3
2set
R
Important note:
It is essential that this product is xed to a wall using the strap supplied.
Wall xings are not supplied. Different walls require unique wall xings.
For advice on suitable wall xings, contact your local specialised dealer.
With help, move the wardrobe into position. Mark xing holes on wall and remove the wardrobe.a.
Insert the at end of the cable tie into the buckle of the cable tie, then tighten the cable tie.d.
Using suitable wall xings, x plastic bracket to the wall.b. R1
c. Move the wardrobe closer to the wall, and pass at end of the cable tie through the plastic
R2
bracket on the wall, then fix the other on the back of the wardrobe side.
R1 R1
www.dunelm.com
R1
R1 R2
R1
R1 WALL
x1
WARDROBE
R1 x2 R2 x1 R3 x2
1set:
www.dunelm.com
and we recommend that once in position the unit is
secured to the wall for extra stability.
Please ensure that the head of the screws used has a diameter greater than the diameter of the hole on
When drilling into the walls, always ensure there are no hidden wires or pipes.
Wall xings
R1 x2 R2 x1 R3 x2
www.dunelm.com
Wall xings
Furniture care advice
When placing furniture on a wooden or laminate
floor, please ensure that the plastic or felt
Remove any spills immediately to avoid staining.
Dust regularly with a soft lint free cloth or duster.
Uneven floors could give the impression that
doors of wall units and wardrobes are out of
alignment. Be aware of this and compensate if
necessary by adjusting the hinges or packing a
corner to level the item. Please refer to the
instructions, included with your furniture, and
adjust accordingly.
If your furniture becomes stained, scratched,
chipped or suffers other damage, we recommend
professional help is sought to restore it. Please
contact our customer services line for
recommended agents.
Always follow fitting instructions carefully and
retain them for future use.
www.dunelm.com
Furniture care advice
Only clean using a damp cloth and mild
detergent,
do not use bleach or abrasive cleaners.
From time to time check that there are
no loose screws on this unit.
Strong direct sunlight can affect the colour
dramatically,
so try to avoid this as much as
possible,
we also recommend that any ornaments,
coasters and items placed on the product are
periodically moved around to allow the colour to
mellow evenly.
Always use mats and coasters to protect the
surface when placing items on the furniture.
This
will help to protect the finish from heat,
liquids or
items that might scratch your furniture.
If
items are to be placed on the surface of
your
furniture and have rubber feet,
it is advisable to
use mats to prevent marking.
Always lift your furniture into place,
avoid
dragging it across the floor as this can cause
damage to joints.
Protectors are securely fitted and in place.

Other manuals for Toby

1

Other Dunelm Indoor Furnishing manuals

Dunelm Alexis User manual

Dunelm

Dunelm Alexis User manual

Dunelm Lisbon Nest of 2 Tables User manual

Dunelm

Dunelm Lisbon Nest of 2 Tables User manual

Dunelm Oliver Wide TV Unit User manual

Dunelm

Dunelm Oliver Wide TV Unit User manual

Dunelm Felix 2 User manual

Dunelm

Dunelm Felix 2 User manual

Dunelm York Large Sideboard 30150574 User manual

Dunelm

Dunelm York Large Sideboard 30150574 User manual

Dunelm Winslow User manual

Dunelm

Dunelm Winslow User manual

Dunelm Claudia User manual

Dunelm

Dunelm Claudia User manual

Dunelm Brisbane 2 Door 2 Drawer Robe User manual

Dunelm

Dunelm Brisbane 2 Door 2 Drawer Robe User manual

Dunelm Xavi 30730143 User manual

Dunelm

Dunelm Xavi 30730143 User manual

Dunelm Fulton Tall 4 Door Cabinet User manual

Dunelm

Dunelm Fulton Tall 4 Door Cabinet User manual

Dunelm Soho Series User manual

Dunelm

Dunelm Soho Series User manual

Dunelm Mya Velvet User manual

Dunelm

Dunelm Mya Velvet User manual

Dunelm Indi User manual

Dunelm

Dunelm Indi User manual

Dunelm Nautical User manual

Dunelm

Dunelm Nautical User manual

Dunelm Delphi Storage Bench User manual

Dunelm

Dunelm Delphi Storage Bench User manual

Dunelm Toulouse Gents 30168623 User manual

Dunelm

Dunelm Toulouse Gents 30168623 User manual

Dunelm Churchgate Top Unit Glass Door User manual

Dunelm

Dunelm Churchgate Top Unit Glass Door User manual

Dunelm Marina Ladder Desk User manual

Dunelm

Dunelm Marina Ladder Desk User manual

Dunelm ADELE 5FT User manual

Dunelm

Dunelm ADELE 5FT User manual

Dunelm Zoey User manual

Dunelm

Dunelm Zoey User manual

Dunelm 30151290 User manual

Dunelm

Dunelm 30151290 User manual

Dunelm Clifford 30712363 User manual

Dunelm

Dunelm Clifford 30712363 User manual

Dunelm Wilson Coffee Table User manual

Dunelm

Dunelm Wilson Coffee Table User manual

Dunelm 30151830 User manual

Dunelm

Dunelm 30151830 User manual

Popular Indoor Furnishing manuals by other brands

Drive DeVilbiss Healthcare SUPPLITO Instructions for use

Drive DeVilbiss Healthcare

Drive DeVilbiss Healthcare SUPPLITO Instructions for use

Amisco M656480329 Assembly

Amisco

Amisco M656480329 Assembly

Costway JV11238 manual

Costway

Costway JV11238 manual

Coaster 202701KW Assembly instructions

Coaster

Coaster 202701KW Assembly instructions

Rowico CI-15 care guide

Rowico

Rowico CI-15 care guide

Living Spaces Olivia Queen Assembly instructions

Living Spaces

Living Spaces Olivia Queen Assembly instructions

Next MONTEGO SQUARE 744563 Assembly instructions

Next

Next MONTEGO SQUARE 744563 Assembly instructions

Amisco Edward Upholstered Swivel Bar Stool with Arms... Assembly

Amisco

Amisco Edward Upholstered Swivel Bar Stool with Arms... Assembly

Tribesigns NY138 Assembly instructions

Tribesigns

Tribesigns NY138 Assembly instructions

MDD Compact Drive CDR Assembly

MDD

MDD Compact Drive CDR Assembly

Ercol MONDELLO 1870 Assembly instructions

Ercol

Ercol MONDELLO 1870 Assembly instructions

Sauder 430237 manual

Sauder

Sauder 430237 manual

Sareer Sherry 4'6 Bed Assembly instructions

Sareer

Sareer Sherry 4'6 Bed Assembly instructions

Forte JRNK241R Assembling Instruction

Forte

Forte JRNK241R Assembling Instruction

Bob's Discount Furniture JOANNA manual

Bob's Discount Furniture

Bob's Discount Furniture JOANNA manual

Belleze Hilo Sideboard 014-HG-41002-SB Assembly instructions

Belleze

Belleze Hilo Sideboard 014-HG-41002-SB Assembly instructions

Sensea REMIX 46 RT 45 Assembly, Use, Maintenance Manual

Sensea

Sensea REMIX 46 RT 45 Assembly, Use, Maintenance Manual

Safavieh AMH4123A quick start guide

Safavieh

Safavieh AMH4123A quick start guide

manuals.online logo
manuals.online logoBrands
  • About & Mission
  • Contact us
  • Privacy Policy
  • Terms and Conditions

Copyright 2025 Manuals.Online. All Rights Reserved.