manuals.online logo
Brands
  1. Home
  2. •
  3. Brands
  4. •
  5. Dunster House
  6. •
  7. Garden House
  8. •
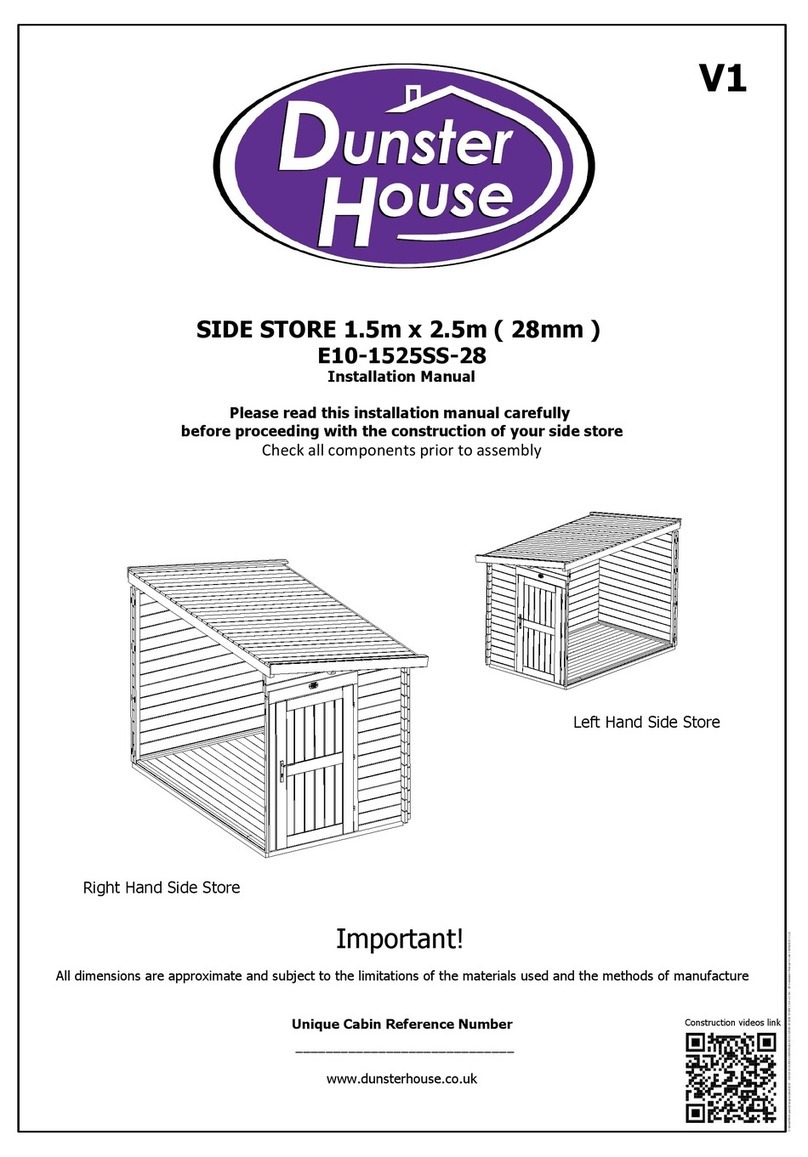
  9. Dunster House E3-2515SS User manual

Dunster House E3-2515SS User manual

INSTALLATION MANUAL
Side Store
Width 1.5m x Length 2.5m
Thickness of logs 28mm
E3-2515SS (28)
Unique Side store Reference Number.
______________________________
www.dunsterhouse.co.uk
Page 1
1.5 x 2.5 (28mm) Side Store
Please read these assembly instructions carefully before proceeding with the construction of
your log side store.
The log side store you have bought needs to be used together with a log cabin. This product can be
attached to any side of the log cabin which is both, long enough, and does not have any windows or
doors in the way. It should be assembled in a similar way to the log cabin excluding some components
which are explained below.
Pre-drill all screws. Please keep referring to the elevation drawings on the pages overleaf to help
you follow these instructions. If you have a 19mm cabin you may need to use extra washers to
prevent the 65mm hexscrews sticking through the wall.
Foundation and Bearers - The foundation for the log side store must be completely flat, square and
level with the log cabin foundation. Position the treated bearers on the foundation as per the drawings
overleaf. Ensure the bearers are level and square before screwing them together using 70mm screws (1
per each connection). Then once the side store bearers are fully assembled attach the single longest
side store bearer to the ends of the log cabin bearers using 70mm screws at each point where the two
meet.
Walls and Trims - First cut one of the (I.1700.A) trims 30x45x1700mm, to 1500mm length and use
it as a door brace, keep the offcut as this is needed later. Screw the brace vertically to existing cabin
wall (see the drawings overleaf) in the front corner of side store using 60mm hexscrews and washer/s.
Screw through the slots, one screw per slot. Position screws as close as possible to the top of the slots.
Lay down the first layer of wall logs. Once you have the layer in the desired location (and they are flat
and square) use 70mm screws to attach the logs to the bearers. Then place two (I.1700.A) wall braces
30x45x1700mm vertically onto the cabin wall to support the rearmost wall of the sidestore. Keep a
distance of 30mm between them (to accommodate the 28mm thick wall) and fix them to the wall in
the same manner (60mm hexscrews and washer/s through slots) as the previous trim. Now continue to
build the wall layers. After the 4th one, the door needs to be put into the aperture created by the wall
logs and the cut down (I.1700.A) door brace. Slot the assembled door frame in and continue to build
up the walls. Before you lift the apex into place you need to fasten the back purlin
(XN45.2500.0.0.0.A) to the 2 apexes (AP.28.SIDE.STORE) using 70mm screws. Now lift the two
apexes and back purlin into place on top of the side store walls, use four of 60mm hexscrews and
washer/s to fix this purlin to the cabin wall. Now use the offcut from the (I.1700.A) trim to fix the
front apex wall logs to the log cabin wall. Screw the trim through the slot to the log cabin wall using a
60mm hexscrew and washer/s and screw to the apex wall logs using 60mm hexscrews and washer/s.
Now the middle purlin (IS.28.2500.65.65.0) should be slotted in.
ROOF. First check all walls are level using a spirit-level. Use a stepladder, do not stand on the roof.
Tap the boards lightly together leaving gaps of 1-2mm to allow for expansion. Use 40mm nails (three
nails per board) to secure them to the purlins and to the top wall log. Make sure that the roof boards
are flush with the end of purlins. It may be necessary to cut the last board along its length. Then fit the
roof edge reinforcement using 30mm length screws (screw up through the roof edge reinforcement).
Attach roofing material (not supplied) and fix the eaves edging (HN.3000 - require to be cut on site) to
the reinforcement using 35mm screws. Cut to length and fix 19mm x 19mm trim fascia board using
35 mm screws. Next fasten fascia boards (ZN.1670.B) to the purlins and to the top wall log using
50mm screws. Using 35mm screws you can now attach the interior roof apex edging trims (N.2000 -
require to be cut on site). These should be cut to fit in between the purlins and walls and run along the
interior top edge of the apex, where the apex meets the roof.
FLOOR. When the log side store is fully erected it is a time to lay the floor. Lay the first board with
a small gap along three walls and nail using 40mm nails. Place boards on the bearers tapping them
tightly together leaving 1-2 mm gap. Do not forget to leave uniform gap around the floor to allow for
expansion. You may need to cut the last board to fit. Finally fit the J.3000 (19x38mm) floor trims
around the walls using 55mm screws, to cover gaps, cutting as required.
XN45.2500.0.0.0.A
1 of required
Purlin
EN.1403
7 of required
Bearer
Pressure treated
B28.585.70.0.0
1 of required
Bottom wall log
B28.1500.70.0.0
1 of required
Bottom wall log
A28.585.70.0.0
13 of required
Wall log
A28.1500.70.0.0
13 of required
Wall log
A28.2500.70.70.0
14 of required
(including 1 spare part)
Wall log
XN28.2500.70.70.0
1 of required
Top wall log
IS28.2500.65.65.0.A
1 of required
Purlin
AP.28.SIDE.STORE
2 of required
Ape
EN.2360
1 of required
Page 2
1.5 x 2.5 (28mm) Side St re C mp nents
All dimensions are approximate and subject to the limitations of the material used and the methods of manufacture
45
32
585 28
64.5
1500 28
64.5
585 28
121
1500 28
121
2500 28
121
28
1500 28
302
2500 45
100
2500
100
1403
47
118
2500
2360
47
32
F.1600
29 of required
(inc. 1 spare)
Roof board
F.2300
17 of required
(inc. 1 spare)
Floor board
I.1700.A
3 of required
Brace
Requires cutting on site
ZN.1670.B
2 of required
Fascia board
N.1960
5 of required
Roof edging trim
Requires cutting on site
HN.3000
1 of required
ave edging
Requires cutting on site
J.3000
4 of required
Roof & floor edging trim
Requires cutting on site
2014 PP side store door 28
1 of required
Page 3
1.5 x 2.5 (28mm) ide tore Components
1600
1960
All dimensions are approximate and subject to the limitations of the material used and the methods of manufacture
3000
3000
19
97
19
97
2300
1700 45
30
1670 19
96
19
19
19
70
19
38
1575
ACCESSORIES
ITEM QTY
40 mm nails for floor & roof oards 200
30mm screws for trims 25
50mm screws for fascia, earers 20
55mm screws for floor trims 15
M6 washers 40
M6 x 60mm hexscrews 20
70mm screws for earers, first wall layer, door, purlins 25
Door handle & accessories 1
Installation manual 1
Page 4
1.5 x 2.5m (28mm) Side Store
Bearers Layout
1.5m x 2.5m Side Store - Base + Bearers
OVERALL MINIM M BASE DIMENSIONS - 1640 x 2560mm
All dimensions are approximate and subject to the limitations of the material used and the methods of manufacture
Screw this bearer to the cabin bearer
using 70mm screws.
Front of side store
Leave a minimum distance
from the front of log cabin bearer
to the side store front bearer.
2360
582566566582
250
>=
1435
702 702
32
32
32
32
32
32
32
32
EN.2360 EN.1403EN.1403EN.1403
EN.1403EN.1403
EN.1403EN.1403
Page 5
1.5 x 2.5m (28mm) Side Store
Back Wall
Front Wall
All dimensions are approximate and subject to the limitations of the material used and the methods of manufacture
1500
B28.1500.70.0.0
A28.1500.70.0.0
AP.28.SIDE.STORE
AP.28.SIDE.STORE
45 585
1455( )
1500
25mm Approx.
I.1700.A
B28.585.70.0.0
A28.585.70.0.0
(cut to 1500mm)
Screw thi trim through
lot u ing 60mm hex crew
and wa her/
Page 6
1.5 x 2.5m (28mm) Side Store
All dimensions are approximate and subject to the limitations of the material used and the methods of manufacture
Side Wall
XN28.2500.70.70.0
2500
A28.2500.70.70.0
I.1700.A
I.1700.A
I.1700.A - cut to 1500mm
I.1700.A
I.1700.A
30
6
5
I.1700.A
Page 7
1.5 x 2.5m (28mm) Side Store
All dimensions are approximate and subject to the limitations of the material used and the methods of manufacture
screw purlin to the apex using 70 mm long screws
I.1700.A - off cut - screw to apex
and log cabin wall
Use one 60mm hexscrew with washer/s per slot
and screw as close as possible to the top side
of the slots.
Securing side store walls to
existing cabin
Page8
1.5x2.5m(28mm)SideStore
All dimensionsare approximateandsubjecttothelimitationsofthematerialused andthemethodsofmanufacture
HN.3000
J.3000
F.1600
Page9
1.5x2.5m(28mm)SideStore
Alldimensionsare approximateandsubjecttothelimitationsofthematerialusedandthemethodsofmanufacture
Shingles(15-20mmoverhang)
Eavesedging Roofmembrane
(5mm overhang)
Roofboard
Roofmembrane
Firstlayerofshingles
withtheslots/hexagons
facingupwards
Nails
Shingles
Shingles
1. Ifyou haveboughtroofmembranefirstfully cover theroofboardsusingthisroofmembrane.Wesuggesttofixitusing
astapler.
2. Ifyourshingleshaveapeelableplasticbackingremovethisbeforeinstallingthemtotheroof.
3. Startingonthelowestedgeofthecabinroof,placearowofshinglesover thetopoftheroofmembrane,ifyouhave
purchasedthis,withtheslots/hexagonsrunningupwardsandtheblackedgeoftheshingleoverhangingtheroofby
15-20mmandnailalongthebottomedgeofthetileusing4nailssupplied.Carefullytrim off anyexcess attheendofthe
rowandkeepanyfull'tongues'.
4. Layasecondlayerofshinglesontopofthefirstrow. Thistimerotatetheshingles180° so thattheslots/hexagonsare
runningdownwards.Each rowofshinglesneedstobeoffsetso cutthefirststripintothehalf.Nailthrough thecenter
bandofthetileusing4nailssupplied.
5. Laythenextrowofshingleswith theslots/hexagonsin thedownwardsposition,off settingthetilesbyhalfasegment.
Securebynailingthroughthecentreband.
6. Continuetolayshinglesin rowsoff-setandoverlappingeachrowuntilyou havereachedtheridge.(Usetheoff cutsto
fillinthespacesatthebeginningandendoftherows).
7. Onceyou havereachedtotop,placeonerowofshinglesoffsetbyhalfasegment.Nail down theareathatcoversthe
roofboardandwiththeremainingsection ofshingles,bendandplaceitupagainstthesideofthecabintoforma'slide'
look.PleaseReferto'StepF'onwardsbeforesecuringintoplace.
ShinglesInstallation
StepA
Page10
1.5x2.5m(28mm)SideStore
Alldimensionsare approximateandsubjecttothelimitationsofthematerialusedandthemethodsofmanufacture
Roofmembrane Secondlayerofshingles
withthe slots/hexagons
facingdownwards
Thirdlayerofshingles
withtheslots/hexagons
facingdownwards
Roofmembrane
Nails
ShinglesInstallation
StepC
ShinglesInstallation
StepB
Page11
1.5x2.5m(28mm)SideStore
Alldimensionsare approximateandsubjecttothelimitationsofthematerialusedandthemethodsofmanufacture
Roofmembrane
Fourthlayerofshingleswiththe
slots/hexagonsfacingdownwards
andtheshinlgeshavebeen offset
byhalfasegment
ShinglesInstallation
StepD
Continue thisprocess
untillyouhavereached
the topofthe roofboards
ShinglesInstallation
StepE
Nails
Page12
1.5x2.5m(28mm)SideStore
Alldimensionsare approximateandsubjecttothelimitationsofthematerialusedandthemethodsofmanufacture
Place one morerowand
securethe halfthatfalls
ontopofthe roofboards.
Roofmembrane
ShinglesInstallation
StepF
F.3305
ZN.1670.B
N.1960 - Requirestobecut
ZN.1670.B
N.1960 - Requirestobecut
35mm Screws
35mmScrews
ShinglesInstallation
StepG
Bendupagainstcabinsidewall
Page13
1.5x2.5m(28mm)SideStore
Alldimensionsare approximateandsubjecttothelimitationsofthematerialusedandthemethodsofmanufacture
ShinglesInstallation
StepH
Thediagramshownisforillustrationpurposesandmaynotlookexacttoyour build.
Bendthe shinglesupwardssoitmeetsthe sidewallofthe cabin.
Ensurethatitispushedupagainstthesidewallbeforesecuringintoplace.
Evenly space outthe nailsonoopeningsforminthe shinglesbetwen each nail.

Other Dunster House Garden House manuals
Dunster House ATLAS P5-3030PRG User manual

Dunster House

Dunster House ATLAS P5-3030PRG User manual

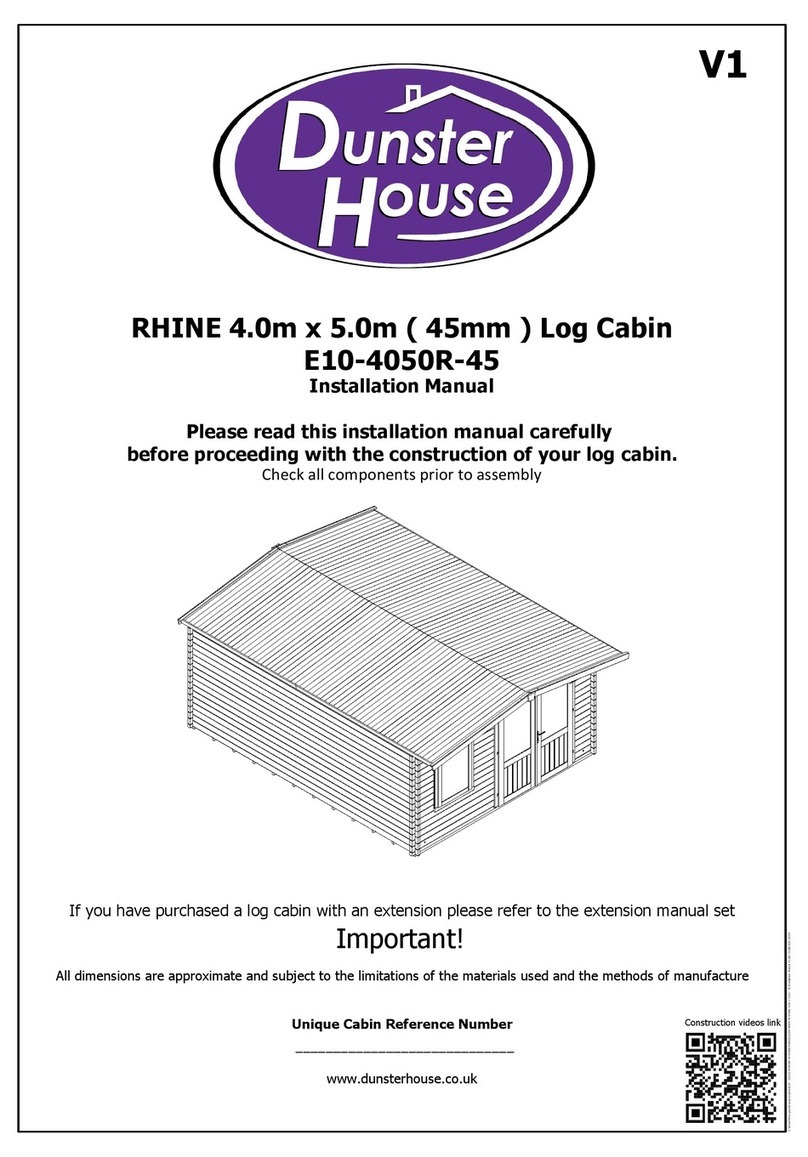
Dunster House RHINE User manual

Dunster House

Dunster House RHINE User manual

Dunster House PETRUS E10-2530PW-28 User manual

Dunster House

Dunster House PETRUS E10-2530PW-28 User manual

Dunster House AVON PVC E10-3040APVC-45 User manual

Dunster House

Dunster House AVON PVC E10-3040APVC-45 User manual

Dunster House CORONET E10-3030COR-45 User manual

Dunster House

Dunster House CORONET E10-3030COR-45 User manual

Dunster House EBAR1 User manual

Dunster House

Dunster House EBAR1 User manual

Dunster House AVON PVC E10-3020APVC-45 User manual

Dunster House

Dunster House AVON PVC E10-3020APVC-45 User manual

Dunster House H4-2442SSH User manual

Dunster House

Dunster House H4-2442SSH User manual

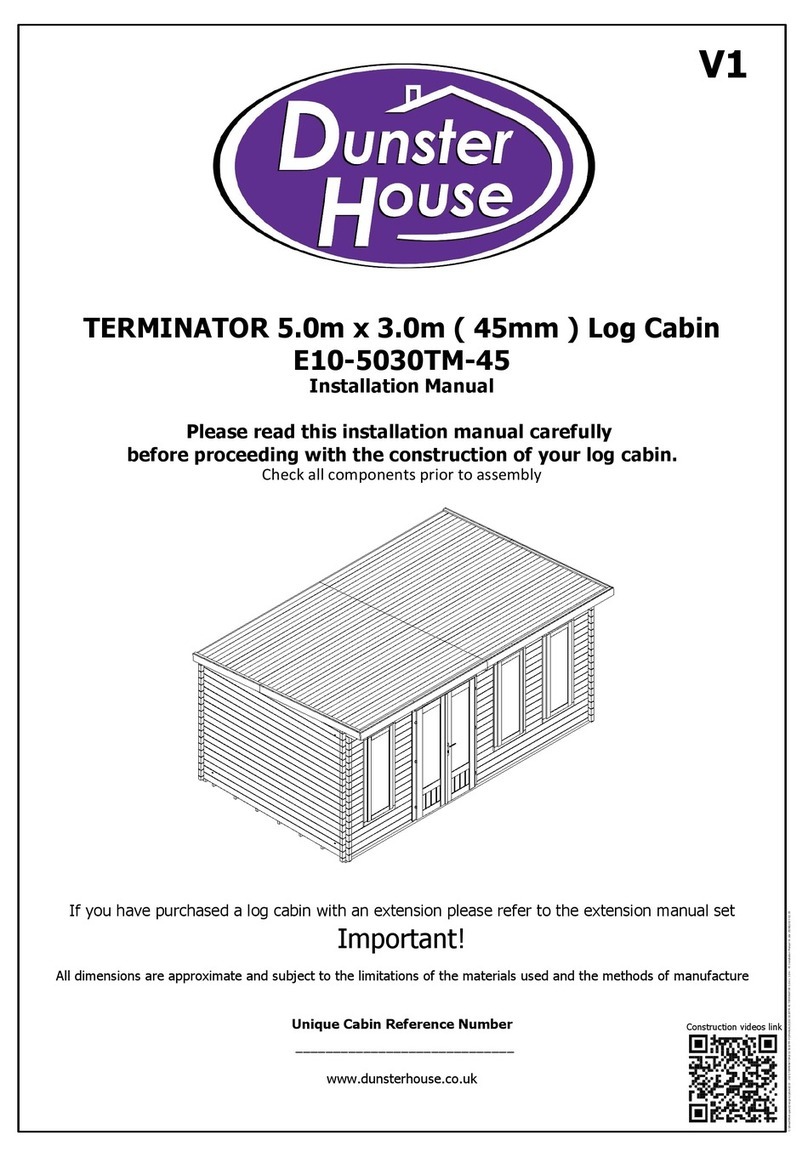
Dunster House E10-5030TM-45 User manual

Dunster House

Dunster House E10-5030TM-45 User manual

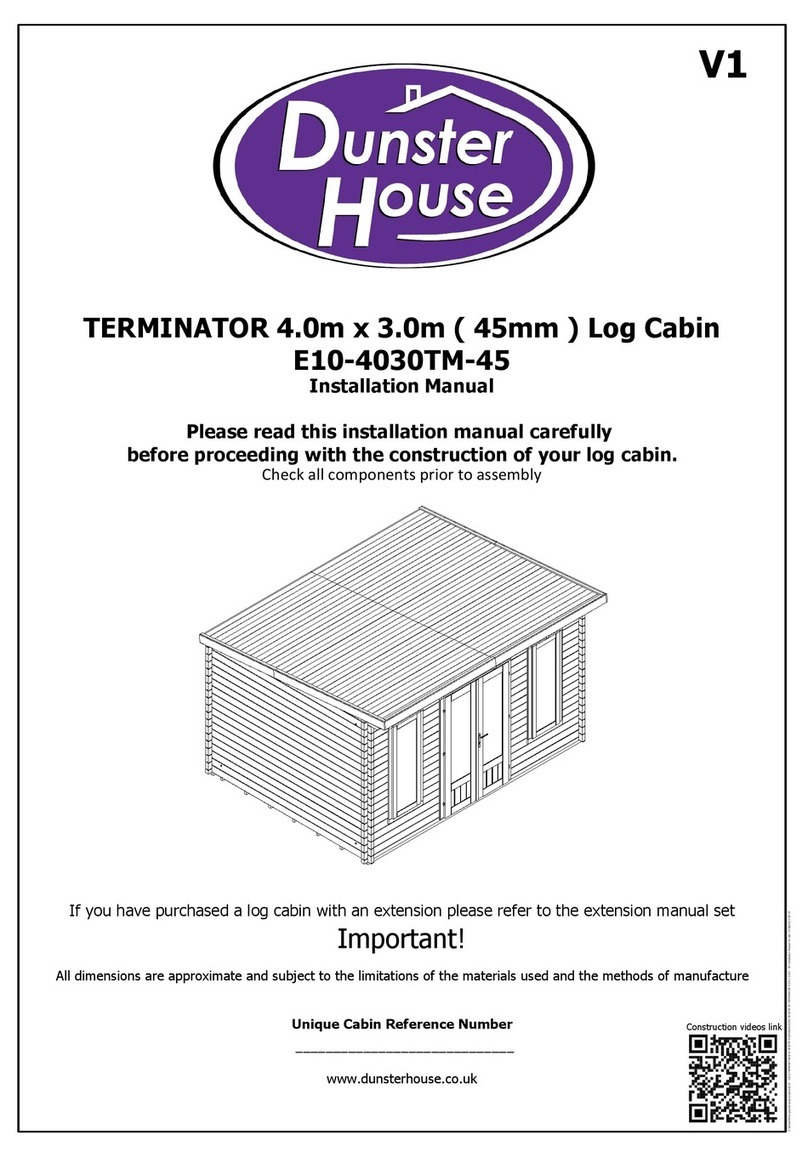
Dunster House TERMINATOR E10-4030TM-45 User manual

Dunster House

Dunster House TERMINATOR E10-4030TM-45 User manual

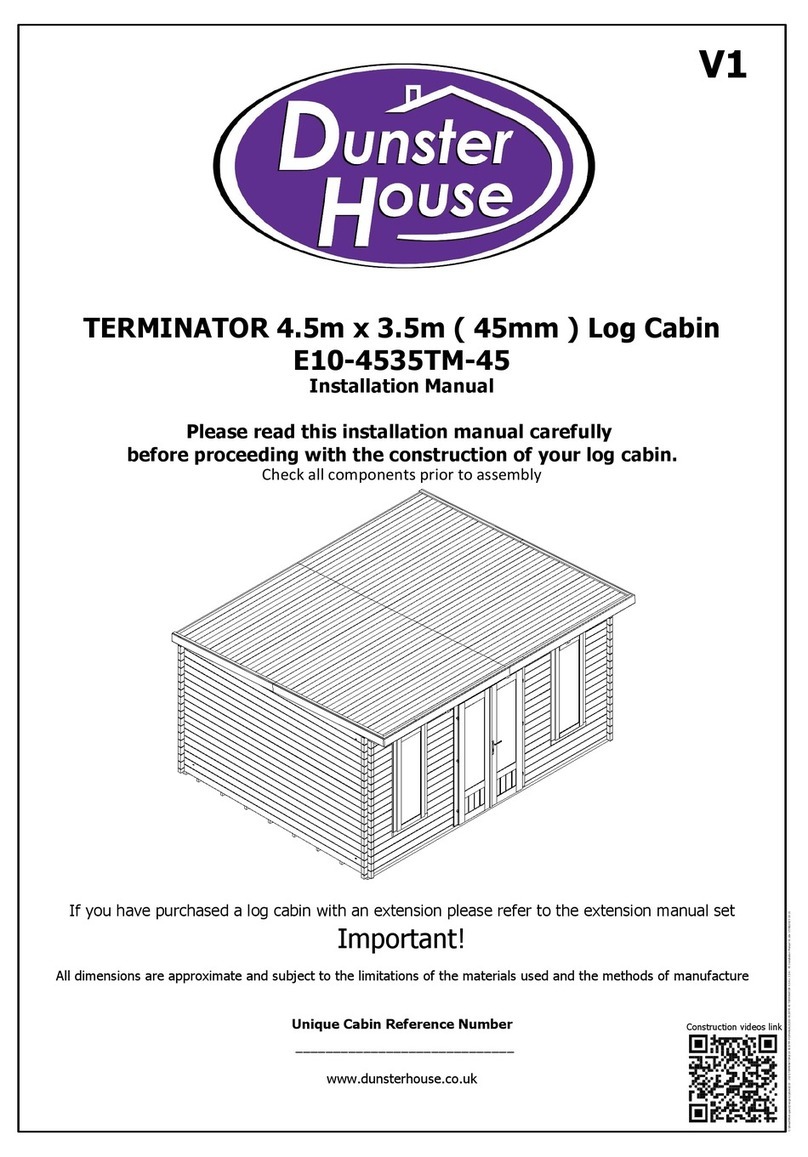
Dunster House E10-4535TM-45 User manual

Dunster House

Dunster House E10-4535TM-45 User manual

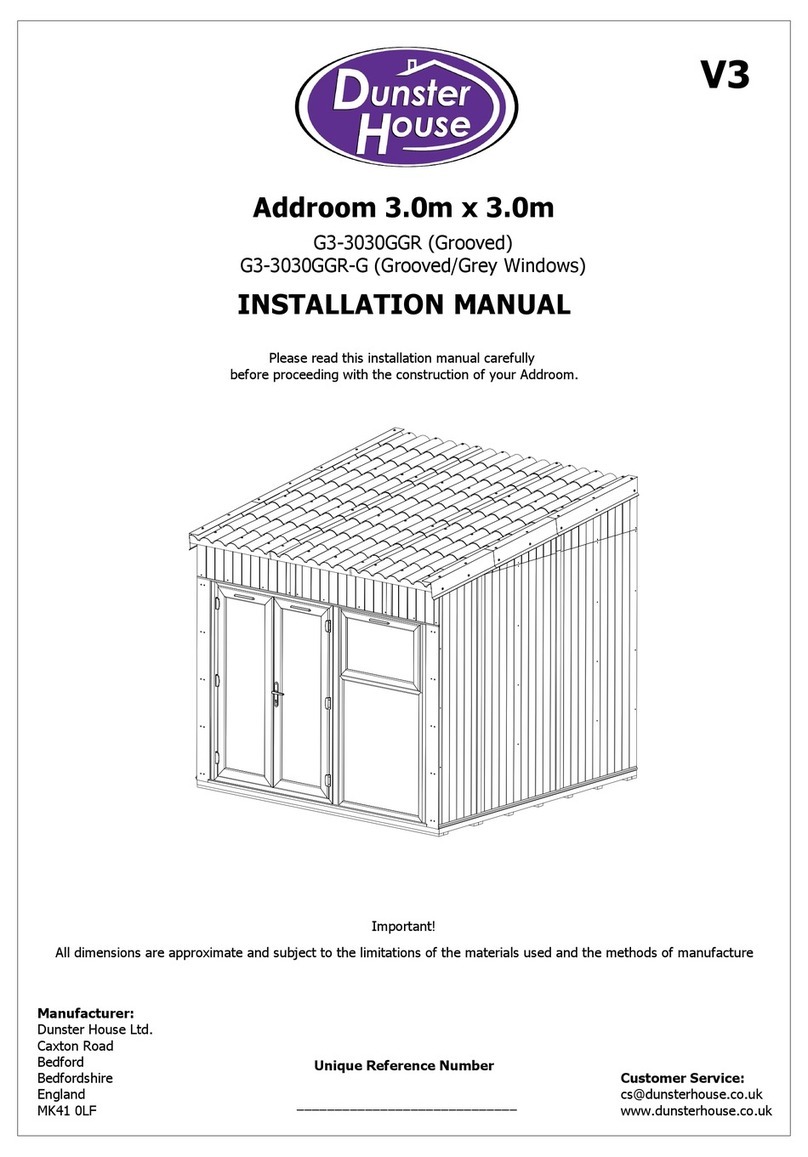
Dunster House Addroom G3-3030GGR User manual

Dunster House

Dunster House Addroom G3-3030GGR User manual

Dunster House AVON E10-3020A-45 User manual

Dunster House

Dunster House AVON E10-3020A-45 User manual

Dunster House E10-1525SS-28 User manual

Dunster House

Dunster House E10-1525SS-28 User manual

Dunster House RHINE PVC E10-4030RPVC-45 User manual

Dunster House

Dunster House RHINE PVC E10-4030RPVC-45 User manual

Dunster House AVON PVC E10-2525APVC-45 User manual

Dunster House

Dunster House AVON PVC E10-2525APVC-45 User manual

Dunster House TERMINATOR User manual

Dunster House

Dunster House TERMINATOR User manual

Dunster House HANGOVER APEX G4-1824HAB User manual

Dunster House

Dunster House HANGOVER APEX G4-1824HAB User manual

Dunster House BUNDLEDUCK E10-5940BD-45 User manual

Dunster House

Dunster House BUNDLEDUCK E10-5940BD-45 User manual

Dunster House RHINE E10-4040R-45 User manual

Dunster House

Dunster House RHINE E10-4040R-45 User manual

Dunster House E10-3050APVC-45 User manual

Dunster House

Dunster House E10-3050APVC-45 User manual

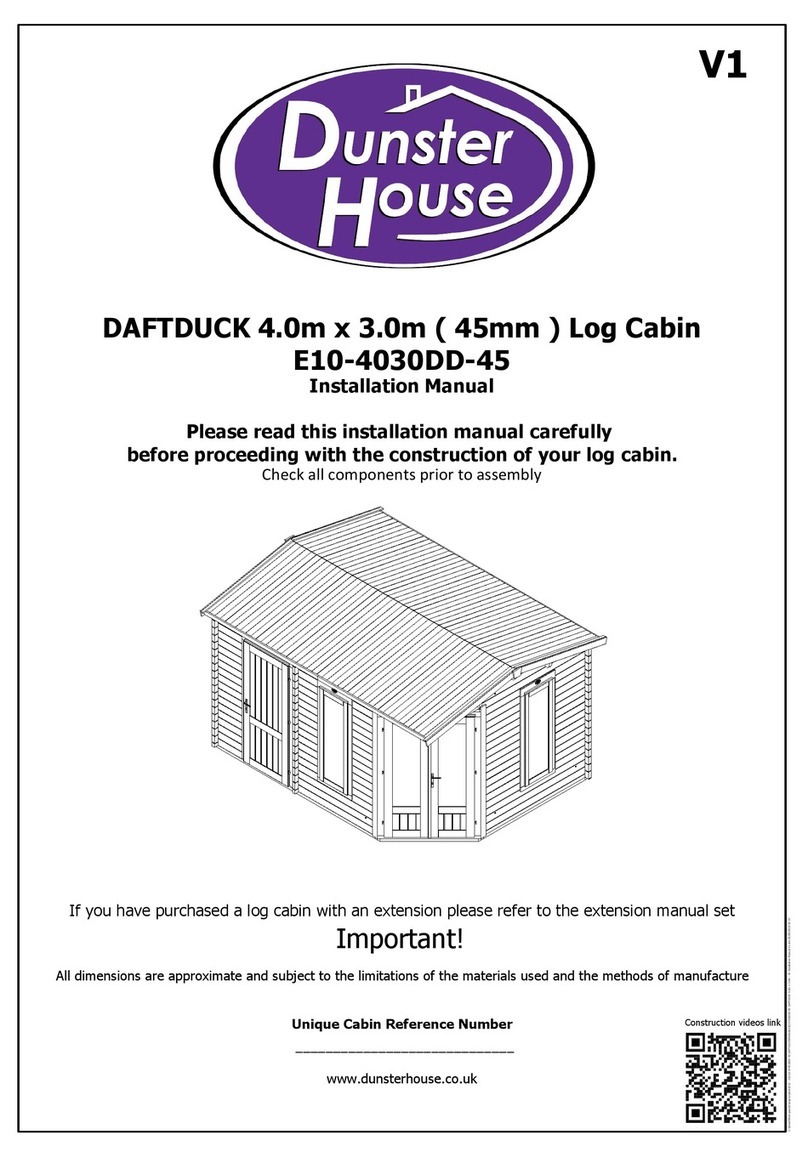
Dunster House DAFTDUCK E10-4030DD-45 User manual

Dunster House

Dunster House DAFTDUCK E10-4030DD-45 User manual

Dunster House SENSOVDOOM DHCBSHED2414 User manual

Dunster House

Dunster House SENSOVDOOM DHCBSHED2414 User manual

Dunster House DUTCH BARN I User manual
Dunster House

Dunster House DUTCH BARN I User manual

Popular Garden House manuals by other brands
Polhus Cornelia-40 ISO Assembly guide

Polhus

Polhus Cornelia-40 ISO Assembly guide

Gazebo penguin 41218 Assembly instructions

Gazebo penguin

Gazebo penguin 41218 Assembly instructions

Décor et Jardin Abri Massif 62380S929 Assembly Notice

Décor et Jardin

Décor et Jardin Abri Massif 62380S929 Assembly Notice

Handy Home Products MARCO Series Assembly manual

Handy Home Products

Handy Home Products MARCO Series Assembly manual

Palmako FR34-4040-1 installation manual

Palmako

Palmako FR34-4040-1 installation manual

Lemeks Palmako PAV-5040-1KI-1 Assembly, installation and maintenance manual

Lemeks

Lemeks Palmako PAV-5040-1KI-1 Assembly, installation and maintenance manual

Décor et Jardin 66555S000 Assembly Notice

Décor et Jardin

Décor et Jardin 66555S000 Assembly Notice

Riverlea Duratuf TAMAHERE Assembly instructions

Riverlea

Riverlea Duratuf TAMAHERE Assembly instructions

G21 Boston 523 manual

G21

G21 Boston 523 manual

Lemeks Palmako PM70-7942 Assembly, installation and maintenance manual

Lemeks

Lemeks Palmako PM70-7942 Assembly, installation and maintenance manual

Palmako Roger FR44-5357-4 installation manual

Palmako

Palmako Roger FR44-5357-4 installation manual

megiw HA19261-2022072320-20-5456-20 manual

megiw

megiw HA19261-2022072320-20-5456-20 manual

Palmako FR19-1818 installation manual

Palmako

Palmako FR19-1818 installation manual

Sojag Kingston owner's manual

Sojag

Sojag Kingston owner's manual

Luoman LILLEVILLA Siikajoki Assembly and Maintenance

Luoman

Luoman LILLEVILLA Siikajoki Assembly and Maintenance

Lillevilla Seili Assembly and Maintenance

Lillevilla

Lillevilla Seili Assembly and Maintenance

Best Barns the Elm R Assembly Book

Best Barns

Best Barns the Elm R Assembly Book

ABSCO SHEDS Premier 30232GK-PTX Assembly instructions

ABSCO SHEDS

ABSCO SHEDS Premier 30232GK-PTX Assembly instructions

manuals.online logo
manuals.online logoBrands
  • About & Mission
  • Contact us
  • Privacy Policy
  • Terms and Conditions

Copyright 2025 Manuals.Online. All Rights Reserved.