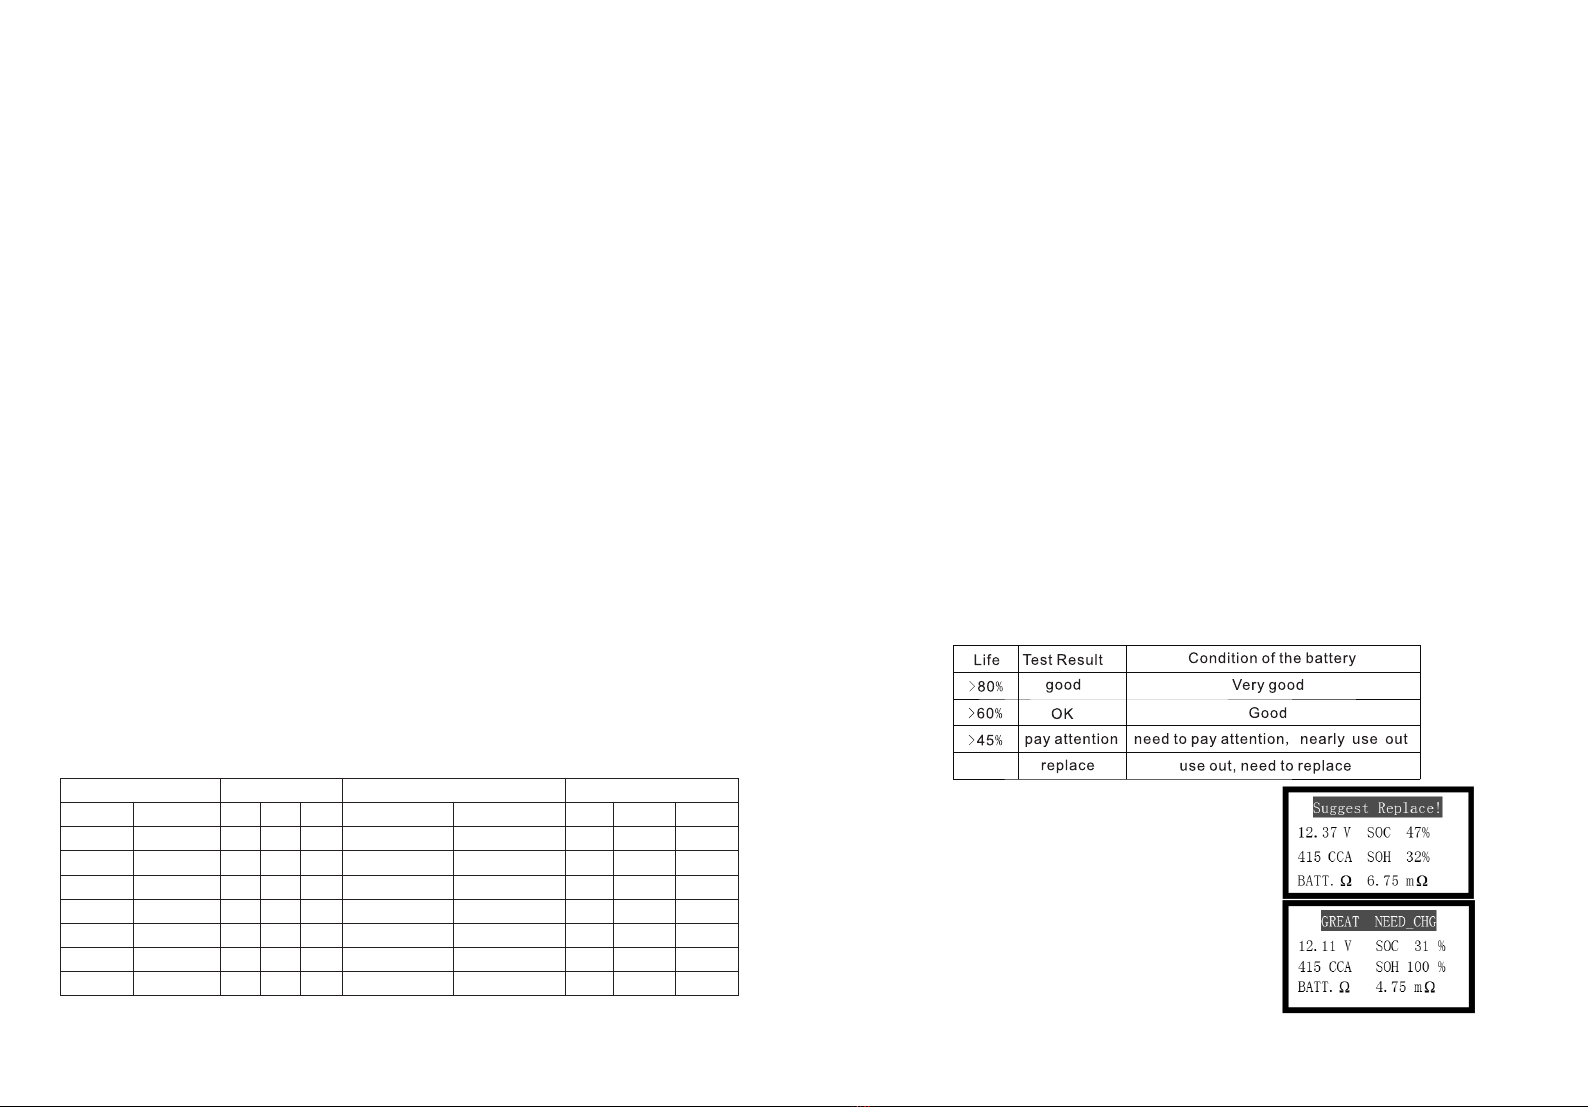
3
4. Structure of Meter
Introduction of button and clamp
<▲><▼>:increase, decrease,
turn up/down the page
<ESC>:cancel, undo, return
<ENTER>:select, enter, test
the red clamp: positive connection
the black clamp: negative connection
5. Functional Instructions
5-1 storage battery voltage mode setting
Before testing, set the tested voltage according to the type of battery
voltage. Select 12V mode for a 12V battery. Select 24V mode for a 24V
battery. And then head to the following testing :battery capacity test, start-up
load test, maximum load system test, charging system test.
5-2 battery capacity test
Two test methods are available--quick test and accurate test.
Quick test is the method that utilizes roughly calculated CCA transmitted
from capacity value (Ah) listed on the battery label in case of no CCA visible.
Accurate test is the method directly utilizes CCA listed on the battery
label.
PLEASE NOTE : Accurate test is recommended for testing as long as
CCA is available and visible from the battery because CCA value differs even
though the batteries with the same capacity of the same brand.
18
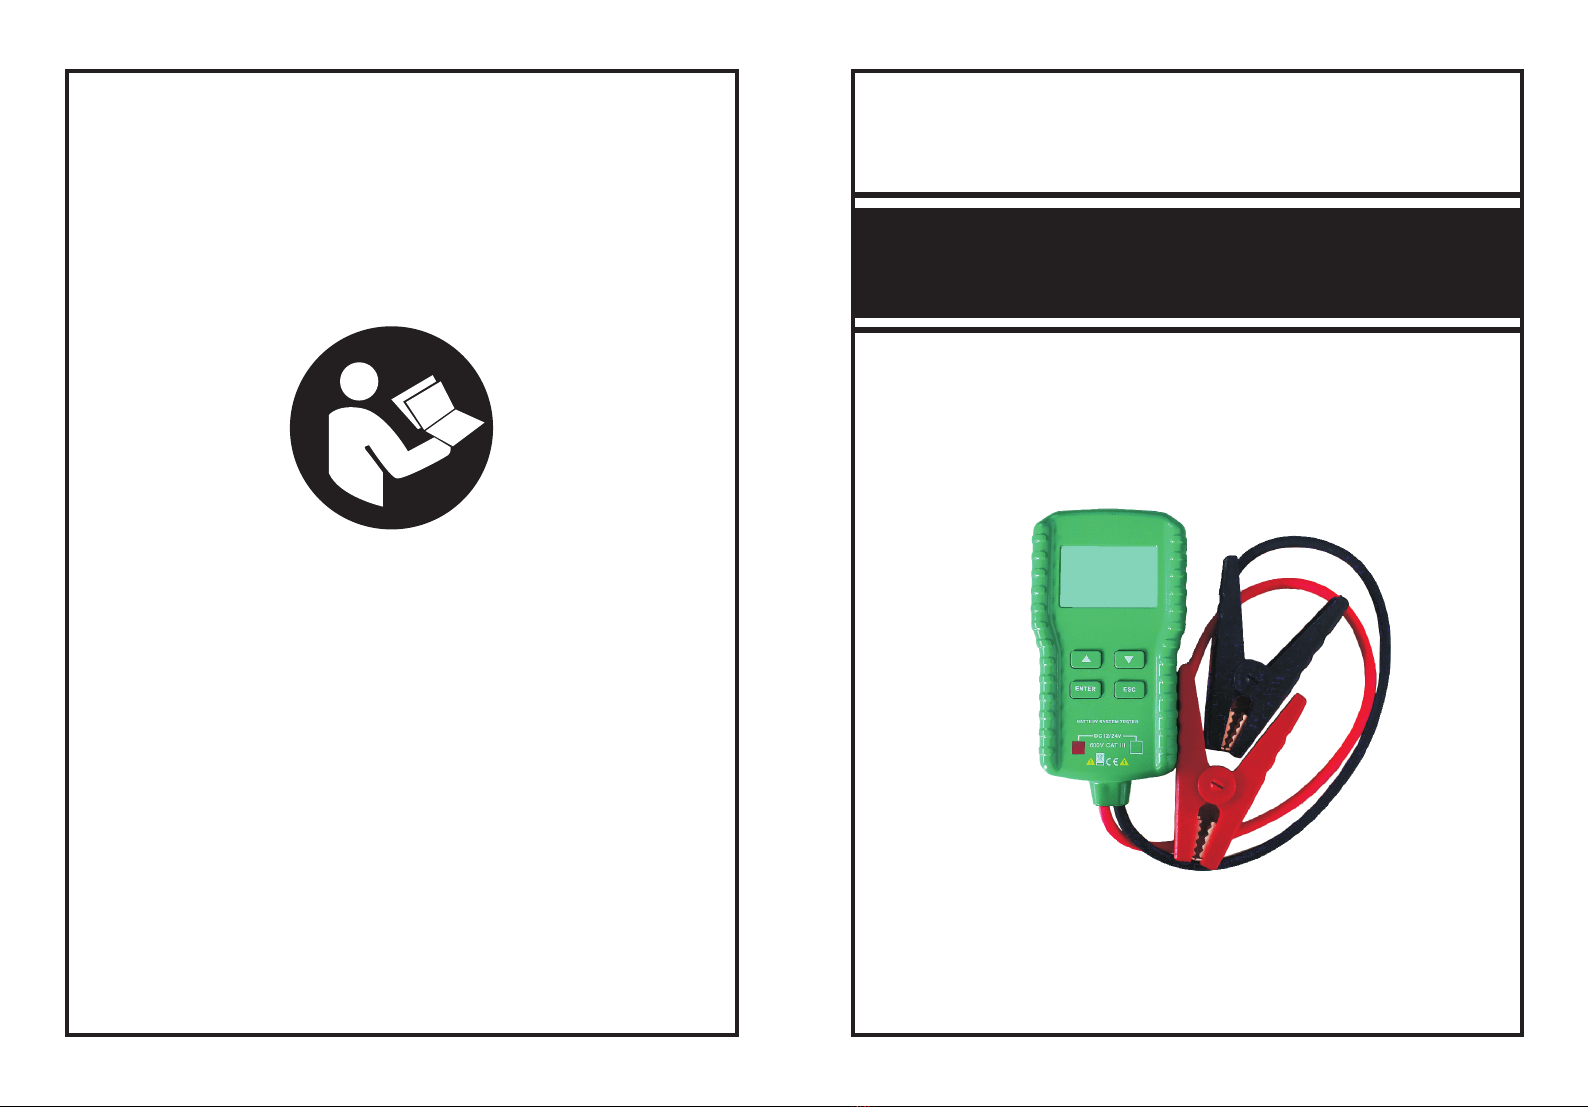
LCD
button
testclamp
8. Knowledge About Automotive Battery
8-1 the internal resistance of different types of battery
differ
The internal resistance differs because of inconformity of internal
chemical feature even if with the same type battery. It is very small so that we
generally define it with unit of milliohm. Internal resistance is a significant
technical standard to measure a battery. Normally the battery with small
internal resistance has a great ability to discharge. On the contrary the
battery with large internal resistance has a little ability to discharge.
8-2 it is unavailable to know the battery's capacity by
intuition
Hydrometer can be used to check the condition of the battery. Battery
water is distilled water and pure sulfuric acid of the proportion of 1.260/20 ℃
to allocate. For a new battery, it is supposed to supply distilled water with
reduction of battery water for the reason that the degree of acid is fixed when
the quantity of battery water remain the normal range. Distilled water
supplement can maintain a certain amount of water, but also the PH value. If
the battery works normally, in addition to the PH is fixed, the proportion of the
value will be in a certain range.
If the battery finishes charging, the proportion of battery water does not
reach 1.26-1.28, along with the tested voltage under 12.7V, the storage
capacity of this battery has descended. It is impossible to recover its life by
deliberately adjusting the proportion to 1.26 (Increase the sulfuric acid
Battery of small type vehicle
Voltage(V)
Electric(%)
Proportion
>12.7
100% 1.26~1.28
12.6
90% 1.2 4
12.4
70~80% 1.22
12.1
50%
1.16
<12 25%<1.13