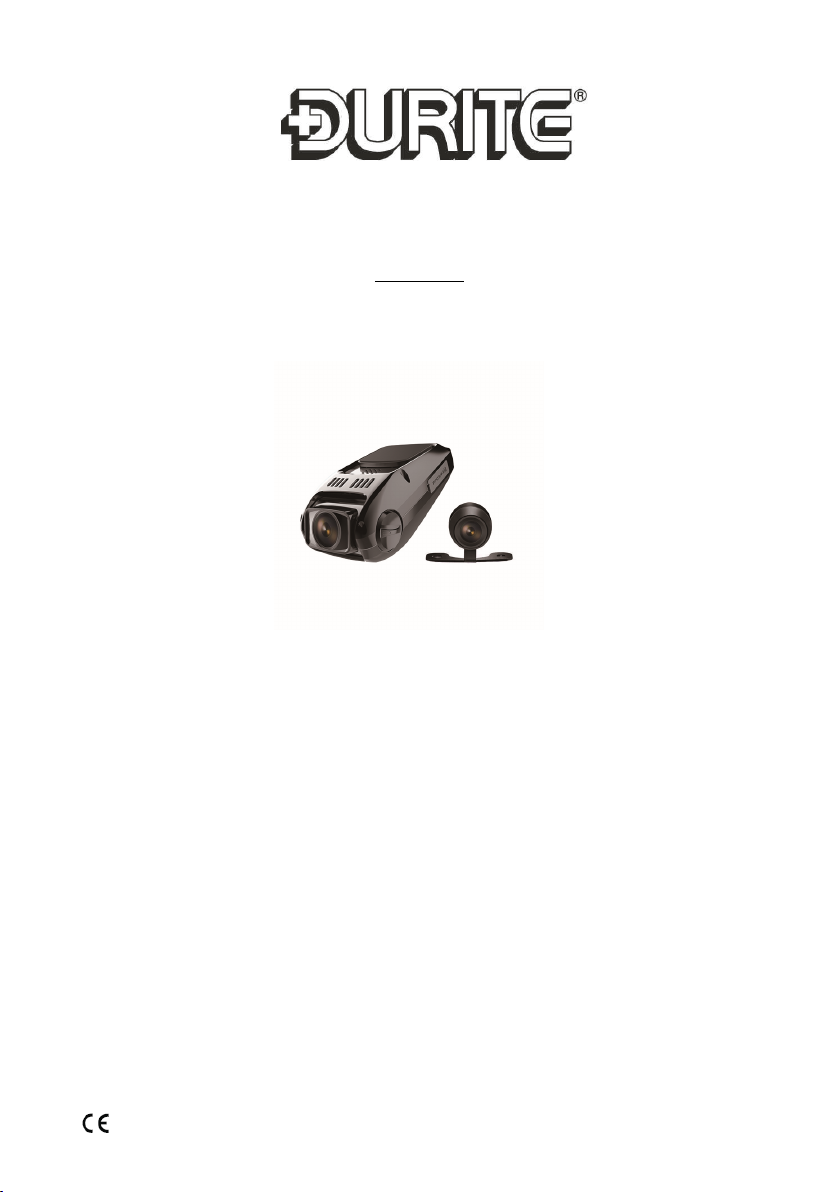
Durite 0-776-65 User manual

Mini Dash Mount DVR with GPS & 2nd Camera with 7m cable
12/24VDC
Part 0-776-65
0-776-65-LEAF
www.durite.co.uk
WARNINGS
Before using this unit please read these instructions carefully.Take special care to follow the warnings
indicated on the unit itself as well as the safety suggestions listed below. Keep these instructions for
future reference.
* Please ensure you are familiar and comply with local traffic and driving regulations.
*Power Source - The Mini DVR should be connected to a 12-24 volt dc power supply only.
*Water and Moisture - Do not use the Mini DVR where it may be subject to water ingress or excessive
moisture. Do not use outside the vehicle unprotected.
*Heat - Do not install the Mini DVR near a direct heat sources.
*Ventilation -The Mini DVR should be situated to allow free circulation of air.
*Foreign Material - Care should be taken so that objects do not fall onto or into, and that liquids are
not spilled on the Mini DVR.
*Mounting Surface -The Mini DVR should be mounted to a strong secure surface.
*Replacement Parts - Use only manufacturers replacement specified parts. Unauthorised substitutions
may result in fire risk, electric shock or other hazards and will void the warranty
*Service - The user should not attempt to service this units beyond that described in the operating
instructions. There are no user-serviceable parts within the unit.
*Screen Protective Film - Remove the LCD screen protective plastic cover before use.
*SD Cards - Please format the card before first use. To ensure a good state of health please format the
SD card every 4 weeks. Please ensure all sensitive data is backed up.

www.durite.co.uk
BUTTON LAYOUT
0-776-65-LEAF

www.durite.co.uk
OVERVIEW
This is a vehicle digital HD video camera recorder with advanced technology.
Besides the general function it has:
(1) Two cameras: Front cam is 1920*1080P 30FPS and Back cam is VGA 640*480P
(2) Super capacitor to provide back-up power
(3) 1FPS as a choice, it supports a longer time recording
(4) Built-in G-sensor. When it detects a collision it will send a signal to CPU to lock current
video.
(5) AV Out port to connect withTV
-Two cameras: 1080P + 480P.
- 1.5 inch high resolution LCD Screen
- Advanced H.264 video compression technology.
-170 degree ultra wide angle 3 mega pixels lens
- Advanced Wide Dynamic technology
- Support AV Out transmission.
- With holder with 3M sticker, onveniently x and use.
- G-sensor to lock video in collision.
- Seamless loop recording.
- Automaticly start to record while driving.
- 1FPS recording for longer recording
- Maximum 32GB TF card
FEATURES
KEY FUNCTION
Power
- Press ‘Power’ button to start device and press and hold for 3 seconds to power off.
Mode
- In the standby mode press it shortly to shift between Video/Photo/Replay
- In the video mode press it to turn the MIC on and off.
Menu
- Press it to enter menu in each mode:
- Photo Menu, press ‘Menu’ to enter photo mode setting. press it again to quit.
- Video Menu: In mode of recording or standby mode press it to choose setting. Press it again to
quit.
- Replay Menu: In the mode of replay, press it to replay setting menu. Press it again to quit.
-Display Menu: Allows display of Front, Rear, or picture in picture image to be viewed.
Lock
- During recording videos, press this key to lock current video to avoid it be deleted in loop recording.
it cannot be deleted in replay mode. But it can be deleted when connecting to PC or formatTF card. In
menu setting, it is ‘OK’ to conrm function setting.
Rec/Up
- When recording video press this key to stop recording. In standby mode press it to start record. (TF
card should be insdie).
- In replay mode and Menu setting it is the Up key.
Mic/Down
- In Video/Photo mode, turn the Mic on/off.
- In replay mode and Menu setting It is the Down key.
TF Card Slot
- Supports 2GB - 32GB TF Card Class 10 (or above).
0-776-65-LEAF

www.durite.co.uk
Reset
- If the device freezes press Reset to restart.
AV OUT / GPS
- AVOUT function: By this port and a line, its video and photo can be played on player.
- GPS: Included is a GPS antenna to record the driving path and speed.
USB Port
- For charging input. Connect it with car charger toi supply power to this device.
- Connect USB cable to PC.The data on theTF card can be extracted.
MIC
- When it is on. Audio will be recorded.
Speaker
- When replaying the video, audio recorded by this device will be played back via the speaker.
Lens
- Image is captured via the CMOS Sensor. Its angle can be adjusted.
INSTALLING AND OPERATION
Turn off the DVR. Insert the TF card only while DVR is off.
Install suction mount bracket or stick on adhesive connector to the windscreen.
Plug the car charger into the car cigarette lighter and the other end into the DVR USB interface.
Adjust the lens position to ensure the lens is paralleled with the ground.
Start the engine and check if the machine has been installed successfully.
*Be sure theTF card is inserted.
*Be sure the protected lm is removed from the lens.
Operation
Turning ON / OFF
When the vehicle engine starts the device will be powered ON automatically and start to record the video.
*Precondition
1.TF card is inserted.
2. Charger has been connected to the cigarette lighter.
*When the vehicle starts electric current will be increased suddenly. In order to avoid damage to this device
it is better to start your engine and then connect car charger.
The DVR can be manually turned ON/OFF - press power button once to power on and press it again to
power off.
Charging
12/24VDC to USB 5V 1A Output
Taking Photo’s
Press OK key to take photo
Photo shooting setup option
Press MENU key, enter photo shooting setup option.
Manage Files
Press MODE key to enter le management mode. There are 2 types of les: Video Playback, Image Playback.
The most recent le will be displayed on the LCD.
Video Playback
Press Up/Down key to select the desired le for playback.
Pres OK key to start/stop the video playback, adjust volume by UP or DOWN button while playing the video.
Hold DOWN to rewind, UP to fast forward and OK to stop video.
0-776-65-LEAF

www.durite.co.uk
Image Playback
Press Up/Down key to select le.
While playing the le back press MENU to bring up settings.
1. Delete: press OK key to select action Single/All/ Select Delete File.
2. Protect File: select locking or unlocking of the le.
3. Slide play: select 2sec/5ec/8sec to play the video.
Connect to PC
After the USB cable is connected to computer, LCD display appear starts picture. Computer will automatical-
ly detect the Micro SD card drive
*System requirements: Windows2000/XP/Vista/7, MAC OS *10.3.6 or above
Browse or manage les through computer
Unplug the USB cable turn the device off.
*Remarks: If device crashes during usage, press the RESET button and restart.
INSTALLING AND OPERATION
Loop Recording
Firstly, the recorded video should be in different clips:
e.g.: 3min/5min/10min
Loop recording is the process of recording video continuously to an endless memory card. This process is a
never-ending one: at the end of the memory card, the latest video clip will replace the earliest video clip to
save to the memory card. This guarantees that the recorder will never miss an action in some live events.
How to use it?
In standby mode, entering menu, using ‘down’ key to select Loop recording function, when cursor move to
loop recording, press OK key to set different clips time.
‘3Minutes/5Minutes/10Minutes’ by UP/Down key.
If select ‘Off’, loop recording function will be off.
Motion Detection
Motion detection is the process of detecting movement in the lens.
In the standby status, when it detects movement in the lens, it will start to record until the image is still for
ve seconds. It helps to save memory space. It also assists in the event of a hit and run with an unattended
vehicle.
How to use it?
In standby mode, entering menu, set Motion Detection be ON. If it’s ‘Off’, motion detection will not work.
* Please set it to “Off”, when you don’t need it. If not, autamatic start may not record.
G Sensor Function
What is a G Sensor Function?
During loop recording, once the g-sensor detect collision/shaking, the device will lock current video to
avoid deleting in the loop recording.
How to use it?
In standby mode, entering menu, using ‘down’ key to select Gravity sensing function, when cursor move to
the Gravity sensing, pressing ‘OK key to set different sensitivity ‘Low sensitivity/Medium Sensitivity/High
sensitivity’ by UP/Down key.
If select ‘Off’, Protect function will be off.
Password Control - Press Menu. Input Password '1234' Using 'Mic' and 'Rec' for up and down. Press
middle button for 'OK'. Once you are on the main menu you can scroll down to 'password set' to
change the password. Input your desired password and select OK.
0-776-65-LEAF

Low Beam function
The Dash cam will check the light intensity. It will then send a signal to the CPU
in return to indicate the luminous beam is low.The screen will then display the icon below:
Fatigue Warning function
This depends on boot up times to analyze the situation. The DVR will indicate the user after it has oper-
ate for more than 4 hours.The screen will display an icon (drink coffee indicator) please see below:
PACKAGE CONTENTS
1 x 1080P FHD DVR
1 x 480P additional camera 480P VGA with 7m lead
1 x In car charging cable
1 x Suction mount bracket
1 x Adhesive mount
1 x USB cable
1 x User Manual
1 x GPS Aerial
SPECIFICATIONS
Built-In Imaging Sensor............................3 Megapixel
View Angle.................................................170 Degrees
Shooting Resolution Rate.........................FHD1920x1080 and HD1280x720
Frame Rate.................................................30FPS@HD1080P and 60FPS@HD720P
2nd Camera Resolution Rate....................VGA 480P
Video Compression Format......................H.264
Video Output Mode...................................NTSC/PAL
Screen Size.................................................1.5-Inch
StorageTemperature.................................-20°C to +70°C
OperatingTemperature.............................-10°C to +60°C
Operating Humidity...................................15% to 65% (RH)
Max Memory Card Capacity.....................32GB (TF Card)
Standard Voltage........................................DC5V/12V
Night Viewing Distance..............................5Metres (with headlights)
GPS..............................................................YES
G Sensor......................................................YES
USB Cable Included....................................YES
12/24V Cigarette Cable/Plug Included.......YES
Certicate....................................................CE
www.durite.co.uk 0-776-65-LEAF
Current Draw..............................................0.25A @ 12VDC / 0.13A @ 24VDC

GPS SOFTWARE IMAGE
The image below is to show an example of the features available in the software provided with this
mini dash mount DVR. The software shows the location of the vehicle via GPS. It also shows the
speed and the G Force upon the vehicle as it travels. There are many features within this software
to help analyse any journey recorded by the DVR and could be used as evidence in the event of an
accident.
Table of contents
Other Durite Dashcam manuals