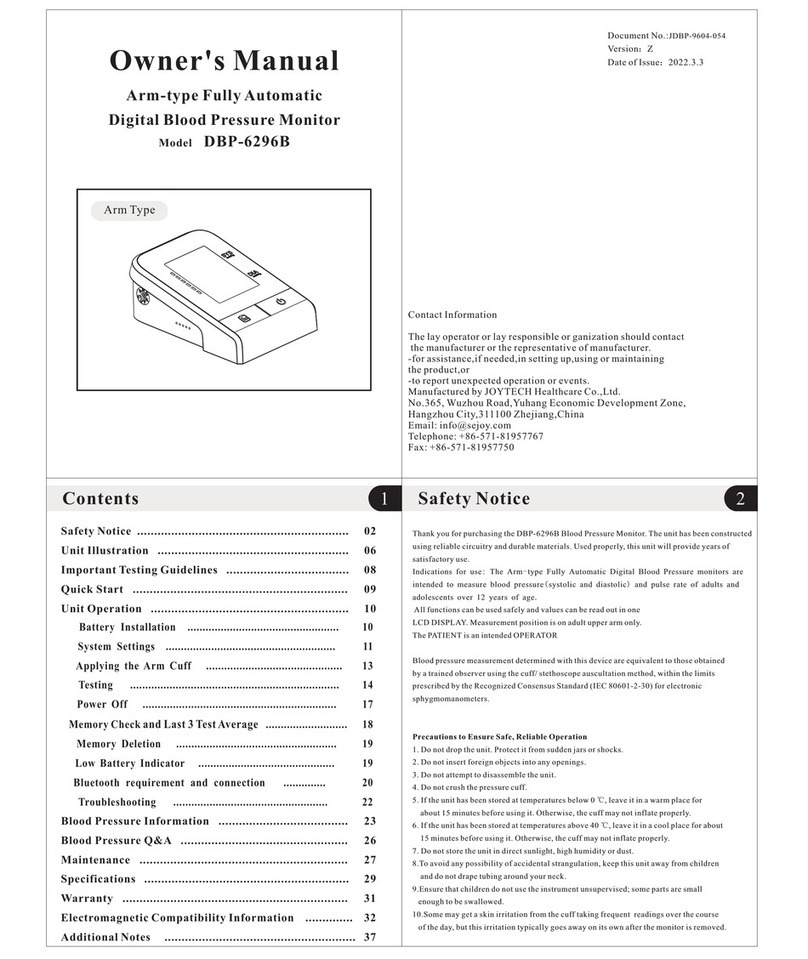
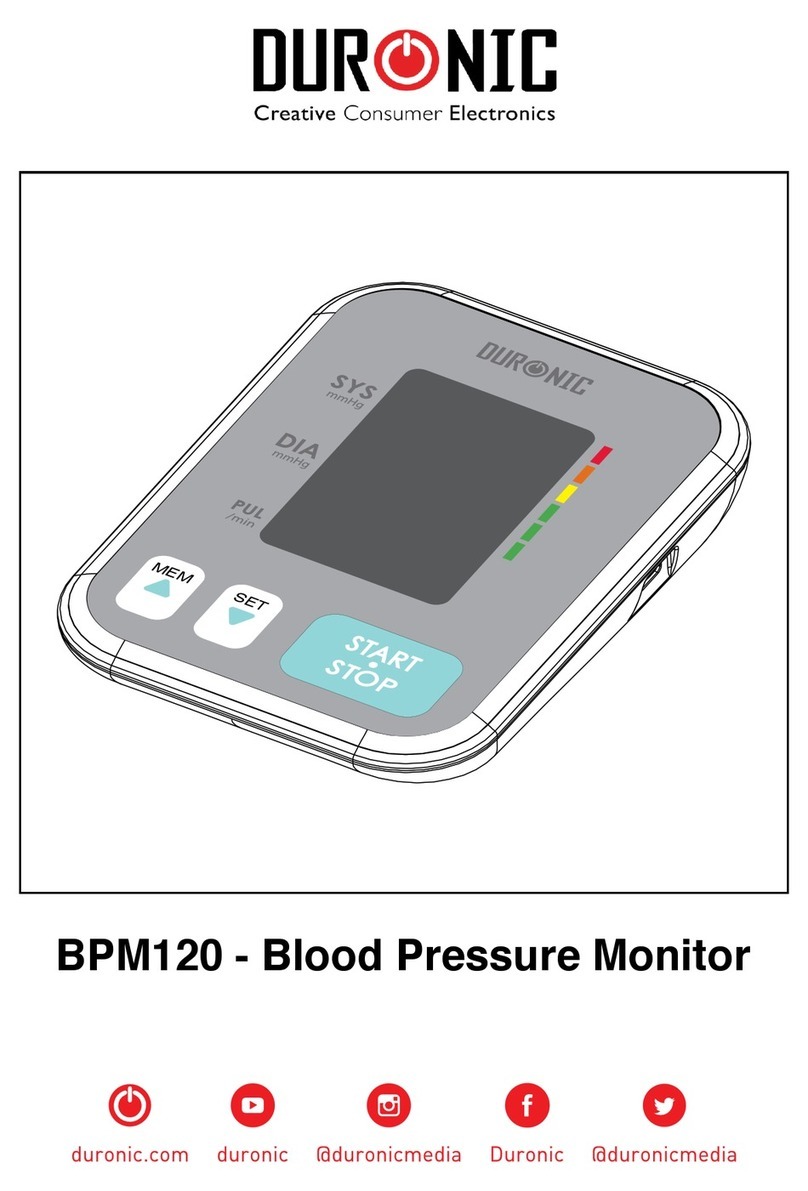
Duronic BPM200 User manual

BPM200 - Blood Pressure Monitor
QUICK START GUIDE
Scan to download the full manual with language
translations
Scannez pour télécharger le manuel complet traduit
en plusieurs langues
Scannen, um die vollständige Gebrauchsanweisung
mit Übersetzungen herunterzuladen
Escanee para descargar el manual de instrucciones
en varios idiomas diferentes
Scansiona per scaricare il manuale completo in
diverse lingue
Scan to download the full manual with language
translations
PLEASE READ ALL THE INSTRUCTIONS BEFORE USE


3
• This device is intended for adult use only. Do not use this device on children.
• This device should not be used on any female who is, or is suspected of
being, pregnant. Besides providing inaccurate readings, the effects of this
device on the foetus are unknown.
• This device is intended for non-invasive measuring and monitoring of arterial
blood pressure. It is not intended for use on any extremities other than the
arm and should not be used for any other functions other than obtaining a
blood pressure measurement.
• Contact your doctor if you are concerned about your blood pressure. This
device is for self-monitoring and should not be used for self-diagnosis.
• Do not adjust, begin or end medical treatment or medication without asking a
doctor for treatment advice.
• If you are taking medication, consult your doctor to determine the most
appropriate time to measure your blood pressure.
• When the device is used to measure patients who have common arrhythmias
such as atrial or ventricular premature beats or atrial brillation, the results
from this device may vary.
• If you are concerned about your blood pressure result, please consult your
doctor about the result.
• If the arm cuff pressure exceeds 40 kPa (300 mmHg), the unit will
automatically deate the cuff. Should the cuff not deate when pressure
exceeds 40 kPa (300 mmHg), detach the cuff from the arm and press the
‘START/STOP’ button to stop ination.
• The device is not AP/ APG equipment and is not suitable for use in the
presence of a ammable anaesthetic mixture of air with oxygen or nitrous
oxide.
• To avoid measurement errors, please avoid using the device in areas with
a strong electromagnetic eld radiated interference signal or electrical fast
transient/ burst signals.
• The user must check that the equipment functions safely and see that it is in
proper working condition before being used.
• This device is not suitable for continuous monitoring during medical
emergencies or operations. Otherwise, the patient’s arm and ngers can
become numb, swollen and even purple due to a lack of blood.
• Please use the device as instructed in this user manual. If you do not do
so, the performance and lifetime usage of the device will be impacted and
reduced.
Safety Information

4
• During use, the user/patient will be in contact with the cuff. The materials
of the cuff have been tested and found to comply with the requirements of
ISO 10993-5:2009 and ISO 10993-10:2010, therefore should not cause any
irritation.
• Use only Duronic authorised parts and accessories. Parts and accessories
not approved for use with the device may result in operational failure.
• The device should not need to be calibrated within the rst two years of use.
• If you have any problems with this device, such as setting up, maintaining
or using the device, please contact the Duronic Customer Care Team for
assistance.
• Do not open or repair the device by yourself. If you experience any problems
with your device, contact Duronic for assistance.
• When cleaning the device, please use a soft cloth to clean the whole unit. Do
not submerge in water or any other liquids, and do not use any abrasive or
volatile cleaners.
When using Batteries
• The operator or user of this device should not touch the output of batteries
and the patient simultaneously.
• If using batteries in the device, please ensure that the correct size batteries
are used, as described in this manual. Do not use any other type of battery as
this may damage the device.
• If any battery uid should leak and get into your eyes, rinse your eyes with
plenty of clean water and contact a doctor immediately.
When using a Power Adaptor
• If using a power adaptor with this device, please ensure that you do not
handle the power cable or plug with wet hands.
• Do not use a power adapter if the cable or plug is damaged.
• Do not yank the power cable to remove it from the plug socket. Always grasp
the plug and pull it out to disconnect it.
• When plugging the device into a mains socket, please ensure the power
supply is 220-240V ~ 50/60Hz.

5
1. User Icon
2. Sound on
3. Systolic Pressure
4. Diastolic Pressure
5. Heartbeat
LCD Display
6. Pulse
7. Arrhythmia
8. Date/Time Display
9. Low Battery
10. Unit
11. Blood Pressure /
Level Indicator
12. Memory Icon
13. Memory Number
14. Average Reading
Value
1
2
6
7
4
3
5
10
9
11
12
13
14
8
Symbol Description
SYS Systolic blood pressure
DIA Diastolic blood pressure
Pul/min Pulse per minute
Time (hour:minute)
Memory log value
mmHg mmHg (unit of mesurement)
Low battery
Arrhythmia / irregular heartbeat

6
Components Included
Choice of Power Supply
Before You Begin
1. Air Jack
2. User/Set Button
3. Start/Stop Button
1. Battery powered mode: 4*AAA batteries
2. DC adaptor powered mode: 5V through a USB cable.
Caution: It is important to ensure that you use the correct batteries or power
adapter in your machine to avoid any damage incurring.
Clearing the Memory
To clear the memory and delete all of the saved records, press and hold the
‘MEMORY’ button for 3 seconds. When it shows ‘M’ on the screen, continue to
hold the ‘MEMORY’ button and press the ‘USER’ button at the same time.
The screen will show ‘ALL EE’. This means the records have all been deleted.
Selecting or Changing Users
When the monitor is off, press and hold down the ‘USER/SET’ button for 5
seconds. The ‘User 1’ icon will ash, then you can press the ‘MEMORY’ button to
change the setting to ‘User 2’.
Cuff
22~36cm
(Type BF applied part)
Blood Pressure Monitor
4*AAA Batteries
1
2
3
4
5
4. USB External
Power Supply
5. Memory Button

7
Arrhythmia / Irregular Heartbeat Detector
Setting the Date, Time and Unit
1. When the monitor is off, press and hold down the ‘USER/SET’ button for 5
seconds. The ‘User 1’ icon will ash.
2. Press the ‘USER’ button to change the year. Scoll through the year using the
‘MEMORY’ button.
3. Press the ‘USER’ button to change the date (month/day). Scoll through the
year using the ‘MEMORY’ button.
4. Press the ‘USER’ button to change the time (hour/minute). Scoll through the
time using the ‘MEMORY’ button.
5. Press the ‘USER’ button to change the unit of measurement (mmHg/KPa).
Scoll through the time using the ‘MEMORY’ button.
Tips for Obtaining an Accurate Measurement
Please follow the below tips to ensure you achieve an accurate measurement:
1. Wait at least 1 hour after eating or drinking.
2. Do not measure immediately after consuming caffeinated drinks such as tea
and coffee, or after smoking.
3. Wait at least 20 minutes after taking a bath.
4. Do not take a measurement when talking or moving your ngers.
5. Do not take a measurement in a very cold environment.
This Blood Pressure Monitor is equipped with Irregular Heartbeat
(IHB) Detection. During each measurement this monitor records
the heartbeat intervals and works out the standard deviation. If
the calculated value is larger than or equal to 15, this equipment
will light up the ‘IHB’ symbol on the screen when displaying the
measured result.
Caution: The appearance of the ‘IHB’ icon indicates that a pulse irregularity
consistent with an irregular heartbeat was detected during measurement.
Usually this is NOT a cause for concern. However, if the symbol appears often,
we recommend you seek medical advice. Please note that the device does not
replace a cardiac examination, but serves to detect pulse irregularities at an early
stage.

8
How to Use
1. Tie the cuff on your upper arm,
then position the tube off-center
toward the inner side of arm in
line with the little nger.
Fastening the Arm Cuff
2. The cuff should be snug but
not too tight. You should be able
to insert one nger between the
cuff and your arm.
3. Sit comfortably with your left
arm resting on a at surface.
Tips
• Rest for 5 minutes before measuring.
• Wait at least 3 minutes between measurements. This allows your blood
circulation to recover.
• For a meaningful comparison, try to measure under similar conditions. For
example, take daily measurements at approximately the same time, on the
same arm, or as directed by a medical professional.

9
How to Take a Measurement
1. Ensure that the cuff is tted properly on your arm. Press the
‘START/STOP’ button to turn on the monitor. The device will
nish the whole measurement automatically.
2. The cuff will inate. When fully inated the cuff can feel slightly tight or
uncomfortable. This is normal. If it is intollerable or you have any concerns,
press the ‘START/STOP’ button to stop the machine and seek professional
medical advice.
Display when cuff inates
When the pulse is detected, the screen will display the “heart” symbol and ash to
your pulse rhythm.
Display when cuff deates.
3. Your reading is nished. The screen will
continue to display the measurement results,
unless you press ‘START/STOP’ button to turn
off the machine. Otherwise, the machine will
shutdown automatically after 30 seconds.
The reading measured will save automatically.
To access and scroll through the saved readings,
press the ‘MEMORY’ button.

10
Standard Blood Pressure Classication
Understanding the Result
Below illustrates the standard blood pressure classication for adults made by
World Health Organisation (WHO) and International Society of Hypertension (ISH)
in 1999.
Caution: Only a doctor can tell you your normal blood pressure range and the
point at which you are at risk. Consult your doctor to obtain these values.
If the measurements taken with these products fall outside the range, consult your
GP/doctor for advice.
Systolic pressure (SYS): The highest level of
your blood pressure – when your heart beats, it
contracts to pump blood through your arteries.
DIA (mmHg)
60
80
90
100
110
90 120 140 160 180
SYS (mmHg)
Low
Normal
Pre-High
High (mild)
Grade 1: Hypertension
High (moderate)
Grade 2: Hypertension
High (severe)
Grade 3: Hypertension
Diastolic pressure (DIA): The lowest level of
your blood pressure – when your heart relaxes
between beats.
Pulse: Number of heartbeats per minute. Most
adults have a resting heart rate between 60
and 100bpm. Athletes are likely to have a lower
resting heart rate.
SYS DIA
Low <90 <60
Normal 90-120 60-80
Pre-High 120-140 80-90
High
(mild) 140-160 90-100
High
(moderate) 160-180 100-110
High
(severe) >180 >110

11
Troubleshooting
LCD Display
Information Reason / Meaning
Err is displayed in the
SYS area, 1 is displayed
in the DIA area
The leakage is too fast or the pulse signal is too weak.
Please check the cuff, re-fasten it around your arm and try
again.
Err is displayed in the
high SYS area, 2 is dis-
played in the DIA area.
The blood pressure signal cannot be detected due to too
much noise. Please remove the noise sources and measure
again.
Err is displayed in the
SYS area, 3 is displayed
in the DIA area.
The test result is abnormal. Please measure again.
Err is displayed in the
SYS area, P is displayed
in the DIA area.
The ination fails. Please check the cuff, re-fasten it around
your arm and try again.
HI is displayed in the DIA
area.
The ination pressure is greater than 307±8 mmHg ( 41
kPa±1 kPa ), Please measure again.
Problem Check/Test Solution
No Display when press-
ing ‘Start/Stop’ Button
Check whether the batteries
are low
Replace batteries or plug
Micro USB cable into device
Are the batteries inserted
correctly?
Install in accordance with
the positive and negative
poles of the batteries
No pressure in the cuff
Is it plugged in correctly? Insert the cuff
into the air jack tightly
Is the cuff or tube broken or
leaking? Buy a new cuff
Error display,
unable to
measure
Did your arm move when
taking the reading? Remain still and try again
Did you talk when taking the
reading? Keep quiet and try again
The cuff leaks
Is the cuff wrapped too
loose? Please tighten the cuff
The airbag of the cuff is
broken Replace with a new cuff
Caution: If blood pressure still cannot be measured normally with the above
method, please contact Duronic. Do not disassemble it by yourself.

12
Product Specications
Product Name Electronic Blood Pressure Monitor
Model BPM200
Display Mode Digital Display
Measuring Method Oscillographic
Measuring Part Upper Arm
Measuring Range
Blood Pressure Value 30mmHg - 255mmHg
(5.3kPa-37.3kPa)
Pulse Rate 40-199 pulse rates /
minute
Static
measurement
accuracy
Pressure Value ±3mmHg (±0. 4kPa)
Pulse Rate ±5% of the read value
LCD Display
Pressure Unit: mmHg / kPa.
Pulse Pulse rate per minute,
showing three digits
Memory
Capacity 99 groups of measurement data for each of two users.
Power
Supply
4 AAA dry batteries or DC 5V USB external power
supply
Power off mode Manual shutdown / 30s delayed automatic shutdown

13
Body weight
(excluding batteries About 195g±5g
Dimensions 120mm(length) 90mm(width) 43mm(height)
Screen Size 59mm(length) 47mm(width)
Cuff Upper arm cuff (measuring arm circumference 22-
36cm or 22-42cm )
Accessories Cuff, User manual
Battery Life High performance dry batteries can be used about 300
times under
Service Life 5 years
Date of
environment See the label
Working
environment
Temperature
Condition 5°C - 40°C If the product is
stored or used
outside the
specied
temperature and
humidity range,
it will not work
properly.
Humidity
Condition
15% -
90%RH
Atmospheric
Condition
70kPa -
106kPa
Storage and
transportation
environment
Strong impact, direct collision, exposure to the sunlight
or rain should be avoided during transportation.
The packaged blood pressure monitor should be stored
in an environment with temperature ranging from -20°C
to 55°C, relative humidity ranging from 10% to 93%,
and atmospheric pressure ranging from 70 kPa to 106
kPa, with no corrosive gas and positive ventilation.

14
EMC Guidance
Guidance and manufacturer’s declaration – electromagnetic emissions
The Model BPM200 Electronic Blood Pressure Monitor is intended for use in the
electromagnetic environment specied below. The customer or the user of the
Blood Pressure Monitor should assure that it is used in such an environment.
Emissions test Compliance Electromagnetic environment -
guidance
RF emissions
CISPR 11 Group 1
The Model BPM200 Electronic
Blood Pressure Monitor uses
RF energy only for its internal
function. Therefore, its RF
emissions are very low and
are not likely to cause any
interference in nearby electronic
equipment.
RF emissions
CISPR 11 Class B
The Model BMP200 Electronic
Blood Pressure Monitor
is suitable for use in all
establishments,including domestic
establishments and those directly
connected to the public low-
voltage power supply network
that supplies buildings used for
domestic purposes.
Harmonic emissions
IEC 61000-3-2 Not applicable
Voltage uctuations/
icker emissions
IEC 61000-3-3
Not applicable
Table 1 Guidance and MANUFACTURER’s declaration – ELECTROMAGNETIC
EMISSIONS- for all ME EQUIPMENT and ME SYSTEMS

15
Guidance and manufacturer’s declaration – electromagnetic immunity
The device is intended for use in the electromagnetic environment specied
below. The customer or the user of the device should assure that it is used in
such an environment.
IMMUNITY test IEC 60601 test
level
Compliance
level
Electromagnetic
environment -
guidance
Electrostatic
discharge
(ESD)
IEC 61000-4-2
±6 kV contact
±8 kV air
±6 kV contact
±8 kV air
Floors should be wood,
concrete or ceramic
tile. If oors are
covered with synthetic
material, the relative
humidity should be at
least 30%.
Electrical fast
transient/burst
IEC 61000-4-4
±2 kV for power
supply lines ±1
kV for input/
output lines
±2 kV line(s) to
line(s)
Mains power quality
should be that of a
typical commercial or
hospital environment.
Voltage dips,
short
interruptions
and voltage
variations on
power supply
input lines
IEC 61000-
4-11
<5% UT
(>95% dip in UT)
for 0.5 cycle 40%
UT
(60% dip in UT )
for 5 cycles
70% UT
(30% dip in UT )
for 25 cycles
<5% UT
(>95% dip in UT )
for 5 s
<5% UT
(>95% dip in UT)
for 0.5 cycle
40% UT
(60% dip in UT )
for 5 cycles
70% UT
(30% dip in UT )
for 25 cycles
<5% UT
(>95% dip in UT )
for 5 s
Mains power quality
should be that of a
typical commercial or
hospital environment. If
the user of the device
requires continued
operation during power
mains interruptions, it
is recommended that
the device be powered
from an uninterruptible
power supply or a
battery.
Power
frequency
(50/60Hz)
magnetic eld
IEC 61000-4-8
3A/m 3A/m
Power frequency
magnetic elds
should be at levels
characteristic of a
typical location in a
typical commercial or
hospital environment.
NOTE UT is the a.c. mains voltage prior to application of the test level.
Table 2 Guidance and MANUFACTURER’s declaration – ELECTROMAGNETIC
IMMUNITY – for all ME EQUIPMENT and ME SYSTEMS

16
Guidance and manufacturer’s declaration – electromagnetic immunity
The device is intended for use in the electromagnetic environment specied
below. The customer or the user of the device should assure that it is used in
such an environment.
IMMUNITY
test
IEC 60601
test level
Compliance
level
Electromagnetic
environment - guidance
Conducted RF
IEC 61000-4-6
Radiated RF
IEC 61000-4-3
Electrical fast
transient/burst
IEC 61000-4-4
3 Vrms
150 kHz to
80 MHz
3 V/m
80 MHz to
2.5 GHz
3 Vrms
3 V/m
Portable and mobile
RFvcommunications equipment
should be used no closer to
any part of the device, including
cables, than the recommended
separation distance calculated
from the equation applicable to the
frequency of the transmitter.
Recommended separation
distance:
d=1.167√P
d=1.167√P80MHz to 800MHz
d=2.333√P800MHz to 2,5GHz
where P is the maximum output
power rating of the transmitter
in watts (W) according to the
transmitter manufacturer and d
is the recommended separation
distance in metres (m).
Field strengths from xed RF
transmitters, as determined by
an electromagnetic site survey, a
should be less than the compliance
level in each frequency range. b
Interference may occur in the
vicinity of equipment
marked with the
following symbol:
Table 4 Guidance and MANUFACTURER’s declaration – ELECTROMAGNETIC
IMMUNITY – for ME EQUIPMENT and ME SYSTEMS that are not LIFE-
SUPPORTING

17
Recommended separation distances between portable and mobile RF
communications equipment and the device.
The device is intended for use in an electromagnetic environment in which
radiated RF disturbances are controlled. The customer or the user of the device
can help prevent electromagnetic interference by maintaining a minimum
distance between portable and mobile RF communications equipment
(transmittters) and the device as recommended below, according to the
maximum output power of the communications equipment.
Rated
maximum
output power
of transmitter
(W)
Separation distance according to frequency Rated
maximum output of transmitter (m)
150 kHz to 80 MHz
d=1.167√P
80 MHz to 800 MHz
d=1.167√P
800 MHz to 2.5 GHz
d=2.333√P
0.01 0.117 0.117 0.233
0.1 0.369 0.369 0.739
1 1.167 1.167 2.333
10 3.690 3.690 7.378
100 11.67 11.67 23.33
For transmitters rated at a maximum output power not listed above, the recommended
separation distance d in metres (m) can be estimated using the equation applicable to
the frequency of the transmitter, where P is the maximum output power rating of the
transmitter in watts (W) according to the transmitter manufacturer. NOTE 1 At 80MHz
and 800MHz, the separation distance for the higher frequency range applies. NOTE 2
These guidelines may not apply in all situations. Electromagnetic propagation is affected
by absorption and reection from structures, objects and people.
Table 6 Recommended separation distances between portable and mobile RF
communications equipment and the ME EQUIPMENT or ME SYSTEM – for ME
EQUIPMENT and ME SYSTEMS that are not LIFE-SUPPORTING
NOTE 1 At 80 MHz and 800 MHz, the higher frequency range applies. NOTE 2 These
guidelines may not apply in all situations. Electromagnetic propagation is affected by
absorption and reection from structures, objects and people.
a Field strengths from xed transmitters, such as base stations for radio (cellular /
cordless) telephones and land mobile radios, amateur radio, AM and FM radio broad-
cast and TV broadcast cannot be predicted theoretically with accuracy. To assess the
electromagnetic environment due to xed RF transmitters, an electromagnetic site
survey should be considered. If the measured eld strength in the location in which the
device is used exceeds the applicable RF compliance level above, the device should
be observed to verify normal operation. If abnormal performance is observed, additional
measures may be necessary, such as re-orienting or relocating the device.
b Over the frequency range 150 kHz to 80 MHz, eld strengths should be less than
3V/m.

18
Warranty
1 Year Guarantee from Shine-Mart Ltd, Trademark owners of Duronic Products.
NOTE: THESE STATEMENTS DO NOT AFFECT YOUR STATUTORY RIGHTS AS A
CONSUMER
This product has been manufactured under the strictest or quality control procedures, and
using the highest quality of materials, to ensure excellent performance and reliability. It will
give very good and long lasting service, provided it is properly used and maintained. The
product is guaranteed for 1 years from the date of original purchase. If any defect arises
due to a faulty materials or poor workmanship, the faulty product must be returned to the
original place of purchase. Refund or replacement is at the discretion of that company.
Duronic Products are offered with a 1 year guarantee under the following conditions:
1. The product must be returned to the retailer with original proof of purchase.
2. The product must be installed and used in accordance with the instructions contained
in this operating manual.
3. It must be used only for domestic purposes.
4. It does not cover wear and tear, malicious damage, misuse, neglect, inexpert repairs
or consumable parts.
5. Shine-Mart Ltd has no responsibilities for accidental or consequential loss or
damage.
6. Shine-Mart Ltd are not liable to carry out any type of servicing work, under the
guarantee
7. Valid in the UK only
Information on waste Disposal for Consumers of Electrical & Electronic Equipment.
This mark on a product and/or accompanying documents indicates that when it is to be disposed
of, it must be treated as Waste Electrical & Electronic Equipment, (WEEE).
Any WEEE marked products must not be mixed with general household waste, but kept separate
for the treatment, recovery and recycling of the materials used.
For proper treatment, recovery and recycling; please take all WEEE marked waste to your Local
Authority Civic waste site, where it will be accepted free of charge.
If customers dispose of Waste Electrical & Electronic Equipment correctly, they will be helping to
save valuable resources and preventing any potential negative effects upon human health and
the environment, of any hazardous materials that the waste may contain.
Imported by Shine-Mart Ltd, RM3 8SB
Follow Us
Contact Information
Distributed by: Shine-mart Ltd
Manufactured by: Shenzhen Jumper Medical Equipment Co. Ltd
Authorised European Representative: Wellkang Ltd

19

PL
Scan the QR code to download
the full manual with language
translations.
Open the camera or QR reader
app on your smart device and
hover it over the QR code.
Alternatively visit duronic.pl
Scan the QR code to download
the full manual with language
translations.
Open the camera or QR reader
app on your smart device and
hover it over the QR code.
Alternatively visit duronic.com
EN
FR
DE
IT
Scannez le QR code pour
télécharger le manuel complet
traduit en plusieurs langues.
Ouvrez la caméra ou une app de
lecteur QR sur votre appareil et
survolez le QR code.
Vous pouvez également visiter :
duronic.fr
Scansiona il codice QR per
scaricare il manuale completo in
diverse lingue.
Aprire la fotocamera o lettore QR
sul tuo dispositivo e posizionare
sopra il codice QR.
In alternativa, visita duronic.it
Scannen Sie den QR-
Code, um die vollständige
Gebrauchsanweisung mit
Übersetzungen herunterzuladen.
Öffnen Sie die Kamera- oder
QR Reader App auf Ihrem
Smartphone und über den QR-
Code positionieren.
Alternativ besuchen Sie
duronic.de
ES
Escanee el código QR para
descargar el manual de
instrucciones en varios idiomas
diferentes.
Abra la cámara de su dispositivo
móvil o una aplicación para leer
QR y uselo con el código QR.
Si estas opciones no funcionan,
visite nuestra página web
duronic.es
Other manuals for BPM200
1
Table of contents
Other Duronic Blood Pressure Monitor manuals