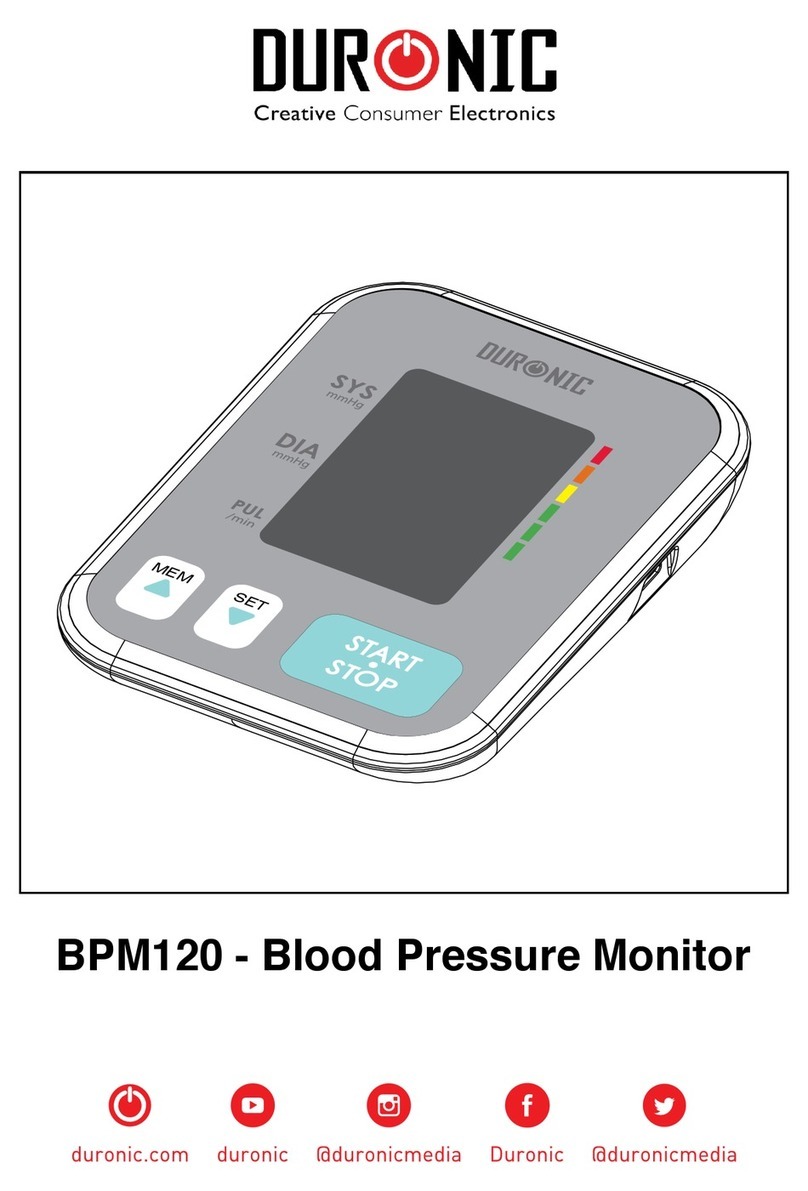
Duronic BPM490 User manual

Creative Consumer Electronics
Blood Pressure Monitor BPM490
PLEASE READ ALL THE INSTRUCTIONS BEFORE USE

2

3
English Manual
Manuel d’utilisation en français
Gebrauchsanleitung auf Deutsch
Manual de Instrucciones en Español
Manuale D’istruzioni In Italiano
5
33
61
89
117
Contents

4

5
English Manual

6
Contents
INTRODUCTION
Safety Information
LCD Display Signal
Monitor Components
BEFORE YOU START
The Choice of Power Source
Setting Date, Time and Measurement Unit
Pair-up the Blood Pressure Monitor with Your Device
MEASUREMENT
Tie the cuff
Start a measurement
THE OPERATION OF RECALLING RECORDS
Recall the Records
Delete the Records
Data Transmission
INFORMATION FOR USER
Tips for operation
Maintenance
ABOUT BLOOD PRESSURE
What are systolic pressure and diastolic pressure?
What is the standard blood pressure classication?
Why does my blood pressure uctuate throughout the day?
Why do I get a different blood pressure at home compared to the hospital?
Is the result the same if measuring both arms?
TROUBLESHOOTING
SPECIFICATIONS
AUTHORIZED COMPONENT
CONTACT INFORMATION
COMPILED EUROPEAN STANDARDS LIST
EMC GUIDANCE

7
Safety Information
SN
Thank you for selecting our arm type blood pressure monitor.
The monitor features blood pressure measurement, pulse rate measurement
and auto-save the result. The design provides you with two years of reliable
service. Readings taken by the blood pressure monitor are equivalent to those
obtained by a trained observer using the cuff and stethoscope auscultation
method. This manual contains important safety and care information, and
provides step by step instruction for using the product. Read the manual
thoroughly before using the product.
The below signs might be in the user manual, labeling or other component.
they are the requirement of standard and using.
THE OPERATION GUIDE
MUST BE READ
CE Mark: conforms to essential
requirements of the Medical
Device Directive 93/42/EEC.
Type BF Applied Parts
DISPOSAL: Do not dispose this product
as unsorted municipal waste. Collection of
such waste separately for special treatment
is necessary.
Authorized Representative in the European
Community
Symbol for “Including RF
transmitter”
Direct Current
Manufacturer
Manufacture Date
Species Serial Number EC REP

8
This device is intended for adult use only.
This device is intended for no-invasive measuring and monitoring of arterial blood pressure.
It is not intended for use on extremities other than the arm or for functions other than obtaining a
blood pressure measurement.
Do not confuse self-monitoring with self-diagnosis. This unit allows you to monitor your blood
pressure.Do not begin or end medical treatment without asking a physician for treatment advice.
If you are taking medication,consult your physician to determine the most appropriate time to
measure your blood pressure. Never change a prescribed medication without consulting your
Physician.
When the device was used to measure patients who have common arrhythmias such as atrial or
ventricular premature beats or atrial brillation, the best result may occur with deviation. Please
consult your physician about the result.
If the cuff pressure exceeds 40 kPa (300 mmHg), the unit will automatically deate. Should the
cuff not deate when pressures exceeds 40 kPa (300 mmHg), detach the cuff from the arm and
press the corresponding user button to stop ination.
The equipment is not AP/APG equipment and not suitable for use in the presence of a ammable
anesthetic mixture with air of with oxygen or nitrous oxide.
The operator shall not touch output of batteries and the patient simultaneously.
To avoid measurement errors, please avoid the condition of strong electromagnetic eld radiated
interference signal or electrical fast transient/burst signal.
The user must check that the equipment functions safely and see that it is in proper working
condition before being used.
This device is contraindicated for any female who may be suspected of, or is pregnant. Besides
providing inaccurate readings, the affects of this device on the fetus are unknown.
Manufacturer will make available on request circuit diagrams, component parts list etc.
This unit is not suitable for continuous monitoring during medical emergencies or operations.
Otherwise, the patient’s arm and ngers will become anaesthetic, swollen and even purple due to
a lack of blood.
Please use the device under the environment which was provided in the user manual. Otherwise,
the performance and lifetime of the device will be impacted and reduced.
During use, the patient will be in contact with the cuff. The materials of the cuff have been tested
and found to comply with requirements of ISO 10993-5:2009 and ISO 10993-10:2010. It will not
cause any potential sensization or irritation reaction.
Please use ACCESSORIES and detachable partes specied/ authorised by MANUFACTURE.
Otherwise, it may cause damage to the unit or danger to the user/patients.
The device doesn’t need to be calibrated within two years of reliable service.
Please dispose of ACCESSORIES, detachable parts, and the ME EQUIPMENT according to the
local guidelines.
If you have any problems with this device, such as setting up, maintaining or using, please
contact the SERVICE PERSONNEL of SHINEMART. Don’t open or repair the device by yourself.
Please report to SHINEMART if any unexpected operation or events occur.
Please use the soft cloth to clean the whole unit. Don’t use any abrasive or volatile cleaners.
CAUTION

9
LCD display signal

10
Monitor Components
List
1. Blood Pressure Monitor
Cuff
Air Hose
Air Connector Plug
User 1
Query
User 2
LCD Display
DC Power
Socket
Battery
Compartment
2.Cuff (Type BF applied
part) (AC2232-02)
(Please use METRO
authorized cuff.)
3. 4*AA Batteries
4. User Manual

11
The Choice of Battery
The Installment And Replacement Of Battery
1.Battery powered mode:
6VDC 4×AA alkaline batteries
2.AC adaptor powered mode:
(Can be supplied by AC adaptor model
UE08WCP-060100SPA !)(Not Included) Please
unplug the adaptor to depart from the using utility power.
Note:
The adaptor socket is located on the right side of the
monitor. Make sure the socket is not obstructed.
Caution: In order to achieve the best performance and protect your monitor,
please use the authorized / specied battery and power adaptor.
Caution
Remove batteries if the device is not likely to be used for some time.
Worn batteries are harmful to the environment. Do not dispose with daily garbage.
Remove the old batteries from the device following your local recycling guidelines.
Do not dispose of batteries in re. Batteries may explode or leak.
1. Open the battery door.
2. Insert the batteries according to the polarity
indications.
3. Close the battery door.
Replace the batteries under following
circumstances:
displays on the LCD.
The LCD display dims.
When powering on the monitor, the LCD does not light up.

12
Setting the date, time and measurement unit
Please proceed to time setting before your initial use so as to ensure each
piece of record are labled with a time stamp. (Default Value: Date: 01-Jan-
2012; Time: 00:00; Measurement Unit: mm Hg)
1. When the monitor is OFF, press and hold
“User 1” button to enter Time Setting Mode.
2. As pictured in the right, the blinking
numeral “2012” representing [YEAR]. Press
“Query” button to change the numeral. Each
press will increase the numeral by one in a
cycling manner.
3. Press “User 1” button again to conrm
[YEAR]. Then the numeral representing
[MONTH] blinks.

13
4. Repeat step 2 and 3 to conrm [MONTH] and [DAY].
5. Repeat step 2 and 3 to conrm
[HOUR] and [MINUTE].
Hour Format: 24-Hour
6. Repeat step 2 and 3 to
conrm the measurement unit.
7.After conrming the
measurement unit, the LCD will
display “dONE” and the monitor
will shut off automatically.

14
Pair-up the Blood Pressure Monitor with Your Device
1. Download the free app “TransHealth” on the App Store or Google Play Store and
install it on your phone or tablet.
2. Turn on Bluetooth and the app. Make sure both are ON when pair-up is
proceeding.
When the monitor is OFF, press
and hold the button (User 2) to
start pair-up. The symbol
and the symbol will be
shown on the LCD alternatively,
indicating pair-up is proceeding.
If SUCCESSFUL, symbol
will be shown on the LCD.
If UNSUCCESSFUL, symbol
be shown on the LCD.
4.The monitor will shut off
automatically after Pair-up
process is complete.

15
Tie The Cuff
1.Tie the cuff on your upper arm, then
position the tube off-center toward the
inner side of arm in line with the little
nger.
2. The cuff should be snug
but not too tight. You should
be able to insert one nger
between the cuff and your arm.
3. Sit comfortably with your left
arm resting on a at surface.
Rest for 5 minutes before
measuring.
Wait at least 3 minutes
between measurements. This
allows your blood circulation to
recover.
For a meaningful comparison,
try to measure under similar
conditions. For example,
take daily measurements
at approximately the same
time, on the same arm, or as
directed by a physician.

16
Start The Measurement
Press the (User 1) to turn on the monitor and it will nish the whole
measurement automatically, and then save the measure data for User 1. The
same with (User 2).
In this manual, take the measurement of user 1 as an example.
1. Press the to turn on the monitor.
LCD Display
Inating and measuring
automatically.
2. Press the to power off , otherwise it will turn off automatically
within one minute after last operation.
TIPS
A. When the whole measurement is complete, press the other user button,the monitor will start
measuring again.
B. Maximum 60 records are both for user 1 and user 2.
Display and save the results.
The data transmission will
proceed automatically.
Adjust to zero automatically.

17
5. When no history stored for the specic
user in the monitor, press “ ” button and
the LCD will display as pictured to the
right.
3. Press “ ” button to rotate the
history records.
4. When in the memory mode,
press the (User 1) to recall the
measurement history of User 1, or
press the (User 2) button to
recall the measurement history.
CAUTION
The most recent record (1) is shown rst. Each new measurement is assigned to the rst
(1) record. All other records are pushed back one digit (e.g., 2 becomes 3, and so on),
and the last record (60) is dropped from the list.
Recalling the records
1.When the monitor is OFF, press “ ”
button to access the memory.
2. The LCD will display the latest measuring result of the user ID which
completes the last measurement.
* The record number, measuring date and measuring time will be displayed
alternatively.

18
Delete the Records
1. When under the query mode, press
and hold “ ” button for 3 seconds to
clear the memory.
2. When the LCD displays “dEL ALL”,
press “ ” button to conrm.
3.The LCD will display “dEL dOnE” and
then shut off automatically.
4. If you wish to stop clearing the
memory, you may press the other
button, rather than “ ” button to turn
off the monitor, or wait until the monitor
shuts off automatically.

19
Tips For Measurement
Measurements may be inaccurate if taken in the following circumstances.
Wait at least 1 hour after
dinner or drinking
Wait at least 20 minutes
after taking a bath
In a very cold environment
When talking or moving
your ngers
When you need the toilet
Immediate measurement
after tea, coffee, smoking

20
Maintenance
In order to get the best performance, please follow the below instructions.
Table of contents
Languages:
Other Duronic Blood Pressure Monitor manuals