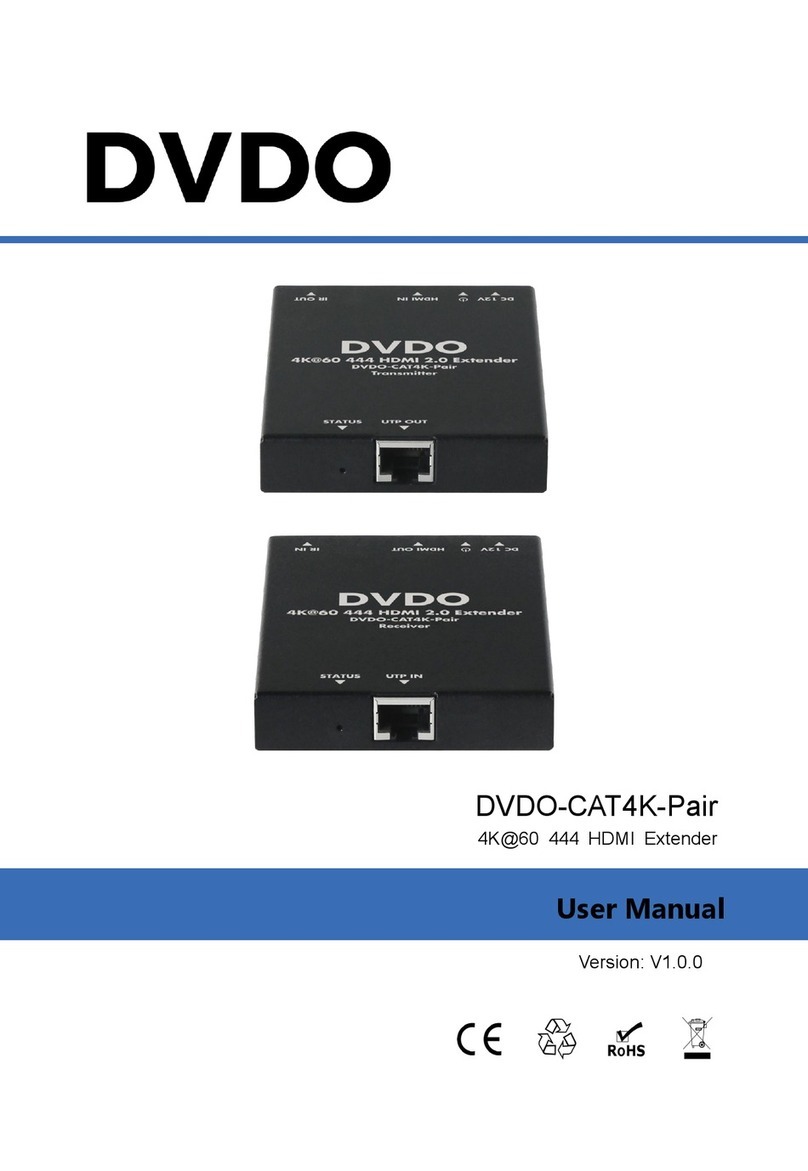
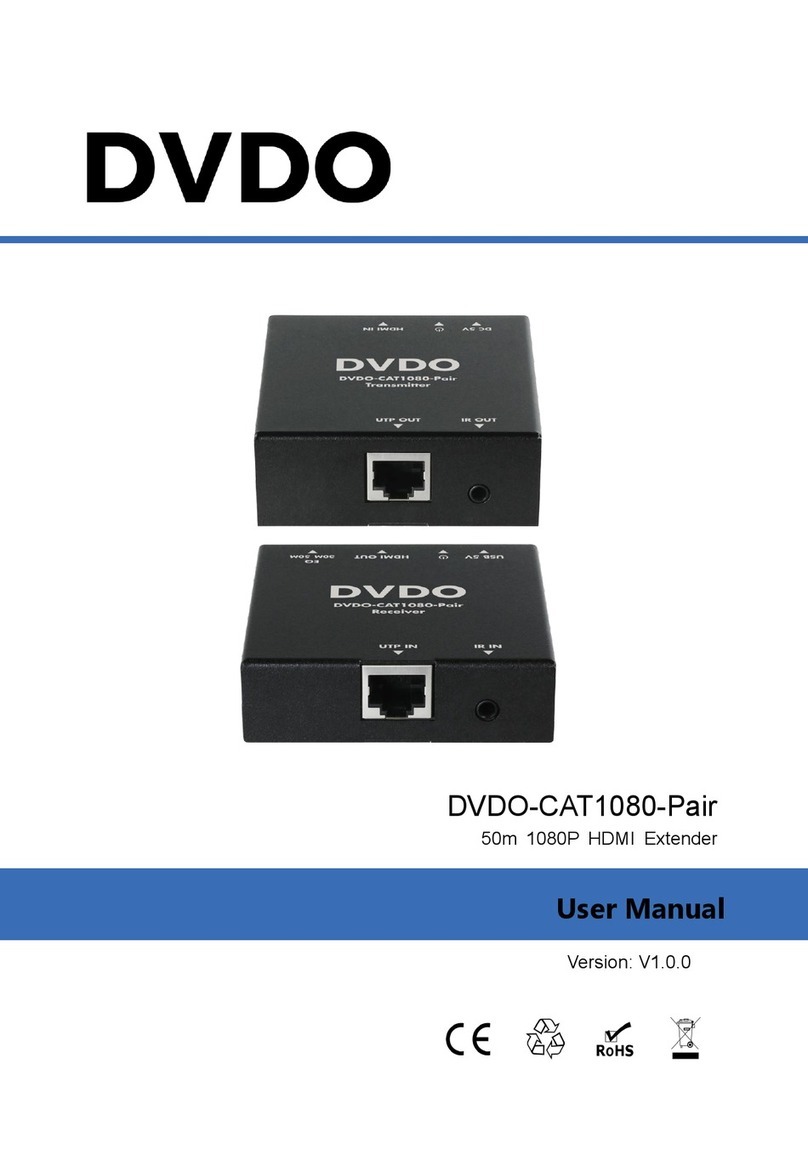
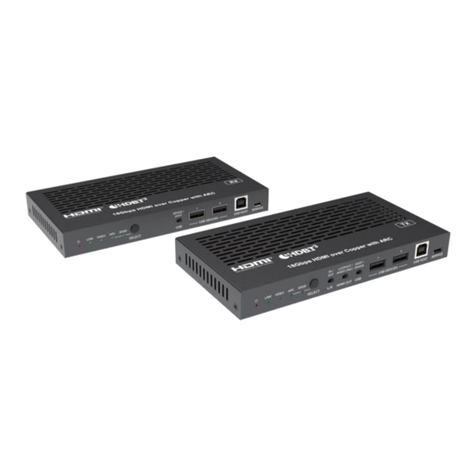
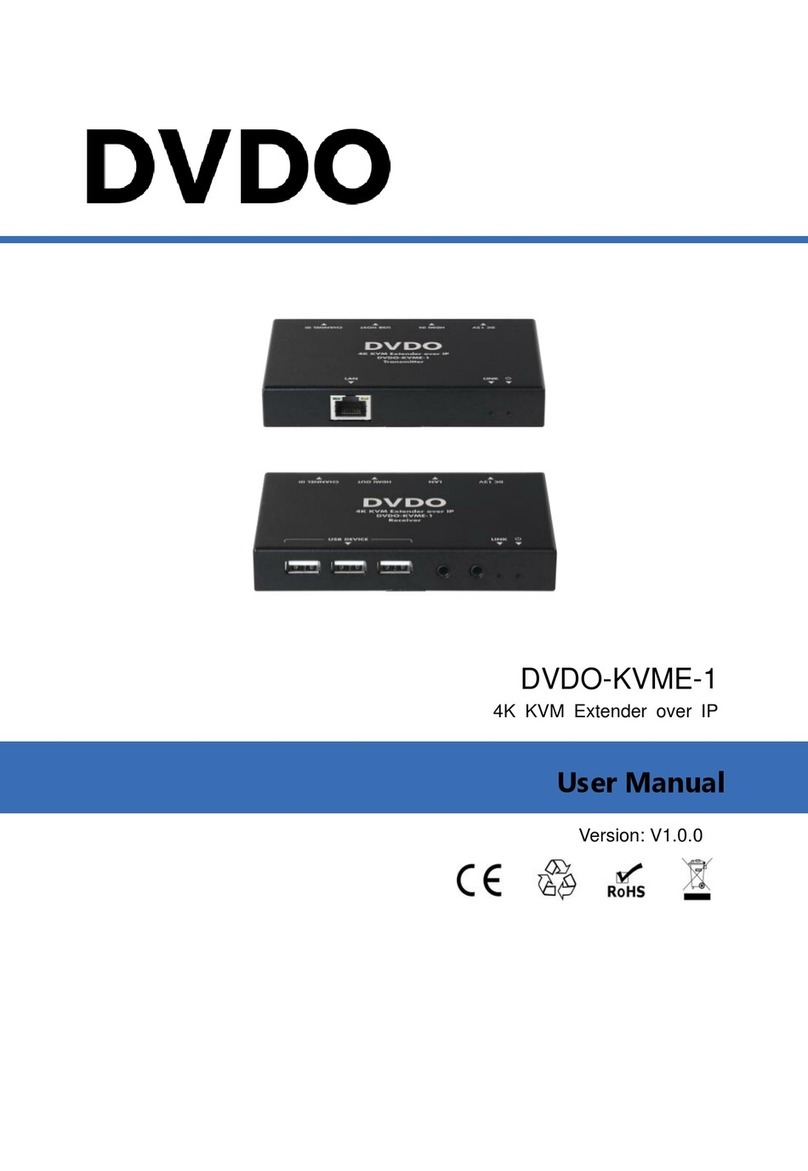
DVDO DVDO-PSE-1 User manual

Version: V1.0.5
DVDO-PSE-1
HDBaseT Extender for Presentation
User Manual

2
DVDO-PSE-1_V1.0.5
DVDO-PSE-1 HDBaseT Extender for Presentation User Manual
DVDO
Important Safety Instructions
1. Do not expose this apparatus
to rain, moisture, dripping or
splashing and that no objects
filled with liquids, such as vases,
shall be placed on the apparatus.
6. Clean this apparatus
only with dry cloth.
2. Do not install or place this unit
in a bookcase, built-in cabinet or
in another confined space.
Ensure the unit is well ventilated.
3. To prevent risk of electric
shock or fire hazard due to
overheating, do not obstruct
the unit’s ventilation openings
with newspapers, tablecloths,
curtains, and similar items.
4. Do not install near any heat
sources such as radiators, heat
registers, stoves, or other
apparatus (including amplifiers)
that produce heat.
5. Do not place sources of naked
flames, such as lighted candles,
on the unit.
7. Unplug this apparatus
during lightning storms or
when unused for long
periods of time.
8. Protect the power cord
from being walked on or
pinched particularly at
plugs.
9. Only use attachments /
accessories specified by
the manufacturer.
10. Refer all servicing to
qualified service
personnel.

3
DVDO-PSE-1_V1.0.5
DVDO
DVDO-PSE-1 HDBaseT Extender for Presentation User Manual
Table of Contents
Introduction......................................................................................................4
Overview...................................................................................................4
Features ...................................................................................................5
Package Contents ....................................................................................6
Specifications............................................................................................7
Transmitter ........................................................................................7
Receiver............................................................................................8
Panel Description .....................................................................................9
Transmitter ........................................................................................9
Receiver.......................................................................................... 11
Installation and Wiring....................................................................................13
Input Source Switch.......................................................................................15
Auto Switch .....................................................................................15
Manual Button Switch......................................................................15
API Command Control...................................................................................16
Warranty Terms and Conditions.....................................................................23

4
DVDO-PSE-1_V1.0.5
DVDO-PSE-1 HDBaseT Extender for Presentation User Manual
DVDO
Introduction
Overview
DVDO-PSE-1 is an advanced switching extender set featuring four inputs and
UHD scaler. The included transmitter offers two HDMI inputs and one VGA input
with stereo audio, and the receiver offers an HDMI input, enabling an additional
AV source to be connected at the display location. The transmitter supports
HDBT output up to 230ft/70m at 1080P and up to 131ft /40m at 4K@60Hz (YUV
4:2:0) over a CATX cable. The receiver supports the stereo audio de-embedding
output from the HDMI output and connection with the audio system, such as an
amplifier. Built-in scaler with resolutions up to 4K@60Hz YUV 4:4:4 ensures the
optimal image quality for video signal output, and matches the native resolution
of the display.
This extender set allows automatic and manual button switch among all inputs. It
features CEC controller to automatically turn on/off the display by auto-detecting
signal input. It also supports RS232 control to power on/off the display such as
projector, and relay control to turn on/off projection screen via API commands.
Its one-way PoH enables the transmitter to receive power from the power-on
receiver; only one power supply is needed.
DVDO-PSE-1 simplifies system integration in classrooms and small offices, and
facilitates installation under conference tables and in lecterns, providing
localized presentation switching support over long distances.

5
DVDO-PSE-1_V1.0.5
DVDO
DVDO-PSE-1 HDBaseT Extender for Presentation User Manual
Features
Two HDMI and one VGA inputs included on transmitter
One HDMI input, one HDMI output along with one analog audio output
included on receiver
HDMI inputs support resolutions up to 4K@60Hz YUV 4:2:0 and HDCP 2.2;
VGA input supports resolutions up to 1920 x 1200@60Hz
Built-in 4K@60Hz YUV 4:4:4 scaler to match the native resolution of the
display
Supports automatic and manual button switch among all inputs
Via a Cat 6a/7 cable, signal transmission up to 131ft/40m at 4K@60Hz
(YUV 4:2:0) and 230ft/70m at 1080P
Via a Cat 5e/6 cable, signal transmission up to 115ft/35m at 4K@60Hz
(YUV 4:2:0) and 197ft/60m at 1080P
HDMI audio de-embedded output with analog stereo
Provides Telnet API control and configuration
One-way PoH enables the transmitter to receive power from the power-on
receiver (no additional power supply required at transmitter)
Supports automatic CEC and API command to power on/off the display
device
Supports RELAY control to automatically turn on/off the projection screen

6
DVDO-PSE-1_V1.0.5
DVDO-PSE-1 HDBaseT Extender for Presentation User Manual
DVDO
Package Contents
Before you start the installation of the product, please check the package
contents as below:
DVDO-PSE-1 (Transmitter and Receiver Set) x 1
DC 12V 3A Power Adapter x 1
AC Power Cord with US Pins x 1
AC Power Cord with UK Pins x 1
AC Power Cord with EU Pins x 1
AC Power Cord with AU Pins x 1
Phoenix Male Connectors (3.5mm, 3 Pins) x 5
Mounting Brackets (with Screws) x 4
User Manual x 1

7
DVDO-PSE-1_V1.0.5
DVDO
DVDO-PSE-1 HDBaseT Extender for Presentation User Manual
Specifications
Transmitter
Technical
Input
2 x HDMI, 1 x VGA
Input Signal Type
HDMI with 4K (4K@60Hz YUV 420), HDCP 2.2
VGA
Input / Output Resolution
Supported
VGA:
800x6008, 1024x7688, 1280x7688, 1280x8008,
1280x9608, 1280x10248, 1360x7688, 1366x7688,
1440x9008, 1600x9008, 1600x12008, 1680x10508,
1920x12008
HDMI:
800x6008, 1024x7688, 1280x7208, 1280x7688,
1280x8008, 1280x9608, 1280x10248, 1360x7688,
1366x7688, 1440x9008, 1600x9008, 1600x12008,
1680x10508, 1920x10808, 1920x12008,
3840x2160P2,3,5,8(YUV4:2:0), 4096x2160P2,3,5,8(YUV4:2:0)
1 = at 23.98 Hz, 2 = at 24 Hz, 3 = at 25 Hz, 4 = at 29.97
Hz, 5 = at 30 Hz, 6 = at 50 Hz, 7 = at 59.94 Hz, 8 = at
60 Hz
Output
1x HDBT
Output Signal Type
HDBT
Audio Format
PCM 2.0
Control Method
Button and serial control
General
Operating Temperature
0°C to 45°C (32°F to 113°F)
Storage Temperature
-20°C to 70°C (-4°F to 158°F)
Humidity
10% to 90%, non-condensing
ESD Protection
±8kV (Air-gap discharge)/
±4kV (Contact discharge)
Power Supply
DC 12V 3A
Power Consumption (Max)
3.75W (2K Full loaded);
4.45W (4K Full loaded)
Device Dimension
(W x H x D)
194.7mm x 20mm x 94mm/
7.67”x 0.79”x 3.7”
Product Weight
0.5kg/1.10lb

8
DVDO-PSE-1_V1.0.5
DVDO-PSE-1 HDBaseT Extender for Presentation User Manual
DVDO
Receiver
Technical
Input
1 x HDBT, 1 x HDMI
Input Signal Type
HDBT port: HDBT
HDMI port: HDMI, HDCP 2.2
Input Resolution Supported
HDMI:
800x6008, 1024x7688, 1280x7208, 1280x7688,
1280x8008, 1280x9608, 1280x10248, 1360x7688,
1366x7688, 1440x9008, 1600x9008, 1600x12008,
1680x10508, 1920x10808, 1920x12008,
3840x2160P2,3,5,8(YUV4:2:0), 4096x2160P2,3,5,8(YUV4:2:0)
1 = at 23.98 Hz, 2 = at 24 Hz, 3 = at 25 Hz, 4 = at 29.97
Hz, 5 = at 30 Hz, 6 = at 50 Hz, 7 = at 59.94 Hz, 8 = at
60 Hz
Output
1x HDMI
Output Signal Type
HDMI, HDCP 2.2
Output Resolution
Supported
1024x7688, 1280x7208, 1280x8008, 1280x10248,
1920x10808, 1920x12008, 3840x2160P5,8
1 = at 23.98 Hz, 2 = at 24 Hz, 3 = at 25 Hz,
4 = at 29.97 Hz, 5 = at 30 Hz, 6 = at 50 Hz,
7 = at 59.94 Hz, 8 = at 60 Hz
Audio De-embedding Output
Format
Stereo audio
Control Method
Button, telnet and serial control
General
Operating Temperature
0°C to 45°C (32°F to 113°F)
Storage Temperature
-20°C to 70°C (-4°F to 158°F)
Humidity
10% to 90%, non-condensing
ESD Protection
±8kV (Air-gap discharge)/
±4kV (Contact discharge)
Power Supply
DC 12V 3A
Power Consumption (Max)
2K Full loaded:
RX powers TX: 18.95W
Powers TX and RX separately: 12.15W
4K Full loaded:
RX powers TX: 21.55W
Powers TX and RX separately: 13.95W
Device Dimension
(W x H x D)
223.2mm x 25mm x 154.2mm/
8.79”x 0.98”x 6.07”
Product Weight
0.94kg/2.07lb

9
DVDO-PSE-1_V1.0.5
DVDO
DVDO-PSE-1 HDBaseT Extender for Presentation User Manual
Transmission Distance
Note: The use of T568B straight-through Category cables is recommended.
Cable Type
Range
Supported Video
HDMI
Input: 49ft/15m
Output: 33ft/10m
1080P@60Hz
Input: 33ft/10m
4K@60Hz 4:2:0 8bit
Output: 16ft/5m
4K@60Hz 4:4:4 8bit
CAT5e/CAT6
197ft/60m
1080P@60Hz 36 bpp
115ft/35m
1080P@60Hz 48 bpp
1080P@60Hz 3D
4K@60Hz 4:2:0 8bit
CAT6a/CAT7
230ft/70m
1080P@60Hz 36 bpp
131ft/40m
1080P@60Hz 48 bpp
1080P@60Hz 3D
4K@60Hz 4:2:0 8bit
Panel Description
Transmitter
Front Panel
31 2 4 65
No.
Name
Description
1
VGA IN
Connect to the VGA source.
2
AUDIO IN
Audio input, embedded with the VGA source.
3
HDMI IN 1-2
Connect to the HDMI source.
4
RS232
For API command control
5
HDBT OUT
Connect to the receiver via a CATX cable.
6
DC 12V
Connect to DC 12V power supply.
Note: When receiver is powered on, the connected
transmitter requires no additional power adapter.

10
DVDO-PSE-1_V1.0.5
DVDO-PSE-1 HDBaseT Extender for Presentation User Manual
DVDO
Rear Panel
1 2 3 4 5 6 7 8 9 10 11 12 13
No.
Name
Description
1
FW UPDATE
Connect to a PC for firmware update or API command
control.
2
POWER LED
(Red)
On: The transmitter is powered on.
Off: The transmitter is powered off.
3
STATUS LED
(Blue)
Blinking: The transmitter is working properly.
Off: The transmitter is not working properly.
4
HDCP LED
(Green)
On: HDCP protected content is being transmitted.
Blinking: Non-HDCP protected content is being
transmitted.
Off: No content is being transmitted.
5
LINK LED
(Green)
On: The link between transmitter and receiver is normal.
Blinking: The link between transmitter and receiver is
abnormal.
Off: No link
6
AUTO LED
(Blue)
On: Input auto switch function is activated.
Off: Input auto switch function is inactivated.
7
AUTO Button
Press to activate/inactivate auto switch function.
8
VGA IN LED
Solid violet: The input has signal and is selected.
Solid orange: The input has signal but is not selected.
Solid blue: The input has no signal but is selected.
Off: The input has no signal and is not selected.
9
VGA IN Button
Press to select the VGA input.
10
HDMI IN1 LED
Solid violet: The input has signal and is selected.
Solid orange: The input has signal but is not selected.
Solid blue: The input has no signal but is selected.
Off: The input has no signal and is not selected.
11
HDMI IN1 Button
Press to select the HDMI input 1.
12
HDMI IN2 LED
Solid violet: The input has signal and is selected.
Solid orange: The input has signal but is not selected.
Solid blue: The input has no signal but is selected.
Off: The input has no signal and is not selected.
13
HDMI IN2 Button
Press to select the HDMI input 2.

11
DVDO-PSE-1_V1.0.5
DVDO
DVDO-PSE-1 HDBaseT Extender for Presentation User Manual
Receiver
Front Panel
1 2 3 4 5 6 7 8
No.
Name
Description
1
LAN
Connect to a PC for Telnet API command control.
2
HDBT IN
Connect to the transmitter via a CATX cable.
3
HDMI IN
Connect to the HDMI source.
4
HDMI OUT
Connect to the HDMI display.
5
AUDIO OUT
Connect to the audio receiver for HDMI audio de-embedding
output such as amplifier.
6
RS232
Connect to the display device for RS232 control.
7
RELAY 1-2
Connect to the projection screen for API command control.
8
DC 12V
Connect to DC 12V power supply.
Rear Panel
1 2 3 4 5 6 7 8 9 10 11 12 13
No.
Name
Description
1
FW UPDATE
Connect to a PC for firmware update or API command
control.
2
POWER LED
(Red)
On: The receiver is powered on.
Off: The receiver is powered off.
3
SCALER LED
(Blue)
Blinking: The scaler module is working properly.
Off: The scaler module is not working properly.
4
STATUS LED
(Blue)
Blinking: The receiver is working properly.
Off: The receiver is not working properly.
5
HDCP LED
(Green)
On: HDCP protected content is being transmitted.
Blinking: Non-HDCP protected content is being transmitted.
Off: No content is being transmitted.
6
LINK LED
On: The link between transmitter and receiver is normal.

12
DVDO-PSE-1_V1.0.5
DVDO-PSE-1 HDBaseT Extender for Presentation User Manual
DVDO
No.
Name
Description
(Green)
Blinking: The link between transmitter and receiver is
abnormal.
Off: No link
7
AUTO LED
(Blue)
On: Input auto switch function is activated (default).
Off: Input auto switch function is inactivated.
8
AUTO Button
Press to activate/inactivate auto switch function.
9
HDBT IN LED
Solid violet: The input has signal and is selected.
Solid orange: The input has signal but is not selected.
Solid blue: The input has no signal but is selected.
Off: The input has no signal and is not selected.
10
HDBT IN
Button
Press to select HDBT input.
11
HDMI IN LED
Solid violet: The input has signal and is selected.
Solid orange: The input has signal but is not selected.
Solid blue: The input has no signal but is selected.
Off: The input has no signal and is not selected.
12
HDMI IN
Button
Press to select HDMI input.
13
SCALER
UPDATE
For scaler module update.

13
DVDO-PSE-1_V1.0.5
DVDO
DVDO-PSE-1 HDBaseT Extender for Presentation User Manual
Installation and Wiring
1. Connect the VGA (such as PC) and HDMI sources (such as Blu-ray player,
Apple TV, 4K media player, etc) to the VGA IN, AUDIO IN and HDMI IN
ports of the transmitter respectively.
2. Connect the HDBT OUT of the transmitter to the HDBT IN of the receiver
via a qualified CAT5e/6/6a/7 cable.
3. Connect an HDMI source (such as BYOD system) to the HDMI IN port of
the receiver.
4. Connect the HDMI display device (such as projector) to the HDMI OUT of
the receiver.
5. Connect an audio receiver to the AUDIO OUT of the receiver.
6. Connect the projection screen to the RELAY1 and RELAY2 of the receiver
to control the screen.
7. Connect a PC to the LAN port of the receiver for Telnet control.
8. Connect the included DC 12V power supply to the receiver. One-way PoH
enables the power to be sent from receiver to transmitter along a single
CATX cable, and no additional power adapter is required at the transmitter.

14
DVDO-PSE-1_V1.0.5
DVDO-PSE-1 HDBaseT Extender for Presentation User Manual
DVDO

15
DVDO-PSE-1_V1.0.5
DVDO
DVDO-PSE-1 HDBaseT Extender for Presentation User Manual
Input Source Switch
This extender set supports auto and manual button switch between the HDBT
and HDMI inputs.
Auto Switch
Press AUTO button, auto switch function will be activated immediately.
Priority: HDMI 1 > HDMI 2 > VGA (for transmitter); HDBT > HDMI (for
receiver).
1. When multiple sources are inserted, power on all devices, the input in top
priority will be selected.
2. When a source is removed, the input will be switched to the source in top
priority automatically.
3. When a new source is inserted, the input will be switched to the new
source automatically.
Note: The auto switch function will be activated by default once all devices are
powered on.
Manual Button Switch
Transmitter
Receiver
Users can manually switch to specific inputs among the multiple sources by
pressing the corresponding buttons on the rear panel of bothunits (see buttons
in red frames above). When the manual switch function is triggered, the auto
switch function will be inactivated simultaneously.

16
DVDO-PSE-1_V1.0.5
DVDO-PSE-1 HDBaseT Extender for Presentation User Manual
DVDO
API Command Control
DVDO-PSE-1 supports API command control via RS232, FW UPDATE and
LAN ports.
Example:
To power on/off the connected display like projector in real time via API
commands, here list the following steps for users’reference.
1. Connection
Control at transmitter
Connect a PC to the RS232/FW UPDATE port of the transmitter, and
connect a projector to the RS232 port of any other HDBT receiver.
DC 12VNORMAL UPDATE
PC
Transmitter of DVDO-PSE-1
Receiver
Projector
HDMI OUT
HDMI IN
CATXCable
RS232 Cable
RS232 Cable
Control at receiver
Connect a PC to the LAN/FW UPDATE port, and a projector to the

17
DVDO-PSE-1_V1.0.5
DVDO
DVDO-PSE-1 HDBaseT Extender for Presentation User Manual
RS232 port of the receiver.
Receiver
Projector
PC
HDMI IN HDMI OUTTelnet Control RS232 Cable
Blu-ray Player
2. Set serial port parameters
Suppose the RS232 control codes for your connected projector are as
follows,
Baudrate: 9600
Power on: 50 57 52 20 4F 4E 0D 0A
Power off: 50 57 52 20 4F 46 46 0D 0A
First, open your serial debugging tool in the PC, set the UART baudrate
to 9600.
Control at transmitter: enter command “SET UART_INFO 9600 tx”
and end it up with CR/LF, click “Send”.

18
DVDO-PSE-1_V1.0.5
DVDO-PSE-1 HDBaseT Extender for Presentation User Manual
DVDO
Control at receiver: enter command “SET UART_INFO 9600 rx”and
end it up with CR/LF, click “Send”.
Second, set the serial data sending type to hexadecimal format.
Control at transmitter: enter “SET UART_DATATYPE hex tx”, end it
up with CR/LF, and then click “Send”.

19
DVDO-PSE-1_V1.0.5
DVDO
DVDO-PSE-1 HDBaseT Extender for Presentation User Manual
Control at receiver: enter “SET UART_DATATYPE hex rx”, end it up
with CR/LF, and then click “Send”.
Third, edit UART command in hexadecimal format.
Set power on command: enter “SET UART_HEX on 50 57 52 20 4F 4E
0D 0A”and end it up with CR/LF, click “Send”.
Set power off command: enter “SET UART_HEX off 50 57 52 20 4F 46 46

20
DVDO-PSE-1_V1.0.5
DVDO-PSE-1 HDBaseT Extender for Presentation User Manual
DVDO
0D 0A”and end it up with CR/LF, click “Send”.
3. Set UART to power on/off to control the projector
Control at transmitter
To turn on the projector: enter “SET UART_PWR all on tx”, end it up
with CR/LF, and then click “Send”.
To turn off the projector: enter “SET UART_PWR all off tx”, end it up
Table of contents
Other DVDO Extender manuals
Popular Extender manuals by other brands

CYP
CYP PRO-3GSDIHDMI Operation manual

SmoothTalker
SmoothTalker MOBILE M2M user manual

Rose electronics
Rose electronics CrystalView CRK-1DTXT-HD5 Installation and operation manual

Minicom
Minicom Smart IP Extender user guide

Enable-IT
Enable-IT 860 Series user manual

Veracity
Veracity OUTREACH Max installation manual