5
© 2015 DVTEL
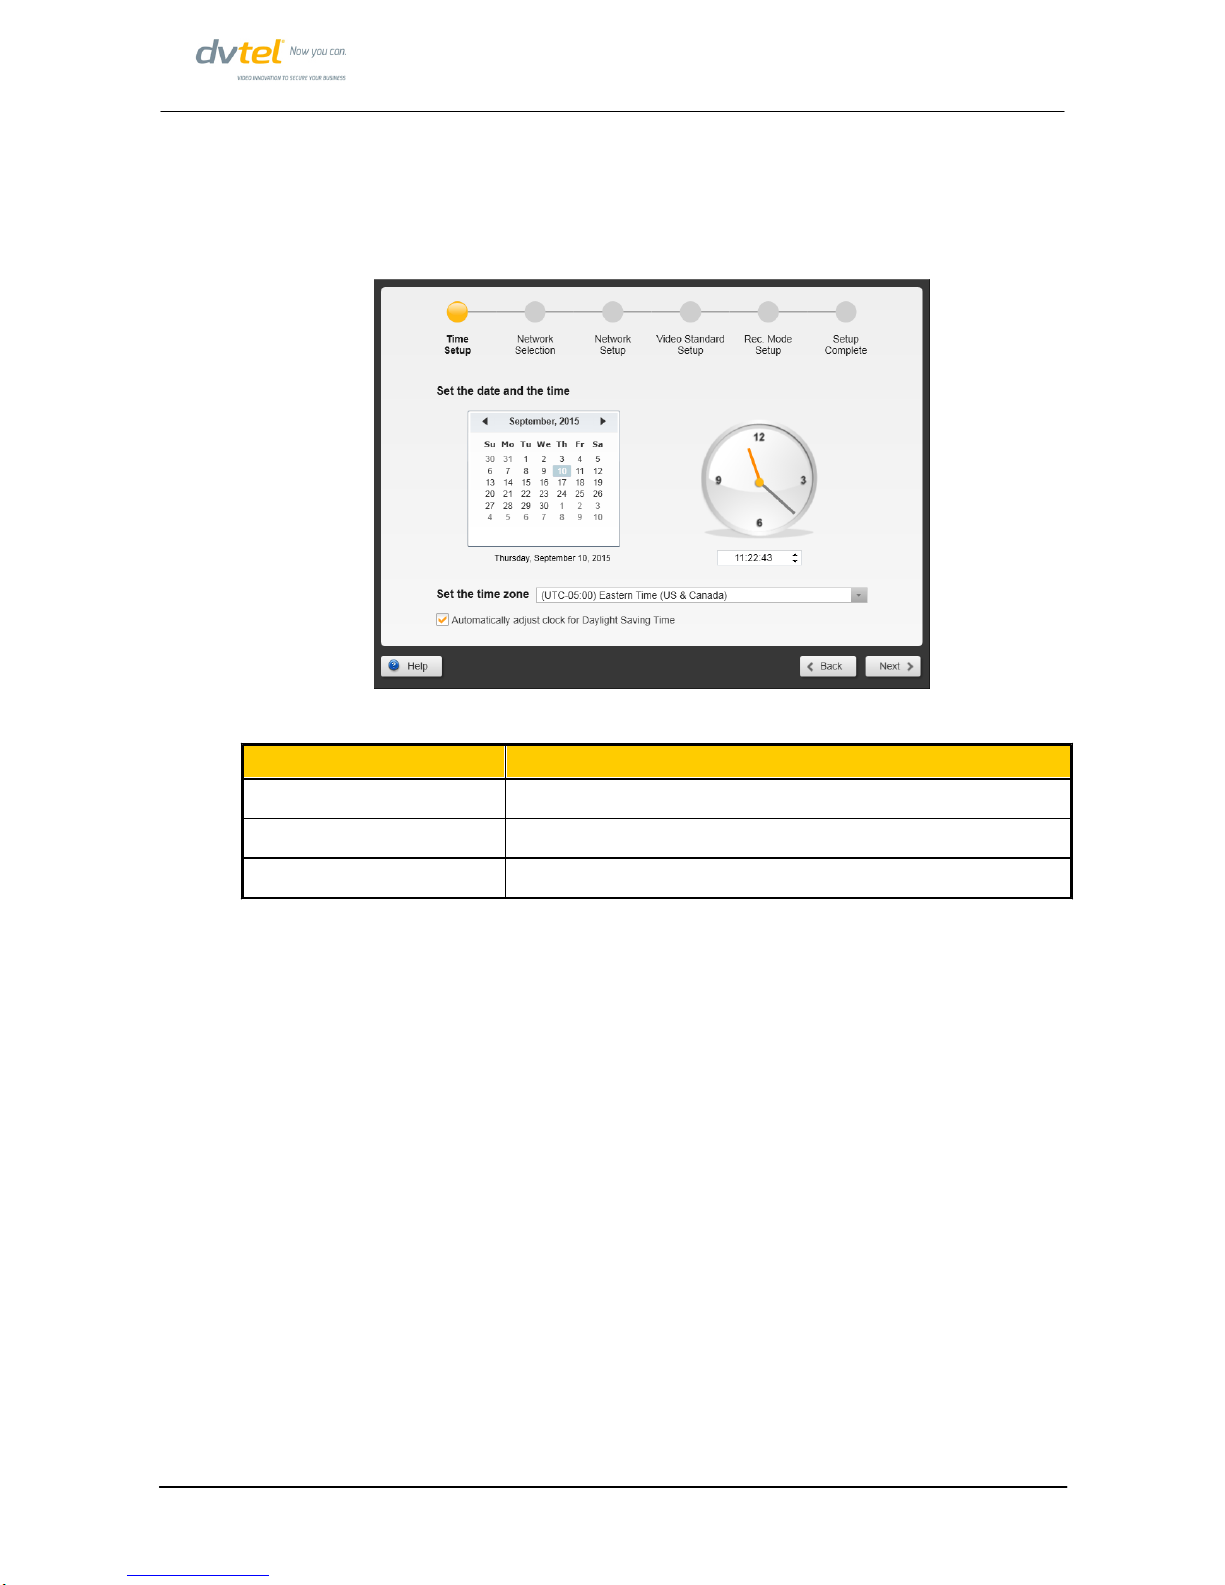
Quick Configuration Guide
5Network Selection
The Network Selection screen provides two alternatives:
Default Configuration - Use Video NIC for segregated camera
network
Horizon is equipped with two NICs (Network Interface Cards) called ‘Video’ and
‘Corporate’. The default configuration uses the Video NIC to provide a segregated
network to which cameras and workstations are attached. The Corporate NIC is
used to connect the Horizon Server to the user’s regular IT network. This also allows
Horizon workstations to reside on the corporate network.
Figure 3: Default Network Selection – Cameras on Segregated network
To use this setup, leave the selection of the Video NIC unchanged, click Next, and
proceed to the Network Setup step.
This configuration has the advantages that:
·DHCP can be used for automatic assignment of addresses on the segregated
network to assist with camera auto-discovery, without this affecting addresses of
components on the corporate IT network. This gives a ‘plug and play’ capability for
attaching cameras to the system.
·All (or at least most) of the high amount of video traffic generated by the cameras
and workstations is kept separate from the corporate IT network.
·It is much more difficult for the video signals to be accessed or interfered with from
outside.