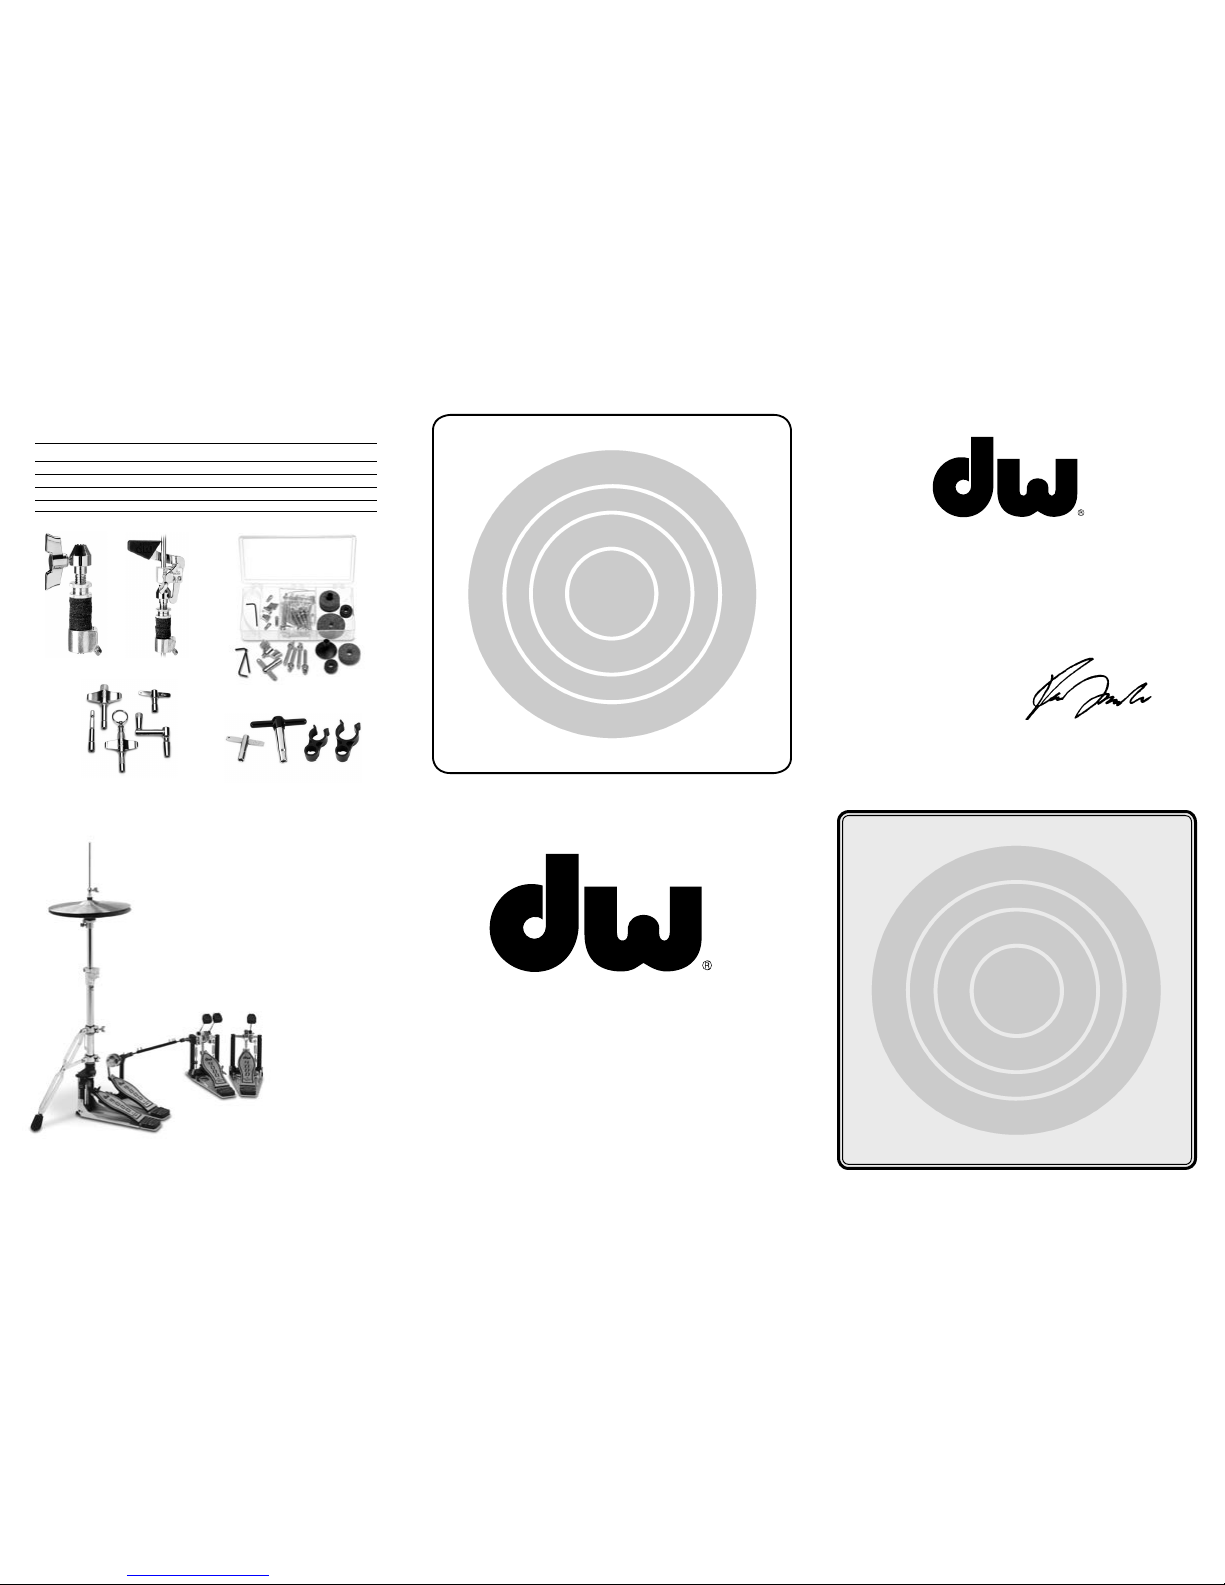
9502LB
(Cymbal Stand not included)
9503LB
DWSP776L
(9503LB ONLY)
quality. To adjust the angle, turn the wing screw while playing the pedal to achieve the
desired sound.Once the optimal position is achieved, tighten the inside nut against the
wing screw to lock the angle/position.
2.3: Spring Tension
1.Loosen the drum key screw just above the large knurled knob on the cable housing.
2.Rotate the large knurled knob clockwise to tighten the cable and counter clockwise to
loosen it.Be sure to re-tighten the key screw before playing.
Section 3: Adjustable Spurs and Velcro™
Your DW 9502LB/9503LB Hi-Hat stand includes built-in,adjustable spurs and non-
skid Velcro™ on the bottom of the pedal plate to prevent hi-hat crawl.TheVelcro™
automatically grips on most types of carpeting. To adjust the spurs,loosen the key screws
on the sides of the base casting,lower the spurs to their desired position and tighten
the screws.Be careful to use the spurs on carpet/soft surfaces as they may damage some
types of flooring.
Section 4: Pack Up/Transport
1.Remove the cymbals and clutch.
2.Separate the hi-hat tube and rod sections.
3.Fold the leg assembly by loosening the wing screw in the base section and folding the
legs inward. Once the legs are folded up,tighten the wing screw to secure them.
4.The footboard assembly can be folded by loosening the top set of drum key screws on
the sides of the base casting and folding the assembly up, or held more permanently in
playing position by inserting the extra provided screws into the holes joining the bottom
of the base casting and the footboard.
5.Place the hi-hat tube and rod in the pocket inside the bag and base casting,cable, cable
housing and Mega Clamps in the bag (bag not included with 9503LB).
Section 5: Optional Cable Lengths
The 9502LB and 9503LB Remote Hi-Hats come standard with an 8’ cable.Other cable
lengths are available (2, 4, 6,and 10’). Please contact your authorized DW dealer regarding
optional cable lengths.
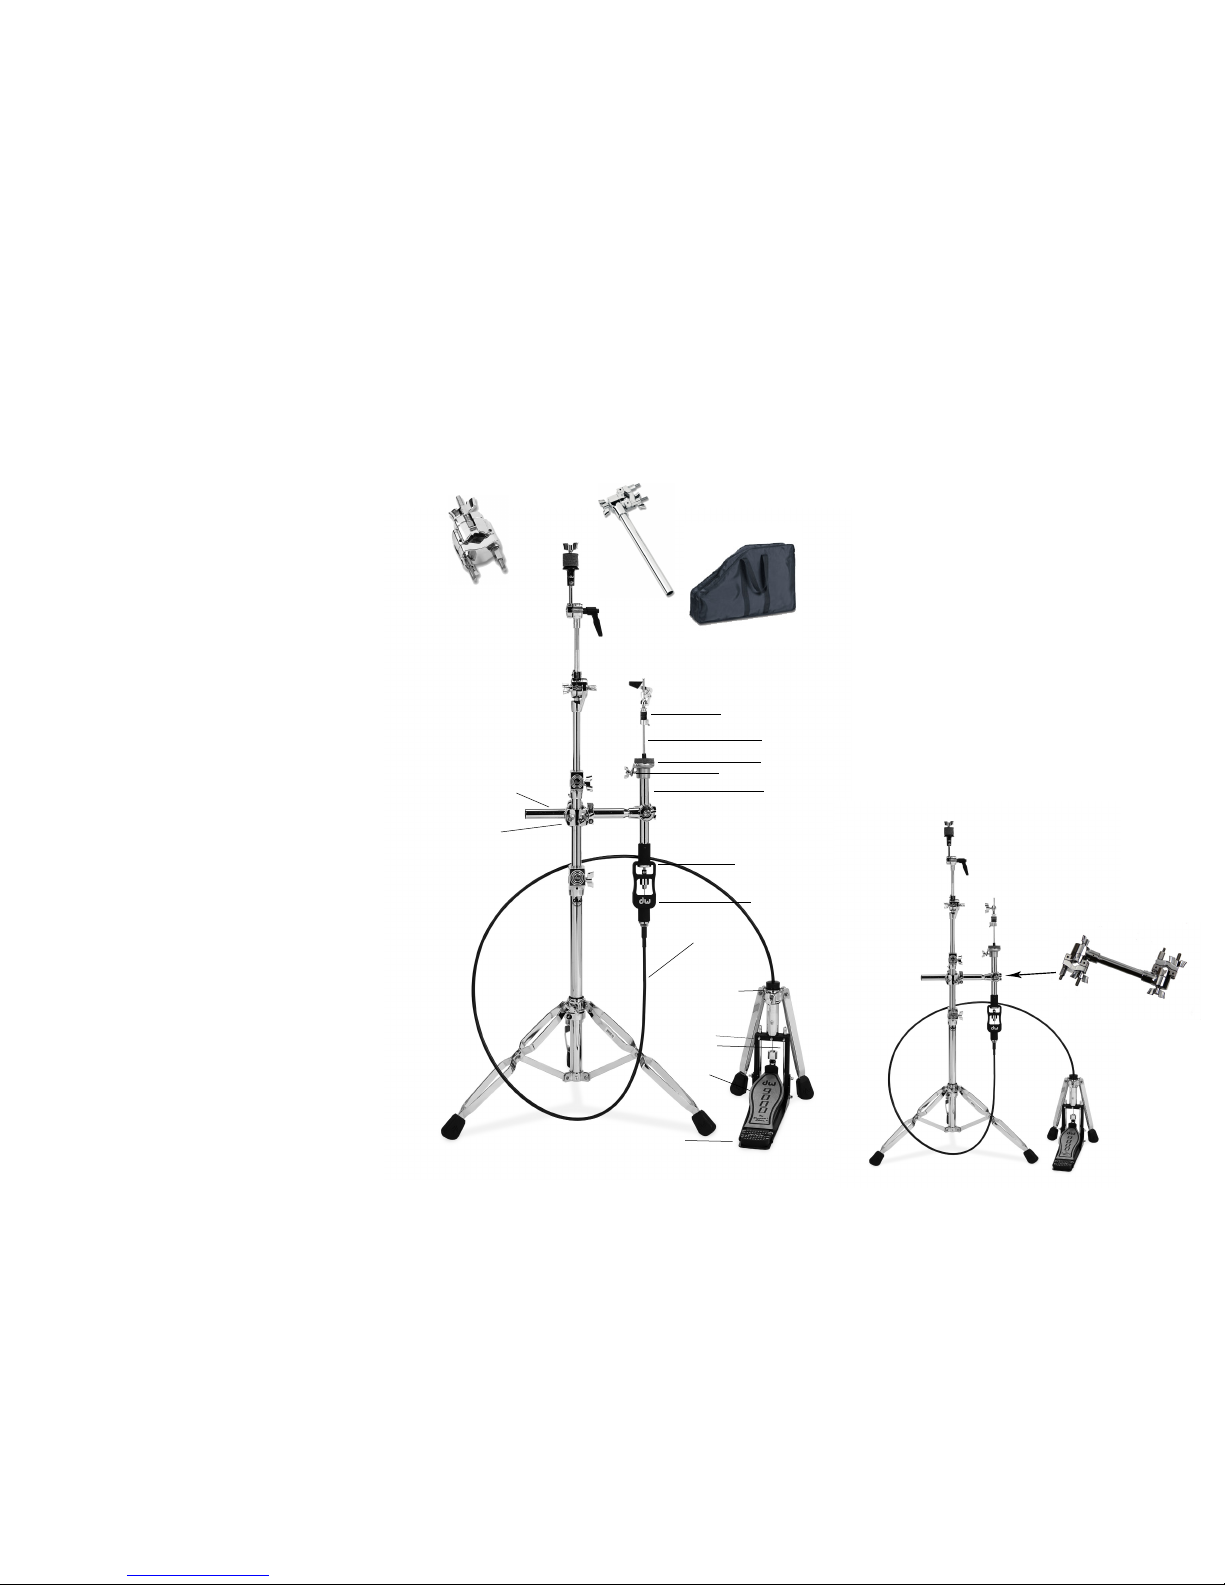
DW 9502LB/9503LB HI-HAT STAND
Remove the stand,accessories and all packing materials from the box,then follow these instructions to set-up and adjust your hi-hat to fit the way you play.
Section 1: Assembly
1.1: Base Section/Leg Assembly
1.Loosen the wing screw at the top of the rotating leg assembly, unfold the legs, and
tighten the wing screw in the desired position. DW’s patented dual-leg assembly has
been designed to rotate in order to accommodate double bass drum pedals,stands and
other set-up requirements. Rotate the leg assembly to its desired position and then
tighten the key and wing screws to secure the position.
1.2.1: Mounting the MG-1 and MG-2 Mega Clamps (9502LB)
1.For convenience, the MG-1 Mega Clamp comes attached to the tube on the MG-2
Mega Clamp. The MG-1 is a standard “V”-”V” two-way clamp, with one side already
attached to the MG-2 tube.
2.Loosen both the standard nut and the wing nut on the available side of the MG-1.
3.Unhinge the wing nut first, then the standard nut.
4.Place the clamp where you want it on a cymbal or tom stand in your drum setup.
5.Adjust the standard nut so you can quickly loosen the wing nut and remove the
assembly easily in the future.
1.2.2: Mounting the 776L DogBone™ (9503LB)
1.The DogBone™ has a“V” clamp at both ends and works like the“V” clamp described
in section 1.2.1.
2.Loosen both the standard nut and the wing nut on both ends of the DogBone™.
3.Unhinge the wing nut first, then the standard nut.
4.Place the clamp where you want it on a cymbal or tom stand in your drum setup.
5.Adjust the standard nut so you can quickly loosen the wing nut and remove the
assembly easily in the future.
1.3: Hi-Hat Tube
1.In a similar fashion to mounting the hardware on your cymbal or tom stand,loosen
the standard nut at the end of the MG-2 Mega Clamp (or DogBone™ for 9503LB).
2.Place the hi-hat tube in the open clamp.
3.Tighten the standard nut and the wing screw as in section 1.2.1, step 5.
1.4: Hi-Hat Rod
1.Insert the threaded end of the hi-hat rod into the receiver in the hi-hat tube.
2.Screw the two sections together by rotating the upper section clockwise until tight.
Section 2: Mounting and Adjusting the Cymbals
2.1: The Clutch
1.Separate the hi-hat clutch by loosening the drum key screw, unthreading the bottom
nut and removing the lower felt washer.
2.Place the top hi-hat cymbal on the clutch stem so that the top of the bell rests on
the top felt washer and replace the bottom felt below the cymbal.
3.Thread the bottom nut back onto the stem until it stops.
4.Adjust the lower of the two knurled nuts at the top of the clutch to achieve the
desired space between the cymbal and the felt washers and lock the position by
tightening the upper knurled nut against the lower one.
5.Loosen the nut at the cymbal seat and remove top felt only. Place the bottom hi-hat
cymbal on the cymbal seat located at the top of the upper tube so that the upper rod
comes through the mounting hole in the cymbal and the bell rests on the cymbal seat
felt. Place the felt and the nut back over the rod and tighten the nut.
6.Place the clutch/cymbal assembly (finished in Step 4) over the rod so that the top
cymbal rests on top of the bottom cymbal.
7.Place the 505 Drop-Lock clutch over the rod and lower it until the clutch securely
clamps on to the top of the clutch holding the top cymbal.
8.Depress the pedal and, when the desired space between the cymbal is achieved,
tighten the wing screw on the drop-lock clutch.
9.To further secure this position for more intense playing situations, reach between the
cymbals with a drumkey and tighten the drum key screw on the clutch.
2.2: Bottom Cymbal Angle Adjustment
The lateral adjustment mechanism at the top of the upper tube is designed to adjust the
angle of the bottom hi-hat cymbal and enhance the cymbals’ performance and sound
505 Drop-Lock Clutch
(Standard Clutch on 9503LB)
Hi-Hat Rod
Cymbal Seat
CymbalAngle Adjustment
Hi-HatTube
MG-2 Mega Clamp (with tube)
(776LV-V DogBone™ on 9503LB)
CableTension Adjustment
Cable Housing
Cable (2’,4’, 6’, 8’ or 10’)
Rotating LegAssembly
Base Casting
Adjustable Spurs
FootboardAssembly
Pedal Plate
MG-1 Mega Clamp
(9502LB Only)
(Cymbal Stand not included)
Steps 7-9 applies only to the 9502LB.
DWSMMG-1
(9502LB only)
DSCP5502
(9502LB ONLY)
DWSMMG-2
(9502LB only)