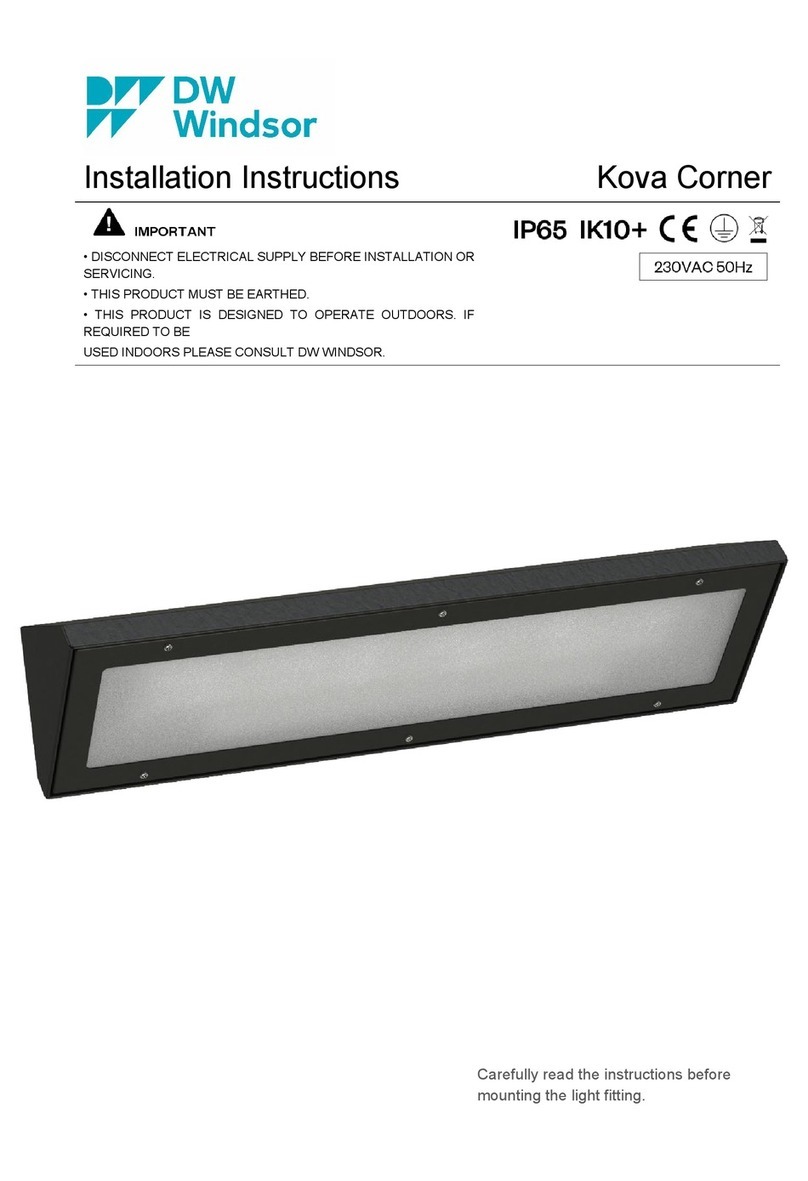
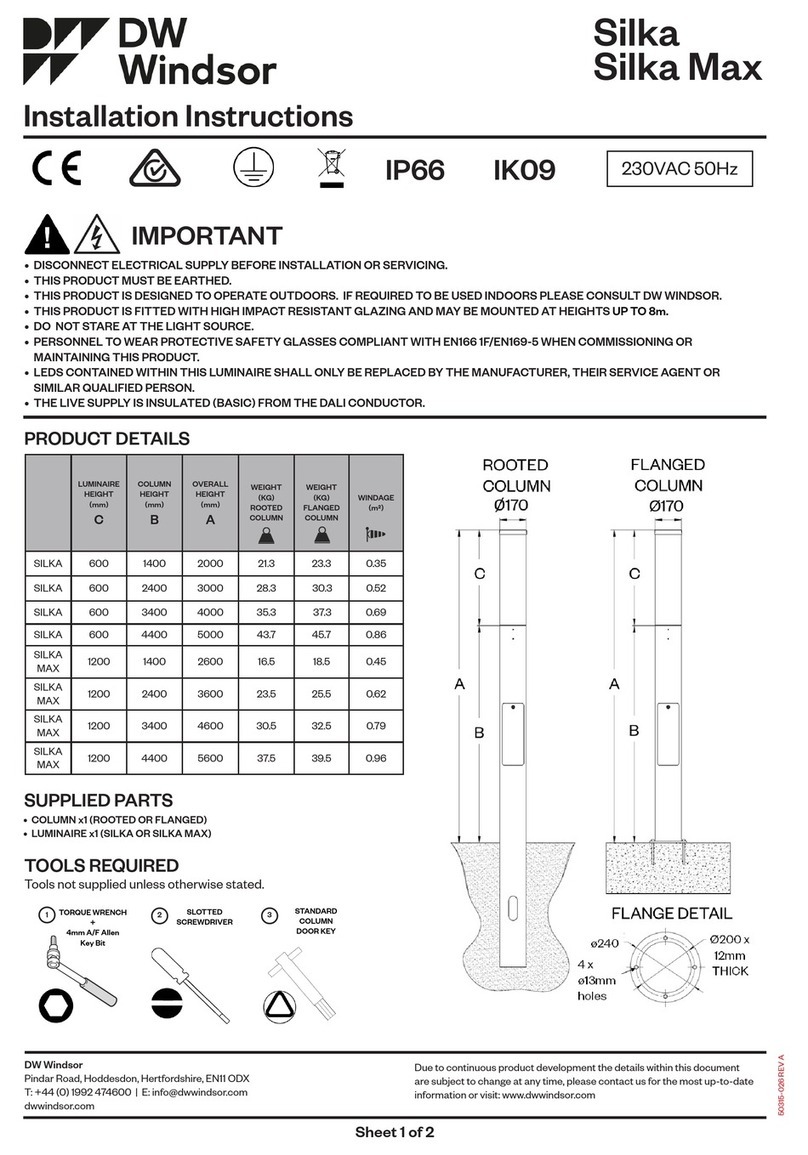
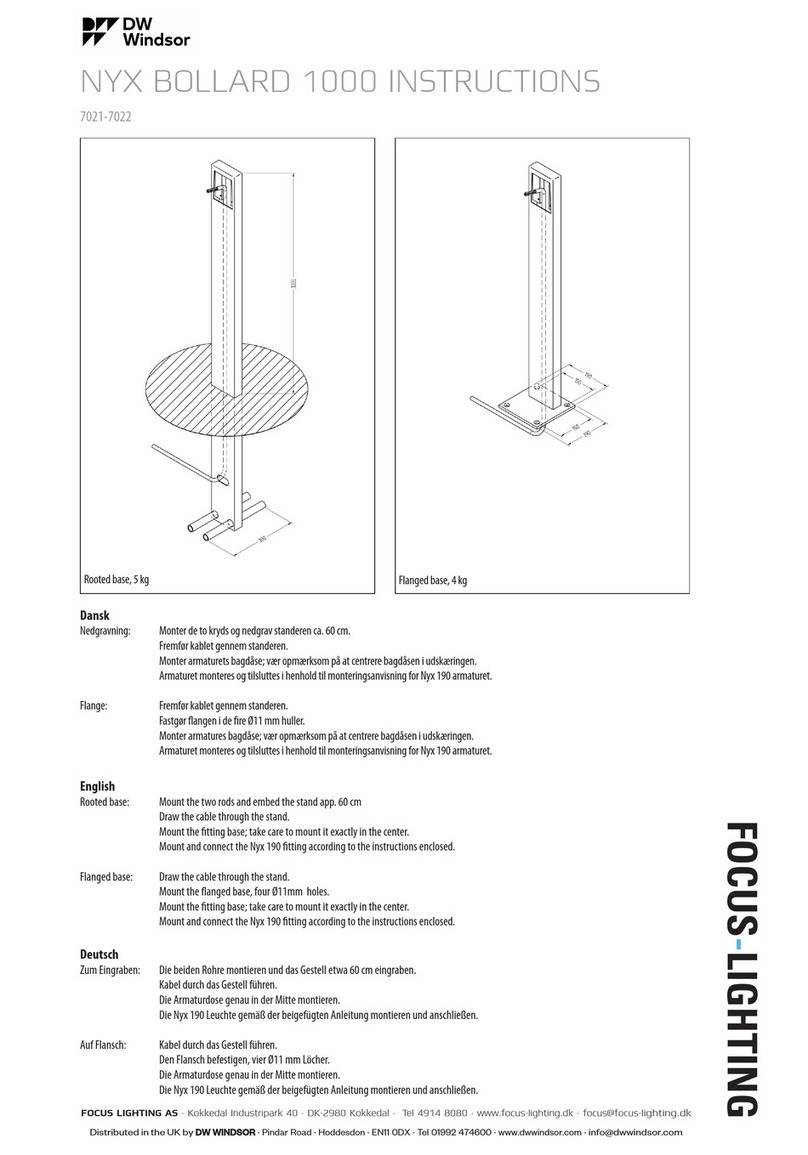
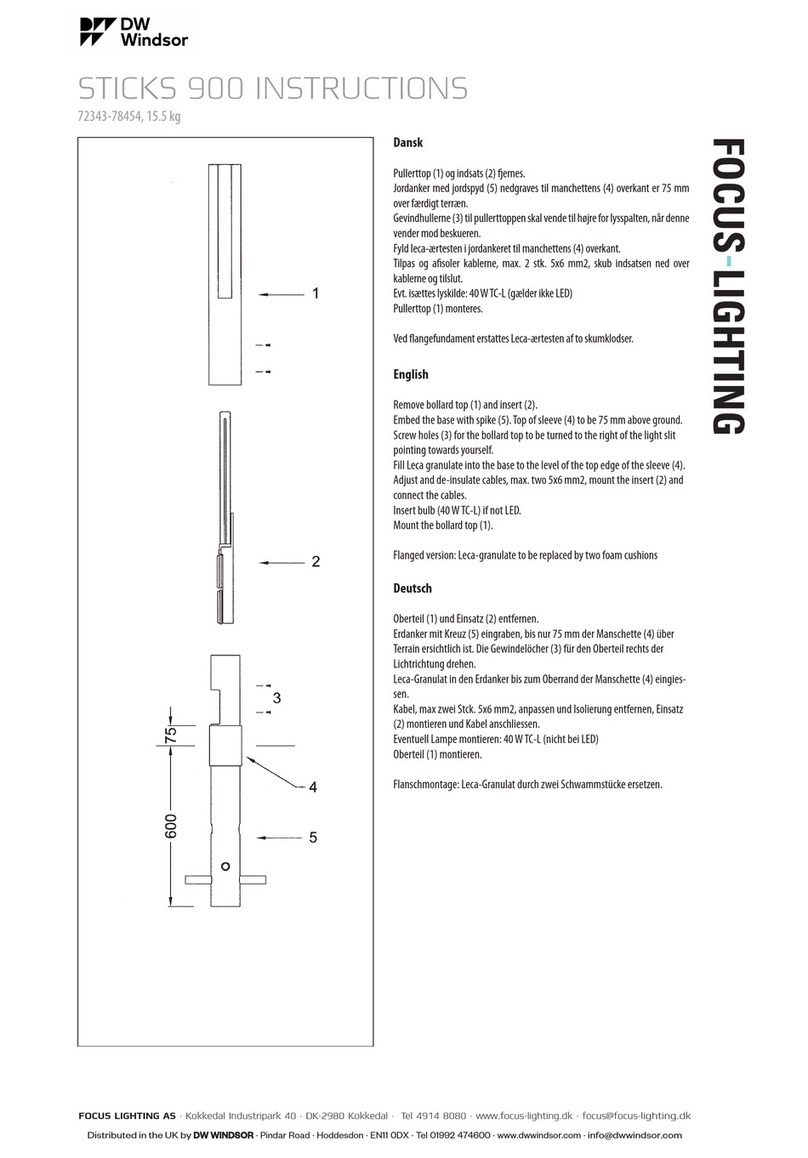
manuals.online logo
Brands
  1. Home
  2. •
  3. Brands
  4. •
  5. DW Windsor
  6. •
  7. Outdoor Light
  8. •
  9. DW Windsor Kirium Pro Series User manual

DW Windsor Kirium Pro Series User manual

Kirium® Pro is a registered design
Due to continuous product development the details within this document are subject to change at any
time, please contact us for the most up-to-date information or visit: www.dwwindsor.com
50281D-01
DW Windsor
Pindar Road, Hoddesdon, Hertfordshire, EN11 ODX
T: +44 (0) 1992 474600 | E: info@dwwindsor.com
www.dwwindsor.com
80mm
Ø76mm
100mm
Ø60mm
110mm
Ø42mm
!
76mm Post Top Entry
42mm Side Entry
60mm Post Top and Side Entry
110mm
100mm
80mm
Column Engagement (L)Entry Options
230VAC 50Hz
A B C
Kirium Pro Midi
Fig. 1 - Kirium Pro Midi
Fig. 3 - Tools required for Kirium Pro Midi installation. Not supplied
Fig. 2 - Length of column engagement for each entry option.
Fig. 2
Fig. 1
Fig. 3
*Maximum weight of lantern including post top entry.
451 119 227 5.04 0.026
Standard CLO Enabled
Kirium Pro Midi 17-79 15-71
Kirium Pro Midi 36 16
NOTE!
• Blue Light Retinal Hazard Risk Group 1.
• Exposure Hazard Value (EHV) 1.61.
• Blue Light Hazard Group 0 At A Distance (HD) Of 1.9m From Product.
• Do Not Stare At The Light Source.
• Personnel To Wear Protective Safety Glasses Compliant With ‘EN166
1F/EN169’ When Commissioning/Maintaining This Product.
• 2x M10 Screw
• 4x Disc Spring Washer
• 2x M10 Grub Screw
The Kirium Pro range is supplied with entry detached from the lantern.
123
6mm Allen Key 5mm Allen Key Slotted Screwdriver
The information shown below details the length of column engagement for
each entry option.
Tools not supplied.
IP66 IK08
A
B
Fasteners Supplied
Tools Required
Installation Instructions
Dimensions (mm) Max. Weight (kg)* Windage m
Product Details
IMPORTANT
Recommended Torque
Entry Mounting Torque (Nm) Column Mounting Torque (Nm)
The Kirium Pro Range
LED Road Light
Kirium Pro Midi
Sheet 1 of 4
C
• DISCONNECT ELECTRICAL SUPPLY BEFORE INSTALLATION OR SERVICING.
• THIS PRODUCT MUST BE EARTHED.
• THIS PRODUCT IS DESIGNED TO OPERATE OUTDOORS. IF REQUIRED TO BE
USED INDOORS PLEASE CONSULT DW WINDSOR.
2
Power Ranges (Watts)
Column Engagement
76mm Post Top
60mm Post Top and Side Entry
42mm Side Entry
50281D-01
DW Windsor
Pindar Road, Hoddesdon, Hertfordshire, EN11 ODX
T: +44 (0) 1992 474600 | E: info@dwwindsor.com
www.dwwindsor.com
Sheet 2 of 4
LEDs contained within this luminaire shall only be replaced
by the manufacturer, their service agent or similar qualified
person.
Step 1
Pierce rubber film on membrane cable gland with an appropriate tool
such as a philips head screwdriver before attempting cable input
Step 2
Loosen and remove pre-attached 2x M10 screws and 4x disc spring
washers from lantern with 6mm allen key (item 1).
Step 3
To feed the cable into the lantern the cable must go through the entry first
and then through membrane cable gland.
Step 5 (See Step 5A for Side Entry installation instructions)
Loosen 2x M10 grub screws on entry with 5mm allen key (Item 2). Slide
entry on to column (See column table). Tighten grubs screws to 16Nm.
Step 4 (See Step 4A for Side Entry installation instructions)
Fit entry to lantern with supplied fasteners, tightening to 36Nm torque. 4x
Disc spring washers must be installed in the correct orientation.
Note! Ensure entry is aligned to desired mounting angle.
Step 6
Undo quick-release rear latch, and leave the latch in the open position.
Note! Align lantern with area to be illuminated
Kirium Pro Midi Installation Steps | Post Top Entry
The Kirium Pro Range
LED Road Light
Kirium Pro Midi
4x
1
2x
1
2x
2
2
!
50281D-01
Sheet 3 of 4
2x
L N
3
90°
!
4x
1
2
Step 7
Pivot head to 90° away from base to allow for access to internals for wiring.
Step 8
Wire cable to electrical terminal block with Slotted Screwdriver (Item 3).
Step 9
Close lantern and fasten quick-release side latches.
Step 5A
Loosen 2x M10 grub screws on entry with 5mm allen key. Slide entry on to
column (See column engagement table). Tighten grubs screws to 16Nm.
2
Note! Align lantern with area to be illuminated
Step 4A
Fit entry to lantern with supplied fasteners, tightening to 36Nm torque. 4x
Disc spring washers must be installed in the correct orientation.
DW Windsor
Pindar Road, Hoddesdon, Hertfordshire, EN11 ODX
T: +44 (0) 1992 474600 | E: info@dwwindsor.com
www.dwwindsor.com
Kirium Pro Midi Installation Steps | Post Top Entry
The Kirium Pro Range
LED Road Light
Kirium Pro Midi
Kirium Pro Midi Installation Steps | Side Entry
To replace broken safety glass, please contact DW Windsor
for replacement, quoting the product serial number.
NOTE!
Note! Ensure entry is aligned to desired mounting angle.
= Live
= Earth
= Neutral
L
N
50281D-01
Sheet 4 of 4
!
Adhesive backing needs to be removed from Anti-Glare shields
before installing
Anti-Glare Shield Front Installation - Note: Glare Shield Aligns
with Screw Heads
! !
Anti-Glare Shield Rear Installation - Note: Glare Shield Aligns
with Screw Heads
!Anti-Glare Shield Full Installation - Note: Glare Shields Aligns
with Screw Heads
!
1 x Anti-Glare Shield Front
1 x Anti-Glare Shield Rear
2 x Anti-Glare Shield Side
Anti-Glare Shields can be fitted to the luminaire post-installation, without
opening the product.
dwwindsor.com
Anti-Glare Shield
!
!!
The Kirium Pro Range
LED Road Light
Kirium Pro Midi
Components Supplied
No Tools Required

This manual suits for next models

2

Other DW Windsor Outdoor Light manuals

DW Windsor FOCUS-LIGHTING STICKS 900 Series User manual

DW Windsor

DW Windsor FOCUS-LIGHTING STICKS 900 Series User manual

DW Windsor Focus Lighting NYX BOLLARD 1000 User manual

DW Windsor

DW Windsor Focus Lighting NYX BOLLARD 1000 User manual

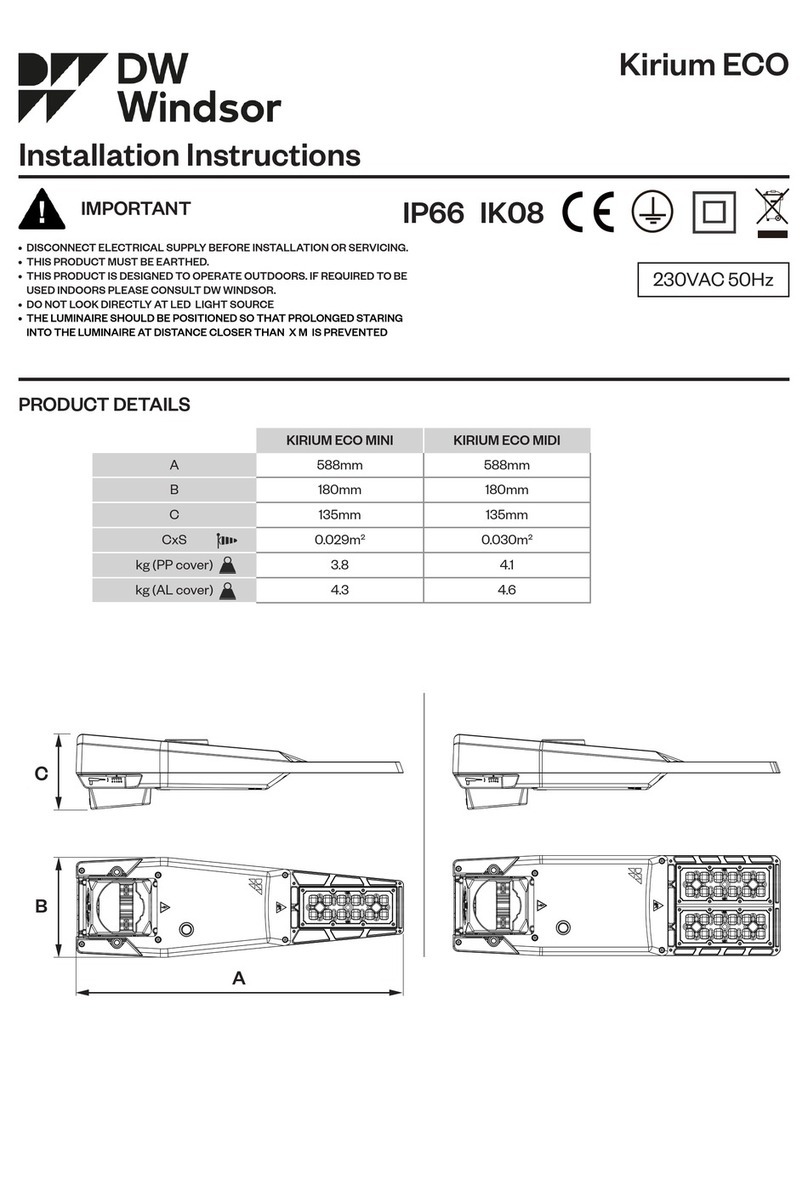
DW Windsor KIRIUM ECO Series User manual

DW Windsor

DW Windsor KIRIUM ECO Series User manual

DW Windsor KOV C 60 1 User manual

DW Windsor

DW Windsor KOV C 60 1 User manual

DW Windsor Silka User manual

DW Windsor

DW Windsor Silka User manual

Popular Outdoor Light manuals by other brands

PB TEEN Kennedy Clip Task Lamp quick start guide

PB TEEN

PB TEEN Kennedy Clip Task Lamp quick start guide

HOMEDEPOT KB 5004 Use and care guide

HOMEDEPOT

HOMEDEPOT KB 5004 Use and care guide

HAMPTON BAY F319001A ROB Use and care guide

HAMPTON BAY

HAMPTON BAY F319001A ROB Use and care guide

LIVARNO LUX LLES B2 User manual and service information

LIVARNO LUX

LIVARNO LUX LLES B2 User manual and service information

Smart Life EBE-QPZ09 instruction manual

Smart Life

Smart Life EBE-QPZ09 instruction manual

Inlite ACE DOWN installation manual

Inlite

Inlite ACE DOWN installation manual

easymaxx TRF61P312A instructions

easymaxx

easymaxx TRF61P312A instructions

HAMPTON BAY HD40100 manual

HAMPTON BAY

HAMPTON BAY HD40100 manual

LIVARNO LUX LLES B2 User manual and service information

LIVARNO LUX

LIVARNO LUX LLES B2 User manual and service information

PB TEEN Rustic Nmbr Tbl Lamp Nmbr 3 Assembly instructions

PB TEEN

PB TEEN Rustic Nmbr Tbl Lamp Nmbr 3 Assembly instructions

HAMPTON BAY KSZ1501LM-01/BR Use and care guide

HAMPTON BAY

HAMPTON BAY KSZ1501LM-01/BR Use and care guide

solarcentre BERKELEY SC2347 user guide

solarcentre

solarcentre BERKELEY SC2347 user guide

Delta Light KIX M P60 Installation instruction

Delta Light

Delta Light KIX M P60 Installation instruction

HAMPTON BAY HD6587C Use and care guide

HAMPTON BAY

HAMPTON BAY HD6587C Use and care guide

LIVARNO LUX 3433-025L Assembly, operating and safety instructions

LIVARNO LUX

LIVARNO LUX 3433-025L Assembly, operating and safety instructions

Quoizel SNN8409K Assembly instruction sheet

Quoizel

Quoizel SNN8409K Assembly instruction sheet

höfats SPIN manual

höfats

höfats SPIN manual

Renkforce Siero operating instructions

Renkforce

Renkforce Siero operating instructions

manuals.online logo
manuals.online logoBrands
  • About & Mission
  • Contact us
  • Privacy Policy
  • Terms and Conditions

Copyright 2025 Manuals.Online. All Rights Reserved.