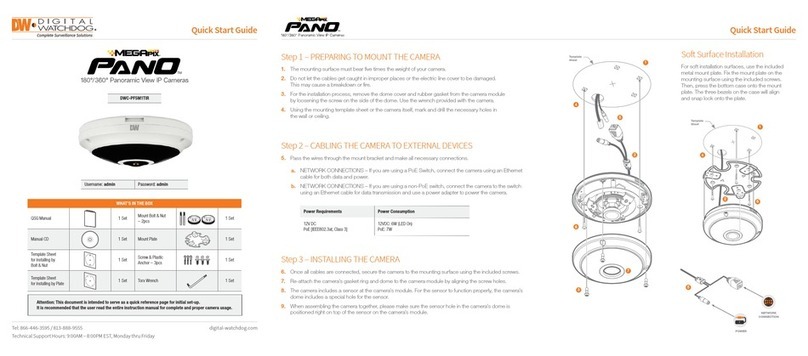
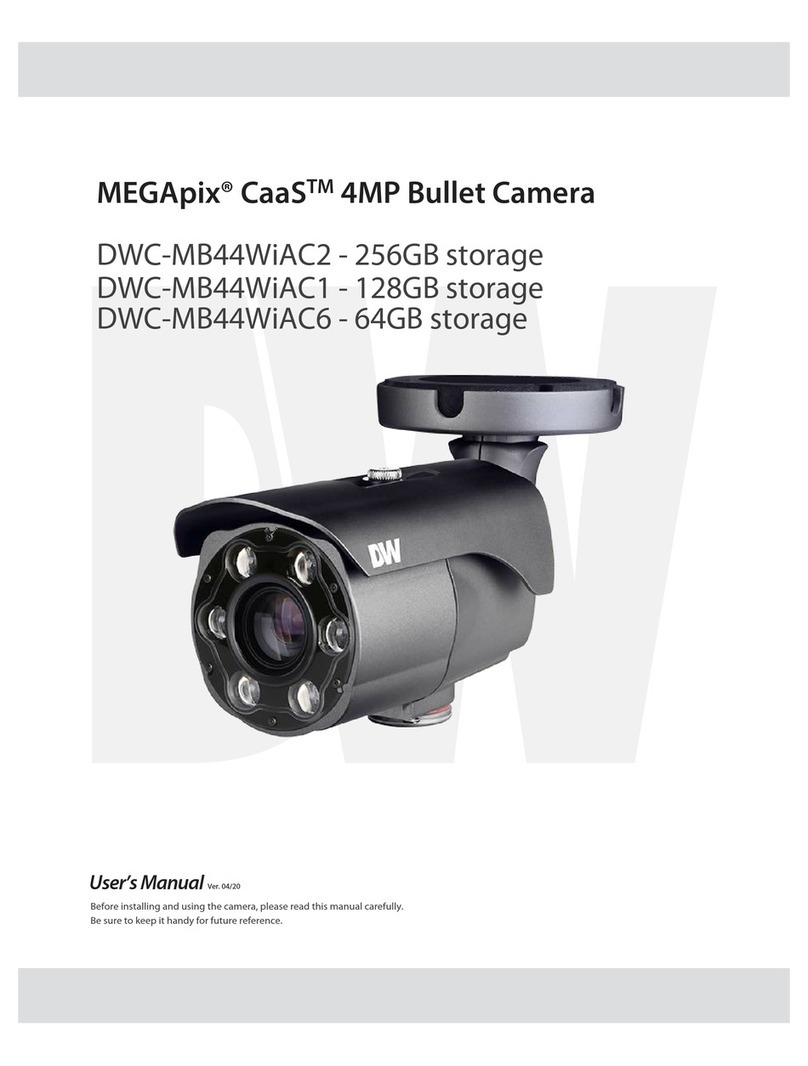
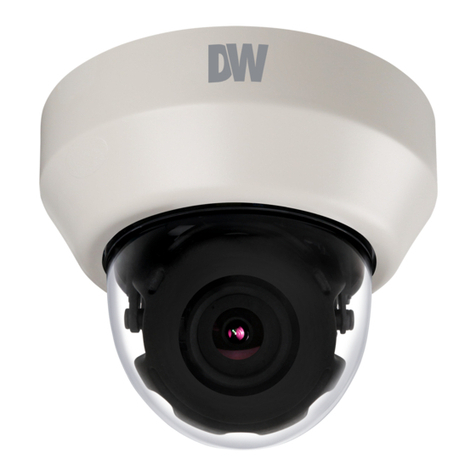
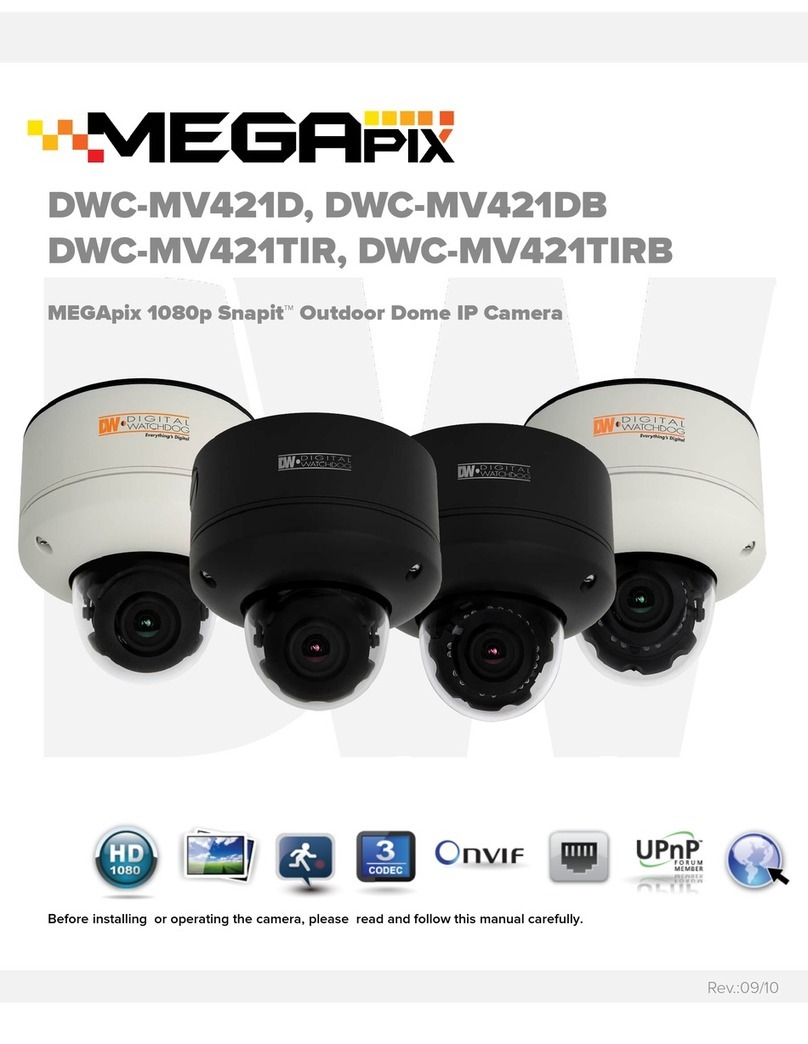
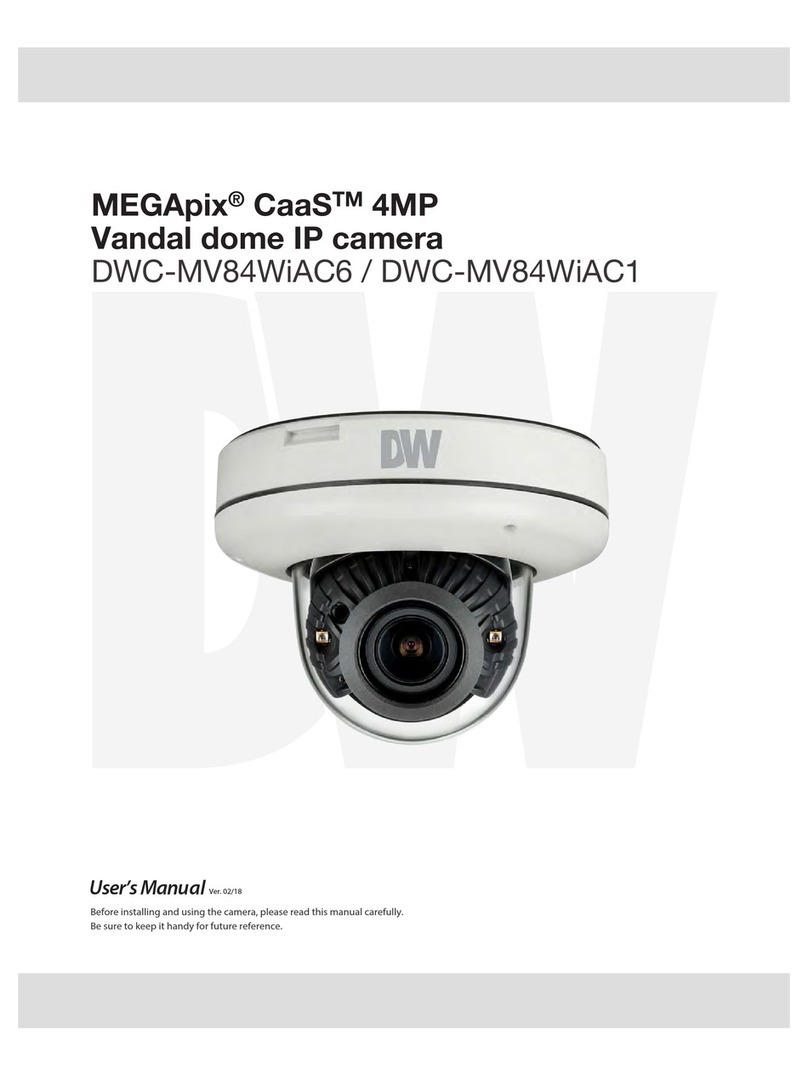
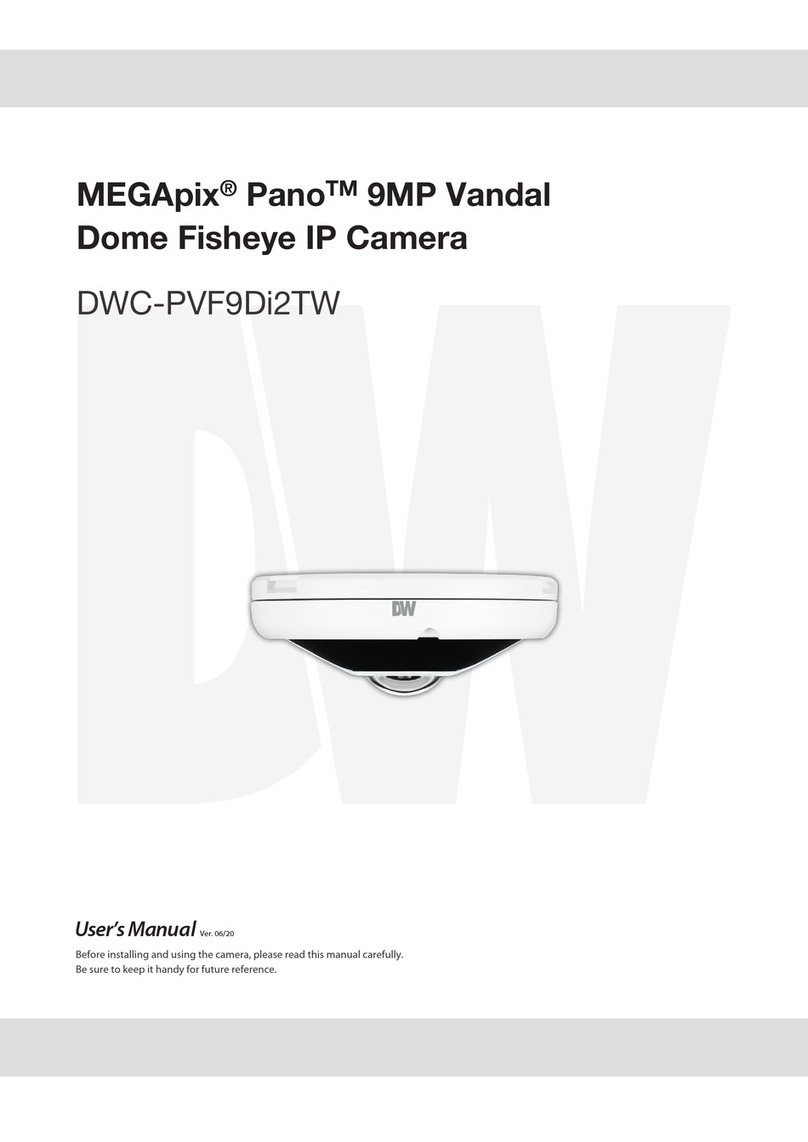
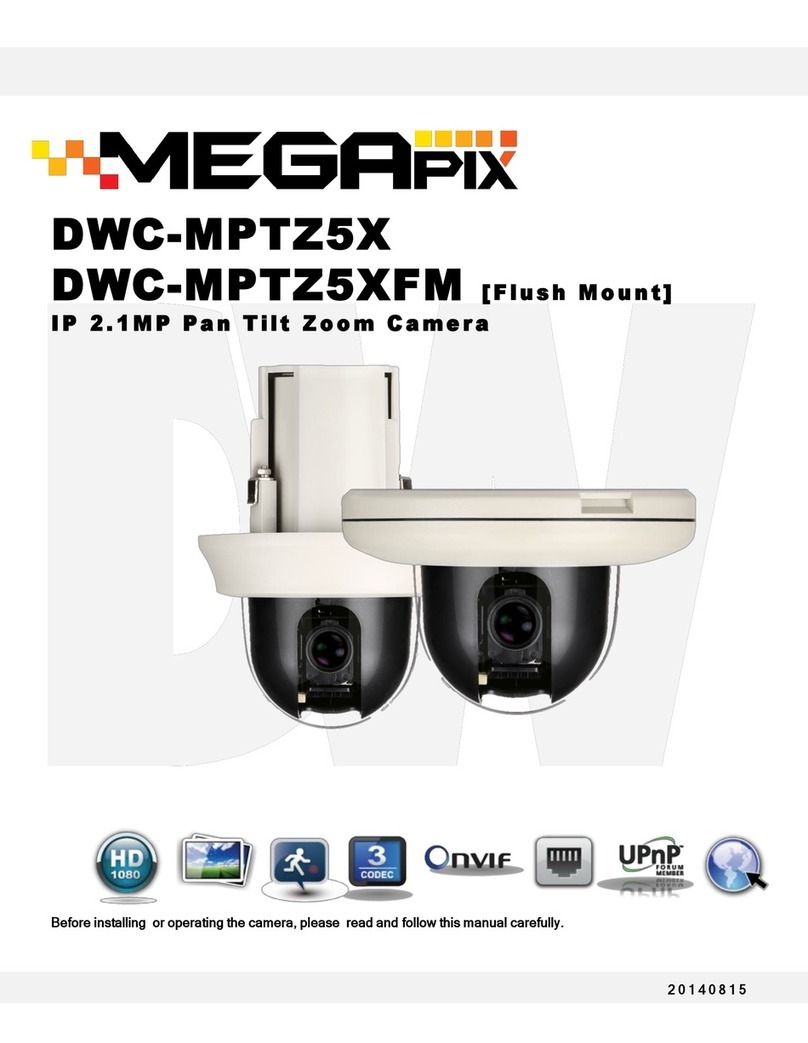
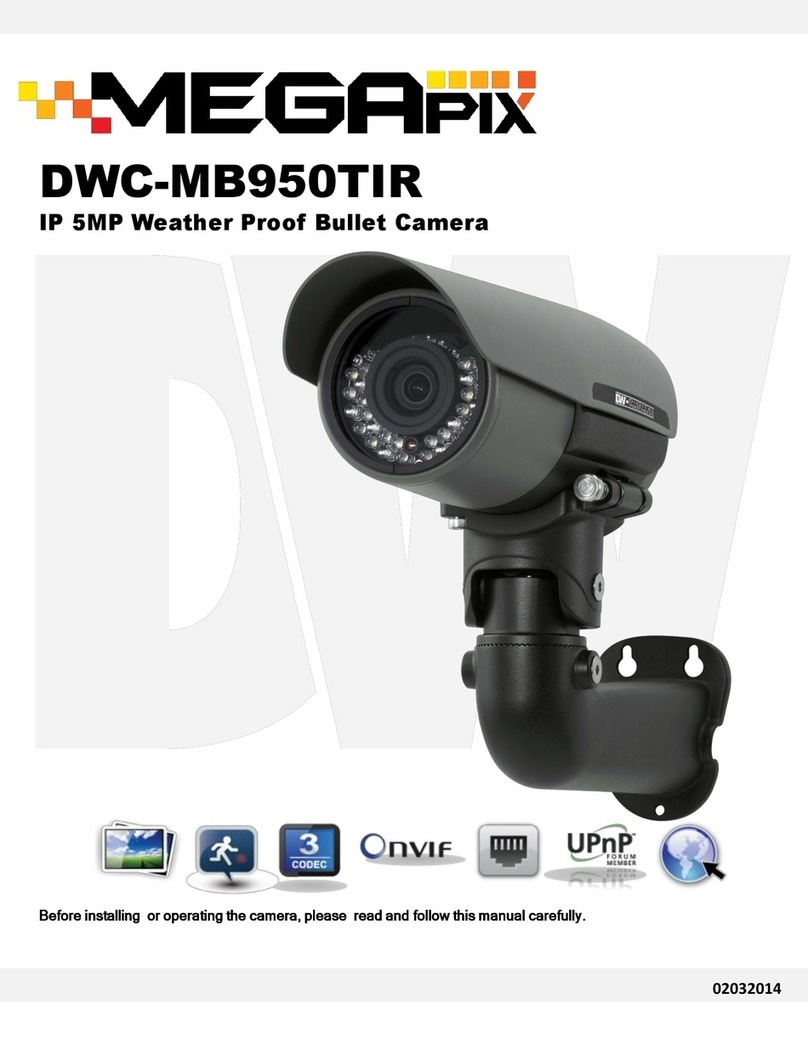
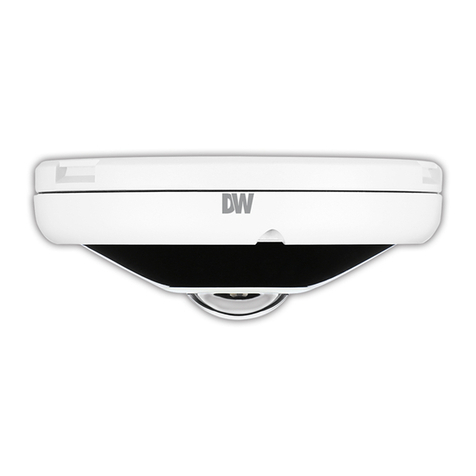
DW MEGApix DWC-MB721M8TIR User manual

Before installing or operating the camera, please read and follow this manual carefully.Before installing or operating the camera, please read and follow this manual carefully.
20140605
DWC-MB721M4TIR
DWC-MB721M8TIR
IP 2.1MP Weather Resistant Bullet IR Camera

PRECAUTIONS
Do not open or modify.
Do not open the case except during maintenance and installation, for it may be dangerous and can cause
damages.
Do not put objects into the unit.
Keep metal objects and flammable substances from entering the camera. It can cause fire, short-circuits, or
other damages.
Be careful when handling the unit.
To prevent damages, do not drop the camera or subject it to shock or vibration.
Do not install near electric or magnetic fields.
Protect the camera from humidity and dust.
Protect the camera from high temperature.
Be careful when installing near the ceiling of a kitchen or a boiler room, as the temperature may rise to high
levels.
Cleaning: To remove dirt from the case, moisten a soft cloth with a soft detergent solution and wipe.
Mounting Surface: The material of the mounting surface must be strong enough to support the camera.
This equipment has been tested and found to comply with the limits for a Class B digital device, pursuant to Part 15 of
the FCC rules. These limits are designed to provide reasonable protection against harmful interference, when the
equipment is operated in a residential environment. This equipment generates, uses, and radiates radio frequency
energy, and if it is not installed and used in accordance with the instruction manual, it may cause harmful interference
to radio communications.
WARNING: Changes or modifications are not expressly approved by the manufacturer.
FCC COMPLIANCE
2

TABLE OF CONTENTS*
Introduction.......................................................................................................................................................4
Features........................................................................................................................................................4
Parts .............................................................................................................................................................5
Dimensions...................................................................................................................................................6
Inside the Box ..............................................................................................................................................7
Installation.........................................................................................................................................................8
Network Connection.....................................................................................................................................8
Installation- Mounting ..................................................................................................................................9
MEGApix Camera Setup...............................................................................................................................10
Installing the IP Finder...............................................................................................................................10
Using IP Finder Software......................................................................................................................11-12
Network Options.........................................................................................................................................13
Upgrading Cameras using the IP Finder Software....................................................................................14
Camera Reboot..........................................................................................................................................15
MEGApix Camera Web Viewer.....................................................................................................................16
Accessing the Web Viewer via Internet Explorer.......................................................................................16
Accessing the Web Viewer via Google Chrome, Mozilla Firefox and Safari............................................17
GUI Description .........................................................................................................................................18
First & Second Stream...............................................................................................................................19
Export Image..............................................................................................................................................20
Print Image.................................................................................................................................................21
Instant Recording..................................................................................................................................22-23
MEGApix Camera Setup...............................................................................................................................24
Video ....................................................................................................................................................24-29
Event ....................................................................................................................................................30-32
Network.................................................................................................................................................33-38
Record ..................................................................................................................................................39-42
System..................................................................................................................................................43-48
Specifications ...........................................................................................................................................49-50
Troubleshooting .......................................................................................................................................51-54
Warranty..........................................................................................................................................................55
Limits & Exclusions.......................................................................................................................................56
3
ONVIF Compliant, Profile S
2.1 Megapixels (1080P, 30fps)
Triple Codecs with Simultaneous Dual-Stream
1/2.8” CMOS Sensor
4.0mm Fixed Lens [DWC-MB721M4TIR]
8.0mm Fixed Lens [DWC-MB721M8TIR]
12X Digital Zoom
50ft IR with Intelligent Camera Sync
TDN [True Day and Night]
Power over Ethernet [PoE] & DC12V
Micro SD/SDHC Class 10 Card for Emergency Backup [Not Included]
IP66 Certified [Weatherproof]
No Fog or Condensation underAny Weather Conditions
WDR [Wide Dynamic Range]
3D-DNR [3D Digital Noise Reduction]
Motion Detection
FEATURES*
4

PARTS & DESCRIPTIONS *
5

DIMENSIONS*
6

The following items are included with the MEGApix camera.
INSIDE THE BOX *
7

T h e re a r e t w o o p t io ns t o p o w e r t h e M E G A p ix c a m er a.
U s e a P o E - e n a b l e d s w i t c h t o c o n n e c t d a t a a n d p o w e r t h r o u g h a s i n g l e
c a b l e a n d b e g i n v i e w i n g a n d r e c o r d i n g i m a g e s i n s t a n t l y . A n o n - P o E
s w i t c h w i l l r e q u i r e a n a d a p t o r f o r p o w e r t r a n s m i s s i o n .
1. Using a PoE-Enabled Switch
The MEGApix Camera is PoE-Compliant, allowing transmission of power and data via a
single Ethernet cable. PoE eliminates the need for the different cables used to power, record,
or control the camera. Follow the illustration below to connect the camera to a PoE-enabled
switch using an Ethernet cable.
2. Using 12VDC
If a PoE injector is not available, use a power adaptor for power transmission and a non-PoE
switch for data transmission. Follow the illustrations below to connect the camera without a
PoE Injector.
NETWORK CONNECTION*
8

Before mounting the camera, please check the following:
1. The mounting surface must be able to sustain five times
the weight of your camera.
Mounting the Camera:
1. Use the camera’s mounting template or the camera’s
housing to mark the drilling holes in the mounting
surface.
2. Drill holes into the drywall using the included dry wall
anchors.
3. Pull wires through and make connections.
4. Mount the camera to the wall or ceiling using the screws
provided with the camera.
5. To adjust the camera’s pan and tilt, loosen the Pan/ Tilt
stopper screw by rotating it counter clock-wise.
6. Once the camera’s an and tilt angles have been adjusted,
tighten the Pan/ Tilt stopper screw back to secure the
camera in its position by rotating it clock-wise.
7. When the installation is complete and before powering
the camera, remove the protective cover sticker from the
camera’s vent hole. The vent hole is located on the back
of the camera, above the reset button.
INSTALLATION*
9
Preparing the Camera and Mounting Surface:

I n s t a l l in g I P F i n d e r S o f t w a r e
I P F i n d e r s e a r c h e s f o r a l l t h e a v a i l a b l e D i g i t a l W a t c h d o g d e v i c e s
c u r r e n t l y c o n n e c t e d t o y o u r n e t w o r k .
1. Install IP Finder to find the MEGApix camera on your local network. The software can be
found on the included User Manual CD. Run IP Finder and install onto your PC*.
2. When setup is complete, launch IP Finder .
3. To find your MEGApix camera, click Search button. Your MEGApix camera will appear as
”DWC-MB721M4TIR.”
4. Select the desired device and click Web Connect to access the camera directly via Internet
Explorer.
*Install the IP Finder to a computer located on the same Subnet Mask as the MEGApix camera.
10
IP FINDER SOFTWARE*

U s i n g I P F i n d e r S o f t w a r e
U s e I P F i n d e r t o c h a n g e t h e b a s i c s e t t i n g s o f y o u r M E G A p i x c a m e r a o r
t o c o n n e c t t o y o u r M E G A p i x c a m e r a .
1. Configuration: Change the device’s connection type and/or IP address information. See
page 12 for more information.
2. Upgrade: Upgrade the camera’s firmware. See page 14 for more information.
3. Time-zone: Change the time-zone on the camera.
4. Import Config: Import setup configuration.
5. Web Connect: Connect to the MEGApix camera through Internet Explorer.
IP FINDER SOFTWARE*
[5]
[4]
[3]
[2]
[1]
11

U s i n g I P F i n d e r S o f t w a r e
U s e I P F i n d e r t o s e t t h e c o n n e c t i o n t y p e a n d t h e I P a d d r e s s i n f o r m a t i o n
f o r y o u r M E G A p i x c a m e r a .
1. DHCP: Select DHCP to access the camera within the same internal network. For further
explanation on DHCP, please see page 13.
2. PPPoE: requires previous registration. Enter the username and password.
3. Static IP: Select Static to connect to the camera from an external network. For further
explanation on Static, please see page 13.
4. Use DDNS: Check this option to use DDNS service. For further explanation on DDNS, please
see page 13.
5. Port: The port numbers required for communication with the camera. Use the IP Finder to
change other basic settings for your
MEGApix camera. (The menu
options may vary
depending on the
camera model.)
*If you change the camera’s IP, write down the camera’s MAC Address for identification in the future.
[4]
[1]
[2]
[3]
[5]
12
IP FINDER SOFTWARE*

D H C P
The Dynamic Host Configuration Protocol (DHCP) is a network configuration protocol that allows a
device to configure automatically according to the network it is connected to.
If your network supports DHCP and your MEGApix camera is set to DHCP, IP Finder will
automatically find and set your MEGApix camera to correspond with your network requirements.
S t a t i c
Static IP addresses are recommended when using a network that does not support DHCP or when
setting your device to be accessed externally via the internet. If Static is selected, you must
manually enter the correct network settings for your MEGApix camera. The settings will
correspond with your network. To set your camera to a static IP address, we recommend that you
(1) setup the camera to DHCP, (2) allow it to configure itself according to your network, and (3)
change the settings to a static IP address.
1. To set your MEGApix camera to Static, highlight the desired device from the search results
list, and click on Configuration. In the “Network Configuration” window, make sure Static is
selected.
2. Enter the following information: IP Address, Net-mask, Gateway, and Preferred DNS.
3. Click Apply and Reboot to save all changes.
D D N S
Dynamic Domain Name Server is a feature that allows you to use a specific URL instead of an IP
address to access your MEGApix camera. This feature is optional. It may require a subscription
and fee.
1. To use the DDNS feature, check the box next to Use DDNS.
2. Select the server you wish to use. *Some servers may require a subscription and fee.
3. If applicable, enter the User ID and Password.
4. Click Apply and Reboot to save all changes.
IP FINDER SOFTWARE*
13

U p g r a d in g C a m e r a s u s i n g t h e I P F i n d e r S o f t w a r e
U s e I P F i n d e r t o p e r f o r m f i r m w a r e u p g r a d e t o a l l y o u r M E G A p i x c a m e r a s
f r o m o n e c o n v e n i e n t l o c a t i o n .
1. Select all the cameras you would like to upgrade. You can select multiple cameras by clicking
on multiple camera models while holding down the Ctrl button*.
2. Press the ‘Upgrade’ button.
3. Browse and select the appropriate file to use for the upgrade. Press the ‘OK’ button.
4. The system will start updating all the selected cameras in a new window.
5. The system will indicate if the upgrade was successful or not for each camera.
6. When all cameras have been upgraded, press the ‘Close’ button
7. To complete the upgrade, reboot the cameras by pressing the ‘server reboot’ button.
8. Press ‘Exit
9. Allow up to 60 seconds for the cameras to reboot and press the ‘Search’ button. If the
cameras reappear in the IP Finder the reboot is complete and the camera is ready.
* IP Finder can perform multiple upgrades at the same time only for the same camera models.
Some cameras may require different firmware depending on the model.
[4]
[1]
[2]
[3]
[5]
[6]
[7]
[8]
14
IP FINDER SOFTWARE*

R e s e t t i n g t h e C a m e r a
P r e s s i n g t h e r e s e t b u t t o n o n t h e c a m e r a ’ s b a c k f o r f i v e ( 5 ) s e c o n d s w i l l
i n i t i a l i z e a l l e n v i r o n m e n t a l v a r i a b l e s t o f a c t o r y d e f a u l t . P r e v i o u s s e t u p
f o r I P d e f a u l t , t i m e , e t c . w i l l b e d e l e t e d . I f a s y s t e m ’ s I P a d d r e s s i s
l o s t , r e s e t t h e c a m e r a b a c k t o f a c t o r y d e f a u l t .
The following are the default network settings.
CAMERA REBOOT*
IP Mode DHCP
IP Address 192.168.1.123
Subnet Mask 255.255.255.0
Gateway 192.168.1.23
Command Port 7000
HTTP Port 80
Live Port 7001
* Frequent use may cause system error.
15

R e m o t e V i d e o M o n i t o r i n g V i a I n t e r n e t E x p l o r e r
M o n i t o r a n d c o n f i g u r e t h e M E G A p i x c a m e r a t h r o u g h a b u i l t - i n w e b
v i e w e r .
1. Type the IP address of the camera in an Internet Explorer window.
Example: http://192.168.1.123 (Factory Default)
2. Enter Username and Password
Default: Username: admin | Password: admin
3. The web browser will ask to install ActiveX Control to view video from the camera. Once it
has been installed, Internet Explorer will display video images from the camera.
WEBVIEWER*
16

R e m o t e V i d e o M o n i t o r i n g V i a C h r o m e , F i r e f o x , o r S a f a r i
Y o u c a n v i e w y o u r M E G A p i x c a m e r a u s i n g w e b b r o w s e r s o t h e r t h a n
I n t e r n e t E x p l o r e r . T o d o s o , a t l e a s t o n e o f t h e s t r e a m s o f t h e c a m e r a
m u s t b e s e t t o t h e c o d e c M J P E G .
1. Open Google Chrome, Mozilla Firefox, or Apple Safari Web Browser.
2. Enter the camera's IP address. If the first stream is set to H.264, video will not be displayed
on the GUI.
3. Click the Setup button located at the top right side of the page. Then go to Video > Stream
Settings.
4. Modify one of the two streams to the codec MJPEG.
5. Click Apply and Reload to make sure all changes have been saved.
6. Click on Live View to return to the camera’s main page.
7. At the bottom of the page, select the stream you set as MJPEG to start streaming video.
WEBVIEWER*
17

18
G U I D e s c r i p t i o n
Access Setup Menu
Export Camera’s
Current Display as
JPEG
Print Camera’s
Current Display
Start/ Stop Panic
Recording
Camera’s Name
Camera’s Time
Full Screen Mode
Main Display Area
Alarm Status
Computer Date & Time
Stream’s Name Camera’s IP Address Stream Control
WEBVIEWER*

19
F i r s t S t r e a m & S e c o n d S t r e a m
C o n f i g u r e t w o s t r e a m s e t t i n g s f o r m o n i t o r i n g a n d r e c o r d i n g .
On the main monitoring page, user can view the camera with the First Stream settings or the
Second Stream settings. Below the display screen, click on the First Stream and Second Stream
buttons to alternate between the different camera settings.
To Setup Stream Settings, refer to page 24.
WEBVIEWER*
[Streams Selection]

20
E x p o r t I m a g e
E x p o r t a s c r e e n s h o t o f t h e c u r r e n t l i v e v i d e o t o y o u r c o m p u t e r .
1. Click Export Image button located on the left.
2. A .jpg image will automatically be stored under a WNMDWViewer folder.
3. The image’s name will include the camera’s IP address, Channel name, date, and time.
WEBVIEWER*
[Export Image]
This manual suits for next models
1
Table of contents
Other DW IP Camera manuals

DW
DW Megapix Snapit DWC-MD421D User manual

DW
DW megapix DWC-MB950TIR User manual

DW
DW MEGApix Pano DWC-PVF9Di2TW User manual

DW
DW PANO DWC-PF5M1TIR User manual

DW
DW PowerPix DWC-D3361WTIR User manual

DW
DW DWC-MPTZ5X User manual

DW
DW MEGApix Pano DWC-PVF5Di1TW User manual

DW
DW DWC-MV421D User manual

DW
DW Megapix DWC-MB721M84IR User manual

DW
DW MEGApix DWC-MB44WiAC1 User manual