DW DWC-MPTZ5X User manual

Before installing or operating the camera, please read and follow this manual carefully.
DWC-MPTZ5X
DWC-MPTZ5XFM [ F l u s h M o u n t ]
I P 2 . 1 M P Pa n T i l t Z o o m C a m e r a
20140815

PRECAUTIONS
Do not open or modify.
Do not open the case except during maintenance and installation, for it may be dangerous and can cause
damages.
Do not put objects into the unit.
Keep metal objects and flammable substances from entering the camera. It can cause fire, short-circuits, or
other damages.
Be careful when handling the unit.
To prevent damages, do not drop the camera or subject it to shock or vibration.
Do not install near electric or magnetic fields.
Protect the camera from humidity and dust.
Protect the camera from high temperature.
Be careful when installing near the ceiling of a kitchen or a boiler room, as the temperature may rise to high
levels.
Cleaning: To remove dirt from the case, moisten a soft cloth with a soft detergent solution and wipe.
Mounting Surface: The material of the mounting surface must be strong enough to support the camera.
This equipment has been tested and found to comply with the limits for a Class B digital device, pursuant to Part 15 of
the FCC rules. These limits are designed to provide reasonable protection against harmful interference, when the
equipment is operated in a residential environment. This equipment generates, uses, and radiates radio frequency
energy, and if it is not installed and used in accordance with the instruction manual, it may cause harmful interference
to radio communications.
WARNING: Changes or modifications are not expressly approved by the manufacturer.
FCC COMPLIANCE
2

TABLE OF CONTENTS*
Introduction.......................................................................................................................................................4
Features........................................................................................................................................................4
Parts .........................................................................................................................................................5-7
Dimensions...................................................................................................................................................8
Inside the Box ........................................................................................................................................9-10
Installation.......................................................................................................................................................11
Network Connection...................................................................................................................................11
Installation- Mounting MPTZ5X ...........................................................................................................12-14
Installation- Mounting MPTZ5XFM ......................................................................................................15-18
Installation- SD Card..................................................................................................................................19
MEGAPIX Camera Setup...............................................................................................................................20
Installing the IP Finder...............................................................................................................................20
Using IP Finder Software......................................................................................................................21-22
Network Options.........................................................................................................................................23
Upgrading Cameras using the IP Finder Software....................................................................................24
Camera Reboot..........................................................................................................................................25
MEGAPIX Camera Web Viewer.....................................................................................................................26
Accessing the Web Viewer via Internet Explorer.......................................................................................26
Accessing the Web Viewer via Google Chrome, Mozilla Firefox and Safari............................................27
GUI Description .........................................................................................................................................28
First & Second Stream...............................................................................................................................29
Export Image..............................................................................................................................................30
Print Image.................................................................................................................................................31
Instant Recording..................................................................................................................................32-33
Controlling the Camera using Virtual Joystick .....................................................................................34-35
MEGAPIX Camera Setup...............................................................................................................................36
Video ....................................................................................................................................................36-41
PTZ .......................................................................................................................................................42-48
Event ....................................................................................................................................................49-50
Network.................................................................................................................................................51-56
Record ..................................................................................................................................................57-60
System..................................................................................................................................................61-66
Specifications ...........................................................................................................................................67-68
Troubleshooting .......................................................................................................................................69-72
Warranty..........................................................................................................................................................73
Limits & Exclusions.......................................................................................................................................74
3

ONVIF Compliant, Profile S
2.1 Megapixels, 30fps at All Resolution
Triple Codec, Simultaneous Dual-Stream
1/2.8” CMOS Sensor
5~25mm Zoom Lens
5X Optical Zoom with Auto Focus
12X Digital Zoom
Auto Day and Night with IR Cut Filter
Pan 0~350°Endless, 120°Per Second Pan Speed
Vector Drive Technology [Pan/Tilt Motion in Shortest Path]
255 Preset Positions, 4 Sequences, 8 Swings, 8 Tours
WDR [Wide Dynamic Range]
3D-DNR [3D Digital Noise Reduction]
Motion Detection with E-mail Notifications
Two-WayAudio [MPTZ5XFM Only]
1 Sensor Inputs, 1 Sensor Output [MPTZ5XFM Only]
Micro SD/SDHC Class 10 Card for Emergency Backup (Not Included)
IP66 Certified [Weatherproof] [MPTZ5X Only]
Power Over Ethernet [PoE] & DC12V
FEATURES*
4

PARTS & DESCRIPTIONS –MPTZ5X*
5
Cover Dome
Cover Dome Screws
Camera Module
Rubber Gasket

PARTS & DESCRIPTIONS –MPTZ5XFM*
6

PARTS & DESCRIPTIONS [MPTZ5XFM]*
7
Camera
Part
Description
1
Audio Output Port Connection for audio output cables
2
Audio Input Port Connection for audio input cables.
3
Alarm In Connects to peripheral devices according to camera settings
4
Alarm Out Connects to peripheral devices according to camera settings
5
Network Cable Port RJ45 Cross over network cable connector
6
Power Port Connect 12V DC power source.
7
Micro SD Card Slot Enter a micro SD card for local emergency backup (not included)

DIMENSIONS –MPTZ5X*
8
DIMENSIONS –MPTZ5XFM*

INSIDE THE BOX –MPTZ5X*
9

INSIDE THE BOX –MPTZ5XFM*
10

T h e re a r e t w o o p t io ns t o p o w e r t h e M P T Z5 X c a m er a .
U s e a P o E - e n a b l e d s w i t c h t o c o n n e c t d a t a a n d p o w e r t h r o u g h a s i n g l e
c a b l e a n d b e g i n v i e w i n g a n d r e c o r d i n g i m a g e s i n s t a n t l y . A n o n - P o E
s w i t c h w i l l r e q u i r e a n a d a p t o r f o r p o w e r t r a n s m i s s i o n .
1. Using a PoE-Enabled Switch
The MEGAPIX Camera is PoE compliant, allowing transmission of power and data via a
single Ethernet cable connected to a PoE injector. PoE injectors eliminates the need for the
different cables used to power, record, or control the camera. Follow the illustrations below to
connect the camera to a PoE- injector using an Ethernet cable.
2. Using 12V DC
If a PoE injector is not available, use a power adaptor for power transmission and a non-PoE
switch for data transmission. Follow the illustrations below to connect the camera without a
PoE Injector.
NETWORK CONNECTION*
11

Before staring the installation, remove
protective foam from the camera’s lens. These
are used to protect the camera module during
shipment and should be completely removed
before powering the camera. To do so:
1. Detach the Gasket from the bottom of the
camera.
2. Detach the dome cover from the camera
module by loosening the three screws on
the cover dome.
3. Take off the protection P.E Foam from the
dome cover and lens.
4. Assemble the dome cover bottom case by
aligning the screw hole in the cover and
bottom case.
5. Assemble the bottom gasket to the
camera.
INSTALLATION [MPTZ5X]*
12
R e m o vi n g t h e p r o t ec t io n p a r t s
Protection Foam
Protection Foam
Rubber
Gasket

1. Using the metal mount plate, mark and drill
the necessary holes in the wall or ceiling.
2. Pull wires through and make connections.
3. Using the two (2) included screws, mount
and secure the camera to the wall or ceiling.
4. Attach the camera base to the metal mount
by snapping it into place using the two metal
handles.
5. Secure the camera’s cover dome onto the
camera base to complete the installation.
INSTALLATION [MPTZ5X]*
13
M e t a l M o u n t C a m e r a I n s t a l l a t i o n

1. Using the camera’s template, mark and drill the necessary holes in the wall or ceiling.
2. Secure the two (2) mount bolts into the camera’s bottom.
3. Pull wires through and make all necessary connections.
4. Insert the mount bolts into the template holes.
5. Fix the camera to the mounting surface by tightening the mount nuts to the mount bolts on the
ceiling panel.
INSTALLATION [MPTZ5X]*
14
S o f t C e i l i n g M o u n t I n s t a l l a t i o n

1. Before staring the installation, remove the
lens cap and the fix tape. These are used to
protect the camera module during shipment
and should be completely removed before
powering the camera.
2. The mounting surface must be able to
sustain five times the weight of your
camera.
3. Do not let the cables get caught in improper
locations or it can cause damage to the
cables.
INSTALLATION [MPTZ5XFM] *
15
R e m o vi n g t h e p r o t ec t io n p a r t s

1. Detach the camera’s housing from the flush mount
by rotating the camera counter clock-wise and
pulling.
2. Use the mounting template to mark and drill the
necessary holes in the wall or ceiling.
3. Pull wires through the Flush Mount Bracket.
4. Using the two (2) included screws, mount and
secure the camera’s flush mount to the wall or
ceiling.
5. Once the Flush Mount is securely mounted, make
cable connections and insert the camera module
into the bracket. Turn it clock-wise to lock it in
place.Align the red dots on the body and the flush
mount bracket.
6. Attach the camera’s bubble dome cover over the
camera and remove the protective dome cover.
7. Select from the available accessories a deco-ring
and attach it to the camera’s dome cover.
INSTALLATION [MPTZ5XFM]*
16
I n s t a l l a t i o n u s i n g S c r e w s

17
1. Disconnect the camera module from the Flush Mount
Bracket. Use the mounting template to mark and drill
the necessary holes in the wall or ceiling.
2. Pull wires through the Flush Mount Bracket.
3. Insert the flush mount bracket into the mounting
ceiling or wall.
4. To hook the flush mount bracket to the mounting
surface, push and turn the head screw clock-wise
using a Philips driver. The hook’s head should then
grab onto the ceiling’s inside side. Repeat for both
hooks until the flush mount is secured to the ceiling.
5. Once the Flush Mount is securely mounted, make
cable connections. Insert the camera module into the
bracket. Turn it clock-wise to lock it in place.Align
the red dots on the body and the flush mount
bracket.
6. Attach the camera’s bubble dome cover over the
camera and remove the protective dome cover.
7. Select from the available accessories a deco-ring
and attach it to the camera’s dome cover.
INSTALLATION [MPTZ5XFM]*
I n s t a l l a t i o n u s i n g H o o k s

18
INSTALLATION [MPTZ5XFM]*
C a b l i n g
U s e t h e d i a g r a m b e l o w f o r p r o p e r c a b l i n g o f p e r i p h e r a l d e v i c e s s u c h a s
a u d i o i n p u t ( m i c r o p h o n e ) a n d a u d i o o u t p u t ( s p e a k e r ) . U s e t h e A u d i o a n d
A l a r m C a b l e c o n n e c t o r t o c o n n e c t a l l e x t e r n a l d e v i c e s t o t h e c a m e r a :
Audio IN: The cables from the audio input device
should connect to audio in and GND in the cable slot.
Then activate the audio input device in the camera’s
web viewer.
Audio OUT: The cables from the audio output device
should connect to audio out and GND in the cable
slot. Audio volume is controlled in the camera’s web
viewer.
Alarm IN: The cable from a sensor/ alarm input device
should connect to alarm in+ and alarm in –in the
cable slot. Sensor/ alarm in can be adjusted from the
camera’s web viewer.
Alarm OUT: The cables from an alarm output should
connect to alarm out+ and alarm out –in the cable
slot. Alarm output can be adjusted from the camera’s
web viewer.
* Available in MPTZ5XFM Models only
External Devices and corresponding cables:
1. Audio In ( Orange)
2. GND (Green)
3. Audio Out (Brown)
4. GND (Blue)
5. Alarm In + (White)
6. Alarm In –(Yellow)
7. Alarm Out + (Black)
8. Alarm Out –(Red)

19
INSTALLATION*
S D C a r d
U s e t h e d i a g r a m b e l o w f o r i n s t a l l a t i o n o f a n S D C a r d f o r l o c a l e m e r g e n c y
b a c k u p . W h e n s e t u p p r o p e r l y , t h e c a m e r a w i l l r e c o r d t o t h e l o c a l S D c a r d
w h e n i t d e t e c t s i t i s n o t r e c o r d i n g t o a n y s e r v e r s a n d i s n o t c o n n e c t e d t o
t h e n e t w o r k .
S D C a r d S l o t i n t h e M P T Z 5 X
S D C a r d S l o t i n t h e M P T Z 5 X F M

I n s t a l l i n g I P F i n d e r S o f t w a r e
I P F i n d e r s e a r c h e s f o r a l l t h e a v a i l a b l e D i g i t a l W a t c h d o g d e v i c e s
c u r r e n t l y c o n n e c t e d t o y o u r n e t w o r k .
1. Install IP Finder to find the MEGAPIX camera on your local network. The software can be
found on the included User Manual CD. Run IP Finder and install onto your PC.
2. When setup is complete, launch IP Finder .
3. To find your MEGAPIX camera, click Search button. Your MEGAPIX camera will appear as
”DWC-MPTZ5X.”
4. Select the desired device and click Web Connect to access the camera directly via Internet
Explorer.
*Install the IP Finder to a computer located on the same Subnet Mask as the MEGAPIX camera.
20
IP FINDER SOFTWARE*
This manual suits for next models
1
Table of contents
Other DW IP Camera manuals

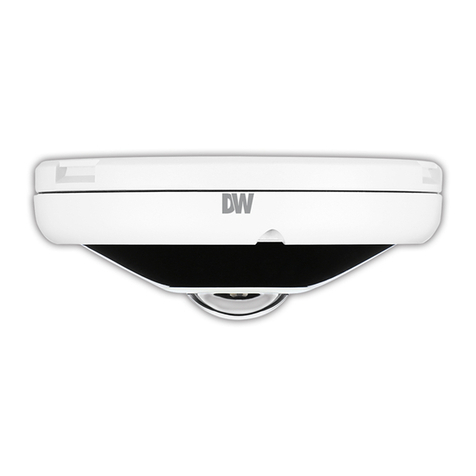
DW
DW Megapix DWC-MB721M84IR User manual

DW
DW PowerPix DWC-D3361WTIR User manual

DW
DW MEGApix DWC-MB44WiAC1 User manual

DW
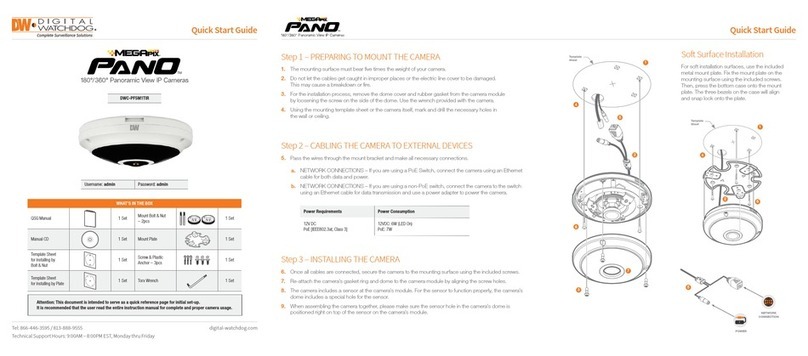
DW MEGApix Pano DWC-PVF5Di1TW User manual

DW
DW DWC-MV421D User manual

DW
DW Megapix Snapit DWC-MD421D User manual

DW
DW MEGApix Pano DWC-PVF9Di2TW User manual

DW
DW DWC-MV84WiAC6 User manual

DW
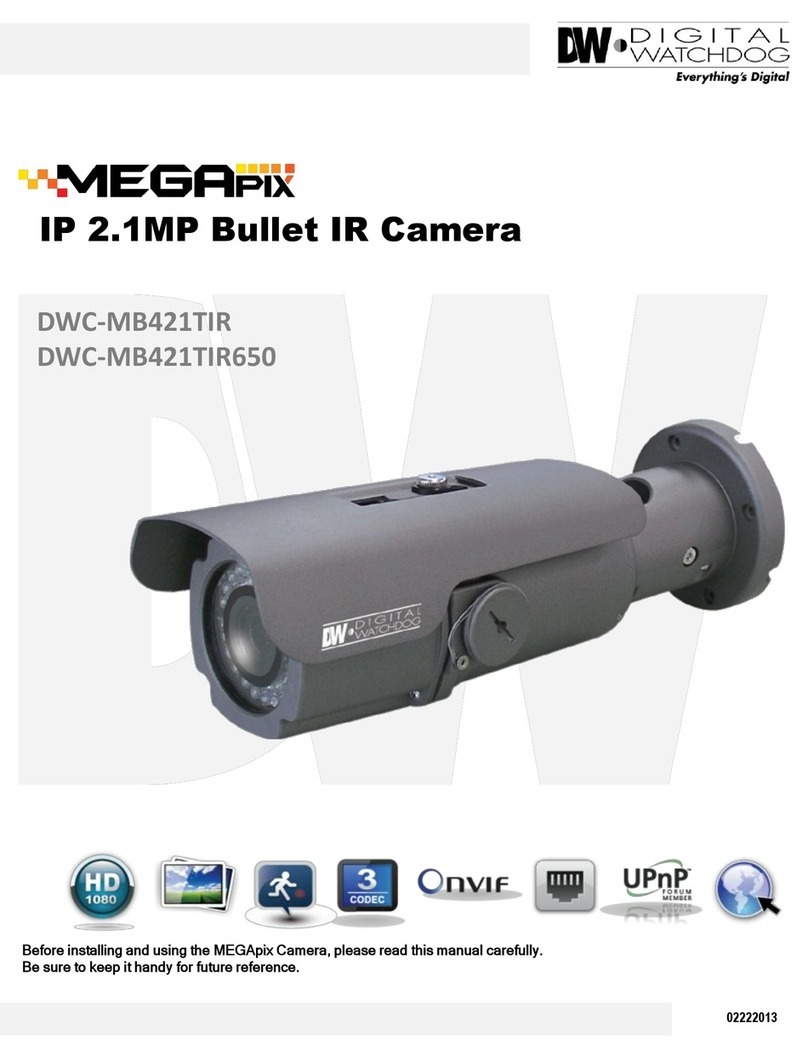
DW DWC-MB421TIR User manual

DW
DW MEGApix DWC-MB721M8TIR User manual