©Copyright 2005 Dwyer Instruments, Inc. Printed in U.S.A. 7/05
DWYER INSTRUMENTS, INC.
Phone: 219/879-8000 www.dwyer-inst.com
P.O. BOX 373 • MICHIGAN CITY, INDIANA 46361, U.S.A. Fax: 219/872-9057 e-mail: info@dwyer-inst.com
OPERATION
Turning the meter ON and OFF
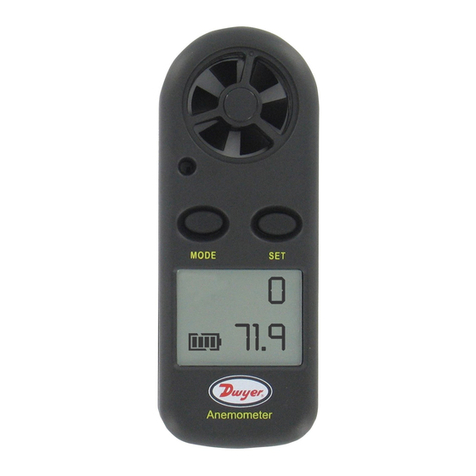
•Press the ON/OFF/HOLD button to turn the meter ON.
•Press and hold the ON/OFF/HOLD buttons for approx. 3 sec-
onds to turn it OFF.
•The meter’s Auto Power OFF feature turns the meter OFF after
10 minutes of inactivity.
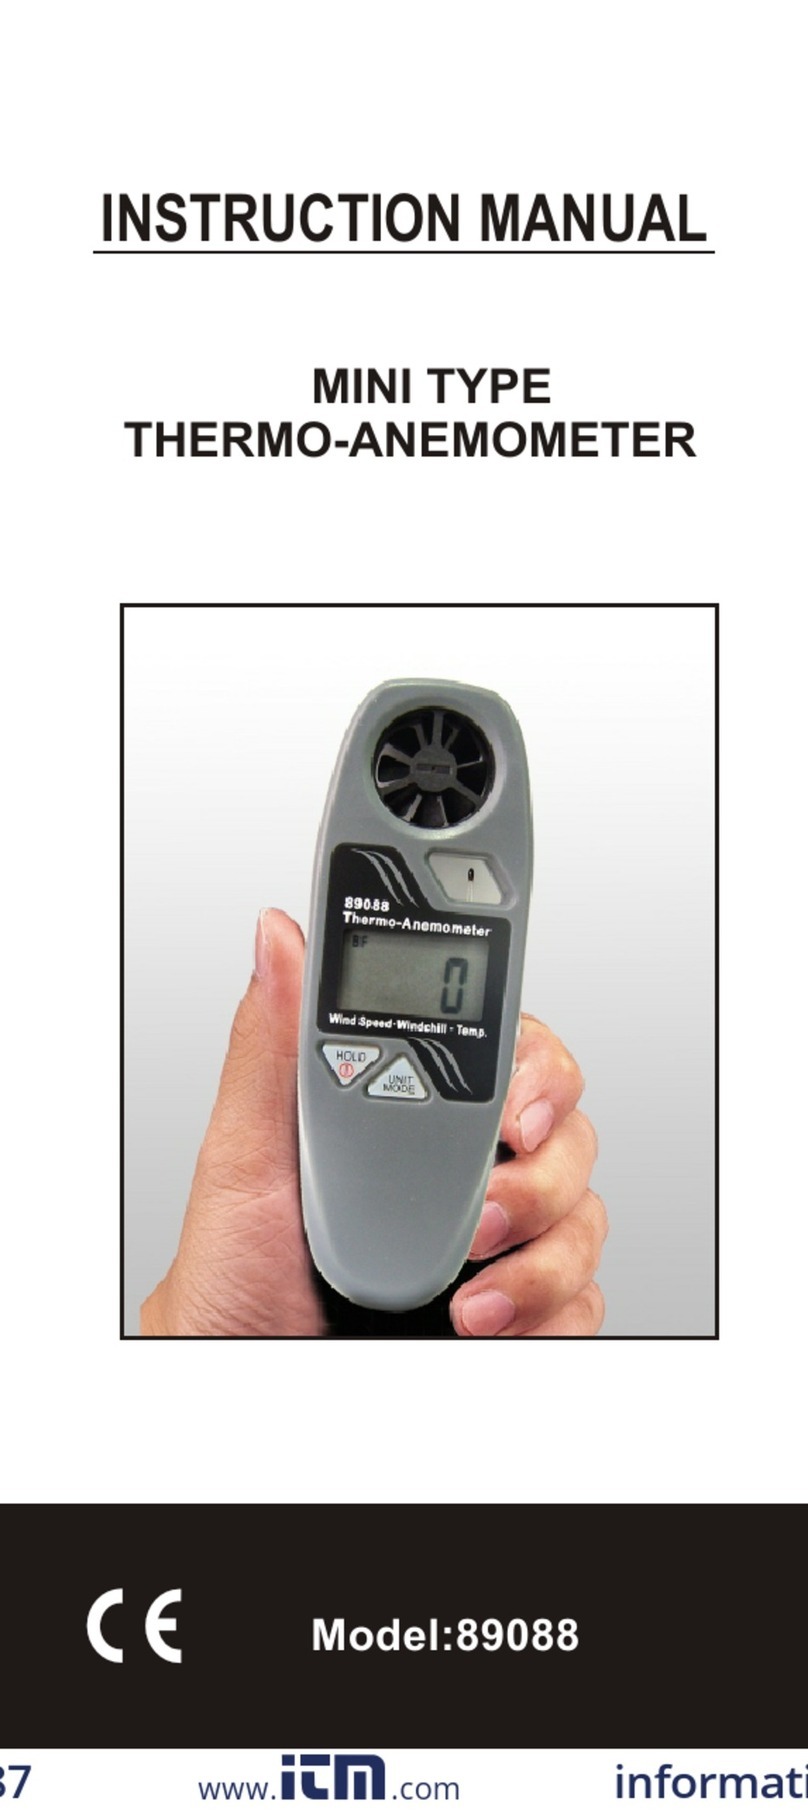
Change the lower display parameter
•With the meter ON, press and hold down the ON/OFF/HOLD
button.
•While continuing to hold the ON/OFF/HOLD button, press the
UNITS/MODE button repeatedly to step through Temperature
(°F/°C), Humidity (RH%), Dew Point (TD) & Temperature with
windchill factor (WCI). Note that the center display is Air
Velocity.
Change the Air Velocity unit of measure
•Turn the meter OFF. Press and hold down both buttons until the
display turns on and begins blinking then release both buttons.
•Press the UNITS/MODE button repeatedly to step through the
units (see specs for list).
•After 5 seconds the meter switches back to normal operation
mode automatically.
Select temperature units (°C or °F)
•Turn the meter OFF first. Press and hold down both buttons until
the display turns on and begins blinking then release the but-
tons.
•Press both buttons momentarily to change temperature units.
•After 5 seconds the meter switches back to normal operation
mode automatically.
Taking Measurements
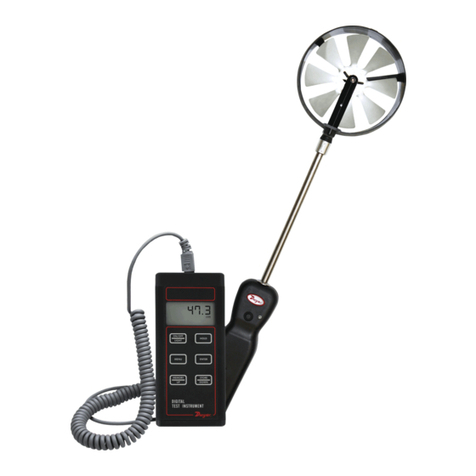
•Position the meter so that the airflow enters the meter vane from
the rear of the meter (opposite side of front panel logo). A tripod
mount is located on the bottom of the meter.
Max Hold
•Max Hold represents the highest measurement taken since the
meter was turned on.
•Press the UNITS/MODE button to display the Max reading (MAX
icon appears).
•Press the UNITS/MODE button repeatedly to step through to
the normal operating mode.
Average mode
•5or 10 reading averages can be displayed in the Average
Mode.
•Press UNITS/MODE 3 times for 5 reading averages or 4 times
for 10 readings.
•To exit this mode, press the UNITS/MODE button until the icons
on the left disappear.
Data Hold
•Data Hold freezes the most recent displayed reading.
•Press and hold the ON/OFF/HOLD button to activate Data Hold.
•As long as the ON/OFF/HOLD button is held the reading will
remain on the LCD.
BATTERY REPLACEMENT
If the meter will not power up as usual or the display contrast
becomes weak and difficult to read, replace the lithium battery. To
do so, turn the battery compartment cover in a CLOCKWISE
direction to remove it. The battery will be visible in the battery com-
partment, observe the position of the battery and replace the new
one in the same position. Affix the battery compartment cover by
turning it in a COUNTER-CLOCKWISE direction. Dispose of the
lithium battery in accordance with local, state, or national waste
disposal codes.
VANE IMPELLER REPLACEMENT
Note: The anemometer is very accurate at low and mid-range air
speeds. Constant use at very high speeds may damage the
impeller’s bearing and reduce over-all accuracy.
To replace impeller, remove the set screw next to the impeller
assembly (on the rear or the meter). Twist the impeller assembly
counter-clockwise to the “O” (open) position and remove it.
Install the new impeller by inserting and twisting the new impeller
assembly clockwise then tighten the screw.
MAINTENANCE
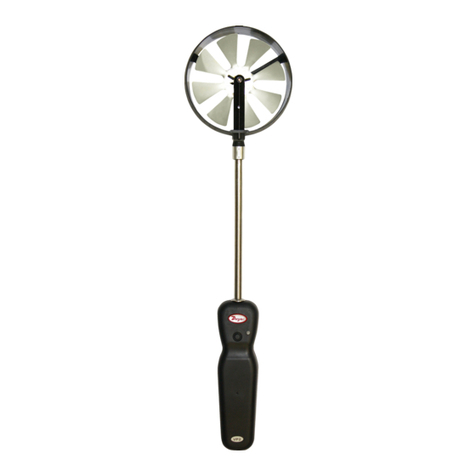
Upon final installation of the Model 45158 Mini Thermo-
Anemometer and the companion receiver, no routine maintenance
is required. A periodic check of the system calibration is recom-
mended. The Model 45158 is not field serviceable and should be
returned if repair is needed (field repair should not be attempted
and may void warranty). Be sure to include a brief description of
the problem plus any relevant application notes. Contact customer
service to receive a return goods authorization number before
shipping.
CFM MEASUREMENTS
Measure the duct area using the diagrams that follow (use inches
rather than feet when calculating the area). Plug the area value, in
inches, into the cubic equations below. Note that the air velocity
must be plugged into the cubic equations also.
Cubic Equations
CFM (ft3/min) = Air Velocity (ft/min) x Area (ft2)
CMM (m3/min) = Air Velocity (m/sec) x Area (m2) x 60
Units Conversion Table
Beaufort Conversion Table
1 m/s=
1 ft/min=
1 knot=
1 km/h=
1 MPH=
m/s
1
0.00508
0.5144
0.2778
0.4464
ft/min
196.87
1
101.27
54.69
87.89
knots
1.944
0.00987
1
0.54
0.8679
Km/h
3.6
0.01829
1.8519
1
1.6071
mph
2.24
0.01138
1.1523
0.6222
1
Beaufort
0
1
2
3
4
5
6
7
8
9
10
11
12 (-17)
Km/h
<1
1-5
6-11
12-19
20-28
29-38
39-49
50-61
62-74
75-88
89-102
103-117
above 117
mph
<1
1-3
4-7
8-12
13-18
19-24
25-31
32-38
39-46
47-54
55-63
64-72
above 72
Knots
<1
1-3
4-6
7-10
11-16
17-21
22-27
28-33
34-40
41-47
48-55
56-63
above 63
Meter/Sec
0-0.2
0.3-1.5
1.6-3.3
3.4-5.4
5.5-7.9
8.0-10.7
10.8-13.8
13.9-17.1
17.2-20.7
20.8-24.4
24.5-28.4
28.5-32.6
above 32.6
W
HR
Rectangular Duct Circular Duct
A = W x H A = pi x R2
Model 45158 8/5/05 11:26 AM Page 2
