3
About Your New Label Maker
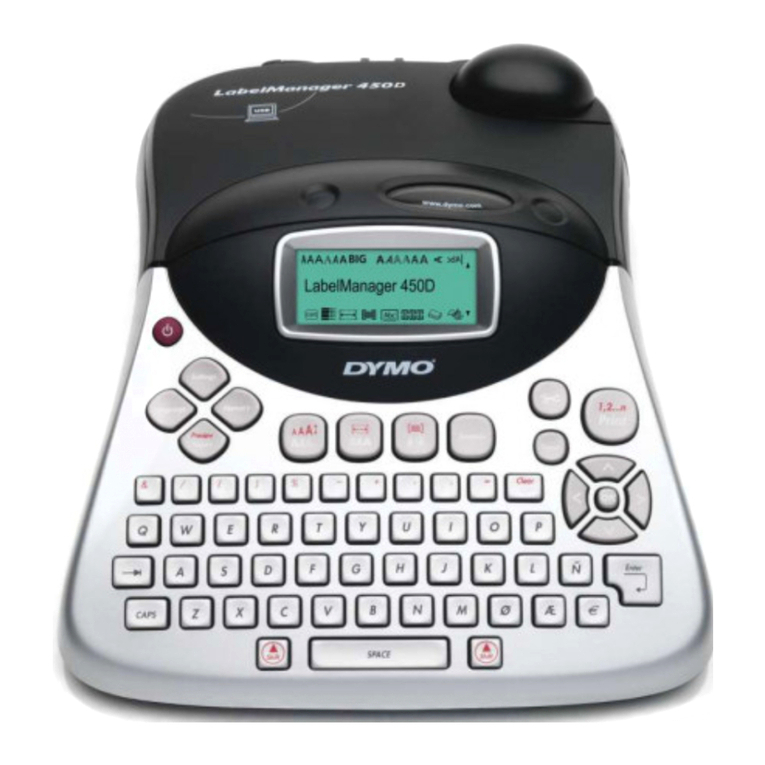
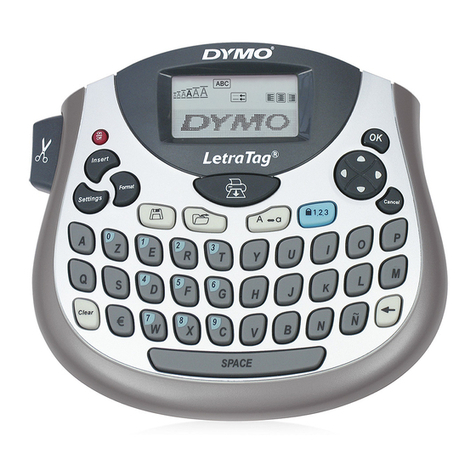
With the DYMO® LabelManager 210D electronic label
maker, you can create a wide variety of high-quality, self-
adhesive labels. You can choose to print your labels in
many different font sizes and styles. The label maker uses
DYMO D1 label cassettes in widths of 6 mm, 9 mm, or
12 mm. These label cassettes are available in a wide
range of colors.
Visit www.dymo.com for information on obtaining labels
and accessories for your label maker.
Product Registration
Visit www.dymo.com/register to register your label maker
online.
Getting Started
Follow the instructions in this section to print your first label.
Connecting the Power
The label maker is powered by standard batteries or an
AC power adapter. To save power, the label maker
automatically turns off after two minutes of inactivity.
Inserting the Batteries
The label maker uses six high-capacity AA alkaline
batteries.
To insert the batteries
1Slide the battery
compartment cover away
from the label maker. See
Figure 2.
2
Insert the batteries following
the polarity markings (+ and –).
3Replace the cover.
Remove the batteries if the label maker will not be
used for a long period of time.
Connecting the Optional Power Adapter
An optional 9 Volt, 1.5 A power adapter can also be used
to power the label maker. Connecting the AC adapter to
the label maker disconnects the batteries as a power
source.
Use only power the adapter listed in this user guide:
Adapter model DSA-18PFM-09 Fc 090200 (note: “c”
can be EU, UP, UK, US, UJ, JP, CH, IN, AU, KA, KR, AN,
AR, BZ, SA, AF or CA) from Dee Van Enterprise Co., Ltd.
To connect the power adapter
1Plug the power adapter into the power connector on
the top, left side of the label maker.
2Plug the other end of the power adapter into a power
outlet.
Make sure the label maker power is turned off before
you disconnect the power adapter from the main
power source. Otherwise, your most recent memory
settings will be lost.
Inserting the Label Cassette
Your label maker comes with one
label cassette. Visit
www.dymo.com for information
about purchasing additional label
cassettes.You can purchase
additional label cassettes from your local office supply
retailer.
Cutter blade is extremely
sharp. While replacing the
label cassette, keep
fingers and other body
parts away from cutter
blade and do not press
the cutter button.
To insert the label cassette
1Lift the label cassette cover to
open the label compartment. See
Figure 3.
2Insert the cassette with the label
facing up and positioned
between the guideposts.
3Press firmly until cassette clicks
into place. See Figure 5.
4Close the label cassette cover.
Using the Label Maker for the First Time
The first time you turn on the power, you are asked to
select the language. This selection will remain set until
you change it, or until the label maker is reset. You can
change this selection in Settings.
To set up the label maker
1Press to turn on the power.
2Select the language and press .
By default, the language is set to Chinese.
3Select inches or mm and press .
4Select the width of the label cassette currently in the
label maker and press .
You are now ready to print your first label.
To print a label
1Enter text to create a simple label.
2Press .
3Use the navigation keys to select the number of
copies.
4Press to print.
5Press the cutter button to cut the label.
Congratulations! You printed your first label. Continue
reading to learn more about the options available for
creating labels.
Figure 2
Figure 3
Figure 4
Guideposts
Figure 5
Click!
Click!


