manuals.online logo
Brands
  1. Home
  2. •
  3. Brands
  4. •
  5. Dynex
  6. •
  7. TV DVD Combo
  8. •
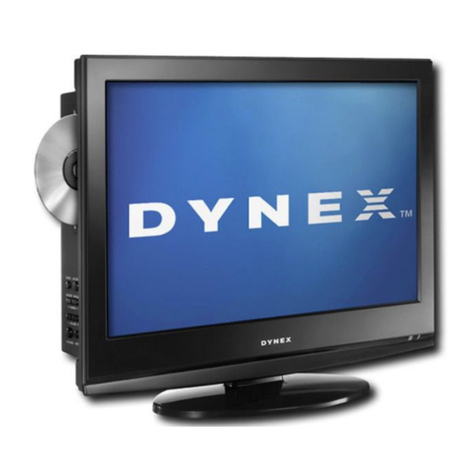
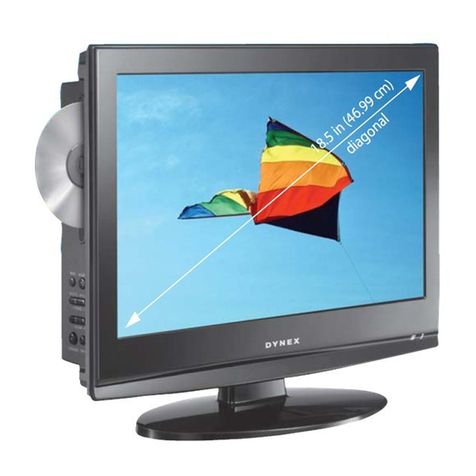
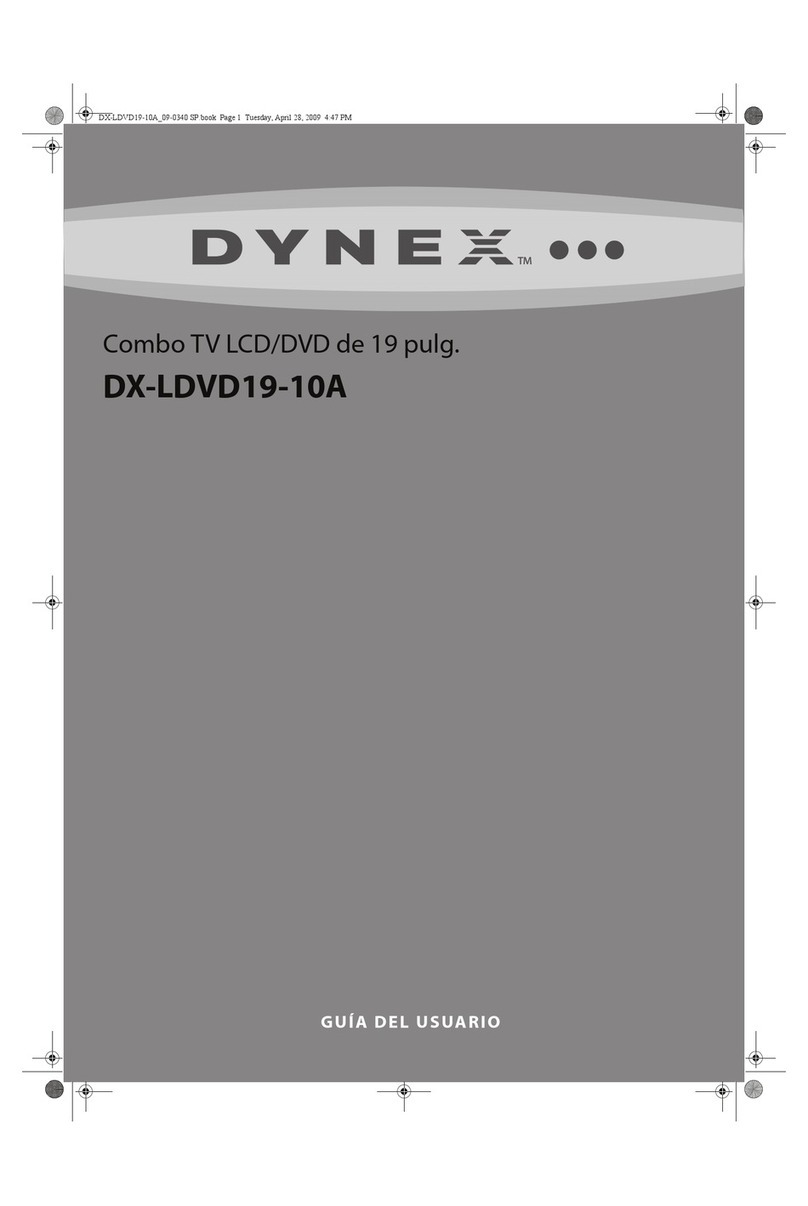
  9. Dynex DX-LDVD19-10A - 19" LCD TV User manual

Dynex DX-LDVD19-10A - 19" LCD TV User manual

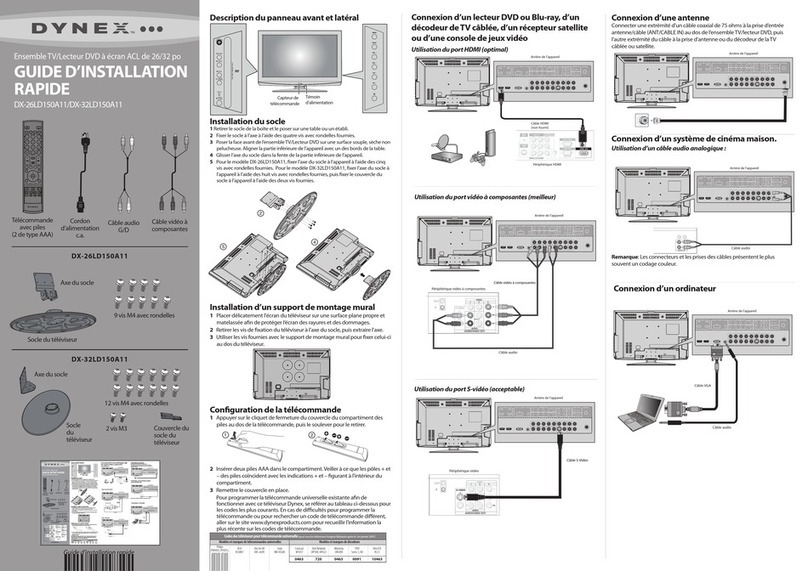
Quick Setup Guide I DX-LDVD19-10A LCD TV-DVD Combo
Guide d’installation rapide I Ensemble TV/Lecteur DVD à écran ACL DX-LDVD19-10A
Guía de instalación rápida I Combo TV LCD - DVD DX-LDVD19-10A
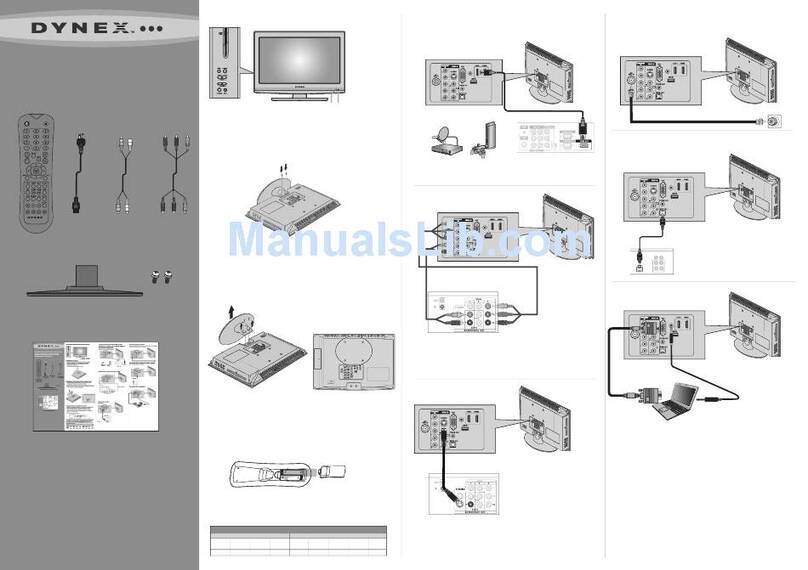
Step 1 Get to know your LCD TV-DVD combo
Check out the front, side, and back panels to familiarize yourself with button controls and connection options.
Étape 1 Identication des fonctionnalités de ce téléviseur ACL avec lecteur DVD
Identier tout d'abord les touches de commande et les options de connexions situées à l'avant, sur les côtés et au dos de l’appareil.
Paso 1 Familiarizándose con su combo TV LCD - DVD
Revise los paneles frontal, lateral y posterior para familiarizarse con los botones de control y con las opciones de conexión.
Congratulations on your purchase of a high-quality Dynex product. Your LCD
TV-DVD combo is designed for reliable and trouble-free performance. Use
this guide for initial setup of your TV. See your User Guide for more
information on using your TV.
Félicitations d’avoir acheté ce produit Dynex de haute qualité. Cet ensemble
TV ACL avec lecteur DVD a été conçu pour des performances et une abilité
exceptionnelles. Utiliser ce guide pour la première mise en service du
téléviseur. Voir le Guide de l’utilisateur pour toute information sur
l’utilisation du téléviseur.
Felicitaciones por su compra de un producto de alta calidad de Dynex. Su
combo TV LCD - DVD está diseñado para proveer un rendimiento conable y
libre de problemas. Utilice esta guía para la conguración inicial de su
televisor. Reérase a su guía del usuario para más información acerca del uso
de su televisor.
See your User Guide for more information on
base assembly and mounting your TV to a wall.
Voir le Guide de l’utilisateur pour toute
information sur le montage du socle et du
téléviseur sur un mur.
Refiérase a su guía del usuario para obtener
más información acerca del montaje en pared
de la base y del televisor.
Step 2 Install remote control batteries
Remove the cover from the back of the remote control, insert batteries as indicated, then replace the cover.
Étape 2 Installation des piles de la télécommande
Retirer le couvercle à l’arrière de la télécommande, insérer les piles tel qu’illustré, puis remettre le couvercle.
Paso 2 Instale las pilas del control remoto
Retire la cubierta de la parte posterior del control remoto, inserte las pilas como se muestra y vuelva a colocar
la cubierta.
Power/Standby indicator
Témoin Marche-Arrêt/Attente
Indicador de encendido/apagado
Remote sensor
Capteur de télécommande
Sensor del control remoto
MENU INPUT VOL+ VOL- CH+ CH- POWER
Menu
Menu
Menú
Input
Entrée
Entrada
Power
Alimentation
Encendido
Volume + / -
Volume +/-
Volumen +/-
Channel Up/Down + / -
Canaux Haut/Bas +/-
Canal superior/inferior +/-
Contenido de la caja
• Control remoto
• Pilas AA (2)
• Cable de video de
componentes
• Base de pedestal con tornillos
• Guía del usuario
• Guía de instalación rápida
Contenu de la boîte
• Télécommande
• Piles AA (2)
• Câble vidéo
à composantes
• Socle avec vis
• Guide de l'utilisateur
• Guide d’installation
rapide
Package contents
• Remote control
• AA batteries (2)
• Component
video cable
• Pedestal stand
with screws
• User Guide
• Quick Setup Guide
Universal remote control TV codes(for all Dynex TVs manufactured after Jan. 1, 2007)
Codes des téléviseurs pour la télécommande universelle(pour tous les téléviseurs Dynex fabriqués après le 1er janvier 2007)
Códigos de TV para controles remotos universales(para todos los televisores Dynex fabricados después del uno de enero del 2007)
Philips
PHDVD5, PH5DSS,
PMDVR8, PDVR8
115
DirectTV
RC23
10463
RCA
RCU807
135
One for All
URC-6690
0464
Sony
RM-VL600
8043
Comcast
M1057
0463
Dish Network
VIP508, VIP622
720
Motorola
DRC800
0463
TIVO
Series 3, HD
0091
Universal remote control manufacturers and models
Modèles et fabricants de la télécommande universelle
Fabricantes y modelos de controles remotos universales
Set-top box manufacturers and models
Modèles et fabricants du décodeur
Fabricantes y modelos de cajas decodicadoras
Step 3 Connecting your devices • Étape 3 Connexion des périphériques • Paso 3 Conexión de sus equipos
Connect your devices using the diagram below as a guide. Press INPUT on your remote control to switch between devices.
Connecter les périphériques en se référant au schéma ci-dessous. Utiliser la touche INPUT (Entrée) de la télécommande pour alterner entre les périphériques.
Conecte sus equipos usando el diagrama a continuación como una guía. Presione INPUT (Entrar) en su control remoto para alternar entre los equipos.
09-0341
Step 4 Connect power
Connect the AC power cord to a power outlet.
Press the power button on the side of your TV or
POWER on your remote control to turn on the TV.
Étape 4 Mise sous tension
Brancher le cordon d’alimentation CA sur une prise
secteur. Mettre le téléviseur en marche en appuyant
sur la touche marche-arrêt sur le côté du téléviseur
ou POWER de la télécommande.
Paso 4 Conecte la alimentación
Conecte el cable de alimentación de CA en un
tomacorriente. Presione el botón de encendido
en la parte lateral de su televisor o POWER (Encendido)
en su control remoto para encender el televisor.
Step 5 Complete Setup Wizard
Make sure that the cable or an antenna is connected, then set the menu language to
English, Français, or Español. If you are using an external satellite or cable box, auto
scan is not necessary, so press EXIT. If you are using an antenna for a standard or HD TV
signal, select Antenna. If your cable is connected directly to the TV (using no tuner box),
select Cable.
Étape 5 Fin de la conguration
Vérier que la TV câblée ou une antenne est connectée, puis régler la langue du menu
sur English, Français ou Español. En cas d’utilisation d’un satellite externe ou d’un
décodeur câble, la recherche automatique n’est pas nécessaire; appuyer donc sur EXIT
(Quitter). En cas d’utilisation d’une antenne pour un signal TV standard ou HD,
sélectionner Antenna (Antenne). Si la TV câblée est connectée directement au
téléviseur (sans décodeur), sélectionner Cable (TV câblée).
Paso 5 Finalice el asistente de conguración
Asegúrese de que el servicio de TV por cable o la antena está conectada y seleccione el
idioma del menú en inglés (English), francés (Français) o Español. Si se usa una caja
de satélite externo o de cable, no se necesita hacer una búsqueda automática, así que
presione EXIT (Salir). Si usa una antena para una señal de TV estándar o de alta
denición, seleccione Antenna (Antena). Si el servicio de TV por cable está conectado
directamente al televisor (sin usar una caja decodicadora), seleccione Cable.
© 2009 Best Buy Enterprise Services, Inc. All rights reserved. DYNEX is a trademark of Best Buy Enterprise Services, Inc. Registered in some countries. All other products and brand names are trademarks of their respective owners.
Tous droits réservés. DYNEX est une marque de commerce de Best Buy Enterprise Services, Inc. déposée dans certains pays. Tous les autres produits et noms de marques sont des marques de commerce appartenant à leurs propriétaires respectifs.
Todos los derechos reservados. DYNEX es una marca comercial de Best Buy Enterprise Services, Inc. registrada en algunos países. Todos los otros productos y los nombres de marca son marcas comerciales de sus respectivos dueños.
PC AUDIO IN
COMPONENTI
N
AUDIOIN
RL
VIDEO IN
Y
Pb
Pr
S-VIDEO IN
AUDIO IN
L
R
ANT/CABLEIN
VGAIN HDMI
SERVICE
HDMI • HDMI • HDMI
Connect a DVD player or set-top box with an HDMI port (audio cable not required).
If using an HDMI-to-DVI cable or adapter, you must also connect an audio cable
(HDMI only). / Connecter un lecteur DVD ou un décodeur avec port HDMI (un câble audio
n’est pas nécessaire). En cas d’utilisation d’un câble HDMI vers DVI ou d’un adaptateur, il est
nécessaire de connecter également un câble audio (HDMI uniquement) / Conecte un
reproductor de DVD o una caja decodificadora con un puerto de HDMI (no se necesita
un cable de audio). Si usa un cable HDMI a DVI, o un adaptador, tendrá que conectar un
cable de audio (HDMI únicamente).
Headphone • Casque d’écoute • Auriculares
Service port, for software update only
Port de maintenance, pour la mise à jour du logiciel uniquement
Puerto de mantenimiento, sólo para la actualización de software
Do not use / Ne pas utiliser / No lo use
PC audio/VGA input • Entrée PC audio/VGA • Entrada de audio de PC/VGA
Connect to a computer’s VGA and audio ports.
Connecter aux ports VGA et audio d’un ordinateur.
Conecte a los puertos de VGA y de audio de una computadora.
S-Video input • Entrée S-Vidéo • Entrada de S-Video
Connect a DVD player, VCR, or other component with S-Video and L/R analog audio.
Connecter un lecteur DVD, un magnétoscope ou un autre composant avec S-Vidéo et audio
analogique G/D (L/R).
Conecte un reproductor de DVD, VCR u otro componente con S-Video y audio analógico
Izquierdo/Derecho (L/R).
Composite/AV Input • Entrée composite/AV • Entrada de video compuesto/AV
Connect a DVD player, VCR, or other device with composite video and L/R analog audio.
Connecter un lecteur DVD, un magnétoscope ou un autre périphérique avec vidéo composite et
audio analogique G/D (L/R).
Conecte un reproductor de DVD, VCR u otro dispositivo con video compuesto y audio analógico
Izquierdo/Derecho (L/R).
Component video input • Entrée vidéo à composantes •
Entrada de video de componentes
Connect a DVD player, set-top box, or other device with component (YPbPr) video
and L/R analog audio.
Connecter un lecteur DVD, un décodeur câble ou un autre périphérique avec vidéo
à composantes (YPbPr) et audio analogique G/D (L/R).
Conecte un reproductor de DVD, una caja decodificadora u otro dispositivo con
video de componentes (YPbPr) y audio analógico Izquierdo/Derecho (L/R).
Antenna or coaxial cable input • Entrée câble antenne ou coaxial •
Entrada de antena o cable coaxial
Connect a digital or analog VHF/UHF antenna’s cable or coaxial cable to watch standard
TV programming.
Connecter un câble d’antenne VHF/UHF numérique ou analogique ou un câble coaxial
pour regarder des émissions télévisées standard.
Conecte un cable de antena VHF/UHF digital o analógica o un cable coaxial para ver
programación estándar de televisión.
Scan for channels
0 Analog Channels
0 Digital Channels
Antenna
Cable
Cable/Satellite
MOVE
SELECT PREVIOUS EXIT
ENTER
MENU
EXIT
Chooes your TV source
CH+
VOL
-
VOL
+
CH-
Other manuals for DX-LDVD19-10A - 19" LCD TV
4

Other Dynex TV DVD Combo manuals

Dynex DX-LDVD22-10A - 22" LCD TV User manual

Dynex

Dynex DX-LDVD22-10A - 22" LCD TV User manual

Dynex DX-R20TR User manual

Dynex

Dynex DX-R20TR User manual

Dynex DX-24LD230A12 User manual

Dynex

Dynex DX-24LD230A12 User manual

Dynex DX-24LD230A12 Quick start guide

Dynex

Dynex DX-24LD230A12 Quick start guide

Dynex DX-26LD150A11 User manual

Dynex

Dynex DX-26LD150A11 User manual

Dynex DX-26LD150A11 User manual

Dynex

Dynex DX-26LD150A11 User manual

Dynex DX-LTDVD20 User manual

Dynex

Dynex DX-LTDVD20 User manual

Dynex DX-LDVD19-10A - 19" LCD TV Quick start guide

Dynex

Dynex DX-LDVD19-10A - 19" LCD TV Quick start guide

Dynex DX-LTDVD22-09 User manual

Dynex

Dynex DX-LTDVD22-09 User manual

Dynex DX-24LD230A12 User manual

Dynex

Dynex DX-24LD230A12 User manual

Dynex DX-26LD150A11 User manual

Dynex

Dynex DX-26LD150A11 User manual

Dynex DX-LDVD22-10A - 22" LCD TV Quick start guide

Dynex

Dynex DX-LDVD22-10A - 22" LCD TV Quick start guide

Dynex DX-24LD230A12 Installation and operation manual

Dynex

Dynex DX-24LD230A12 Installation and operation manual

Dynex DX-22LD150A11 Parts list manual

Dynex

Dynex DX-22LD150A11 Parts list manual

Dynex DX-R20TR User manual

Dynex

Dynex DX-R20TR User manual

Dynex DX-19LD150A11 User manual

Dynex

Dynex DX-19LD150A11 User manual

Dynex DX-22LD150A11 Quick start guide

Dynex

Dynex DX-22LD150A11 Quick start guide

Dynex DX-22LD150A11 User manual

Dynex

Dynex DX-22LD150A11 User manual

Dynex DX-19LD150A11 Operating manual

Dynex

Dynex DX-19LD150A11 Operating manual

Dynex DX-19LD150A11 User manual

Dynex

Dynex DX-19LD150A11 User manual

Dynex DX-LTDVD22-09 User manual

Dynex

Dynex DX-LTDVD22-09 User manual

Dynex DX-22LD150A11 Installation and operation manual

Dynex

Dynex DX-22LD150A11 Installation and operation manual

Dynex DX-24LD230A12 Parts list manual

Dynex

Dynex DX-24LD230A12 Parts list manual

Dynex DX-LDVD19-10A - 19" LCD TV User manual

Dynex

Dynex DX-LDVD19-10A - 19" LCD TV User manual

Popular TV DVD Combo manuals by other brands

Toshiba MD13N1C Service manual

Toshiba

Toshiba MD13N1C Service manual

GPX TD2220 user guide

GPX

GPX TD2220 user guide

Toshiba 32DV733R owner's manual

Toshiba

Toshiba 32DV733R owner's manual

Vivo LTV19DHD Owner's operation manual

Vivo

Vivo LTV19DHD Owner's operation manual

Toshiba MD14FP1C Service manual

Toshiba

Toshiba MD14FP1C Service manual

Englaon LED22M60 user manual

Englaon

Englaon LED22M60 user manual

Toshiba 19DL834R Service manual

Toshiba

Toshiba 19DL834R Service manual

Disney Cars C1320PTVD user guide

Disney

Disney Cars C1320PTVD user guide

Sharp LC-20DV20U Service manual

Sharp

Sharp LC-20DV20U Service manual

Tesla L5423 DVD owner's manual

Tesla

Tesla L5423 DVD owner's manual

Toshiba 23HLV85 - 23" LCD TV owner's manual

Toshiba

Toshiba 23HLV85 - 23" LCD TV owner's manual

Denver TFD-1906DVBT operating instructions

Denver

Denver TFD-1906DVBT operating instructions

Akura APLDVD21568 FD user manual

Akura

Akura APLDVD21568 FD user manual

Haier HLC19K2 owner's manual

Haier

Haier HLC19K2 owner's manual

Denver TFD-1923WHITE Owner's instruction

Denver

Denver TFD-1923WHITE Owner's instruction

Naxa NTD-9001 instruction manual

Naxa

Naxa NTD-9001 instruction manual

Naxa NTD-9001 instruction manual

Naxa

Naxa NTD-9001 instruction manual

Toshiba MW27H63 Specification sheet

Toshiba

Toshiba MW27H63 Specification sheet

manuals.online logo
manuals.online logoBrands
  • About & Mission
  • Contact us
  • Privacy Policy
  • Terms and Conditions

Copyright 2025 Manuals.Online. All Rights Reserved.