Using the tools
Using the tools
Choosing the right tool
The tools allow you to clean
surfaces above the floor and
to reach hard to clean areas.
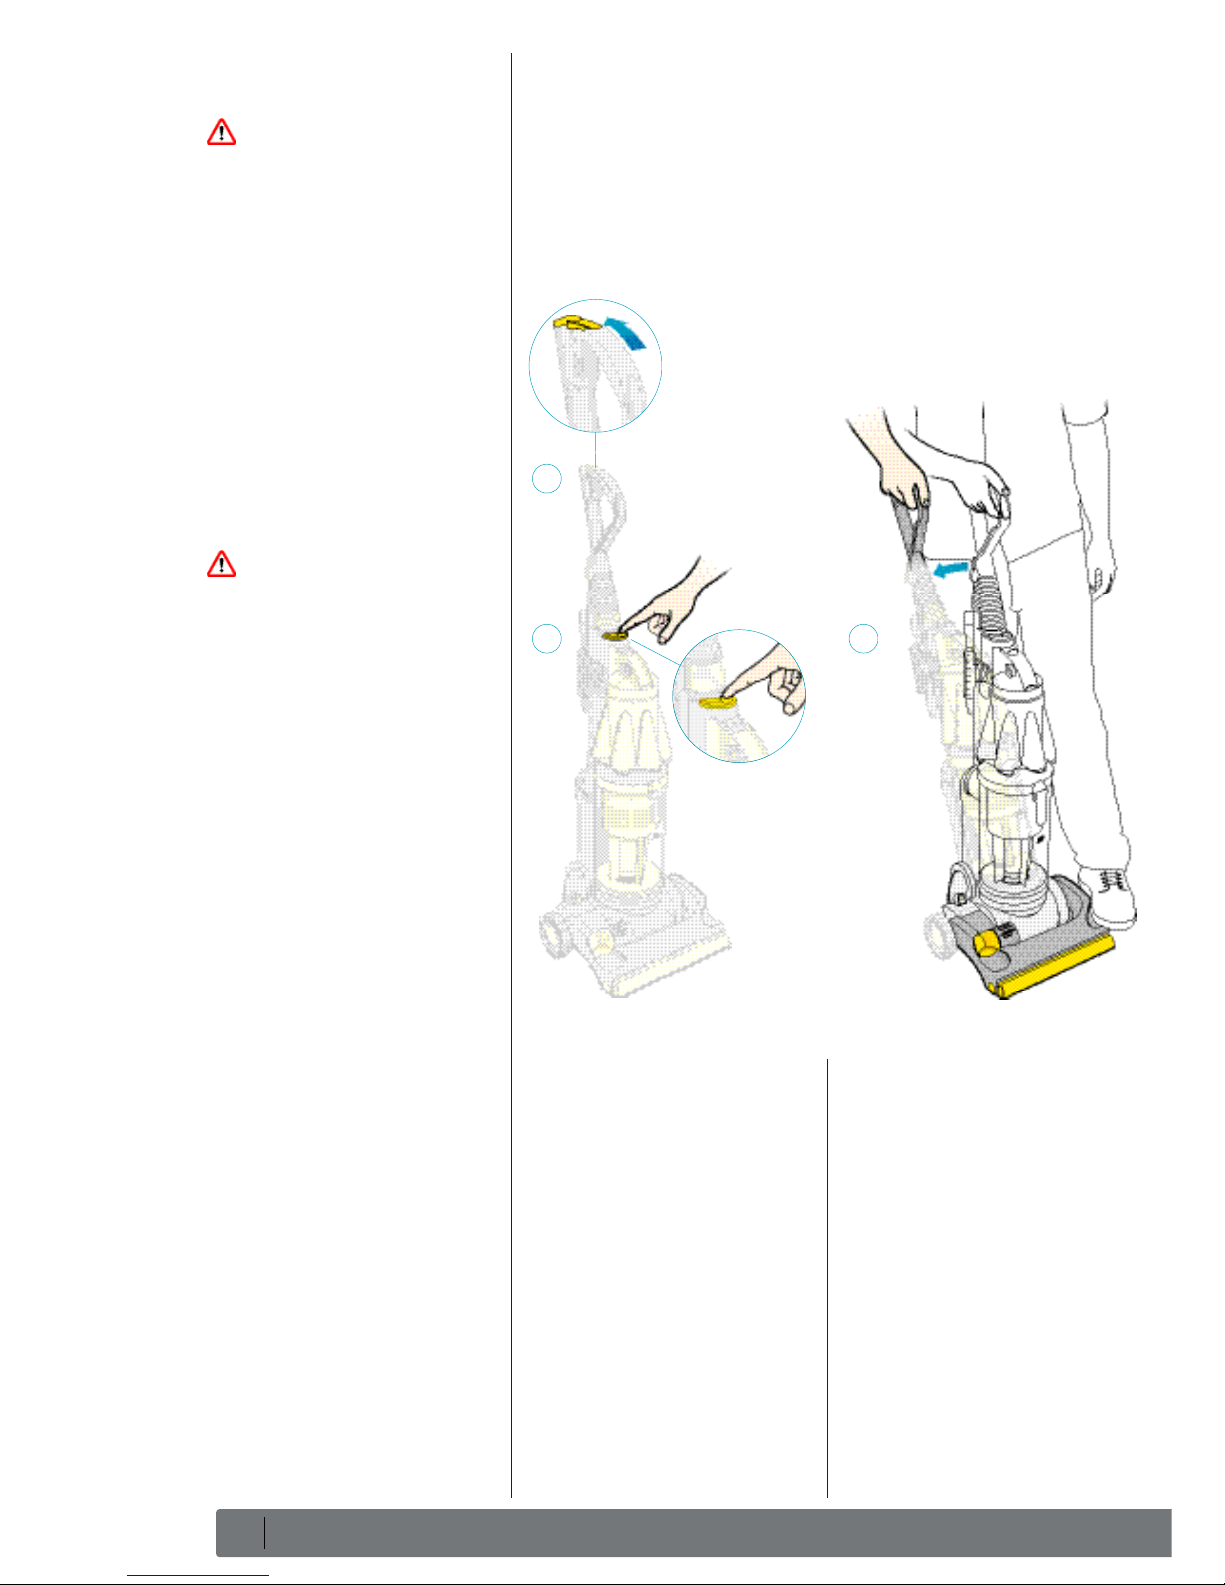
Ensure the machine is in an
upright position before using
tools.
ABrush tool – with soft bristles
to dislodge dust and cobwebs.
The brush head twists to make
cleaning easier.
BStair tool – with velour strips
to pick up hairs and an
agitating edge to lift the
carpet. The tool channels
airflow downward for better
pick-up without sticking to
upholstery. The head twists
to make cleaning easier.
CCrevice tool – reaches deep
into nooks and crannies.
Ideal for cleaning along
baseboards and in tight
corners. The tool channels
airflow downward for better
pick-up without sticking.
DAnimal turbo tool – the air
powered brushbar ensures
effective removal of pet hair
and fibers in confined spaces
such as stairs, upholstery
and in the car. Supplied with
certain models only, or
available as an accessory for
other models – contact the
Dyson Helpline or
www.dyson.com to order.
EFloor tool – to reach under
furniture. Adjustable for hard
floors or carpets. Maintains
perfect contact with the floor
to optimize pick-up. Supplied
with certain models only, or
available as an accessory
for other models – contact
the Dyson Helpline or
www.dyson.com to order.
How to clean your tools
The brush tool, stair tool and
crevice tool may be washed in
warm water with a detergent.
Rinse and air dry thoroughly
before using. You may wipe the
outside of the floor tool or turbo
tool with a damp cloth, but do
not submerge in water. Do not
attempt to clean any tools when
they are attached to the machine.
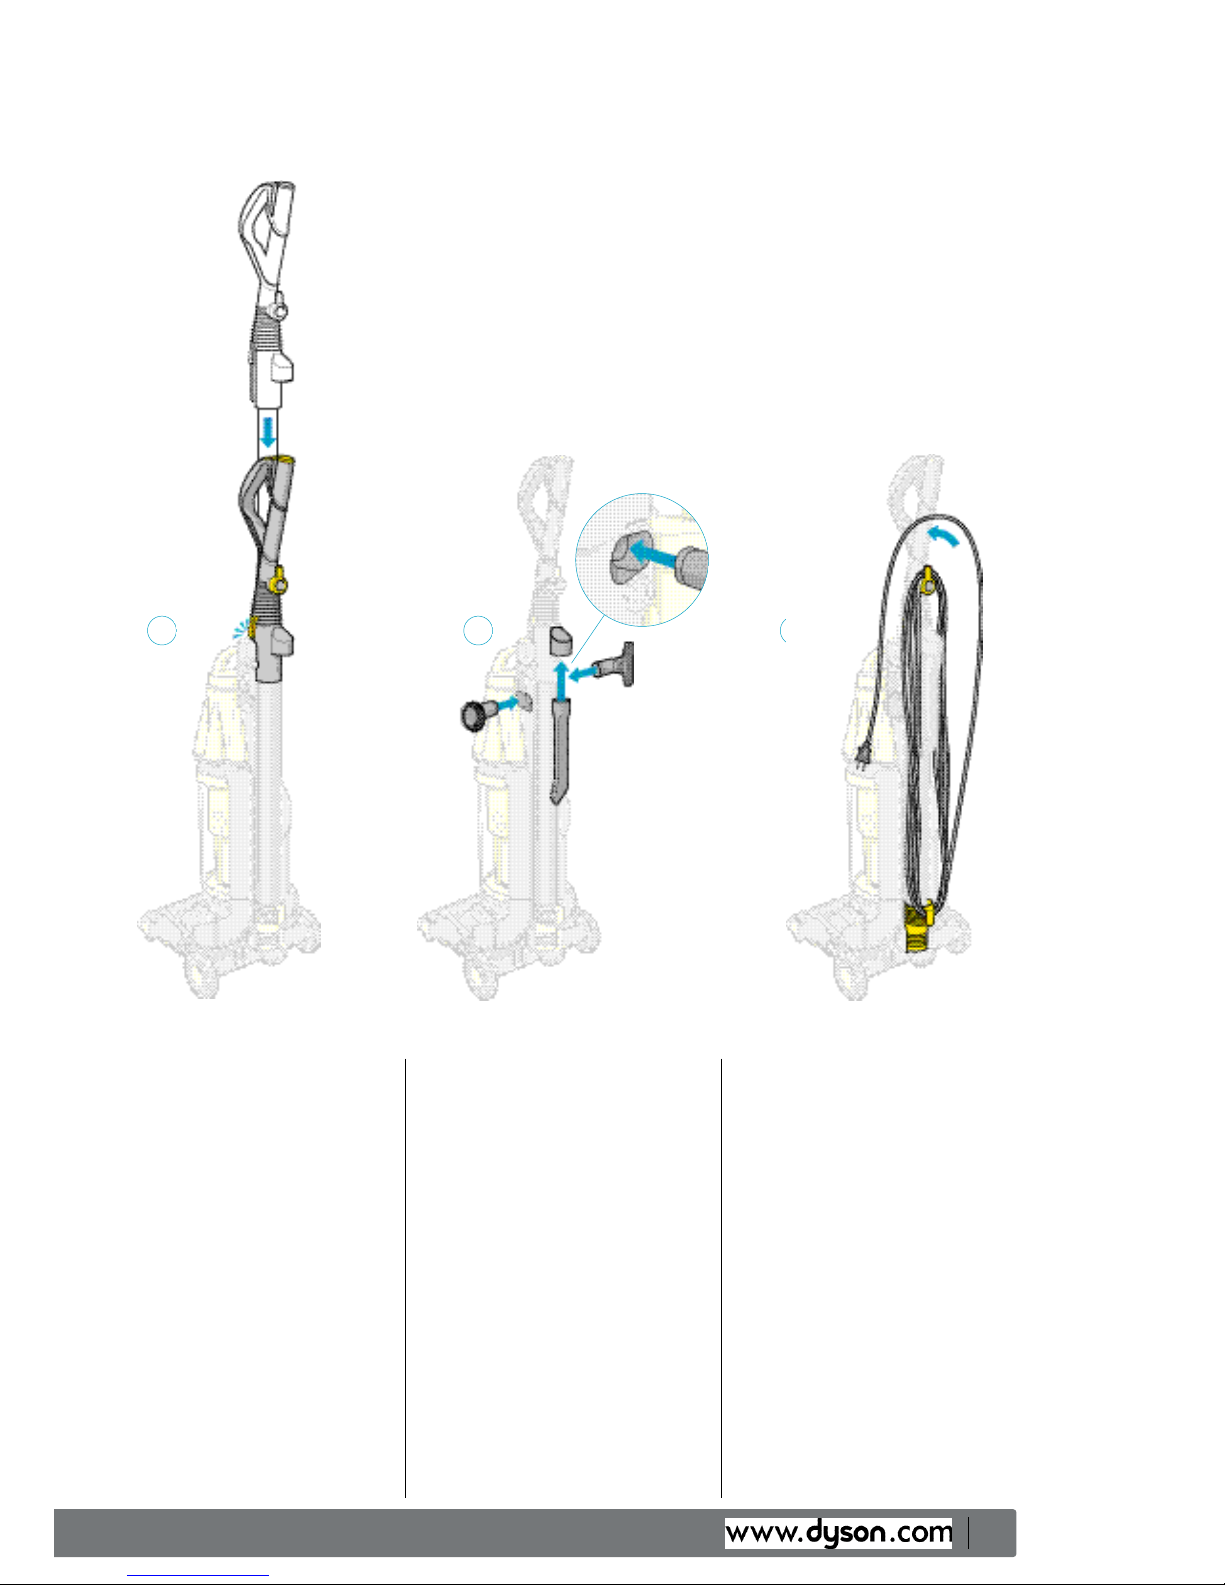
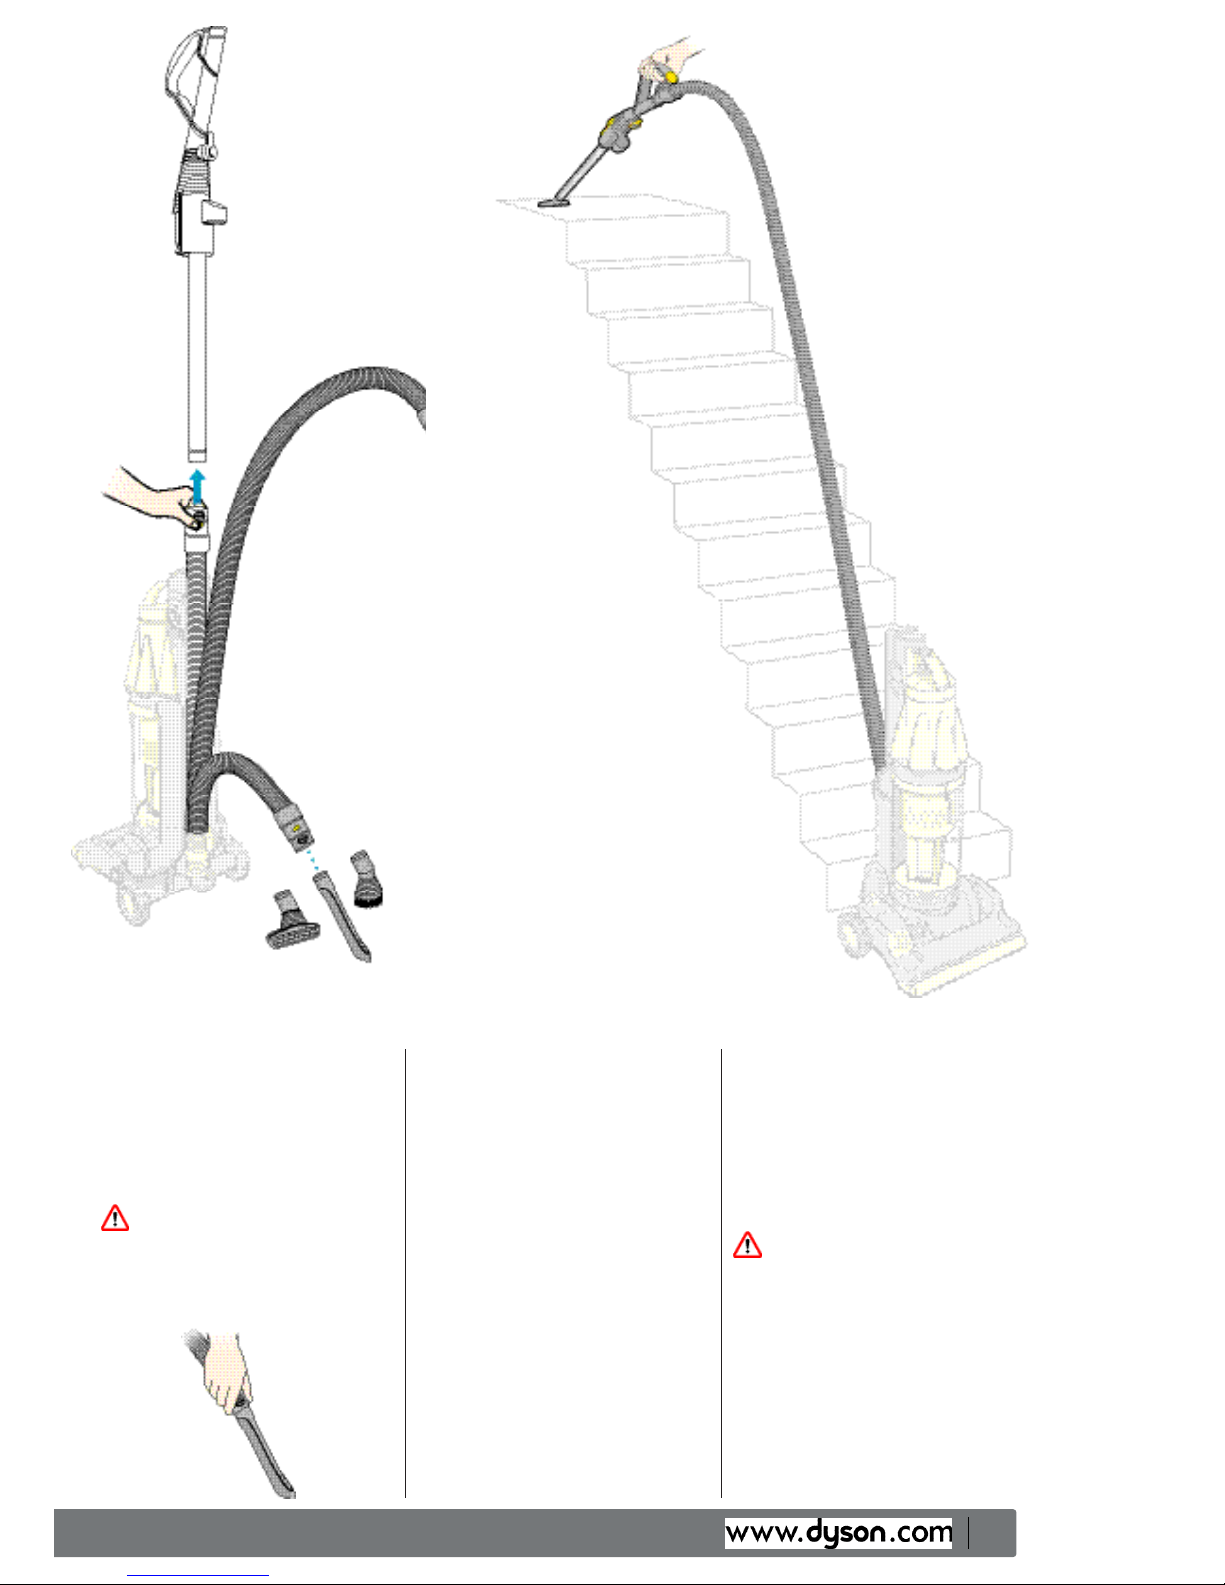
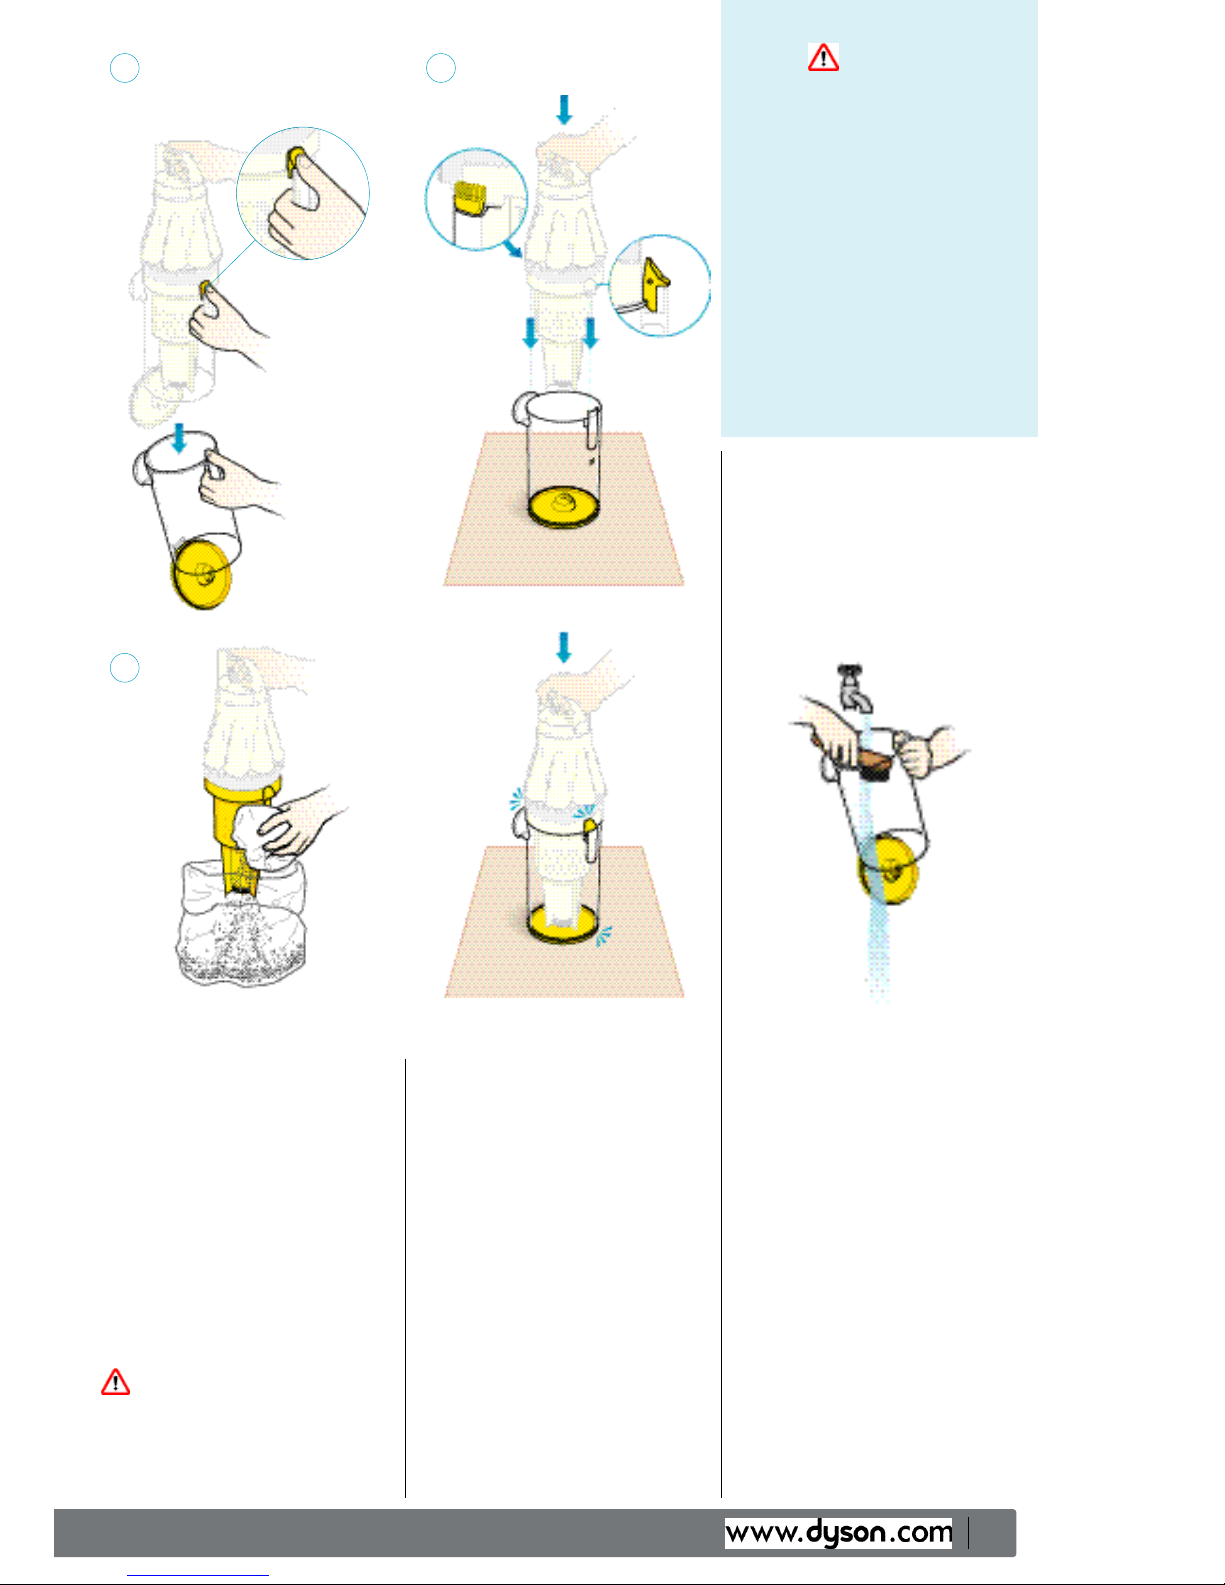
Attaching tools
1Press the quick-draw hose
release to detach the hose/
wand from the machine.
2Slide the wand to the end of
the hose.
All Dyson tools can be used
in the following ways:
Wand mode
Slide back the wand cap and fit
one of the tools directly on to the
wand handle.
A
B
C
D
E
1
2
Dyson Helpline contact us on
1
-866-693-9766
8