manuals.online logo
Brands
  1. Home
  2. •
  3. Brands
  4. •
  5. e-conolight
  6. •
  7. Lighting Equipment
  8. •
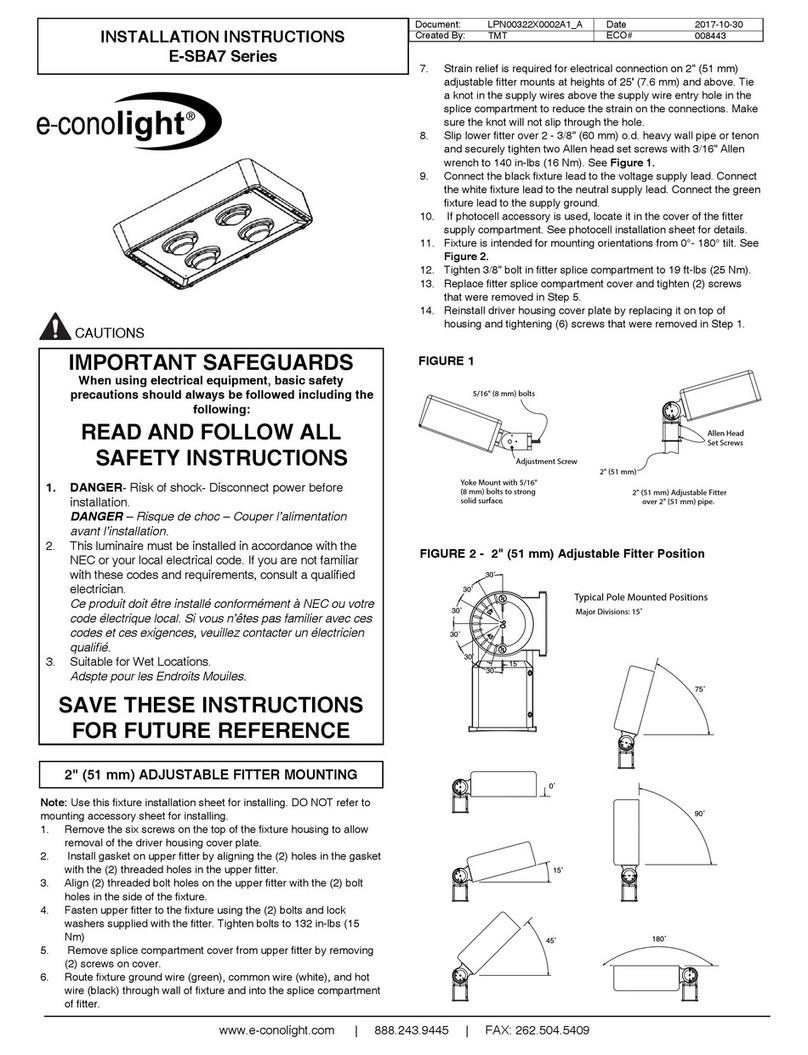
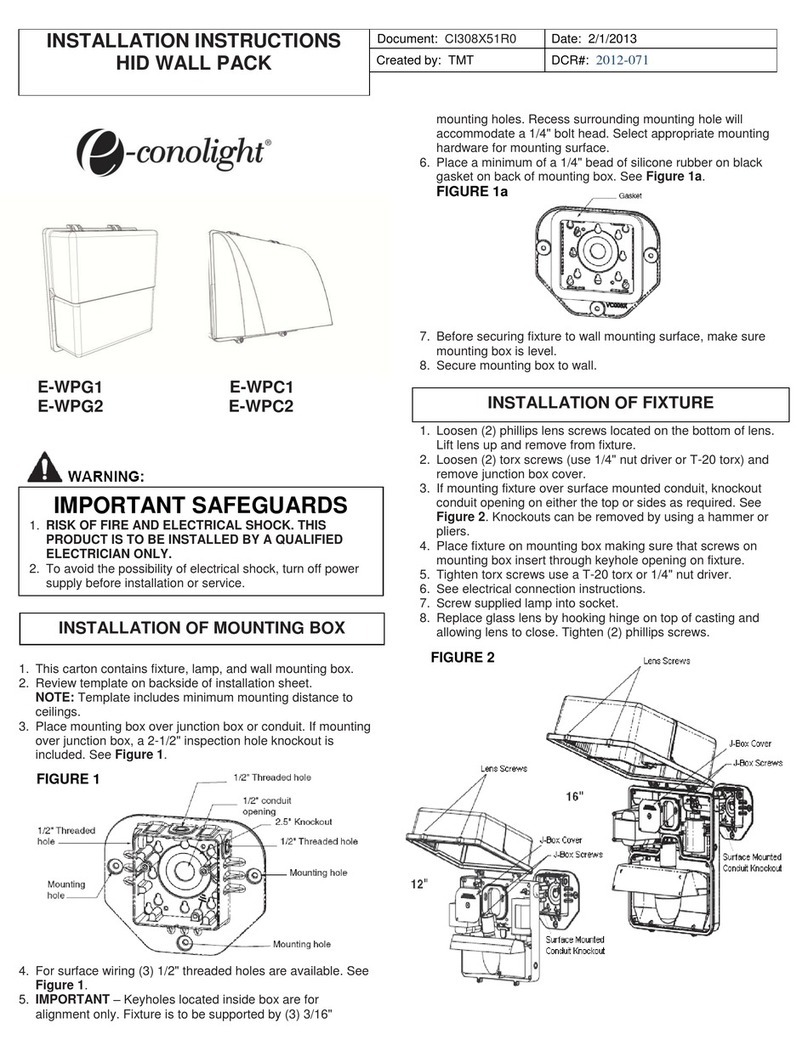
  9. e-conolight E-WPD Series User manual

e-conolight E-WPD Series User manual

INSTALLATION INSTRUCTIONS
E-WPD SERIES
Document Date
Drawing/Page DCR#
CI308X35R1
JAD 10-162
08/03/10
1. Read carefully before installing the fixture.
2. Make certain power is OFF before starting installation or
attempting any maintenance.
CAUTIONS
To ensure proper installation and service, the fixture should be
mounted with the lamp in a horizontal position. Do not recess. Also,
make sure fixture is weatherproof by sealing all gaps and holes with
waterproof silicone sealant.
MOUNTING
IMPORTANT:
Read carefully before installing the fixture.
SAVE THESE INSTRUCTIONS
WARNING:
Turn off power supply to avoid the risk of electrical shock. This
product must be wired in accordance with the National Electrical
Code and applicable local codes and ordinances. Proper grounding
is required to ensure personal safety. A qualified electrician should
do all work. Minimum 90°C supply conductors required.
1. Loosen 2 screws located on the side of the fixture housing and
open fixture housing.
2. (Only necessary for 70, 100 or 150W fixtures) Loosen 2 screws on
reflector and remove.
3. Remove the screws (or four screws for the 250 or 400W fixtures)
on the ballast cover and remove.
4. Locate and remove the desired conduit plug on the top or the side
(or the back for 250W or 400W fixtures) of the fixture housing.
5. Mount the fixture to the wall by drilling holes through the back of
the fixture housing and using the appropriate mounting hardware
for the surface (supplied by customer). When drilling holes, do not
drill within ¼" (6.4 mm) of the edge of the fixture. Also, use
caution when drilling near the ballast, making sure not to nick or
leave metal chips on the ballast windings.
6. Attach conduit and pull supply leads through the conduit plug.
7. All unused holes must be plugged. Apply waterproof silicone to all
mounting holes and conduit plugs to ensure a tight seal.
8. Complete the wiring to the power source and ground (refer to
wiring instructions), making sure to keep wires away from
the ballast.
9. Replace ballast cover and reflector, install lamp, close fixture
housing and tighten the screws.
DIRECT MOUNTING USING CONDUIT
NOTE: The 250W and 400W fixtures may not be mounted directly to
the J-box.
1. Loosen 2 screws located on the side of the fixture housing.
2. Loosen 2 screws on reflector and remove.
3. Remove the 2 screws on the ballast cover and remove.
4. Remove appropriate knock-outs in back of ballast housing to
match J-box hole pattern.
5. Remove the center hole knock-out, route supply wires through the
center hole and secure fixture to J-box.
NOTE: When mounting in wet locations with a J-box,
a J-box rated for Wet Locations should be used.
6. All unused holes must be plugged. Apply waterproof silicone to all
mounting holes, conduit plugs, and between the fixture and
mounting surface to ensure a tight seal.
7. Complete the wiring to the power source and ground (refer to
wiring instructions), making sure to keep wires away from the
ballast if wiring inside fixture.
8. Replace ballast cover and reflector, install lamp, close fixture
housing and tighten screws.
MOUNTING TO JUNCTION BOX
(70, 100 or 150W FIXTURES ONLY)
www. e-conolight.com 888.243.9445 FAX: 262.504.5409
14 /4
1 ”
11 /2
1 ”
9 /16
1 ”
18 /8
1 ”
17 /4
1 ”
9 /4
1 ”
70, 100 or 150W Fixture
250W or 400W Fixture
INSTALLATION INSTRUCTIONS
E-WPD SERIES
Document Date
Drawing/Page DCR#
CI308X35R1
JAD 10-162
08/03/10
www. e-conolight.com 888.243.9445 FAX: 262.504.5409
1. Determine the supply voltage the fixture will be connected to.
(For multi-tap ballasts this will be 120V, 208V, 240V or 277V; for
dual-tap ballasts this will be 120V or 277V.)
2. The fixture is factory set to the highest voltage. If another voltage
is desired, remove the wire nut from the voltage lead desired and
place the wire nut on the voltage lead that will not be used.
NOTE: All leads are appropriately identified with either labels
or have printing on the insulation of the leads.
3. Connect the desired voltage lead (120, 208, 240 or 277V) for the
fixture to the voltage supply lead.
4. Connect the lead from the fixture labeled “COM” to the common
supply lead.
5. Connect the supply ground to the fixture ground screw (GREEN).
6. Insulate all unused leads.
NOTE: All units are factory set for the highest voltage.
Make sure the supply voltage is compatible with the fixture.
A qualified electrician should do all work.
WIRING
1. Loosen 2 screws located on the side of the fixture housing.
2. Remove old bulb and replace with correct wattage bulb. Bulbs are
not interchangeable! Make sure you replace with the exact type
and wattage of the original bulb.
3. Close the fixture housing and tighten the screws
BULB REPLACEMENT

Other e-conolight Lighting Equipment manuals

e-conolight E-CSC Series User manual

e-conolight

e-conolight E-CSC Series User manual

e-conolight E-WPG1 User manual

e-conolight

e-conolight E-WPG1 User manual

e-conolight savr E-GSD Series User manual

e-conolight

e-conolight savr E-GSD Series User manual

e-conolight E-CP User manual

e-conolight

e-conolight E-CP User manual

e-conolight E-SBA7 Series User manual

e-conolight

e-conolight E-SBA7 Series User manual

Popular Lighting Equipment manuals by other brands

American DJ Hyper Beam User instruction

American DJ

American DJ Hyper Beam User instruction

LED Autolamps RSB Series operating instructions

LED Autolamps

LED Autolamps RSB Series operating instructions

LIGMAN AA-70077 Installation and service manual

LIGMAN

LIGMAN AA-70077 Installation and service manual

ML Accessories AC65136EM Installation & maintenance manual

ML Accessories

ML Accessories AC65136EM Installation & maintenance manual

TLC Electrical Supplies LEDLITE LTCL4W User instructions

TLC Electrical Supplies

TLC Electrical Supplies LEDLITE LTCL4W User instructions

City Theatrical QolorFLEX 4x5A DINrail Dimmer quick start guide

City Theatrical

City Theatrical QolorFLEX 4x5A DINrail Dimmer quick start guide

ITL SOLARIS ILS-S810-0IR Installation instructions manual

ITL

ITL SOLARIS ILS-S810-0IR Installation instructions manual

LIGHTSAFE EDLED quick start guide

LIGHTSAFE

LIGHTSAFE EDLED quick start guide

UFO MicroLED 4000P Product user guide

UFO

UFO MicroLED 4000P Product user guide

CMP LA0015 Instructions for use

CMP

CMP LA0015 Instructions for use

AMS BAR 12/4 HOME user manual

AMS

AMS BAR 12/4 HOME user manual

Botex DSP-12 operating instructions

Botex

Botex DSP-12 operating instructions

Robe Anolis Calumma S MC user manual

Robe

Robe Anolis Calumma S MC user manual

ccei Mini Brio X15CA Technical instructions

ccei

ccei Mini Brio X15CA Technical instructions

Astera Lightdrop AX3 user manual

Astera

Astera Lightdrop AX3 user manual

Patriot Lighting TT0034 Assembly instructions

Patriot Lighting

Patriot Lighting TT0034 Assembly instructions

Nora Lighting NLOPAC-R6REGT24 installation instructions

Nora Lighting

Nora Lighting NLOPAC-R6REGT24 installation instructions

Home Decorators Collection 17838 Use and care guide

Home Decorators Collection

Home Decorators Collection 17838 Use and care guide

manuals.online logo
manuals.online logoBrands
  • About & Mission
  • Contact us
  • Privacy Policy
  • Terms and Conditions

Copyright 2025 Manuals.Online. All Rights Reserved.