Document: Date
Created By: DCR#
CI308X47R2
TMT 2014-111
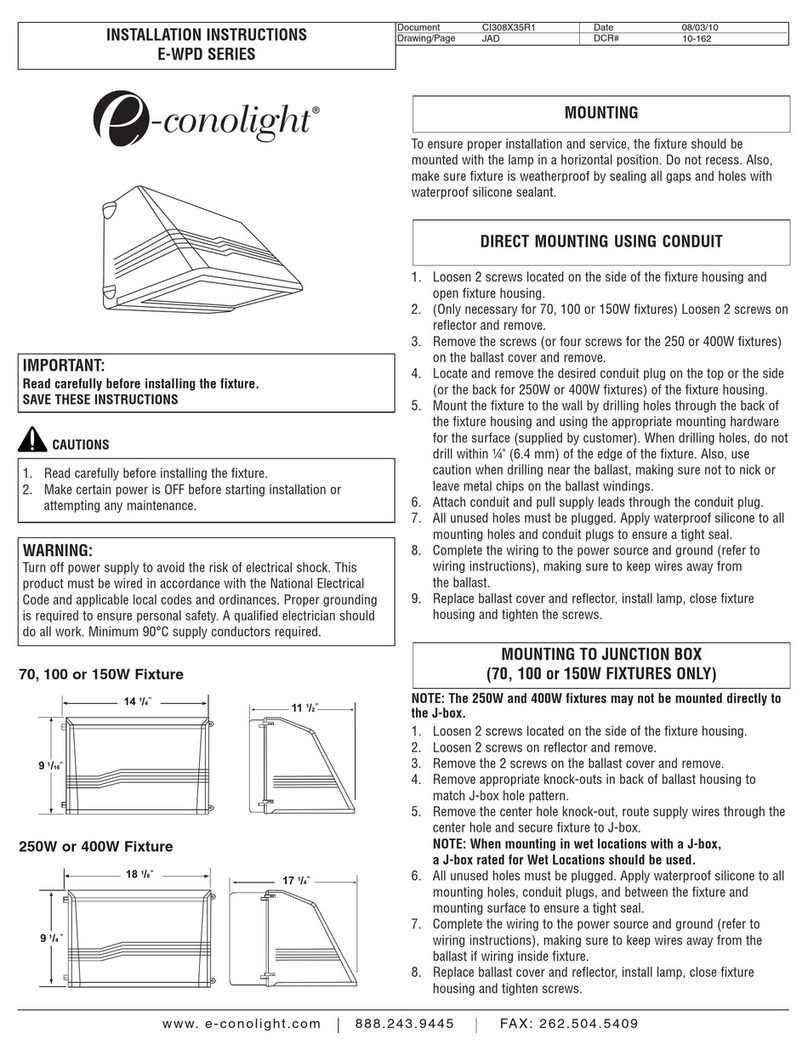
INSTALLATION INSTRUCTIONS
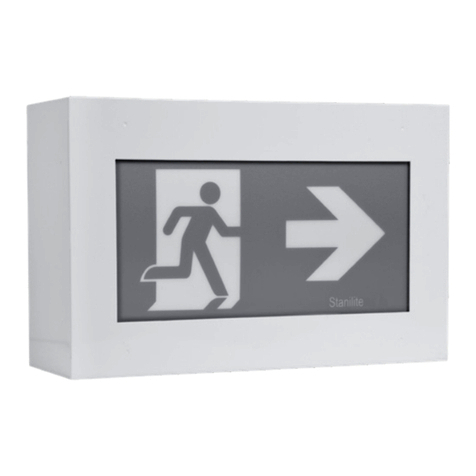
E-CP SURFACE MOUNT CANOPY FIXTURE
2014-3-28
www.e-conolight.com | 888.243.9445 | FAX: 262.504.5409
CAUTIONS
INSTALLATION INSTRUCTIONS
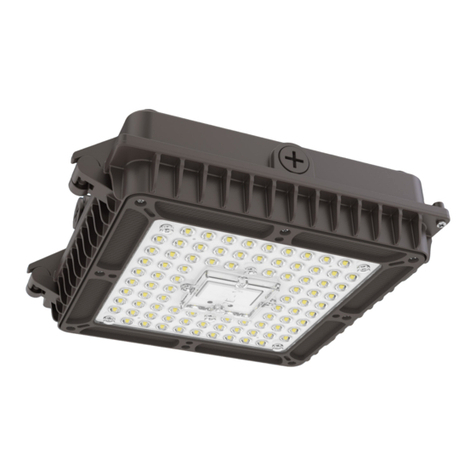
1. Unpack fixture from packaging. Fixture consists of the
power supply(s) mounted on the back plate inside of the
fixture. Surge protector mounted on the mounting bracket
(optional).
2. Remove rear cover plate screws.
IMPORTANT SAFEGUARDS
When using electrical equipment, basic safety precautions
should always be followed including the following:
READ AND FOLLOW ALL SAFETY
INSTRUCTIONS
1. DANGER- Risk of shock- Disconnect power before installation.
DANGER – Risque de choc – Couper l’alimentation avant
l’installation.
2. This luminaire must be installed in accordance with the NEC
or your local electrical code. If you are not familiar with these
codes and requirements, consult a qualied electrician.
Ce produit doit être installé conformément à NEC ou votre code
électrique local. Si vous n’êtes pas familier avec ces codes et
ces exigences, veuillez contacter un électricien qualié.
3. WARNING : Risk of re.
ATTENTION - Risque d’incendie
SAVE THESE INSTRUCTIONS FOR
FUTURE REFERENCE
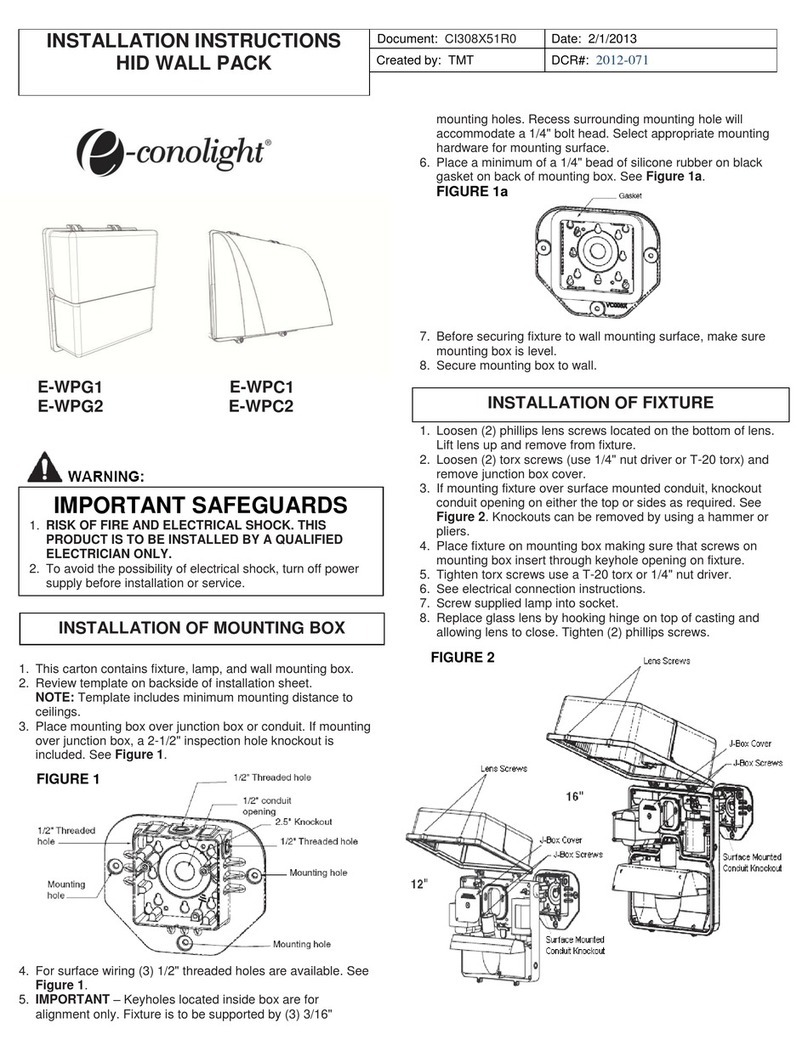
3. Mount back plate to surface using the provided slots. Use
temporary hanging cable and hooks for ease of installation.
Fixture is equipped with universal volt driver 120-277V (ie.
120V, 208V, 240V or 277V)
PHASE TO NEUTRAL WIRING 120/277V
1. Connect supply ground to fixture ground (green) lead.
2. Connect supply common to fixture neutral (white) lead.
3. Connect supply Vin to fixture hot (black) lead.
PHASE TO PHASE WIRING 208/240V
1. Connect supply ground to fixture ground (green) lead.
2. Connect supply L1 (Hot) to fixture neutral (white) lead.
3. Connect supply L2 (Hot) to fixture hot (black) lead.
NOTE: The fixture can be dimmed with a 0-10V dimming control
using yellow, violet and grey leads on driver. Refer to instruc-
tions supplied with dimmer.
5. Connect the LED driver harness to the LED light engine on
the main housing.
6. Mount the bottom housing to the cover plate using the 4
screws.
Vin
COM
GROUND GREEN
BLACK
WHITE
LED
POWER
SUPPLY(S)
Warning!
Do not allow the fixture to hang from the
harness. This may cause damage to the
circuit.
ELECTRICAL SECTION
